EVM Token Factory
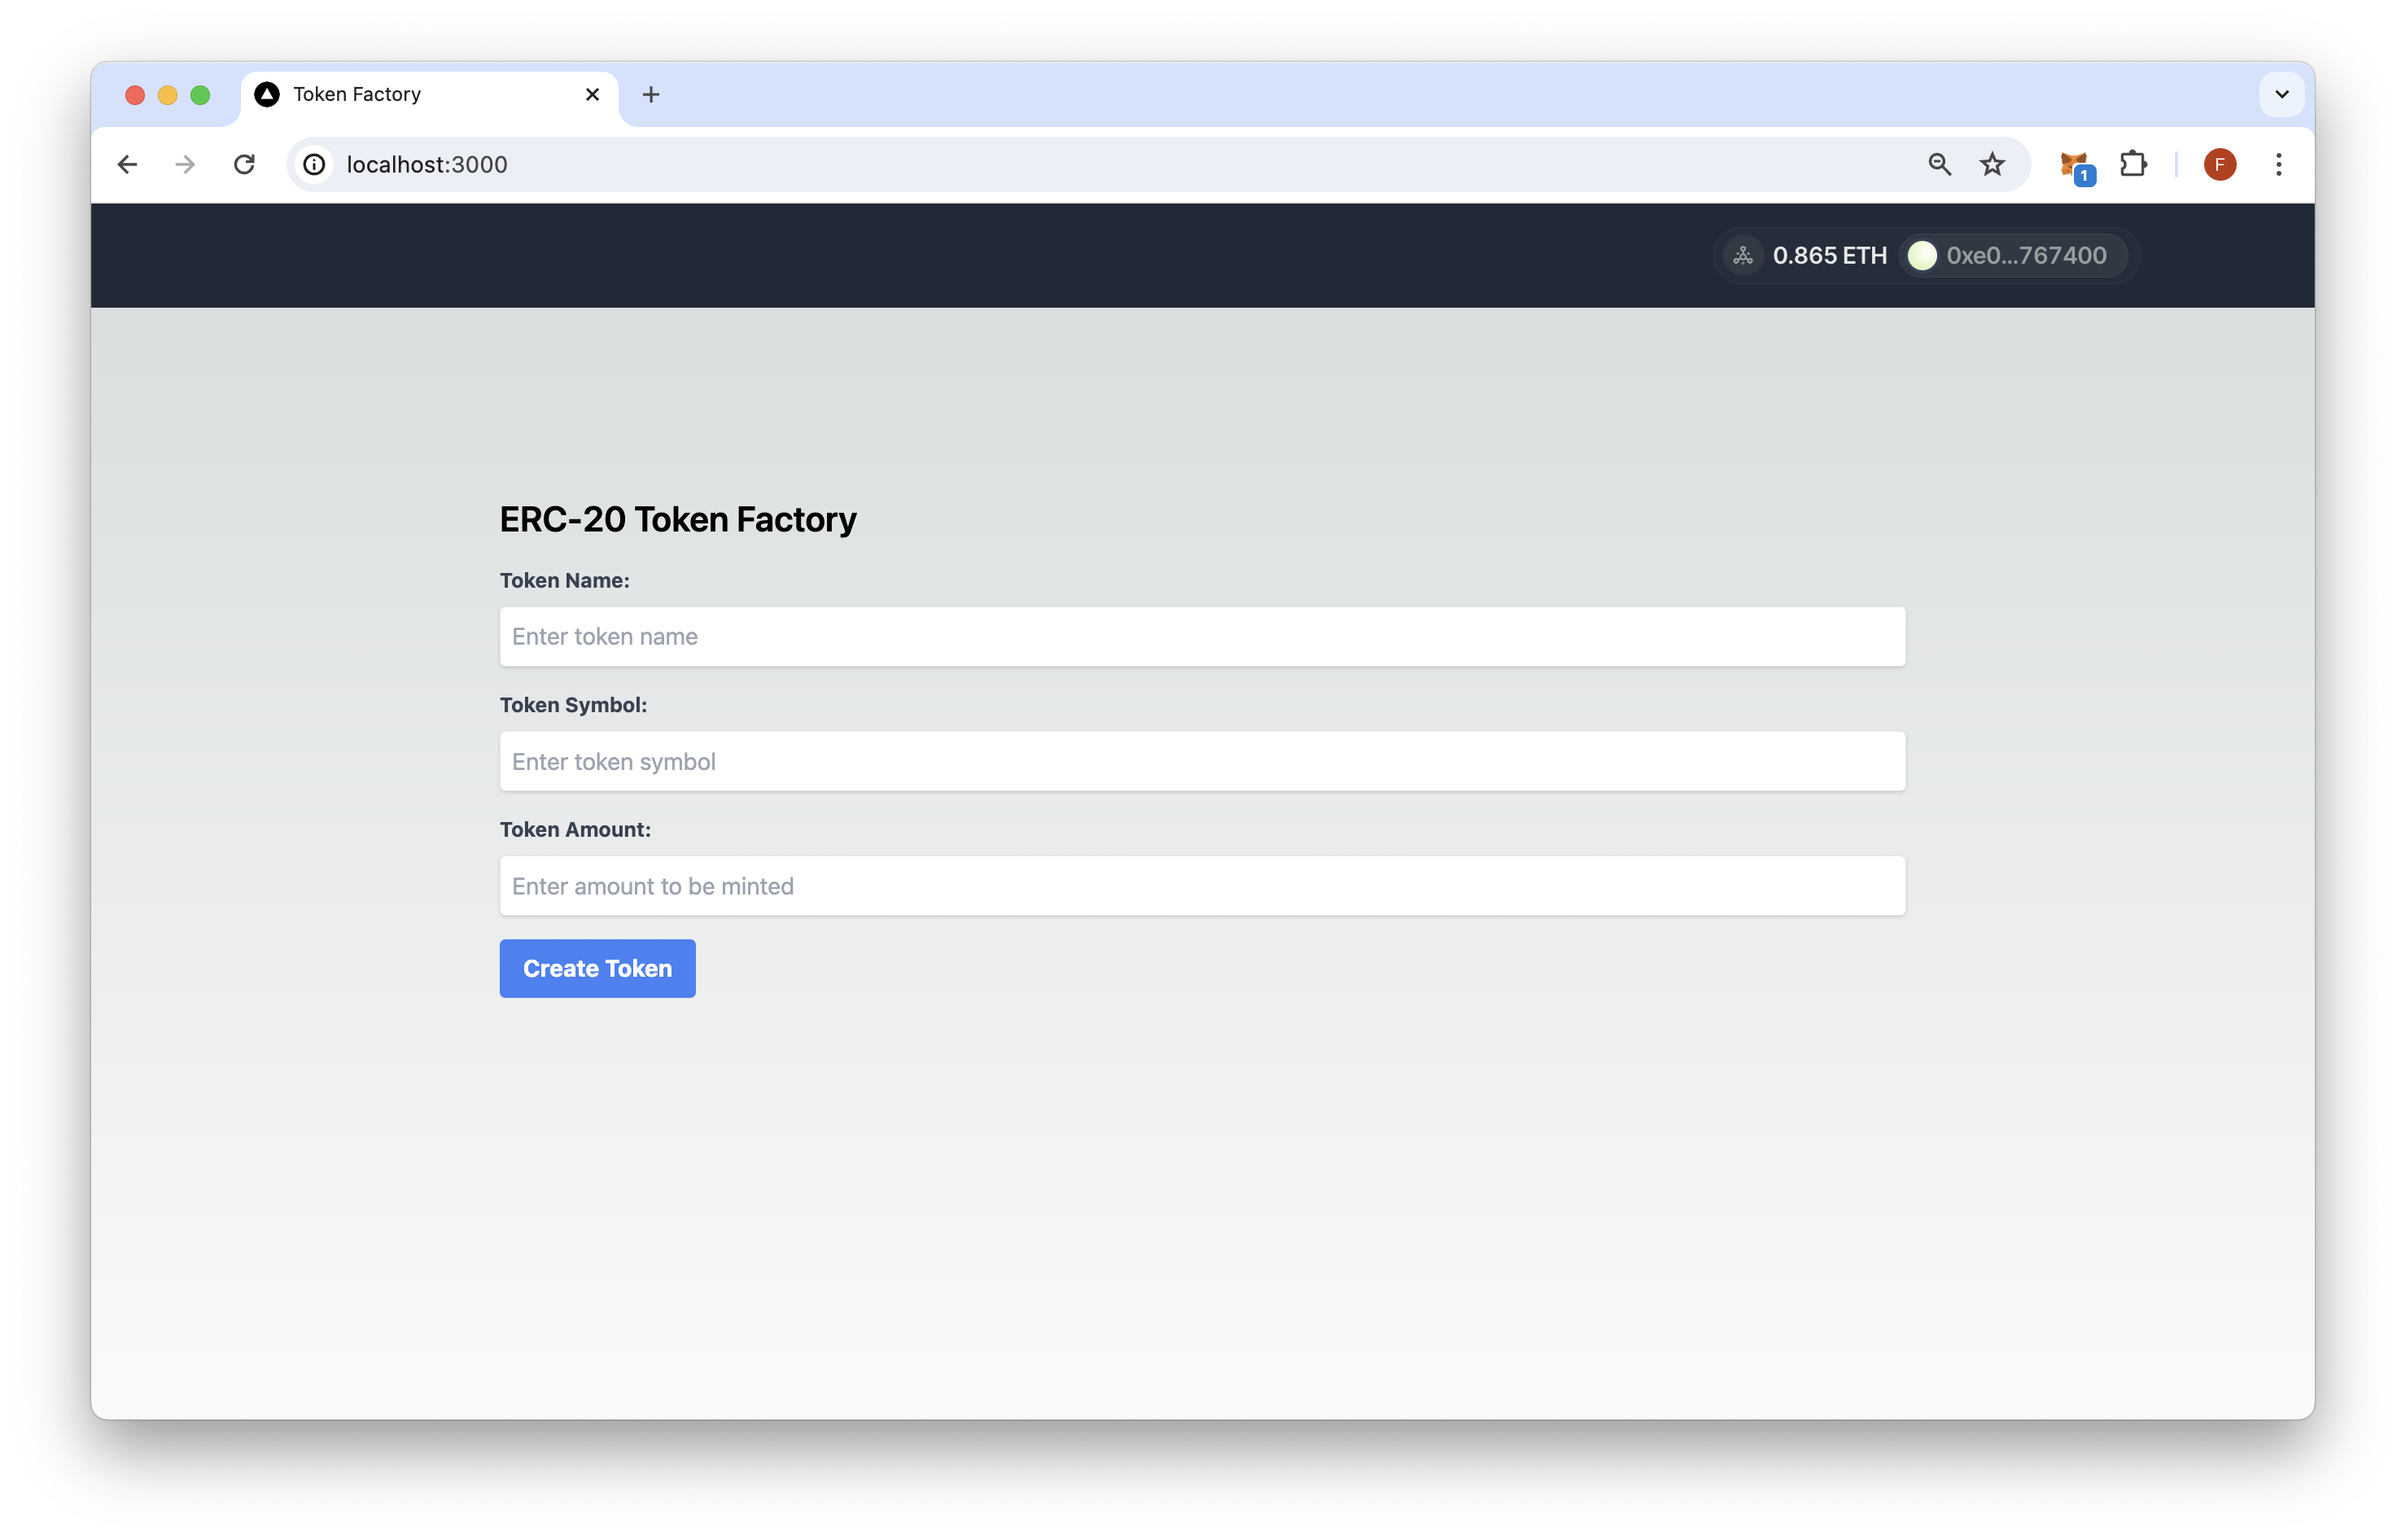
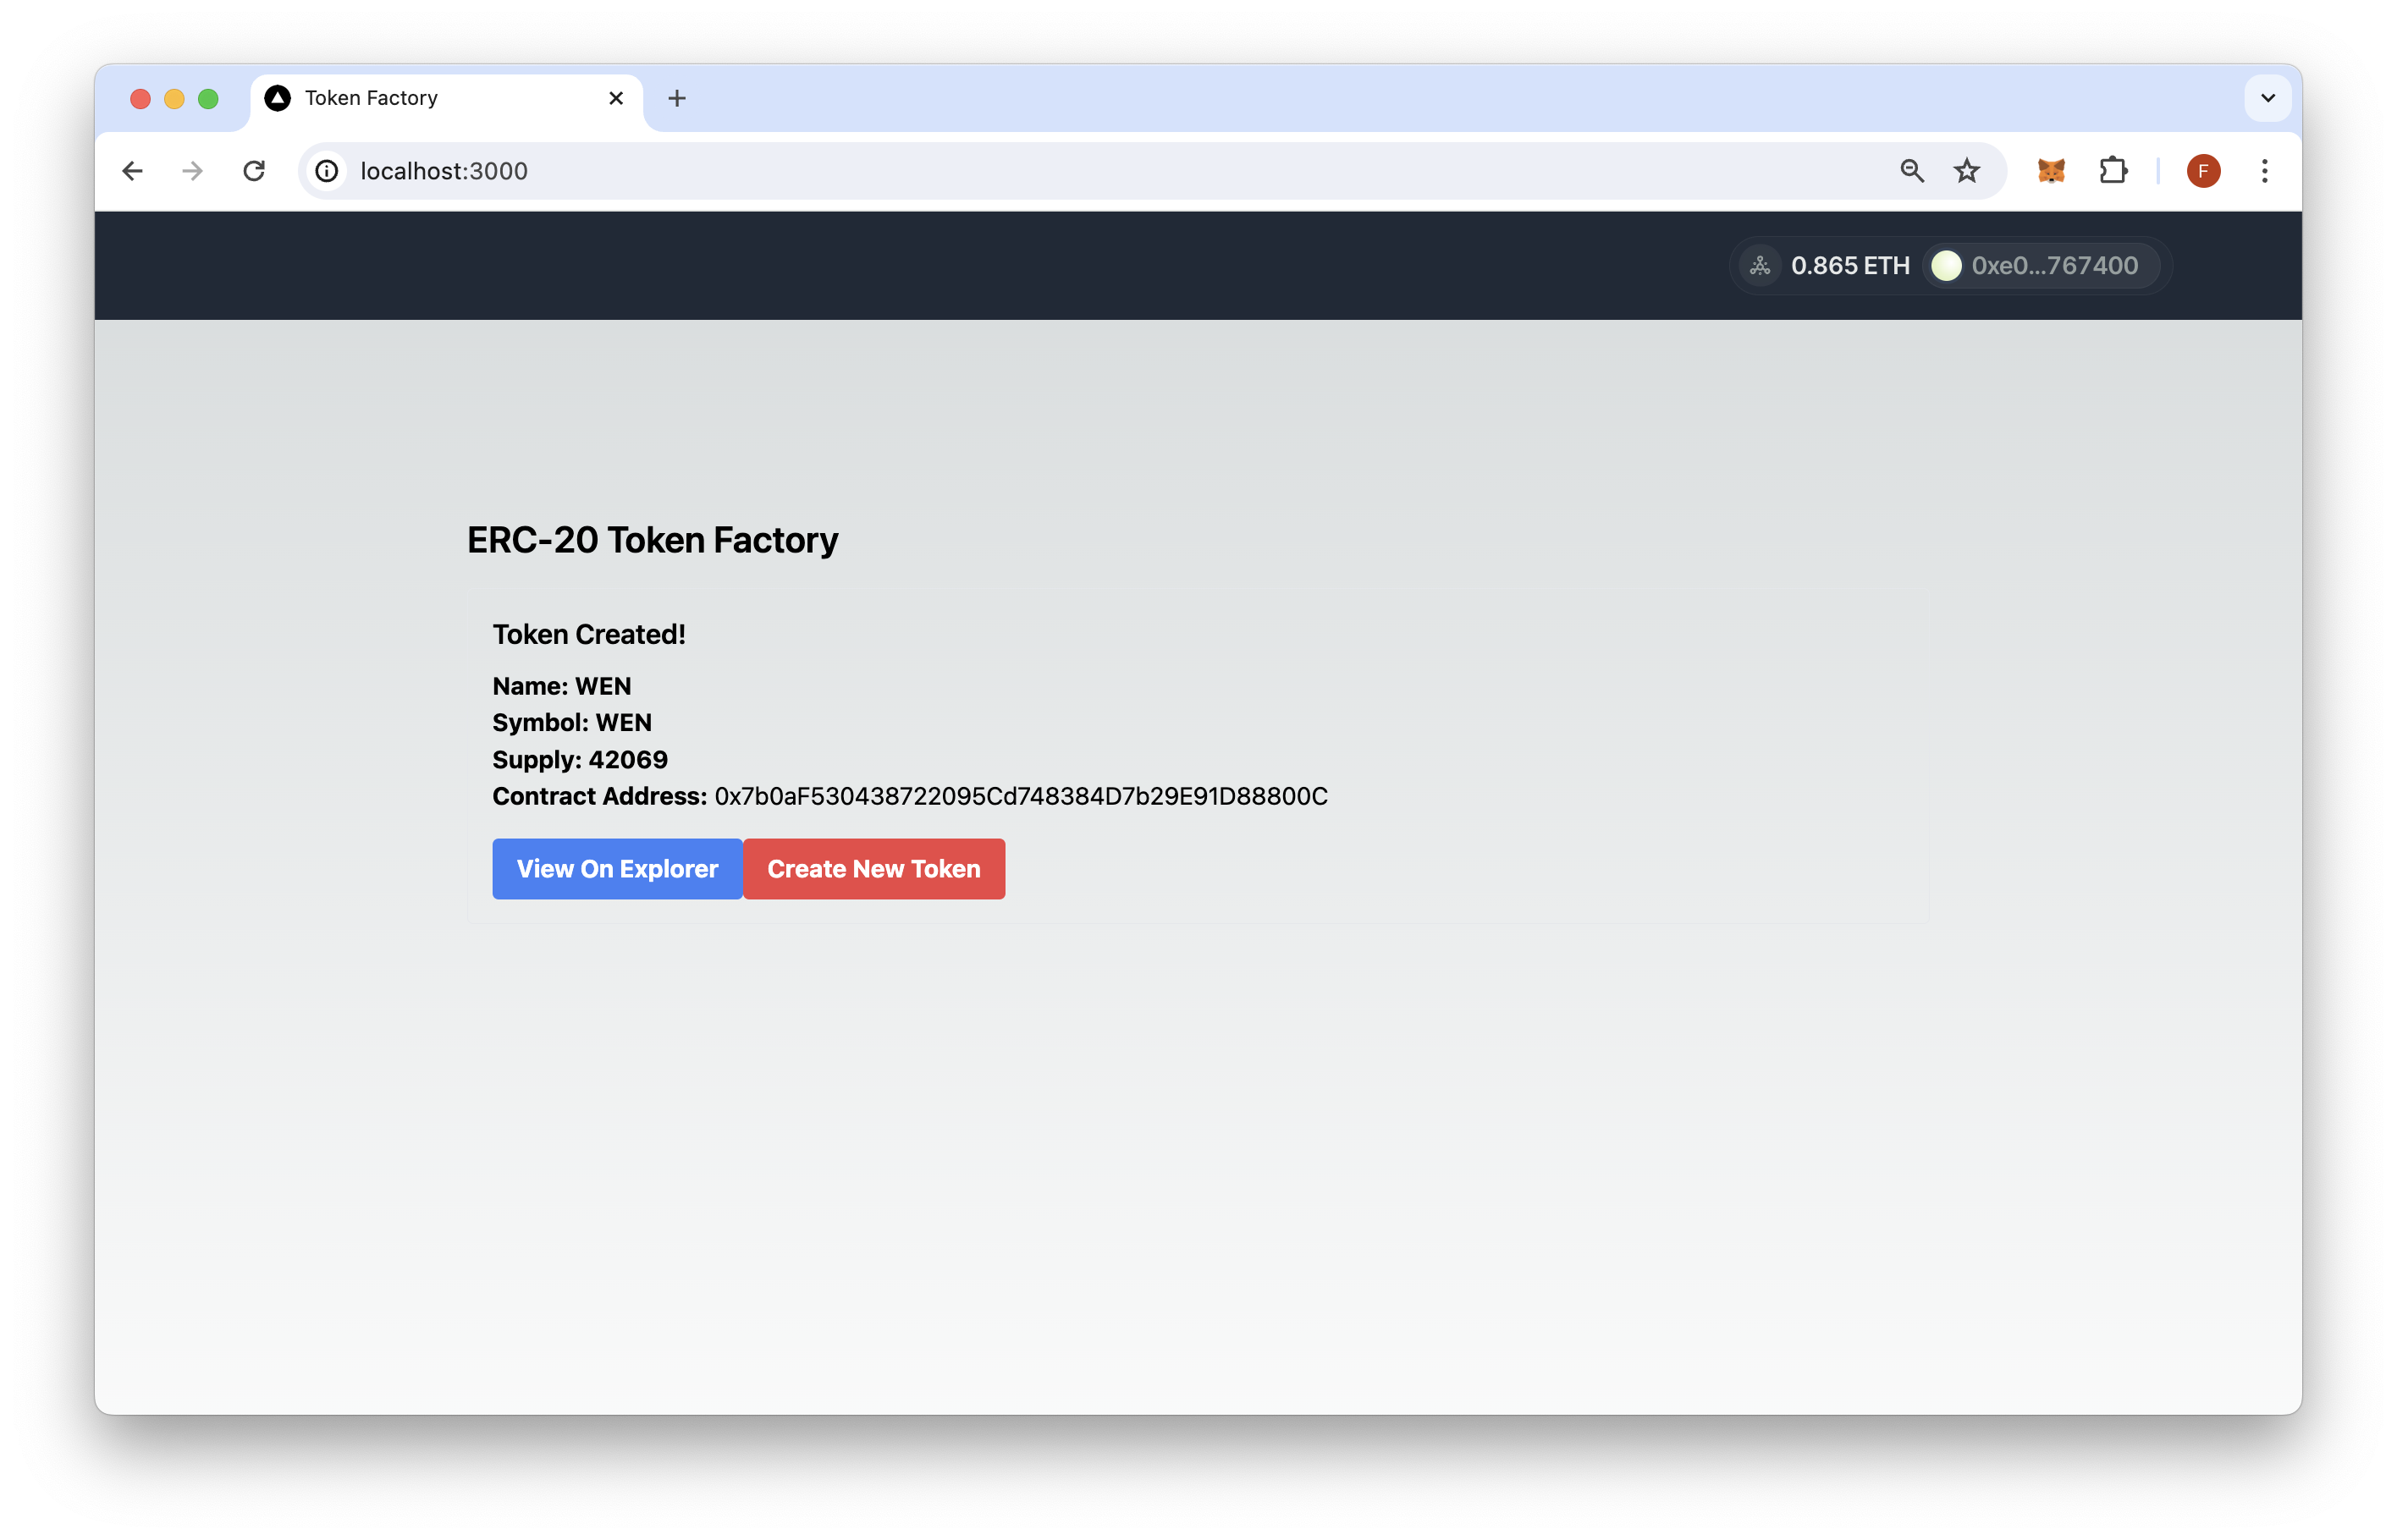
The EVM Token Factory app enables you to create an ERC-20 token on any EVM-compatible blockchain. You can customize the token name, symbol, and initial supply with ease.


Resumen
The EVM Token Factory app enables you to create an ERC-20 token on any EVM-compatible blockchain. You can customize the token name, symbol, and initial supply with ease. Currently, the app supports Sepolia and Holesky, but you can add more networks as needed.
The Holesky testnet is no longer actively maintained. The overall process is valid for other chains, such as Hoodi testnet. If you’d like to see an updated version of this app or support for additional chains, please open an issue or a PR in the qn-guide-examples repository.
The app uses Next.js 14 proyecto puesto en marcha con create-next-app.
Primeros pasos
Abre el directorio del proyecto:
cd sample-dapps/evm-token-factory
Configurar variables de entorno
- Cambiar nombre
.env.examplea.env.localand update it with RPC URLs for each blockchain. Also, include your WalletConnect. project ID (optionally, you can leave this blank but some features will not be supported). To create RPC URLs for each chain, you can run your own node locally or use a service like Quicknode to quickly spin up a node endpoint.
Configure Smart Contract Addresses
-
Actualiza el
factoryAddressvalue inevm-token-factory/app/utils/ethereum.tswith your deployed factory contract address. This is the address you received in the output during the Implementación sección. -
Remove any unused chains (e.g., mainnet) from the
src/context/web3modal.tsxfile.
RPC Configuration
This app requires a valid RPC URL for each blockchain you want to support. Here are more details on how RPC is configured throughout the app.
- The RPC URLs referenced in the
.env.localfile are for the WalletConnect modal. - To send transactions, the app utilizes the
ethers.BrowserProviderclass to wrap an injected provider (e.g., MetaMask, Rabby, Coinbase Wallet) and use the providers RPC configuration. Therefore, users interacting with the app should have the network they're creating tokens on added to their wallet and switched to that RPC network. Failing to do so will result in the app displaying a "This app doesn’t support your current network. Switch to an available option following to continue." message.
If you do not want to support a blockchain(s), you can remove references of the chain(s) from the src/context/web3modal.tsx file.
Instalar las dependencias
A continuación, instala las dependencias:
npm instalar
# o
yarn
# o
pnpm instalar
# o
bun install
After, start the development server:
npm ejecutar dev
# o
yarn dev
# o
pnpm dev
# o
bun dev
Open http://localhost:3000 with your browser to see the app.
Cómo utilizar la Dapp
-
Conecta tu monedero
- Make sure you have enough ETH (or other native EVM gas token) in your wallet to cover the create token transaction
- If you are using Testnet, you can get free ETH from the Quicknode Faucet
-
Click "Create Token" and confirm the transaction to create the ERC-20 token!
Arquitectura
├── app
│   ├── api
│   │   └── evm
│   │       └── createToken
│   │           └── route.ts # API Method for calling CreateToken function
│   ├── components
│   │   ├── Connect.tsx # Web3Modal Component
│   │   ├── Footer.tsx
│   │   └── Navbar.tsx
│   ├── favicon.ico
│   ├── globals.css
│   ├── layout.tsx # The Web3Modal component
│   ├── page.tsx # Main page for Token Factory
│   └── utils
│       ├── abi.json # Factory ABI
│       └── ethereum.ts # Chain configuration and helpers
├── context
│   └── web3modal.tsx # Wallet Adapter Context providers
├── contracts
│   ├── README.md
│   ├── foundry.toml # Forge configuration
│   ├── lib # Dependencies
│   ├── remappings.txt # Library mappings
│   ├── script
│   │   ├── Counter.s.sol
│   │   └── CreateToken.s.sol
│   ├── src
│   │   ├── Counter.sol
│   │   ├── Factory.sol
│   │   └── Token.sol
│   └── test
│       ├── Counter.t.sol
│       ├── Factory.t.sol
│       └── Token.t.sol
├── next-env.d.ts
├── next.config.mjs
├── package-lock.json
├── package.json
├── postcss.config.mjs
├── public
│   ├── next.svg
│   ├── preview.png
│   ├── preview2.png
│   └── vercel.svg
├── .env.example # Configure RPCs and WalletConnect Project ID
├── tailwind.config.ts
└── tsconfig.json
Contratos inteligentes
The ERC-20 Token Factory backend built on smart contracts with Solidity can be deployed on any EVM-compatible blockchain. For demonstration purposes, we have deployed the Token Factory to the Sepolia and Holesky testnet. It has not been deployed to any mainnet or L2 chains yet due to gas fee constraints but feel free to deploy it and open a PR in this repo.
The ERC-20 Token Factory is built with two smart contracts:
-
Factory: The Factory contract (
contracts/Factory.sol) inherits the Token.sol smart contract and acts as a Factory for creating and tracking new ERC-20 tokens. -
Token: This is an ERC-20 smart contract (
contracts/Token.sol) defined by the OpenZeppelin standard and includes amentaytransferOwnershipfunction call in the constructor upon deployment.
Supported Chains & Addresses
- Sepolia: 0x28D99a0A1B430B3669B8A2799dCDd7d332ceDb1C
- Holesky: 0x5fCCa8dCeD28B13f2924CB78B934Ab0AF445542A
Deploy the Factory to another EVM blockchain
To deploy the Factory contract on a new chain using Foundry, follow these steps:
- Ensure Fundición is installed and navigate inside the
contratosdirectory. Install the required dependencies with the following commands:
forge install foundry-rs/forge-std --no-commit
forge install OpenZeppelin/openzeppelin-contracts --no-commit
-
Build (compile) the smart contracts using the
compilación con Forgecommand. -
Run tests using the
prueba de forjacommand. -
To deploy, run the
forge createcommand below and input the proper RPC network and private key values:
forge create --rpc-url QUICKNODE_HTTP_URL \
--private-key YOUR_PRIVATE_KEY \
src/Factory.sol:TokenFactory
- Edit the
src/context/web3modal.tsxfile and add a new chain object with its chain ID (find a list aquí), name, native gas token currency, explorer URL, and RPC URL (e.g., Quicknode):
export const mainnet = {
  chainId: 1,
  name: 'Ethereum',
  currency: 'ETH',
  explorerUrl: 'https://etherscan.io',
  rpcUrl: process.env.NEXT_PUBLIC_MAINNET_RPC_URL
}
- Add the Factory address and explorer URL to the
CHAINSobject inapp/utils/ethereum.ts. For example:
    1: { // Ethereum Mainnet
        factoryAddress: "FACTORY_ADDRESS",
        explorerUrl: "https://etherscan.io",
    },
If you would like to learn more about creating and deploying smart contracts, check out these resources:
- How to Create and Deploy a Smart Contract with Hardhat
- Introduction to Foundry
- Different Ways to Verify Your Smart Contract Code
- How to Create and Deploy an ERC20 Token
Documentación de Next.js
Para obtener más información sobre Next.js, echa un vistazo a los siguientes recursos:
- Documentación de Next.js: descubre las funciones y la API de Next.js.
- Aprende Next.js: un tutorial interactivo sobre Next.js.
Puedes echar un vistazo al repositorio de Next.js en GitHub: ¡tus comentarios y aportaciones son bienvenidos!
- Hacer un fork del repositorio
- Crear una rama de características:git checkout -b feature/amazing-feature
- Guarda los cambios:git commit -m "Añadir una función increíble"
- Envía tu rama:git push origin feature/amazing-feature
- Abre una solicitud de incorporación de cambios.