8 min read
Overview
Smart contracts are self-executing agreements that are stored on a blockchain. They are written in programming languages, such as Solidity, and are executed on the blockchain platform. Smart contracts are used to automate various processes and transactions, and are used in many blockchain applications, such as decentralized finance (DeFi), non-fungible tokens (NFTs), and more.
However, like any software, smart contracts are susceptible to bugs and security vulnerabilities. A bug or vulnerability in a smart contract can lead to unintended consequences, such as loss of funds or a security breach. Therefore, it is crucial to verify the source code of a smart contract before it is deployed on the blockchain. This guide will discuss the five different methods to apply smart contract source code verification to your project.
What You Will Need
- Access to an Ethereum endpoint (other EVM-based chains are also supported! Sign up for a free account here)
- Etherscan API Keys
- ETH on your testnet of choice (you can use the Multi-Chain QuickNode Faucet)
- A desire to troubleshoot and learn!
What You Will Do
- Learn about the Smart Contract verification process and different tools available
- Deploy a Smart Contract with Remix.IDE
- Learn the methods to apply Smart Contract source code verification to your project
- Recap Troubleshooting Techniques
Why Verify a Smart Contract?
You may want to open-source (verify) your smart contract on a public block explorer for several reasons.
Transparency: One of the most important aspects of Web3 is decentralization and transparency. When you open-source your project's smart contracts, it increases trust in the community and allows anyone to inspect the code and suggest improvements.
Security: Once your smart contract is verified, it will effectively have more eyes on it, and smart contract experts can discover any potential vulnerabilities. The downside is that someone (a black hat) may find the vulnerability first, which can lead to your contract being exploited.
Innovation & Adoption: Open-sourced code leads to more innovation and adoption since now other developers can fork your code, add features and continue to build on top of your code. Effectively leading to a more active developer ecosystem with a fast learning rate.
Smart Contract Development Tools
- Hardhat (JavaScript): A development environment for Ethereum software. It consists of different components for editing, compiling, debugging, and deploying your smart contracts and dApps.
- Remix.IDE (Browser-based): An open-source IDE for developing and testing smart contracts. It provides a browser-based interface for creating and testing contracts and deploying them to the Ethereum network.
- Etherscan (Browser-based): A block explorer and analytics platform for the Ethereum blockchain. It provides a user-friendly web interface that allows users to explore and track the activity on the Ethereum network.
- Brownie (Python): A Python-based development and testing framework for Ethereum smart contracts. It provides a simple and intuitive interface for creating, compiling, and deploying contracts and running automated tests.
- Foundry (Solidity): A Solidity based smart contract development toolkit enabling you to manage dependencies, compile your project, runs tests, deploy, and lets you interact with the chain from the command-line and via Solidity scripts.
Accessing Ethereum with QuickNode
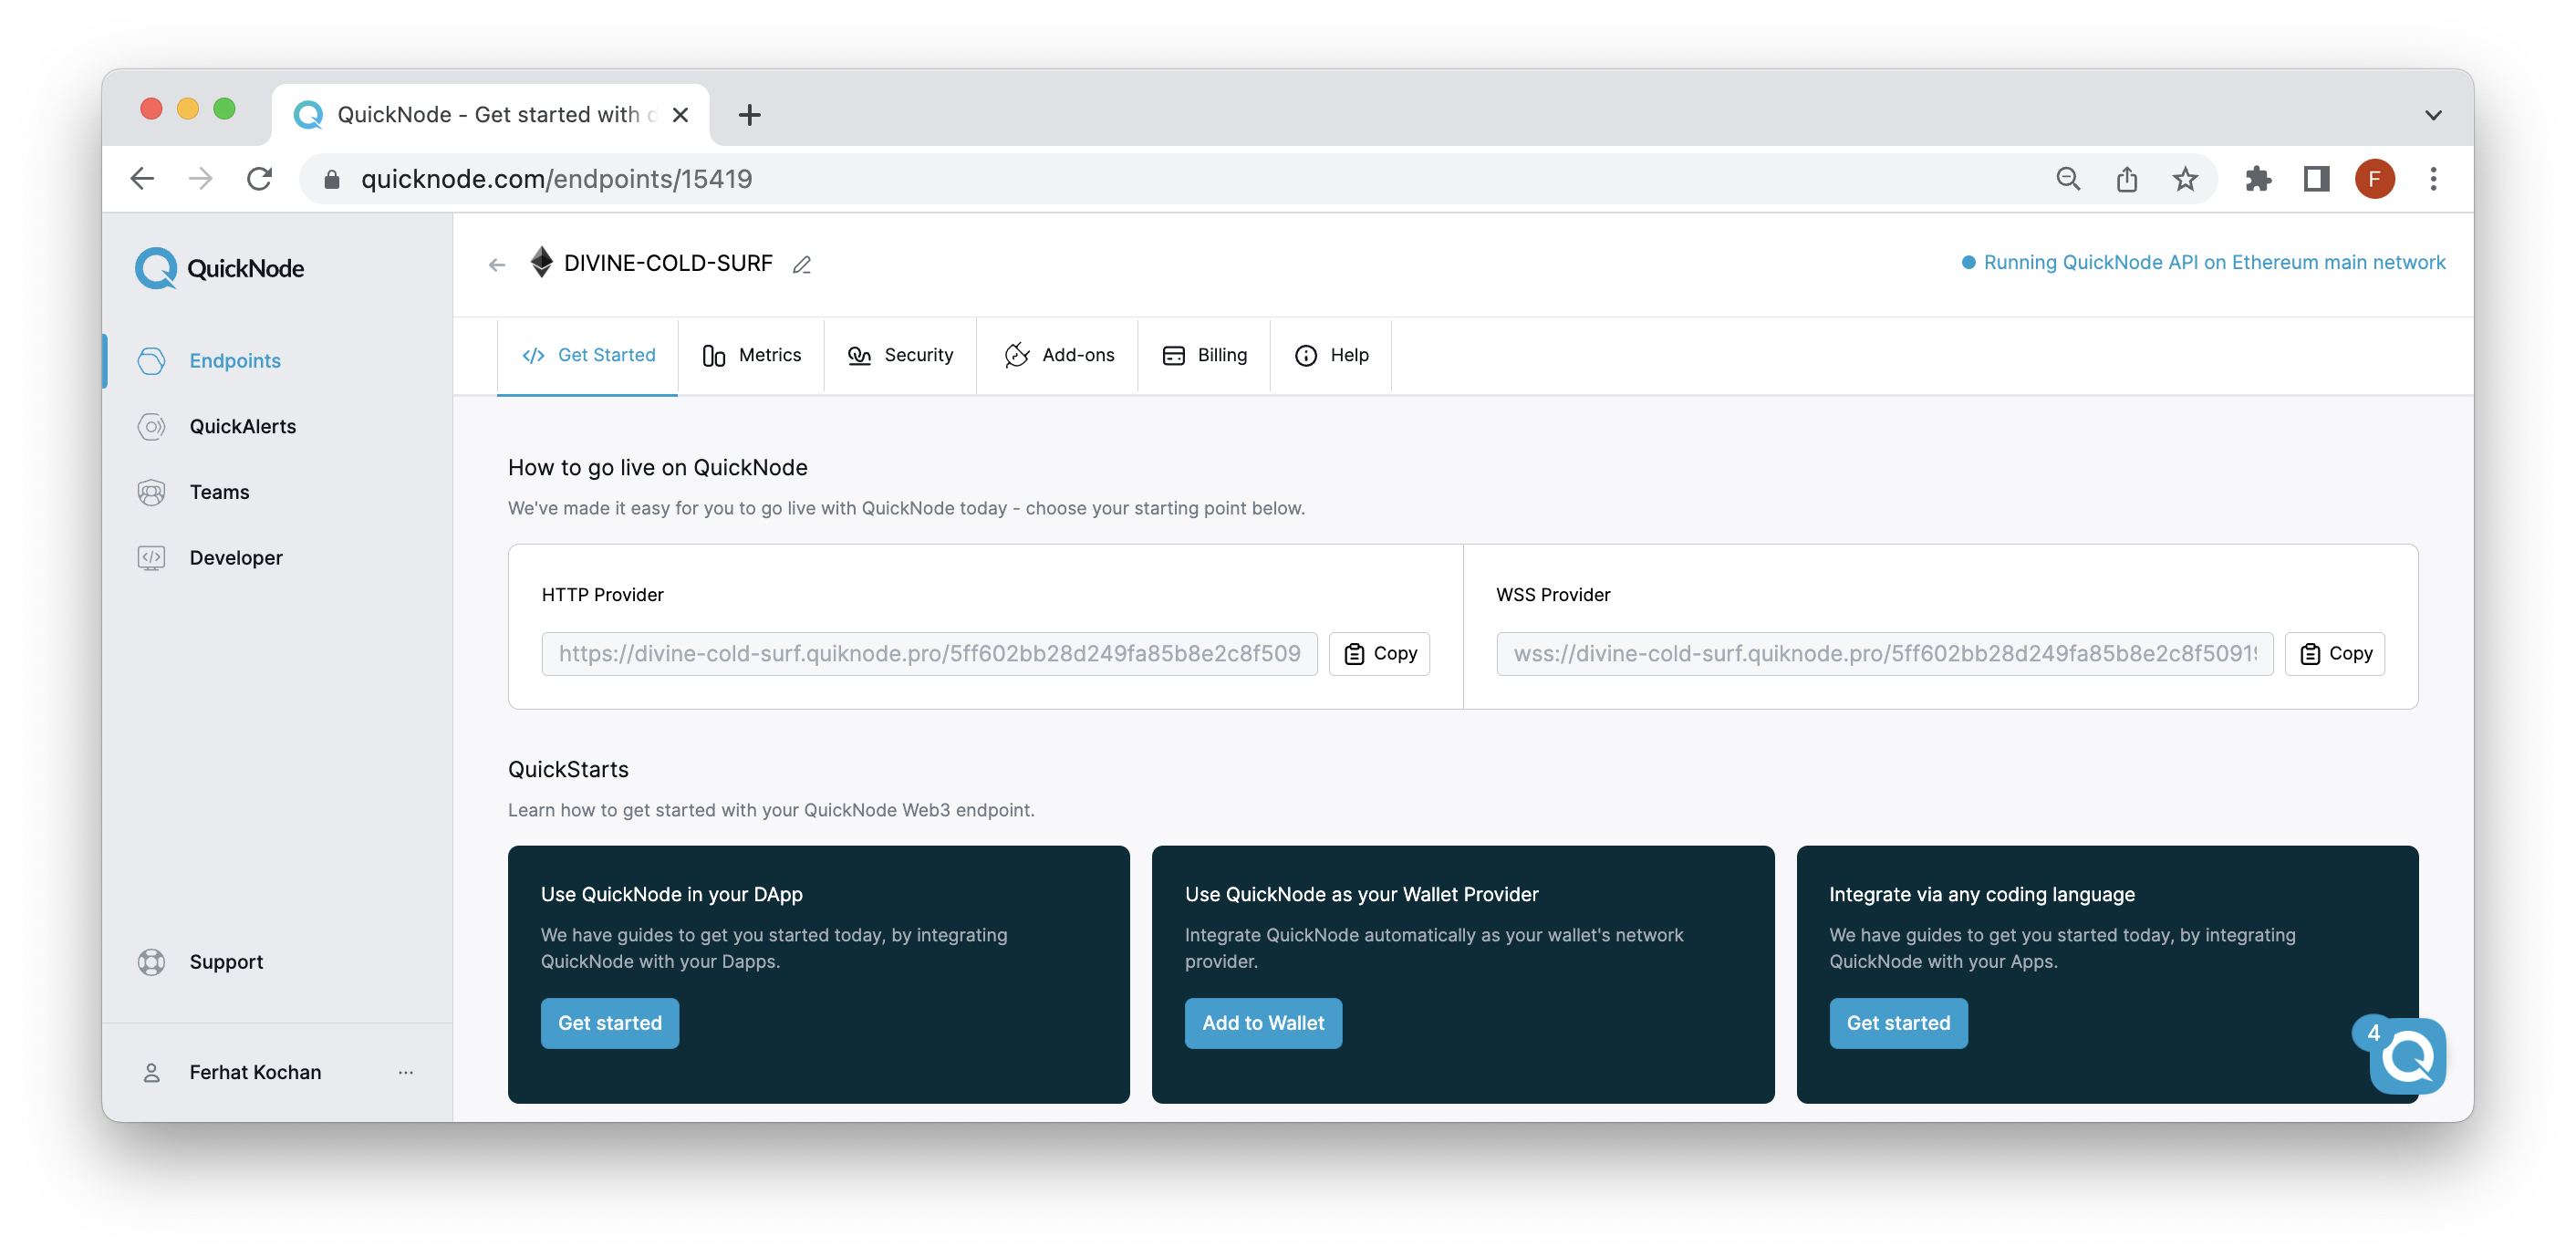
You'll need an API endpoint to communicate with the Ethereum blockchain. You're welcome to use public nodes or deploy and manage your own infrastructure; however, if you'd like 8x faster response times, you can leave the heavy lifting to us. Sign up for a free account here.
Once signed in, you can create an API Endpoint in just a few clicks. Click Create Endpoint, and select the Ethereum chain and the network you need (e.g., Mainnet, Goerli, etc.). For this guide, we will be deploying a contract on the Goerli testnet.
Note that you must update your non-custodial wallet RPC Provider to include your QuickNode HTTP Provider URL. An example can be found in this guide.
Before proceeding, also be sure to have enough ETH in your wallet. You can use the Multi-Chain QuickNode Faucet to get free testnet ETH! (make sure to select Goerli!)
Deploying A Smart Contract
Before starting the smart contract verification process, we'll need to deploy a contract onto the blockchain. To do so, we'll use the Remix.IDE, an online IDE and toolset for developing, deploying, debugging, and testing Ethereum and EVM-compatible smart contracts.
Navigate to Remix.IDE, create a file called "MyToken.sol" and update the file to include the following code:
// SPDX-License-Identifier: MIT
pragma solidity ^0.8.9;

import "@openzeppelin/contracts/token/ERC20/ERC20.sol";

contract MyToken is ERC20 {
    constructor() ERC20("MyToken", "MTK") {}
}
For this guide, we'll be demonstrating the verification process of an ERC-20 token
Then, compile the contract on the Solidity Compiler tab and then go to Deploy & Run Transactions tab to deploy the contract. Select Injected Provider or WalletConnect, connect your wallet, and deploy the contract.
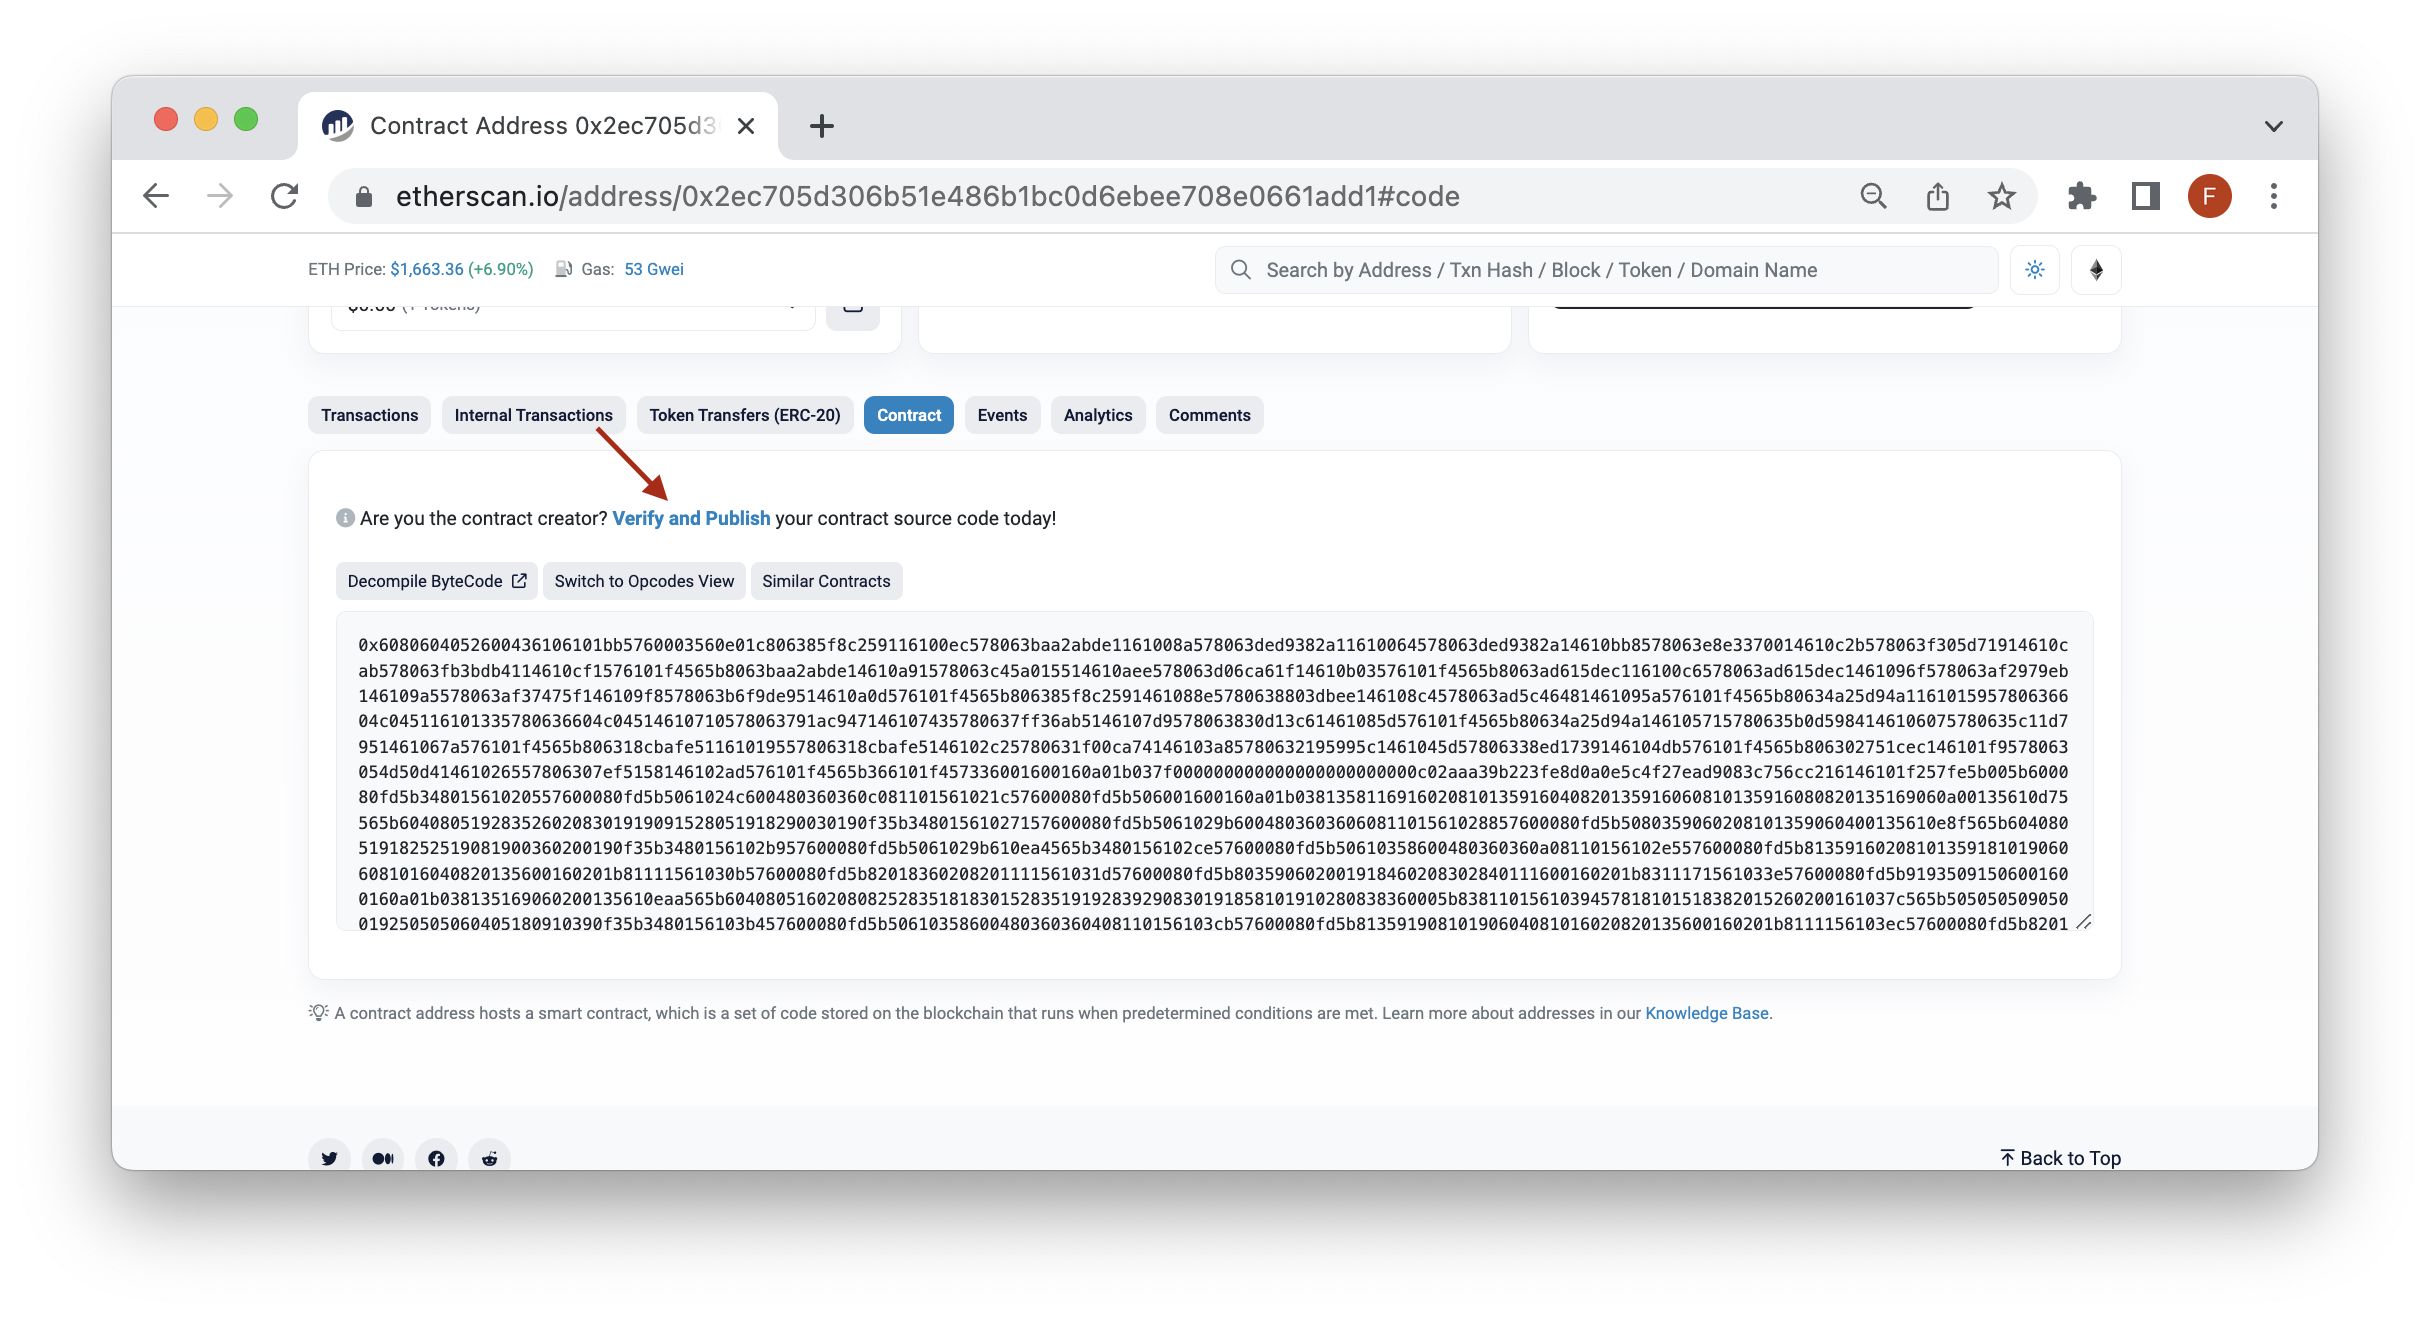
Method 1: Verify via Etherscan
The simplest way to verify your source code is via the Etherscan UI. This process does not require any programming skills.
Navigate to the Contract tab of the smart contract you are viewing on Etherscan and click the Verify and Publish link.
Then, you'll need to select the file type, compiler version, and license. This step is crucial because the verification process will fail if there are mismatches between the smart contract type or license.
If your smart contract references different solidity files in its imports (as the one above does), you'll have to either select Single File and upload a flattened version or select Multi-File and upload each solidity file your smart contract references.
To flatten your contract, right-click the filename on your Remix.IDE file explorer, and choose flatten. Remix.IDE will generate a flattened version of your smart contract (e.g., MyToken_flat.sol) that you can paste into Etherscan. Otherwise, you'll need to select Multi-File and import both the MyToken.sol and @openzeppelin/contracts/token/ERC20/ERC20.sol files.
Method 2: Verify via Hardhat
Hardhat is a popular smart contract development framework, and it's fairly simple to verify your source code. Note that you'll need an Etherscan API Key to verify your source code.
First, create a Hardhat boilerplate project, then within the project directory, install the plug-in:
npm install --save-dev @nomiclabs/hardhat-etherscan
Then, add the following import at the top of your hardhat.config.js file:
require("@nomiclabs/hardhat-etherscan");
Note, TypeScript uses the following import: import "@nomiclabs/hardhat-etherscan";
Update your hardhat.config.js file to include the etherscan object and your Etherscan API key.
module.exports = {
  networks: {
    goerli: { ... }
  },
  etherscan: {
    apiKey: "YOUR_ETHERSCAN_API_KEY"
  }
};
Then, run the following command to verify your source code:
npx hardhat verify --network goerli DEPLOYED_CONTRACT_ADDRESS "Constructor argument 1"
If you are using complex constructor arguments, reference the following Hardhat Documentation.
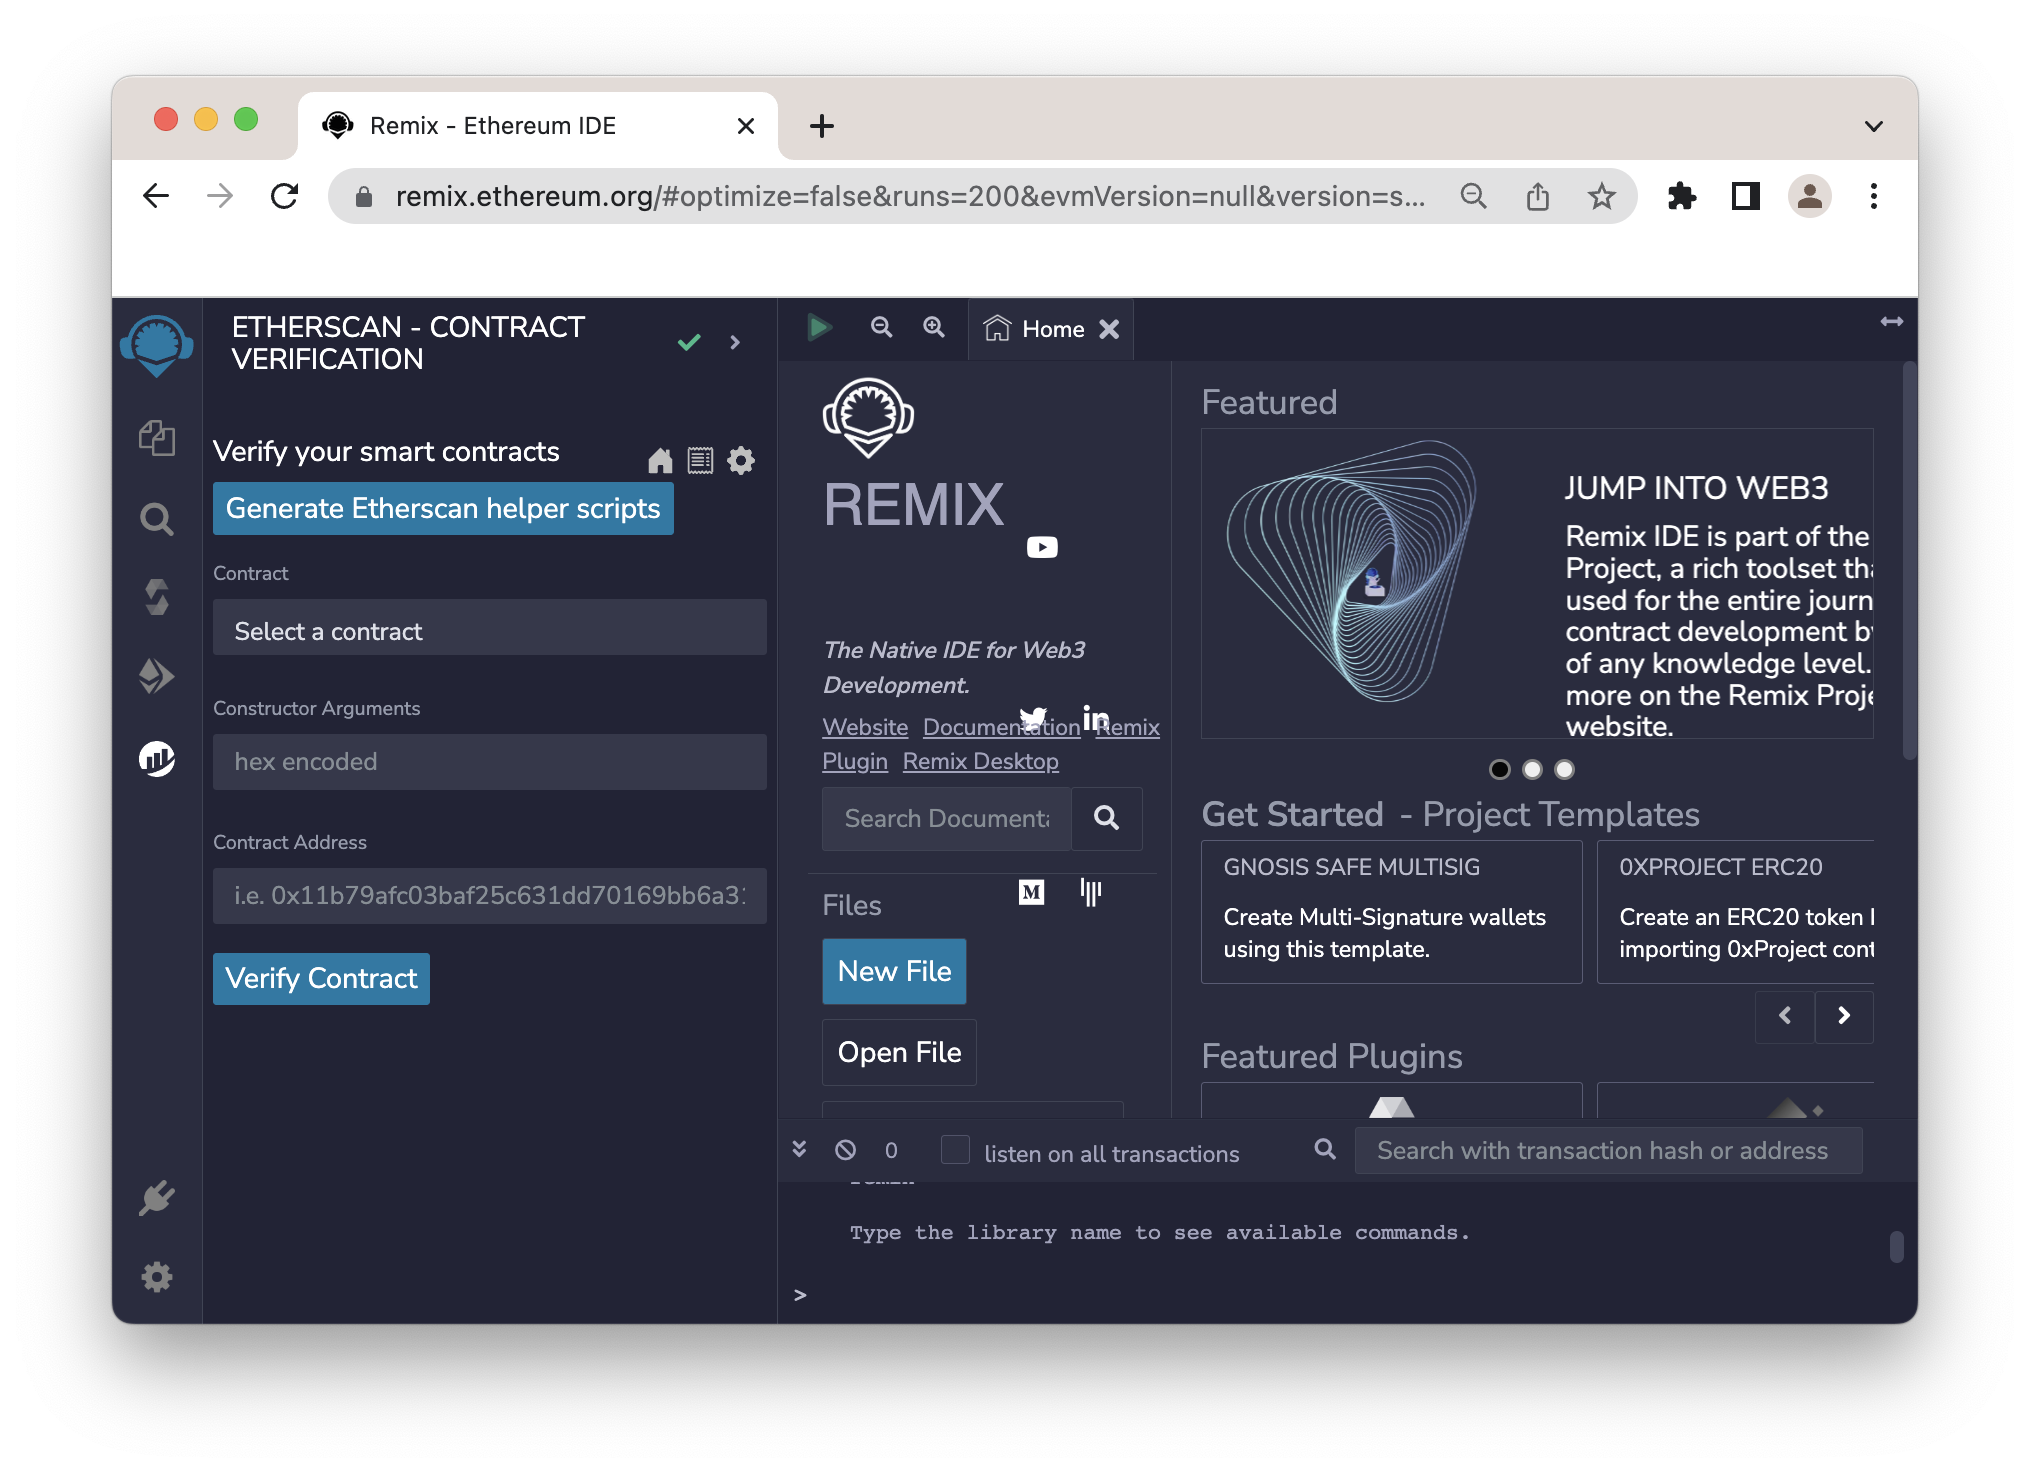
Method 3: Verify via Remix.IDE / Etherscan Plug-in
With Remix.IDE, you can install the Etherscan plug-in to verify your smart contract via the browser.
Once the contracts are compiled, go to the Etherscan plug-in, and you can select the smart contract you wish to verify. Then, include any constructor arguments if required and click verify.
Method 4: Verify via Brownie
If you use Brownie to deploy and test your smart contracts, you can easily apply the following techniques to verify your smart contract source code. If you're new to Brownie, check out this introductory guide on How to deploy a smart contract with Brownie.
To verify a contract upon deployment, add the publish_source=True argument:
acct = accounts.load('deployment_account')
Token.deploy("MyToken", "MTK", 18, 1e28, {'from': acct}, publish_source=True)
Alternatively, if the contract is already deployed, you can use the following command:
token = Token.at("0x114A107C1931de1d5023594B14fc19d077FC4dfD")
Token.publish_source(token)
More reference material can be found on the Brownie docs.
Method 5: Verify via Foundry
If you are using Foundry to manage your smart contract project, verifying your smart contracts on Etherscan is simple.
You can add the flag --etherscan-api-key YOUR_ETHERSCAN_API_KEY --verify to your deployment command to verify your source code on Etherscan right after contract deployment. For example:
forge script script/DeployToken.s.sol --rpc-url QUICKNODE_HTTP_URL --private-key PRIVATE_KEY --broadcast --etherscan-api-key YOUR_ETHERSCAN_API_KEY --verify
In the command above, we are referencing an example terminal command that will execute a deployment script with the given flags. The QUICKNODE_HTTP_URL should be replaced with your actual QuickNode HTTP Provider URL. Additionally, the PRIVATE_KEY should reference a private key, and lastly, replace the YOUR_ETHERSCAN_API_KEY placeholder with your real Etherscan API key. Reference the documentation for more information.
Alternatively, if you want to verify a smart contract that has already been deployed, you can use the forge verify-contract command:
forge verify-contract --etherscan-api-key YOUR_ETHERSCAN_API_KEY CONTRACT_ADDRESS PATH_TO_CONTRACT:CONTRACT_NAME --chain CHAIN_ID
In the command above, we are reference again our Etherscan API with the YOUR_ETHERSCAN_API_KEY placeholder, as well as the CONTRACT_ADDRESS, path to the directory and contract name (e.g., src/MyToken.sol:MyToken) and the chain ID (e.g., 11155111 or sepolia).
An example response would look like this:
Submitting verification for [src/MyToken.sol:MyToken] "0x39919853588384E093B12BaEAaBB5e03d4DC765a".
Submitted contract for verification:
  Response: `OK`
  GUID: `vdgcv4ti9wsjc5pdphbzj1pjuybxwajrmtv8eudzaik9ap9b3p`
  URL:
        https://sepolia.etherscan.io/address/0x39919853588384e093b12baeaabb5e03d4dc765a
Note that you can also use forge-verify-check to check the verification status of a smart contract on a given provider (e.g., Etherscan).
For more information, reference the Foundry documentation here. Feel free to also check out our different Foundry guides across different experience levels!
Troubleshooting techniques
When encountering issues with verifying smart contract source code, there are a few troubleshooting techniques that you can use:
Double-check the contract address: Ensure you verify the correct contract address. If you have deployed multiple contracts, ensure you are verifying the correct contract.
Check the compiler version: Ensure that the compiler version used to compile the source code matches the version specified in the verification tool. If the compiler version differs, you may need to recompile the source code using the correct version.
Check the source code: Ensure that the source code you verify matches the deployed contract. You will need to recompile and redeploy the contract if there are any differences.
Check the settings and parameters: Some verification tools require specific settings and parameters to be set correctly. Double-check the settings and parameters to ensure that they are correct. If your smart contract used optimization during compilation, you must ensure you configure this setting in Etherscan.
Check that the constructor arguments are correct. If your contract used a constructor during deployment, you'll need to add this during the verification process.
Check the error message: If you receive an error message, read it carefully and try to understand the problem. The error message may provide clues to the root cause of the issue.
Check for help and documentation: Many smart contract development tools have documentation, forums, and other resources available to help troubleshoot issues. Check these resources for guidance or seek help from the community.
By using these troubleshooting techniques, you can identify and resolve issues when verifying smart contract source code and ensure that your code is secure and reliable.
Final Thoughts
Congrats, you now know the different ways to verify smart contract source code using various programming languages and software libraries. Share your verified smart contract with us on Discord or Twitter!
We ❤️ Feedback!
Let us know if you have any feedback or requests for new topics. We'd love to hear from you.