Ethereum ・エクスプローラー
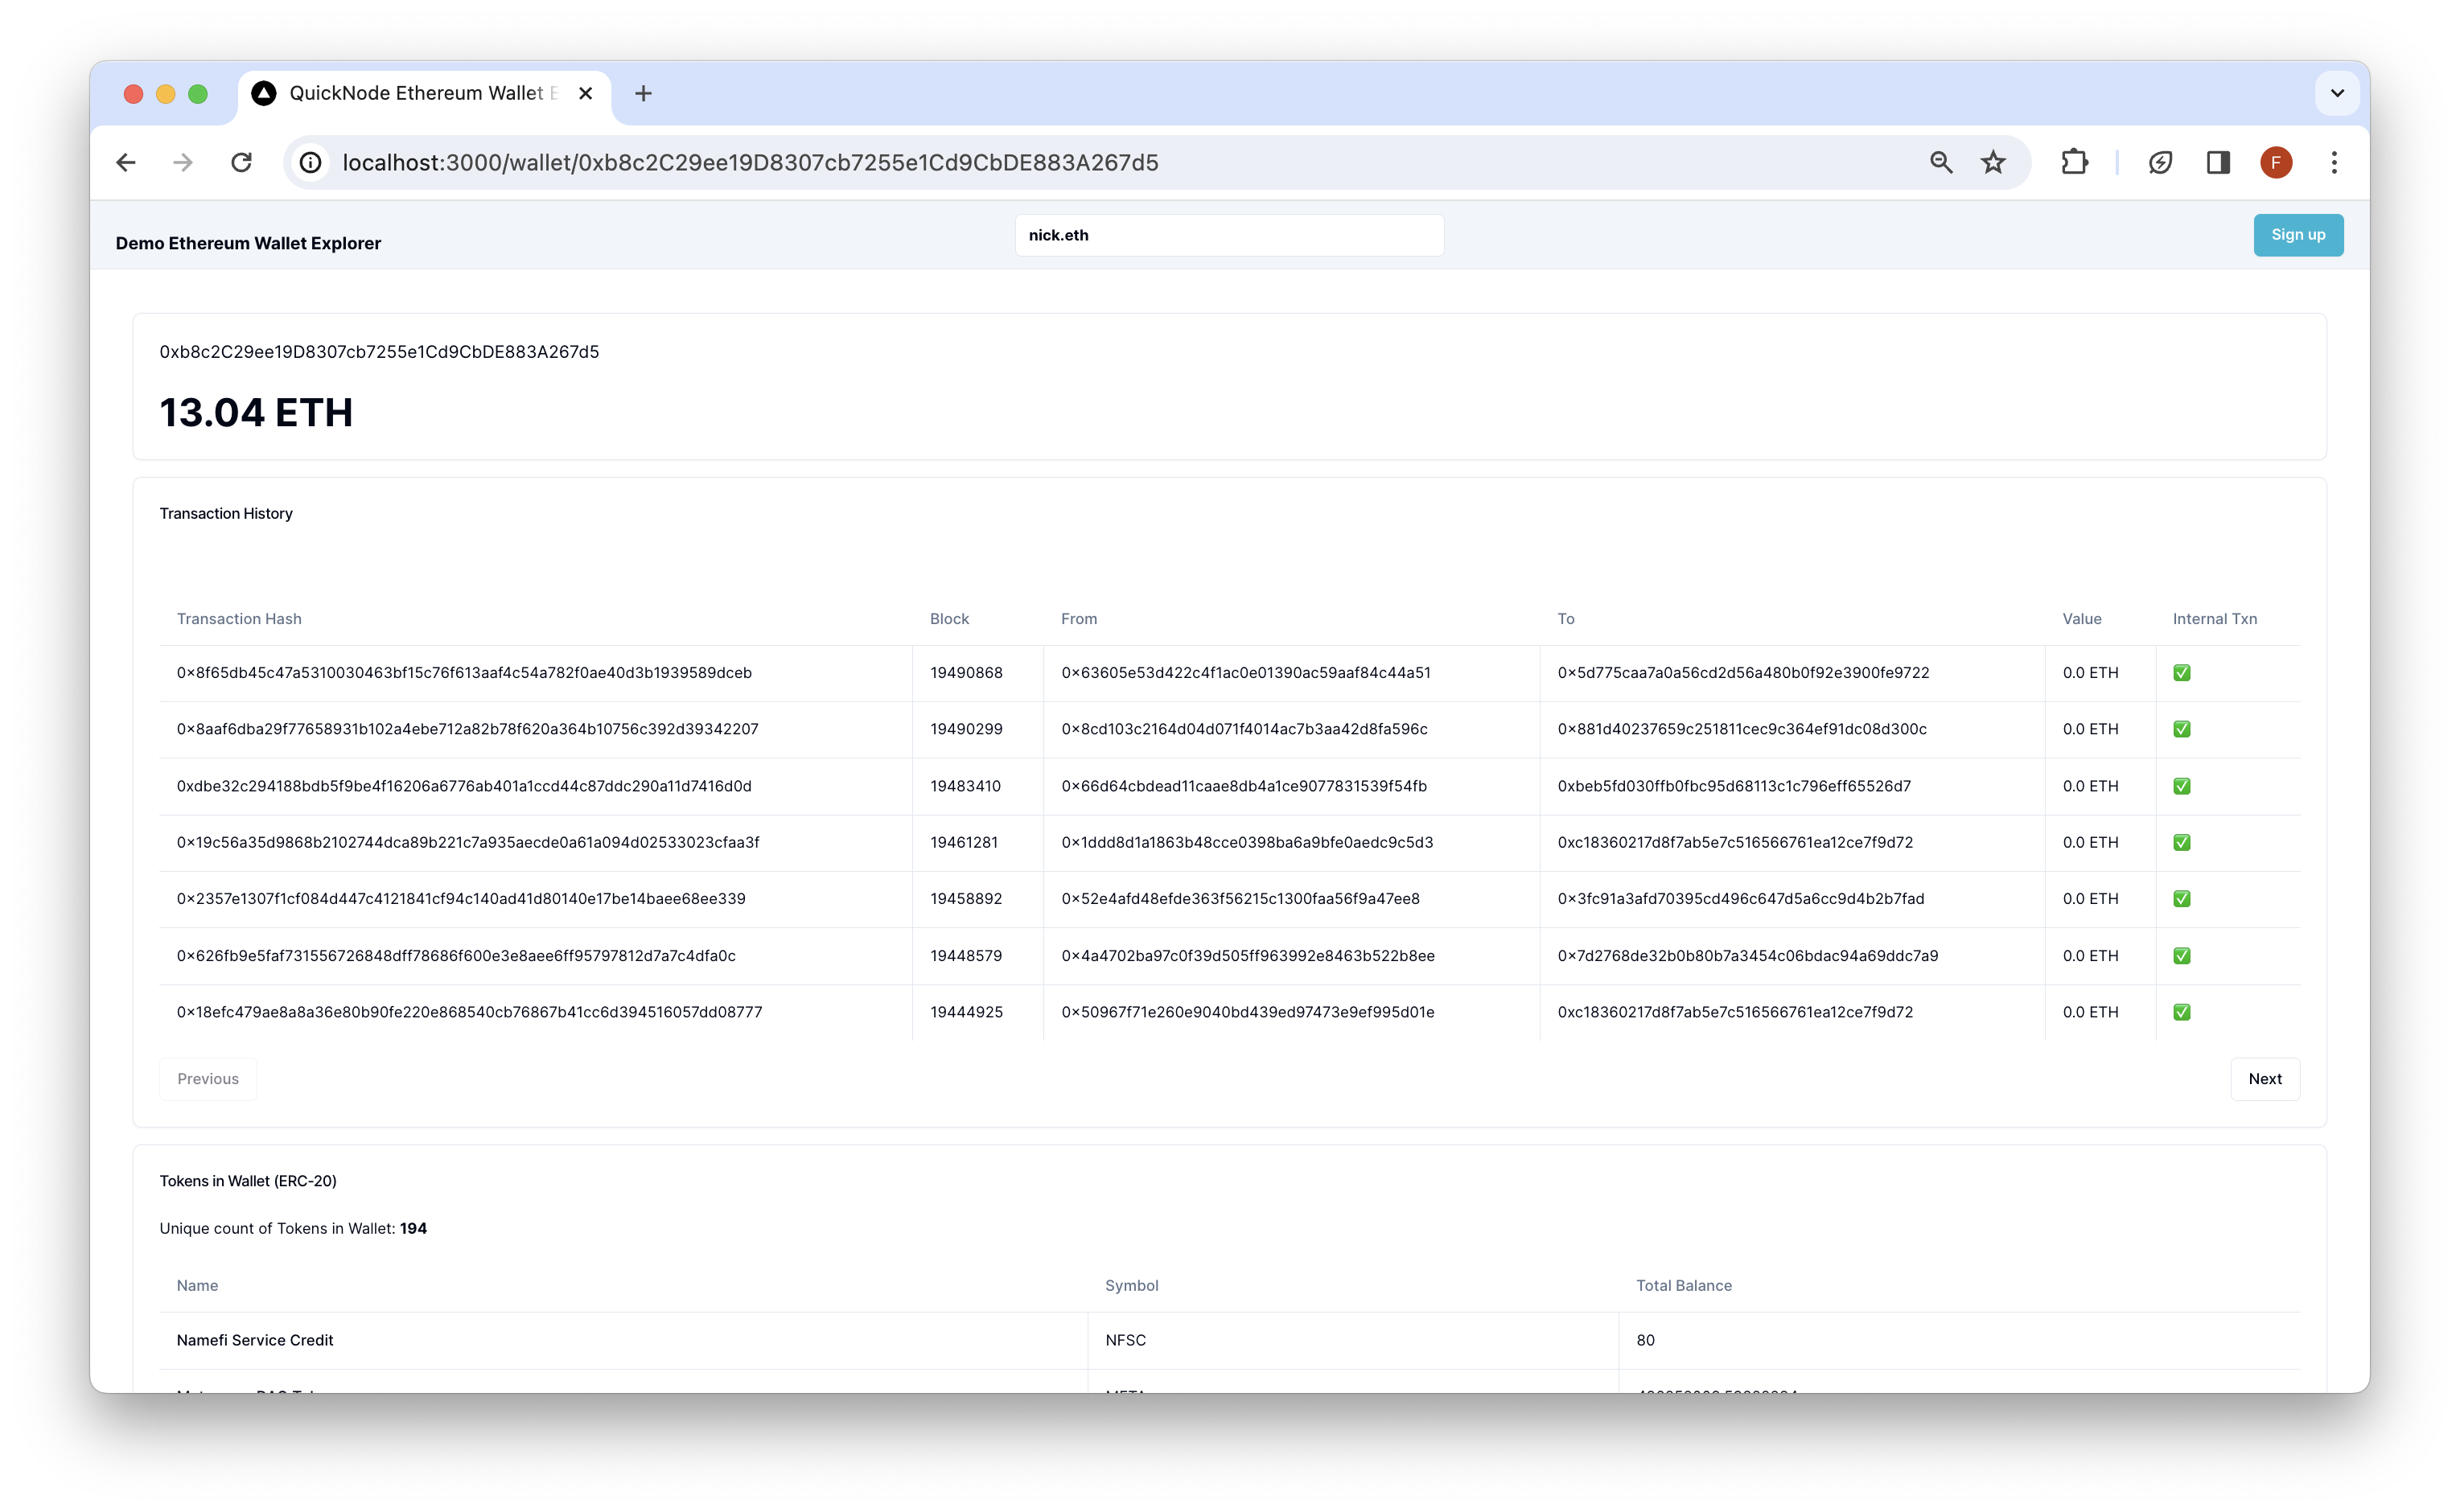
The Ethereum Wallet Explorer uses Quicknode's Ethereum endpoint and APIs to query the blockchain for tokens, transactions, and NFTs associated with a given wallet.



概要
The Ethereum Wallet Explorer demonstrates how to use your Quicknode Ethereum endpoint, the Blockbook product, and an endpoint add-on to query tokens, transactions, and NFTs associated with a given wallet.
To run this demo with full functionality, you need the free Token and NFT API v2 bundle endpoint add-on and access to the Blockbook API.
The demo uses Next.js 14 以下のツールを使用して立ち上げられたプロジェクト create-next-app.
はじめに
依存関係をインストールする
First, install the dependencies:
npm install
# または
yarn
# または
pnpm install
# または
bun install
環境変数の設定
名前を変更する .env.example ~へ .env.local and update with your Quicknode Ethereum Node Endpoint.
ETHEREUM_RPC_URL=https://example.ethereum-mainnet.quiknode.pro/123456/
まず、開発サーバーを起動します:
npm run dev
# または
yarn dev
# または
pnpm dev
# または
bun dev
ブラウザでhttp://localhost:3000を開くと、結果を確認できます。
Dappの利用方法
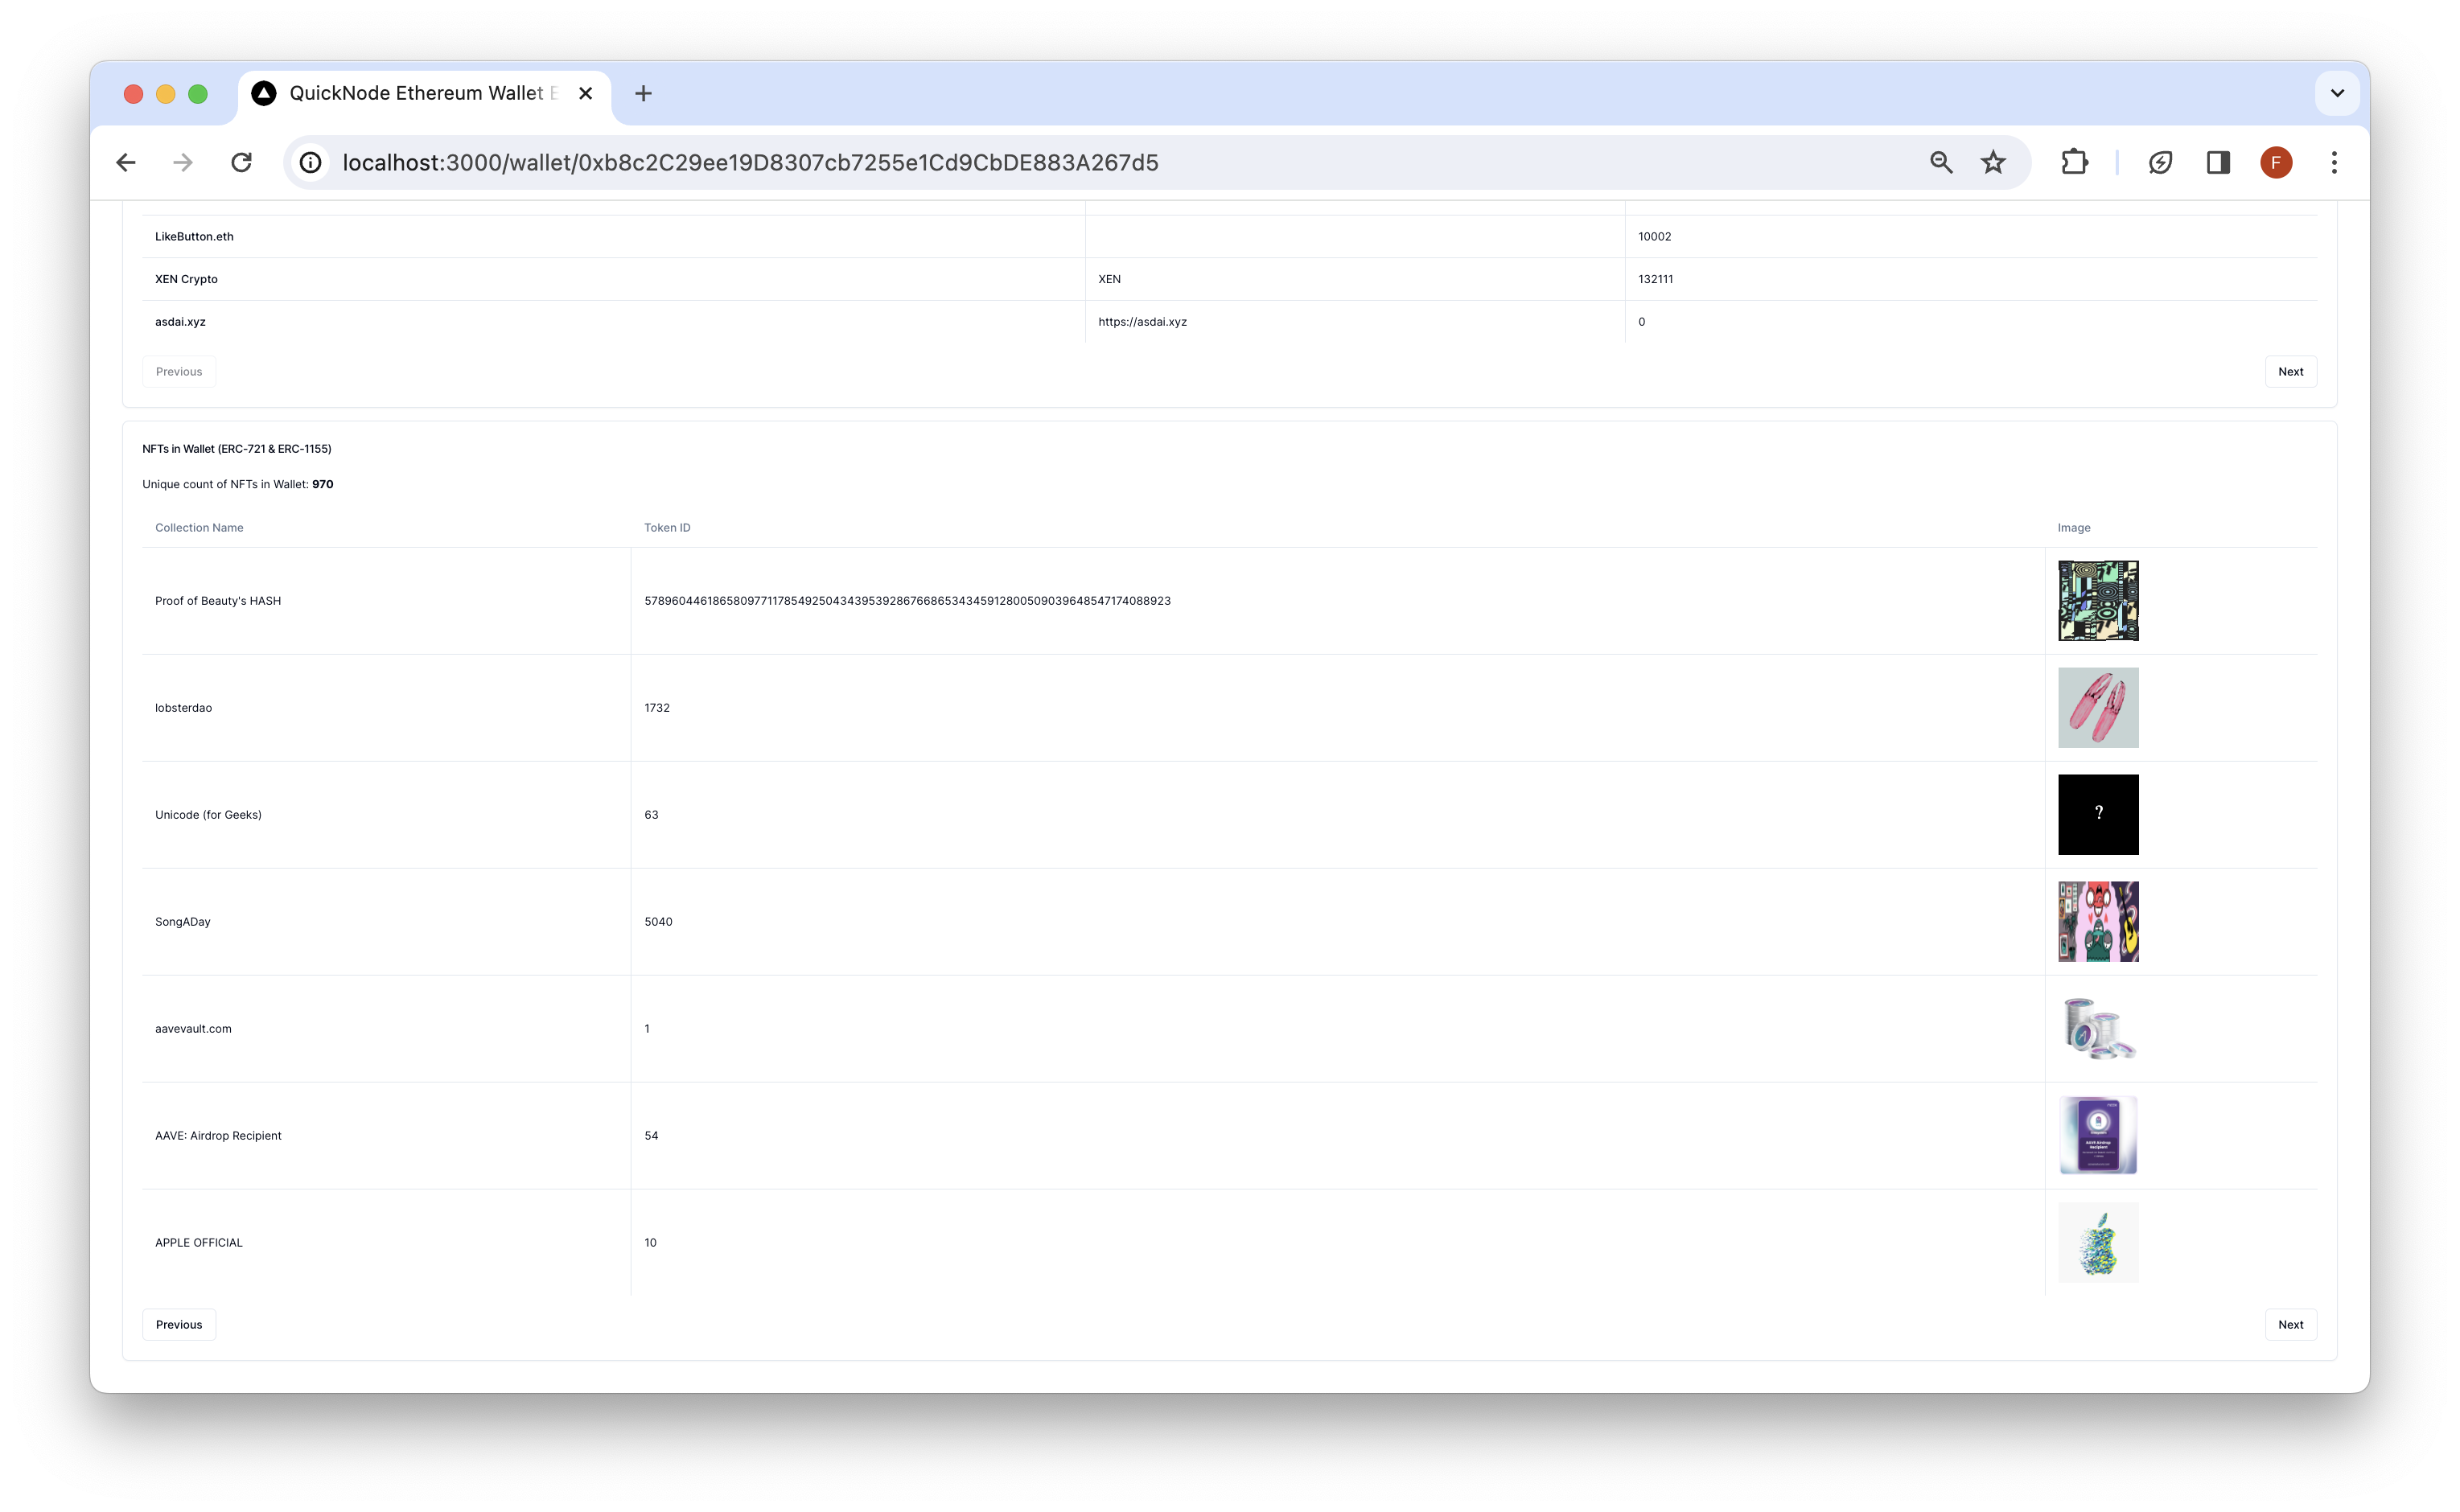
Search for an Ethereum wallet address and press enter. The Dapp will redirect to /wallet/[address] and query the Ethereum blockchain for the wallet's token balances, transactions, and NFTs. Results are rendered in respective cards.
建築
src/
├── app/
│   └── api/
│       └── wallet/
├── components/
    ├── explorer/
    └── header/
-
api- Contains the API routes for the Ethereum RPC calls. These can be accessed from the client via/api/wallet/[method]?walletAddress=[address]. These GET requests use theEtherslibrary to interact with Ethereum and parse data, theToken and NFT API v2 bundleendpoint add-on to retrieve NFT and ERC-20 token information, and theBlockbook APIto retrieve transaction history for any Ethereum address. -
components- Contains the React components for the dapp.- その
explorercomponent contains client-side components that call the API routes and render the results. - その
headercomponent contains the search bar for the dapp.
- その
Vercelへのデプロイ

プレビュー
Next.js ドキュメント
Next.js についてさらに詳しく知りたい場合は、以下のリソースをご覧ください:
- Next.js ドキュメント- Next.js の機能と API について学びましょう。
- Next.js を学ぶ- インタラクティブな Next.js チュートリアル。
Next.jsのGitHubリポジトリをご覧ください。皆様からのフィードバックや貢献を歓迎します!
- リポジトリをフォークする
- フィーチャーブランチを作成する:git checkout -b feature/amazing-feature
- 変更をコミットします:git commit -m "素晴らしい機能を追加"
- ブランチをプッシュしてください:git push origin feature/amazing-feature
- プルリクエストを作成してください。