
5 Minuten Lesezeit
Übersicht
Programs are what Solana calls Smart Contracts--they are the engine that handles information and requests: everything from token transfers and Candy Machine mints to 'hello world' logs and DeFi escrow governance. Solana supports writing on-chain programs using Rust, C, and C++ programming languages. Anchor is a framework that accelerates building secure Rust programs on Solana. Let's build your first Solana Program with Anchor!
Ihre Aufgaben
In this 2-part guide, you will create your first Solana program using Anchor and Solana Playground, a web-based tool for compiling and deploying Solana Programs. You will:
- Initiate a new Solana Program
- Deploy a new Program to Solana's Devnet
- Create and send a 'Hello World' message
- Implement an increment function to track how many times your program has been used (Part 2)
Was Sie benötigen
- Basic knowledge of Solana Fundamentals
- Basic knowledge of the JavaScript/TypeScript and Rust programming languages
- A modern web browser (e.g., Google Chrome)
Initiate Your Project
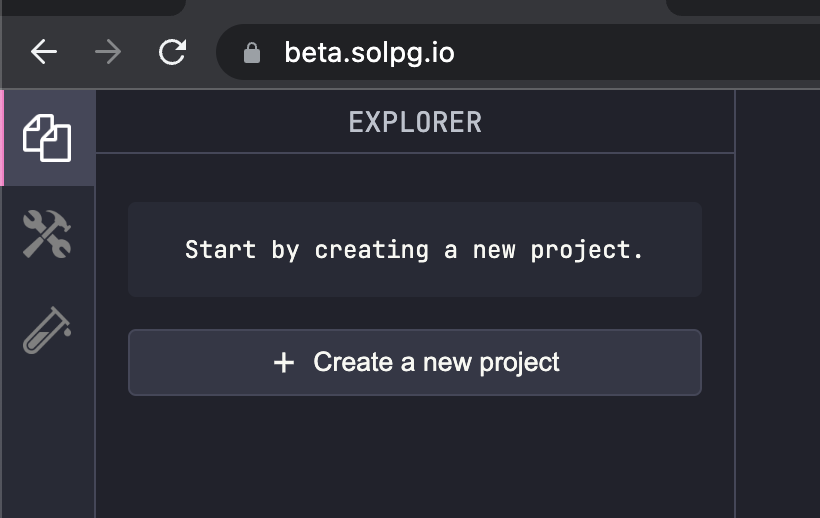
Create a new project in Solana Playground by going to https://beta.solpg.io/. Solana Playground is a browser-based Solana code editor that will allow us to get up and running with this project quickly. You're welcome to follow along in your own code editor, but this guide will be tailored to Solana Playground's required steps. First, click "Create a new project":
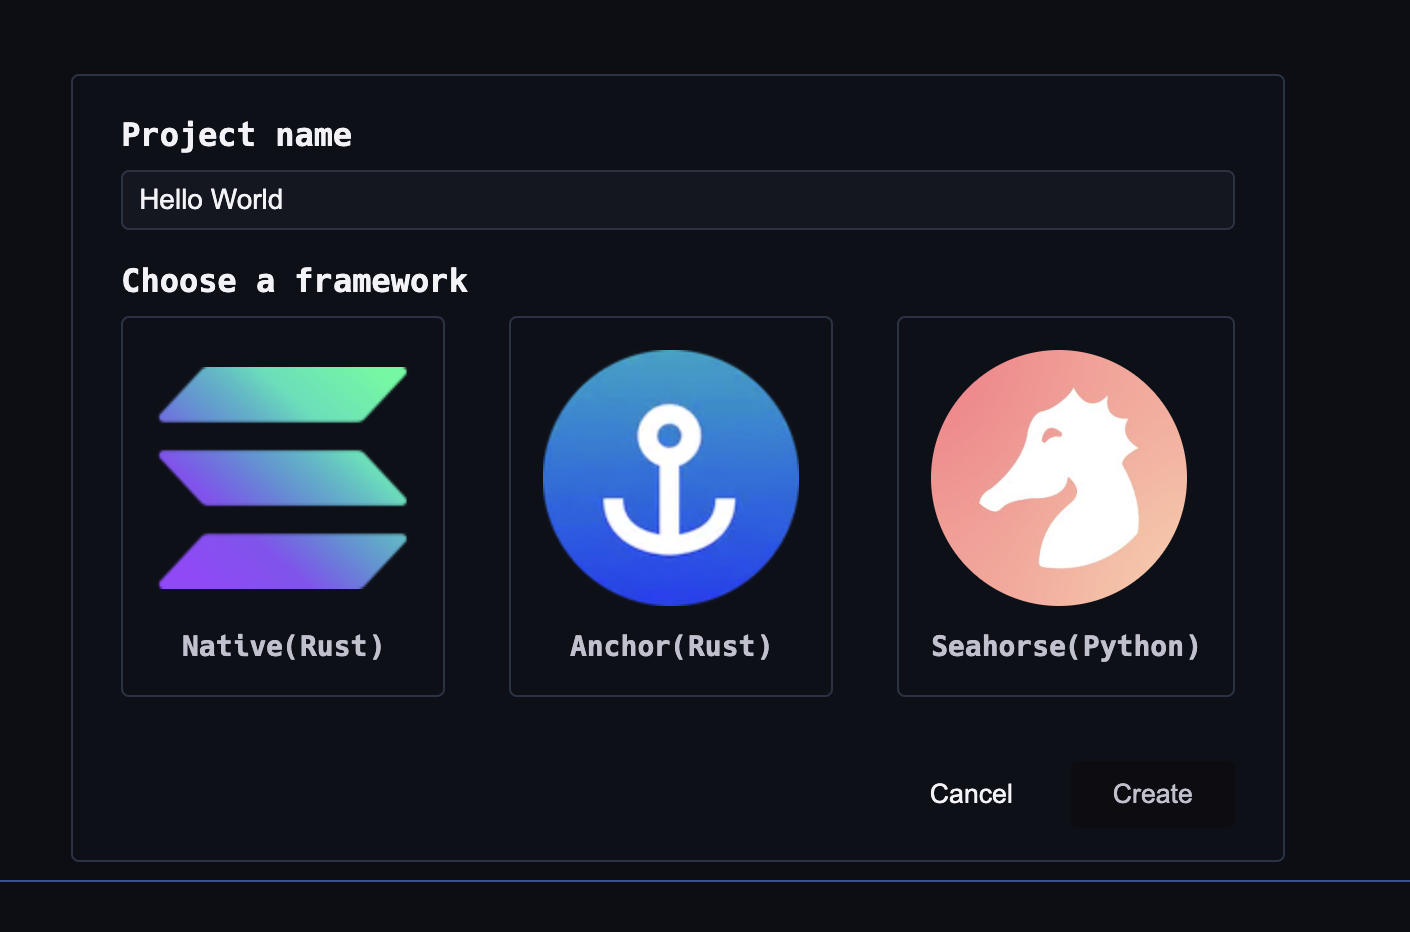
Enter a project name, "Hello World," and select "Anchor (Rust)":
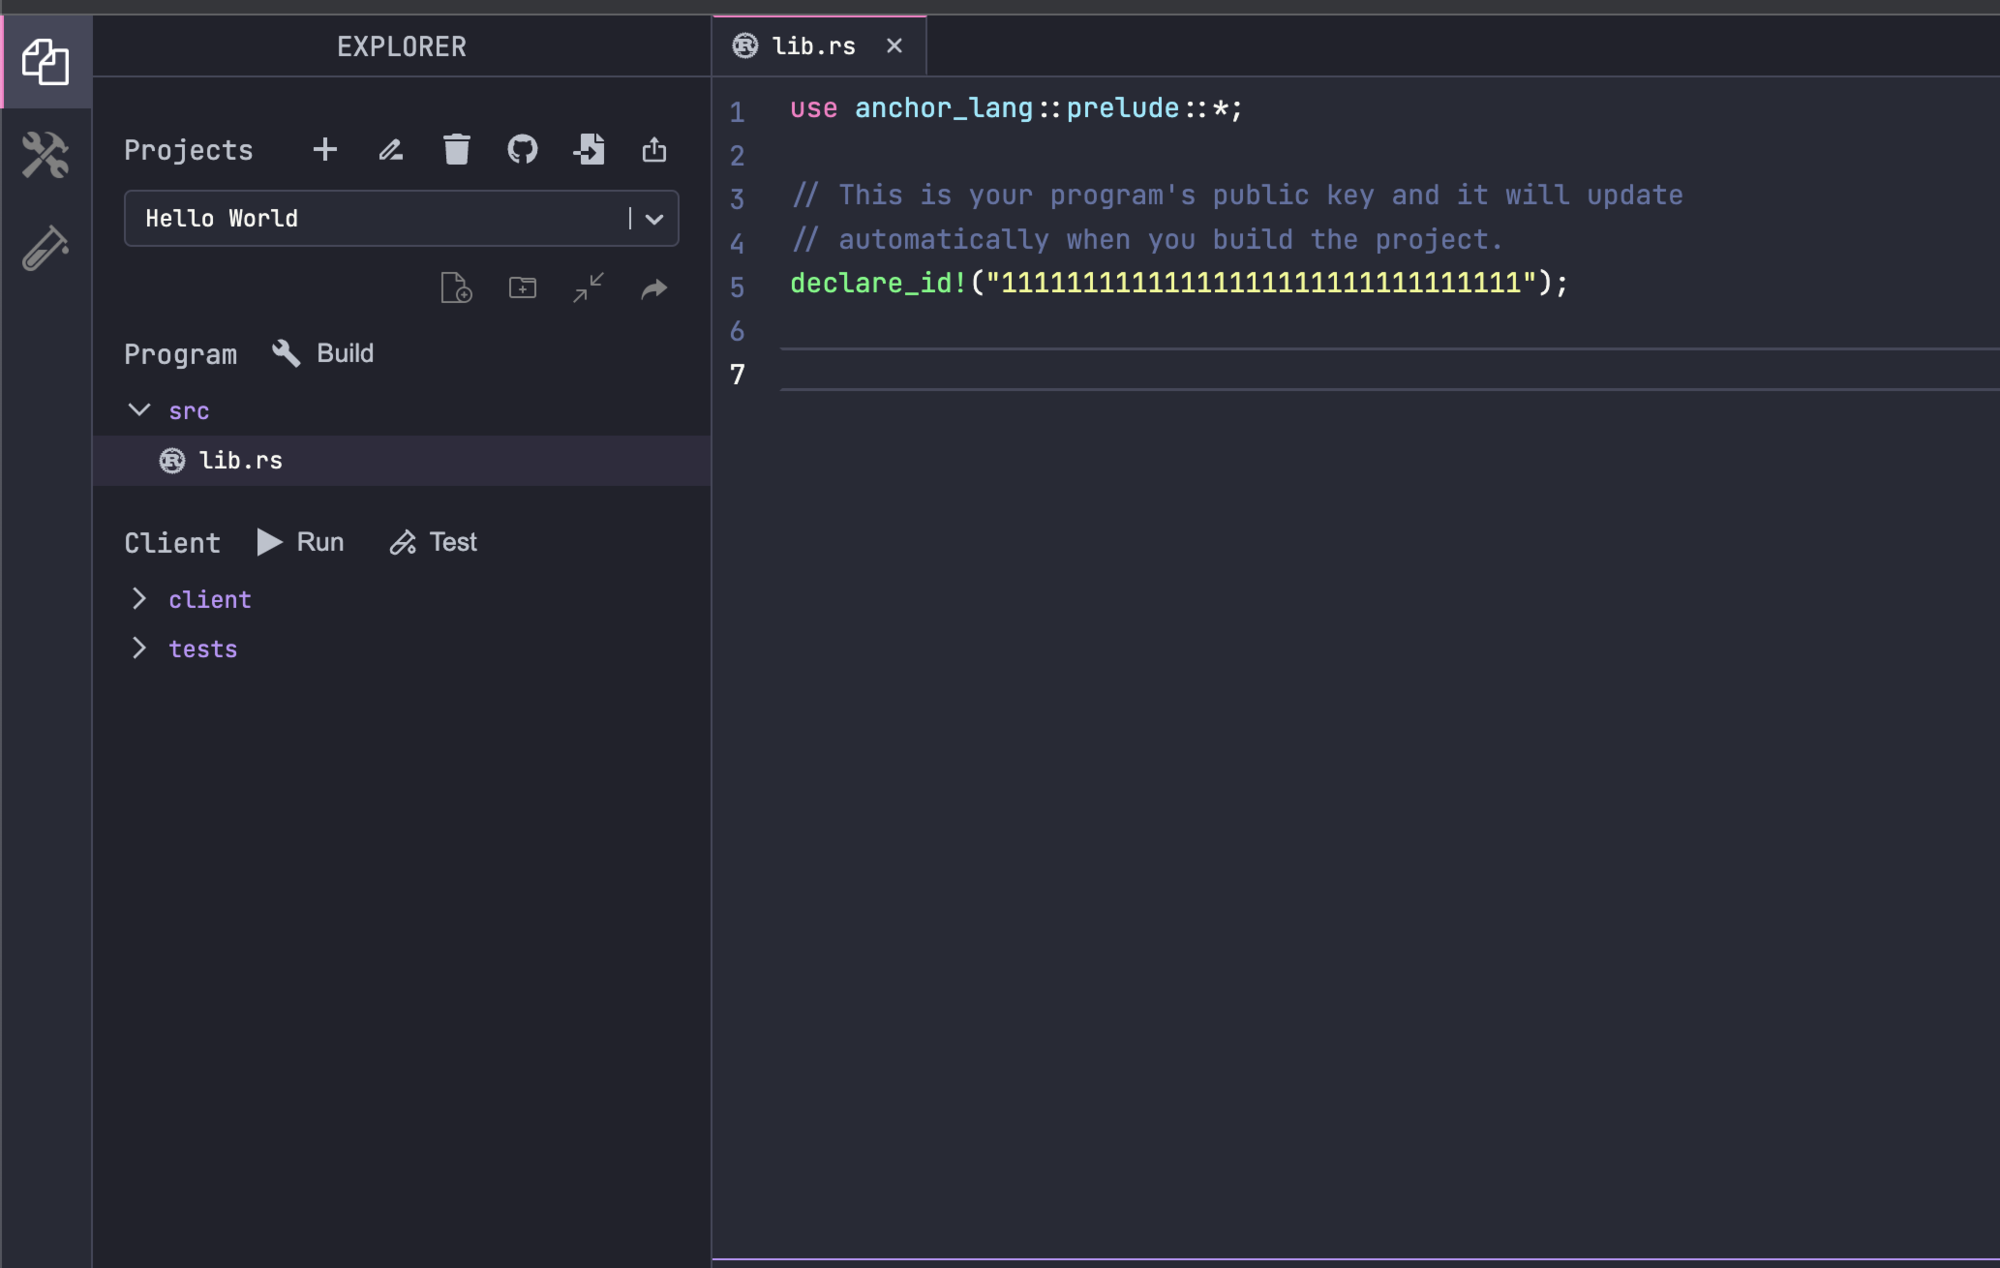
Click the "Create" button. Solana Playground will initiate your project. Open lib.rs and remove the default text starting at line 7, after the declare_id! statement. Your environment should look like this:
Create and Connect a Wallet
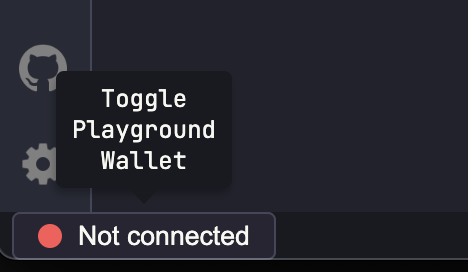
Since this project is just for demonstration purposes, we can use a "throw-away" wallet. Solana Playground makes it easy to create one. You should see a red dot "Not connected" in the bottom left corner of the browser window. Click it:
Solana Playground will generate a wallet for you (or you can import your own). Feel free to save it for later use if you like, and click continue when you're ready. A new wallet will be initiated and connected to Solana devnet. Solana Playground airdrops some SOL to your new wallet automatically, but we will request a little extra to ensure we have enough for deploying our program. In the browser terminal, you can use Solana CLI commands. Enter solana airdrop 2 to drop 2 SOL into your wallet. Your wallet should now be connected to devnet with a balance of 6 SOL:
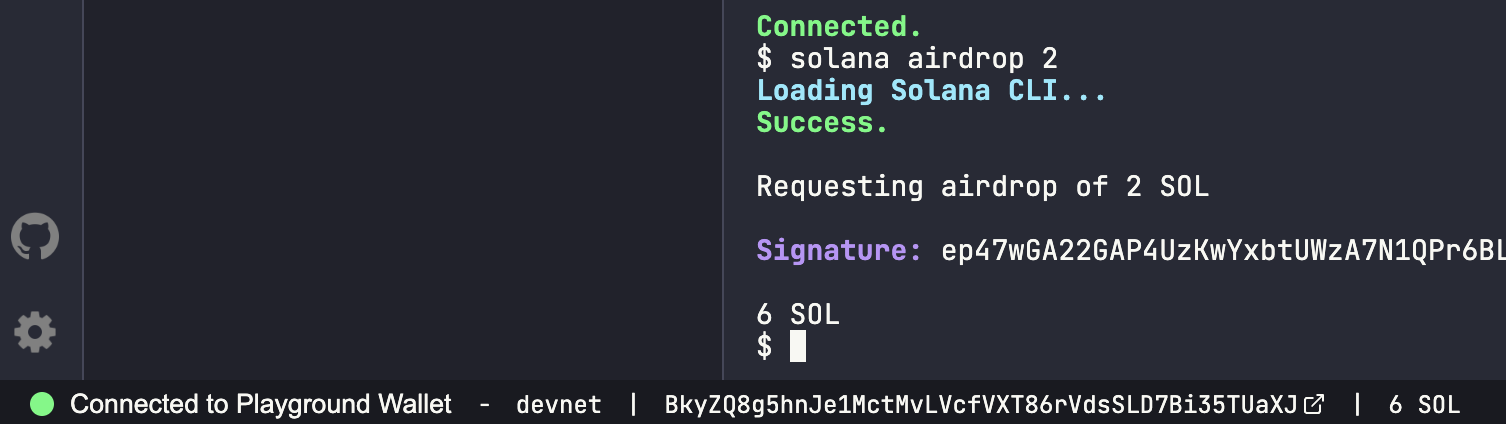
You are ready to go! Let's build!
Hello World
Create Your Program
Open lib.rs (the base library for all Solana on-chain Rust programs). We kept two lines of code from our template:
- use anchor_lang::prelude::*; imports anchor's key features.
- declare_id!("11111111111111111111111111111111"); sets the public key of your program. The default value, a string of 1's, will be overwritten when we build our program.
Below, create your hello_world program using the #[program] module (this is where all of our logic will be included):
#[program]
mod hello_world {
    use super::*;

}
We define a new module, hello_world, using the program module and use super to allow us to use elements of the parent module (program).
After your hello_world module, create a new account struct, SayHello using #[derive(Accounts)]. This initial struct will not require any accounts to be passed in since we are just going to log a message:
#[derive(Accounts)]
pub struct SayHello {}
Finally, we need a function in our program that we can call from our front end. Inside hello_world, after use super, declare a function, say_hello:
    pub fn say_hello(_ctx: Context<SayHello>) -> Result<()> {
        msg!("Hello World!"); // Message will show up in the tx logs
        Ok(())
    }
This function will log a message to the Solana program logs using msg! and return a success value by calling Ok(()). Your Hello World program should look like this:
use anchor_lang::prelude::*;

declare_id!("11111111111111111111111111111111");

#[program]
mod hello_world {
    use super::*;
    pub fn say_hello(_ctx: Context<SayHello>) -> Result<()> {
        msg!("Hello World!");
        Ok(())
    }
}

#[derive(Accounts)]
pub struct SayHello {}
Compile and Deploy Your Program
Click 🔧 Build on the left side of your screen to compile your code and check for errors. You should see a log like this in your console:

You should notice that your declare_id! now has a Public Key--that is the key that will be used for your program.
Finally, let's deploy it to Devnet. Click the Tools Icon 🛠 on the left side of the page, and then click "Deploy":
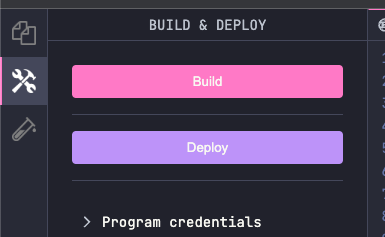
This will likely take a minute or two, but on completion, you should see something like this in your browser terminal:

Call Your Program from a Client
Navigate back to the "Files" tab. You may have already noticed that Solana Playground has a client section. This is a handy way to interact with our program directly from the same window. Go ahead and expand the 'client' toggle and open client.ts.
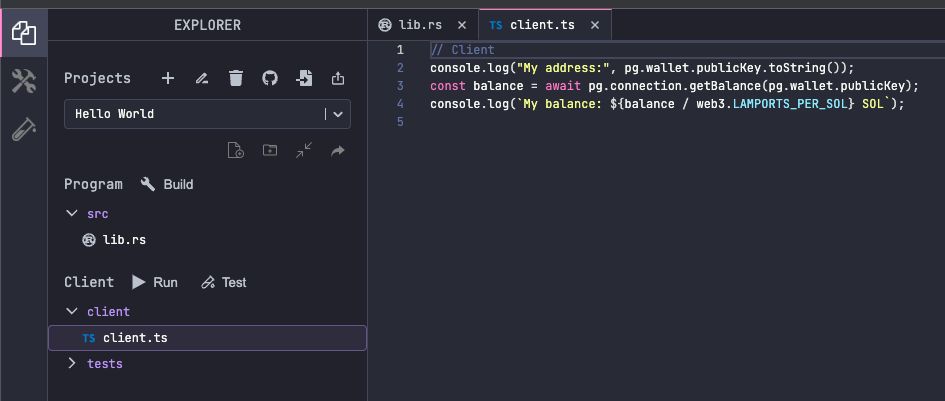
We will use TypeScript to write a simple function that calls our say_hello function. Replace the code in client.ts with:
console.log(pg.wallet.publicKey.toString(), "saying hello:");
// Fetch the latest blockhash
let latestBlockhash = await pg.connection.getLatestBlockhash('finalized');

// Create a Solana transaction for the say_hello method
const tx = await pg.program.methods
  .sayHello()
  .transaction();

// Send and confirm the transaction and log the tx URL
const txid = await web3.sendAndConfirmTransaction(pg.connection, tx, [pg.wallet.keypair])
console.log('Transaction Complete: ',`https://explorer.solana.com/tx/${txid}?cluster=devnet`);
Here's a breakdown of what we're doing here:
- Fetching the latest blockhash.
- Using Anchor's helpful tools, we call our say_hello method (note here in TypeScript it is formatted sayHello). Anchor is actually doing a bunch behind the scenes here. First, pg.program is drawing a connection to our Program through an IDL (Interactive Data Language), which is effectively a .json file that maps your rust Program to methods that can be called by the client. We will go into them in more detail in another guide, but if you want to explore your project's IDL, you can access it in your projects "🛠 Build & Deploy" tab. If you have built on Solana before, you may notice that our method is not passing any accounts in our transaction. Since Anchor knows what program we are calling, it is taking care of that for us behind the scenes.
- Finally, we wait for the cluster to confirm the transaction and log the results.
Go ahead and click "▶️ Run" in the left sidebar. You should see a log of your transaction URL:
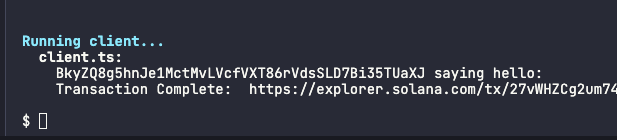
Click it and scroll to the bottom of the transaction logs on Solana Explorer. Hello?
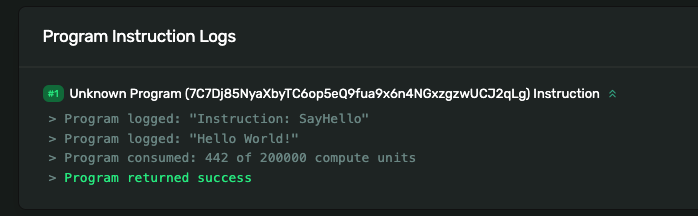
Great job! You now have a program that can allow the client to interact with the cluster.
Wrap Up
Nice work, and congrats on your first Solana Program! This is a substantial first step towards your path as a Solana Developer. Want to keep building? In Part 2 of this Guide, we add functionality to this same Program to store a count on-chain of how many times we call hello_world.
If you're stuck, have questions, or just want to talk about what you're building, drop us a line on Discord or Twitter!