Zurück zu den Beispiel-Apps
Hyperliquid Trading Dashboard
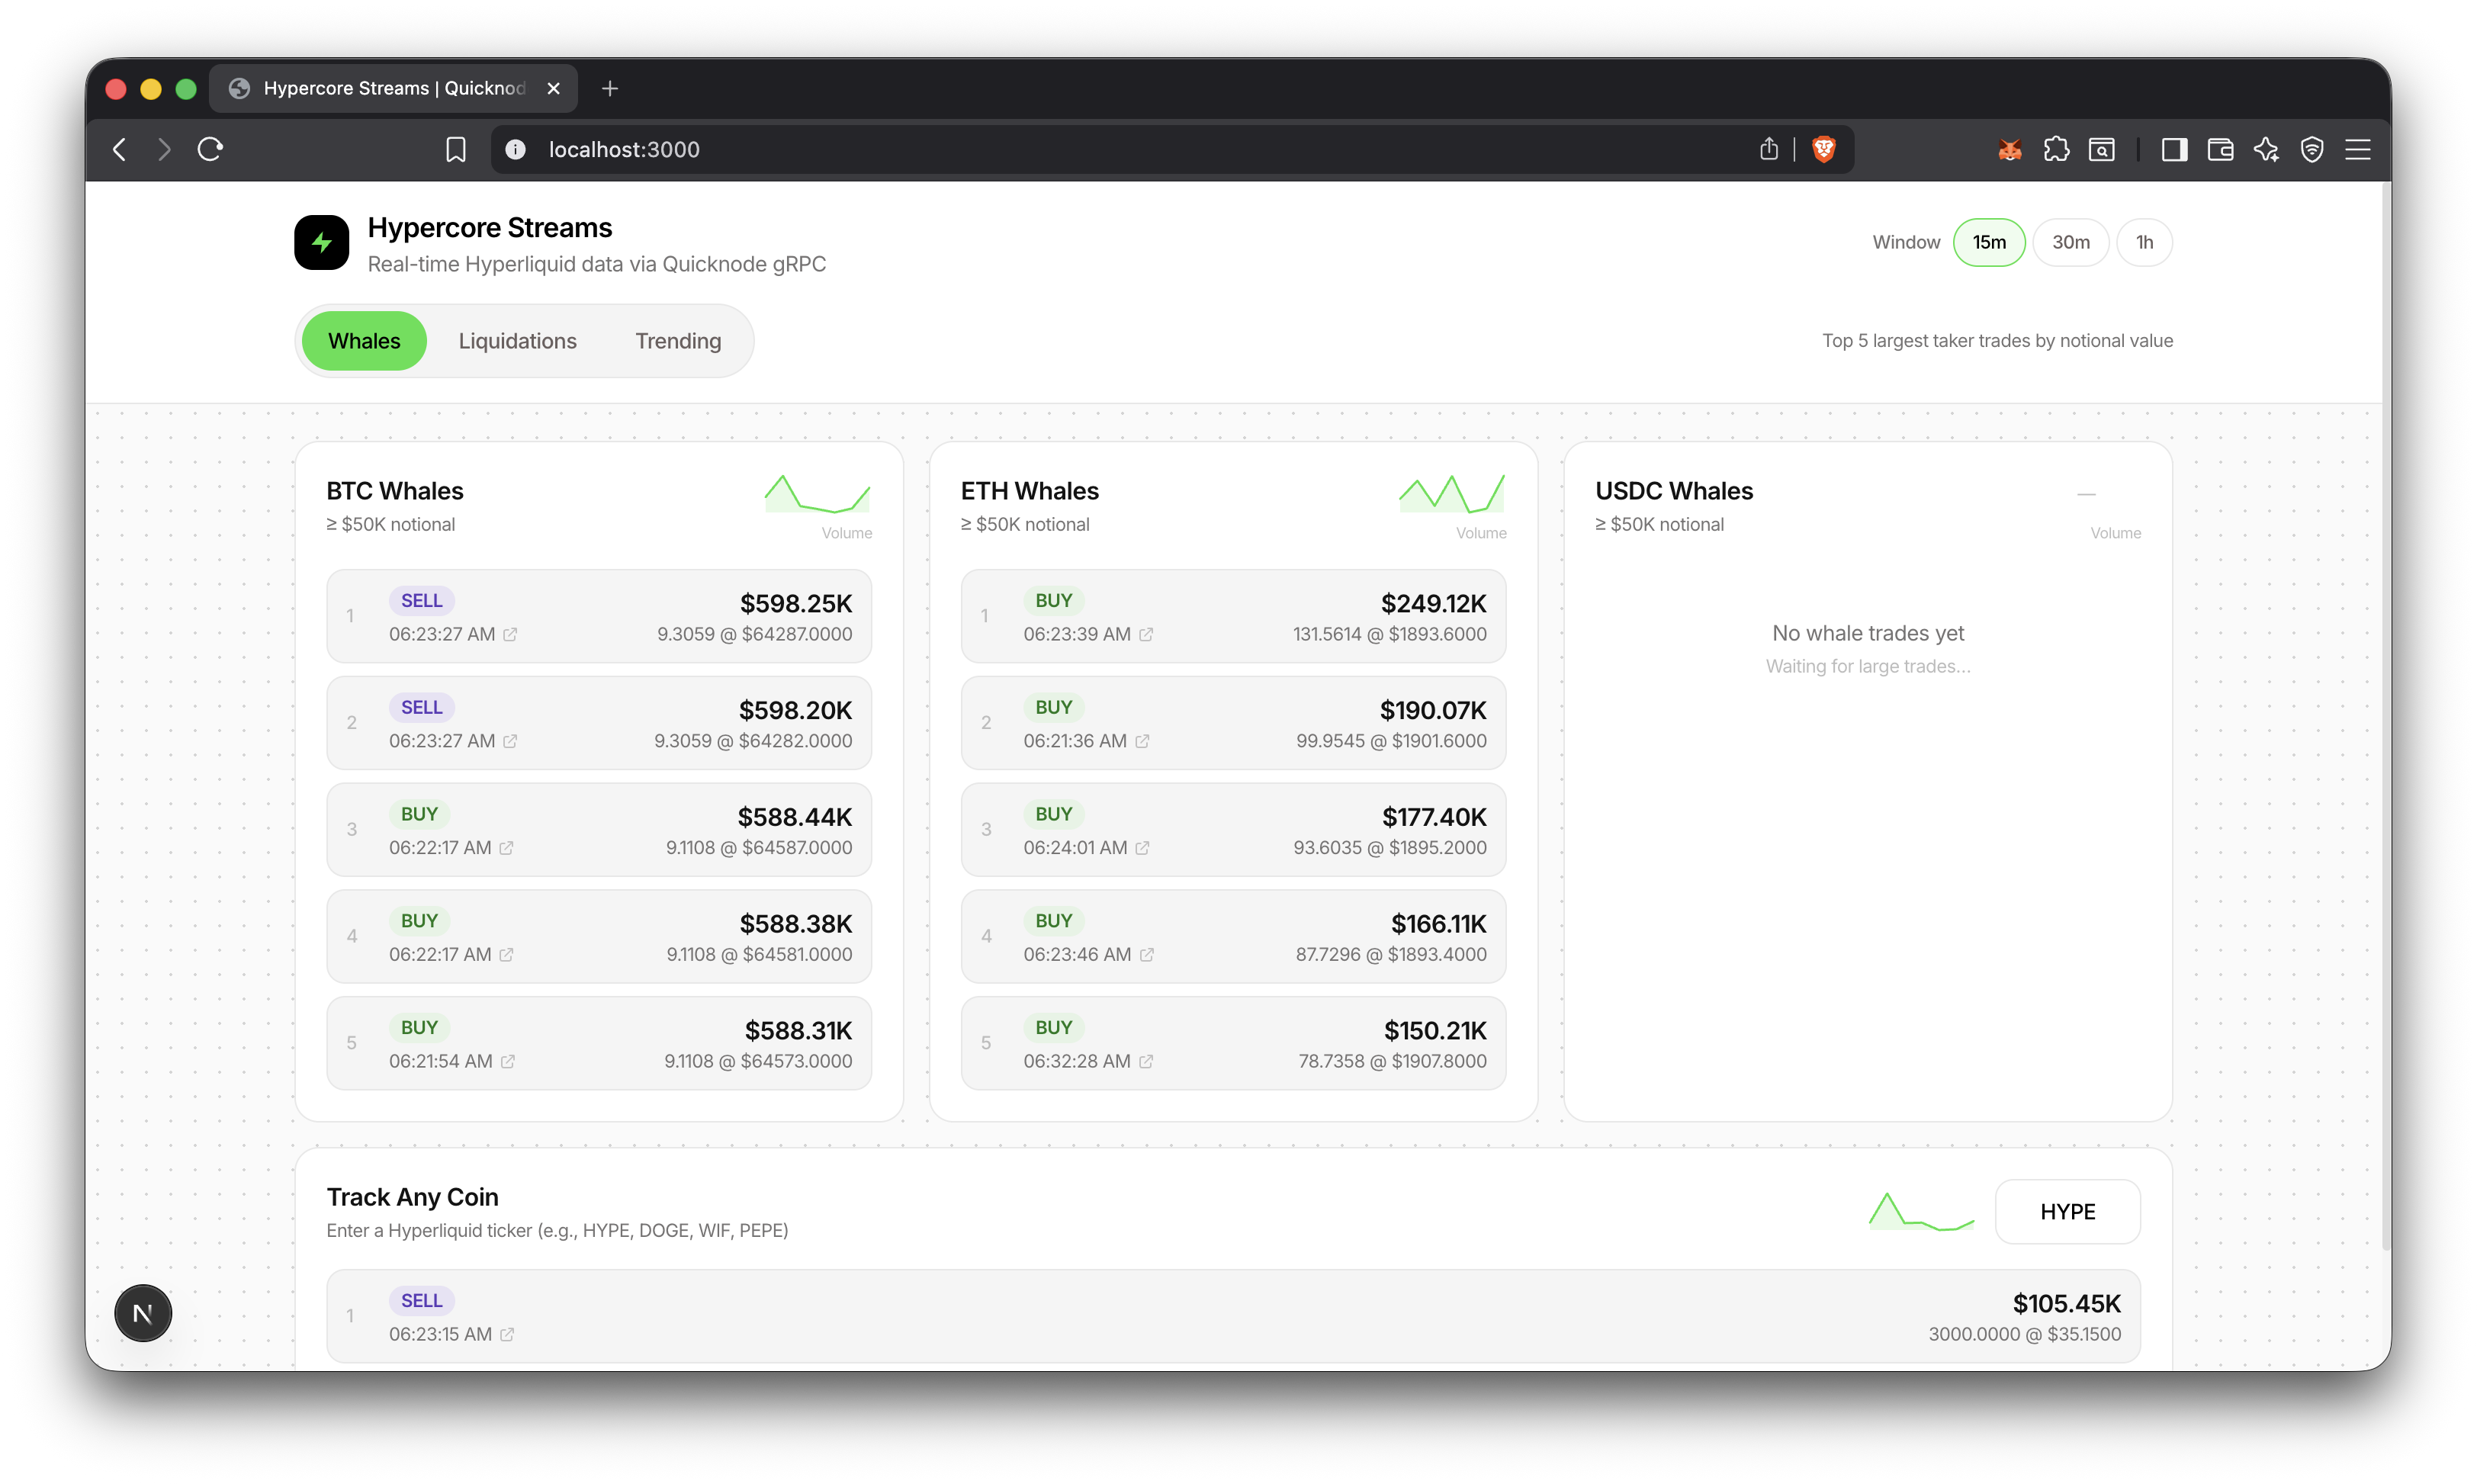
A dashboard for real-time whale trades, liquidations, and trending tokens from Hyperliquid using Quicknode's Hypercore gRPC.
Autor



Frontend-Framework/Bibliothek:
Next.js
Sprache:
TypeScript
Build-Tool/Entwicklungsserver:
npm
Übersicht
This sample app streams every trade from Hyperliquid via Quicknode's Hypercore gRPC and filters for whale trades, liquidations, and trending tokens. gRPC bidirectional streaming delivers data with sub-second latency, with no polling required.
Weitere Ressourcen
For video walkthrough of building the app, check out our video
Architektur
      Quicknode Hypercore gRPC
        (stream every trade)
                  │
                  ▼
        ┌─────────────────┐
        │     Worker      │
        │  Filter + Agg   │
        └────────┬────────┘
                 │
    ┌────────────┼────────────┐
    ▼            ▼            ▼
 Whales    Liquidations   Trending
 (≥$50K)                  (1m buckets)
    │            │            │
    └────────────┼────────────┘
                 ▼
        ┌─────────────────┐
        │    PostgreSQL   │
        └────────┬────────┘
                 │
                 ▼
        ┌─────────────────┐
        │     Next.js     │
        │  [15m/30m/1h]   │
        └────────┬────────┘
                 │
                 ▼
        ┌─────────────────┐
        │    Dashboard    │
        └─────────────────┘
Funktionen
- Whale trade detection (≥$50K notional, configurable)
- Liquidation tracking with full metadata (user, mark price, method)
- Trending tokens ranked by trade count with buy/sell breakdown
- Time window filtering (15m, 30m, 1h)
- Custom coin tracking, any Hyperliquid token
- Volume sparklines with trend indicators
- Explorer deep links for trade verification
- 1-minute aggregation buckets for efficient trending queries
Voraussetzungen
- Node.js 20+ installed
- A PostgreSQL instance, you can use a platform like Aiven to spin up a hosted instance. We'll need this for
DATABASE_URL. - Quicknode account with Hypercore gRPC endpoint. We'll need this for
GRPC_ENDPOINTundAUTH_TOKEN.
Erste Schritte
1. Clone and install
git clone https://github.com/quiknode-labs/qn-guide-examples.git

cd qn-guide-examples/sample-dapps/hyperliquid-trading-dashboard

npm install
2. Start PostgreSQL
If you are using a hosted PostgreSQL instance, skip this step.
npm run db:up
3. Configure environment
export DATABASE_URL="postgresql://postgres:postgres@localhost:5432/hypercore"
export GRPC_ENDPOINT="your-endpoint.hype-mainnet.quiknode.pro:10000"
export AUTH_TOKEN="your_quicknode_token"
Note: Just paste these with values in two terminal windows. You'll need one window for the Next.js app and another for the database worker.
4. Initialize database
npm run db:push
5. Start the worker
npm run worker
This starts the worker process that:
- Connects to Quicknode HyperCore gRPC
- Streams live trading events
- Stores raw trades and aggregated data in PostgreSQL
- Tracks whale activity and liquidations
Sie sollten Folgendes sehen:
Ping ok: { count: 1 }
Ingester running
WHALE_MIN_USD: 50000
6. Start the dashboard
npm run dev
Database
PostgreSQL with Prisma ORM. Two tables:
TradeEvent- Individual whale trades and liquidationsTradeAggMinute- Per-minute aggregations for trending
Common commands:
npm run db:up       # Start PostgreSQL container
npm run db:push     # Apply schema
npm run db:studio   # Open Prisma Studio
API Endpoints
GET /api/whales?coin=BTC&windowMin=15&thresholdUsd=50000- Whale tradesGET /api/liquidations?windowMin=15- LiquidationsGET /api/trending?windowMin=15- Trending coinsGET /api/sparklines?windowMin=15&coins=BTC,ETH,SOL- Volume sparklinesGET /api/health- Health check
Vorschau
Mehr erfahren
Beiträge & Feedback
Wir würden uns sehr über Ihr Feedback freuen und begrüßen jeden Beitrag zu dieser Beispiel-App!
Um Probleme zu melden oder Feedback zu geben, eröffnen Sie ein GitHub-Issue im qn-Anleitung-Beispiele Repository.
Um einen Beitrag zu leisten, gehen Sie bitte wie folgt vor:
- Das Repository forken
- Erstelle einen Feature-Branch:git checkout -b feature/amazing-feature
- Speichere deine Änderungen:git commit -m "Tolle Funktion hinzufügen"
- Deinen Branch pushen:git push origin feature/amazing-feature
- Erstelle einen Pull Request.
Entdecken Sie weitere Beispiel-Apps