
読了時間:9分
This guide includes references to the Goerli testnet, which is no longer actively maintained. While specific steps related to this chain may not be applicable, the overall process may be valid for other chains. We recommend exploring current alternatives for your implementation. If you’d like to see an updated version of this guide, please let us know in the feedback section at the end of this page.
概要
Foundry is a smart contract development kit that provides a comprehensive suite of tools for building and deploying decentralized applications (dApps) on the Ethereum blockchain. It is designed for developers of all levels, from beginner to advanced, to help them create secure and efficient smart contracts. This guide is designed to provide an in-depth understanding of Foundry, its features, and how to use it for smart contract development.
必要なもの
- Ethereumリアムの基礎知識
- Solidity および Node.js に関する基礎知識
- A Quicknode endpoint (you can create one here)
- ETH on your testnet of choice (we'll be using Goerli; get some at the Multi-Chain Quicknode Faucet)
主な業務内容
- Foundryについて詳しく知る
- Foundry を使用してスマートコントラクトをデプロイする方法について学ぶ
Foundryとは何ですか?
Foundry is a comprehensive suite of tools for building and deploying decentralized applications (dApps) on the Ethereum blockchain. It is designed to make it easier for developers of all levels to create and deploy secure and efficient smart contracts. With Foundry, you can write your smart contract in the Solidity programming language, compile it, deploy it to the Ethereum blockchain, and interact with it.
Foundryの仕組み
Foundry は、スマートコントラクトの作成、デプロイ、管理を容易にするコマンドラインインターフェース(CLI)を提供しています。この CLI には、新しいプロジェクトの作成、コントラクトの記述、コントラクトのコンパイル、コントラクトのデプロイ、コントラクトとのやり取りなど、スマートコントラクトの開発に関連するさまざまなタスクを実行するために使用できる一連のコマンドが用意されています。
When you create a new Foundry project, you can write your smart contract in the Solidity programming language. Once you have written your contract, you can compile it using the Foundry CLI. The compiler will generate the ABI (Application Binary Interface) and bytecode that can be used to deploy the contract to the Ethereum blockchain. To learn more about ABIs, check out this Quicknode Guide.
Once your contract has been compiled, you can deploy it to the Ethereum blockchain using the Foundry CLI. Once your contract has been deployed, you can interact with it using the Foundry CLI or a web3.js library.
他のスマートコントラクト開発ツールとの違い
Foundryは、Hardhat、Ganache、Remix.IDEといった他のスマートコントラクト開発フレームワークとは、いくつかの点で差別化されています:
- Ease of Use: Designed to be user-friendly and easy to use, even for developers who are new to smart contract development. The CLI provides a simple and straightforward way to create, deploy, and manage smart contracts.
- Integrations: Integrations with popular development tools, such as Truffle and web3.js, to make it easier for developers to build and deploy their dApps.
- Testing: Built-in support for testing smart contracts, making it easier for developers to ensure that their contracts work as expected before deploying them to the Ethereum blockchain.
- Deployment: Simple and straightforward way to deploy smart contracts to the Ethereum blockchain. The CLI provides a single command to deploy your contract, making it easy to deploy to multiple environments.
Foundry provides the tools and features to easily build and deploy your dApps on Ethereum and other EVM-compatible blockchains (Polygon, Arbitrum, Optimism, Avalanche).
次のセクションでは、FoundryとQuicknodeを使用してスマートコントラクトを作成・デプロイするための開発環境のセットアップ方法について解説します。
開発者向け設定
Step 1: Accessing Ethereum with Quicknode
You'll need an API endpoint to communicate with the Ethereum blockchain. You're welcome to use public nodes or deploy and manage your own infrastructure; however, if you'd like 8x faster response times, you can leave the heavy lifting to us. Sign up for an account here.
Once signed in, click Create Endpoint and select the Ethereum chain and Goerli test network.
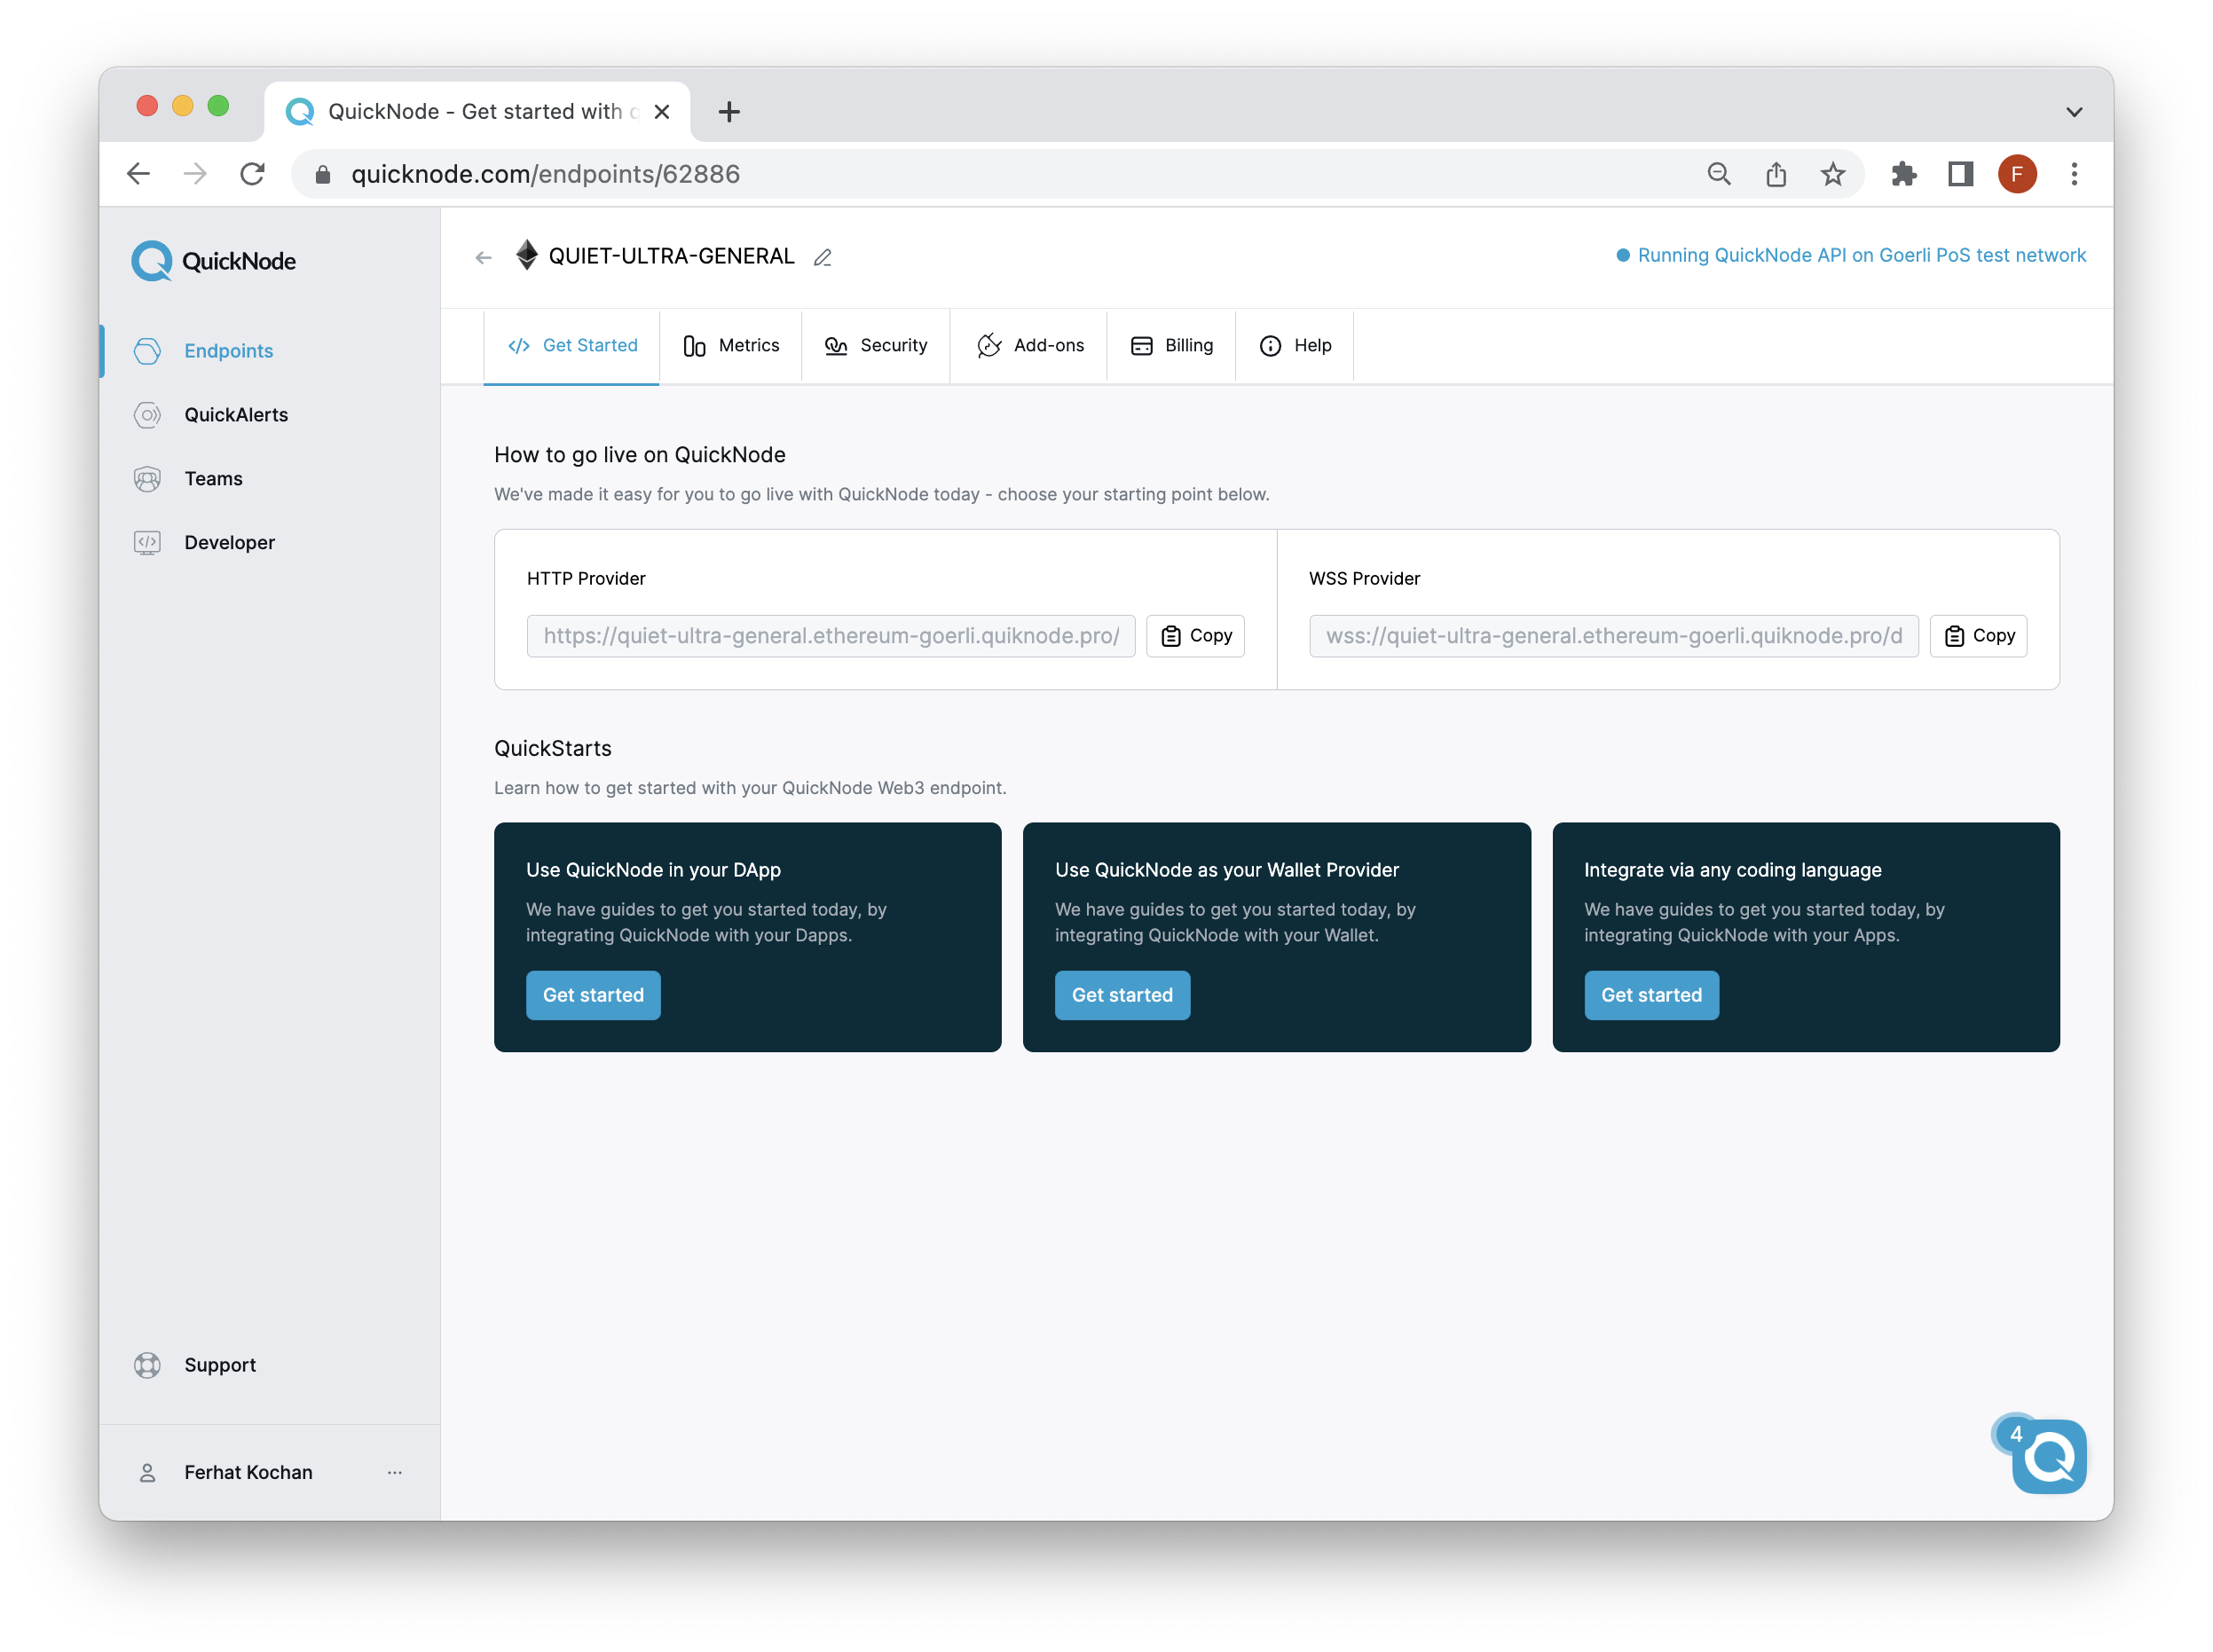
Once your endpoint is created, keep the HTTP Provider URL handy, as you'll need it when deploying and interacting with the smart contract you deploy.
Step 2: Create a Wallet and Fund with ETH
このガイドでは、Ethereum、Arbitrum、Polygon、その他のEVM関連チェーンなど、複数のチェーンやネットワークに対応した非カストディアルウォレット「Torus Wallet」を使用します。ただし、秘密鍵にアクセスできる限り、MetaMaskやPhantomなど、他の非カストディアルWeb3ウォレットを使用することも可能です。
Remember that to deploy on Goerli test network, you will need to have testnet ETH to cover the transaction fees. These fees should be minimal and should not exceed $0.25. You can acquire test ETH on the Multi-Chain Quicknode Faucet.
まず、Torusにアクセスし、指示に従って秘密鍵を生成してください。
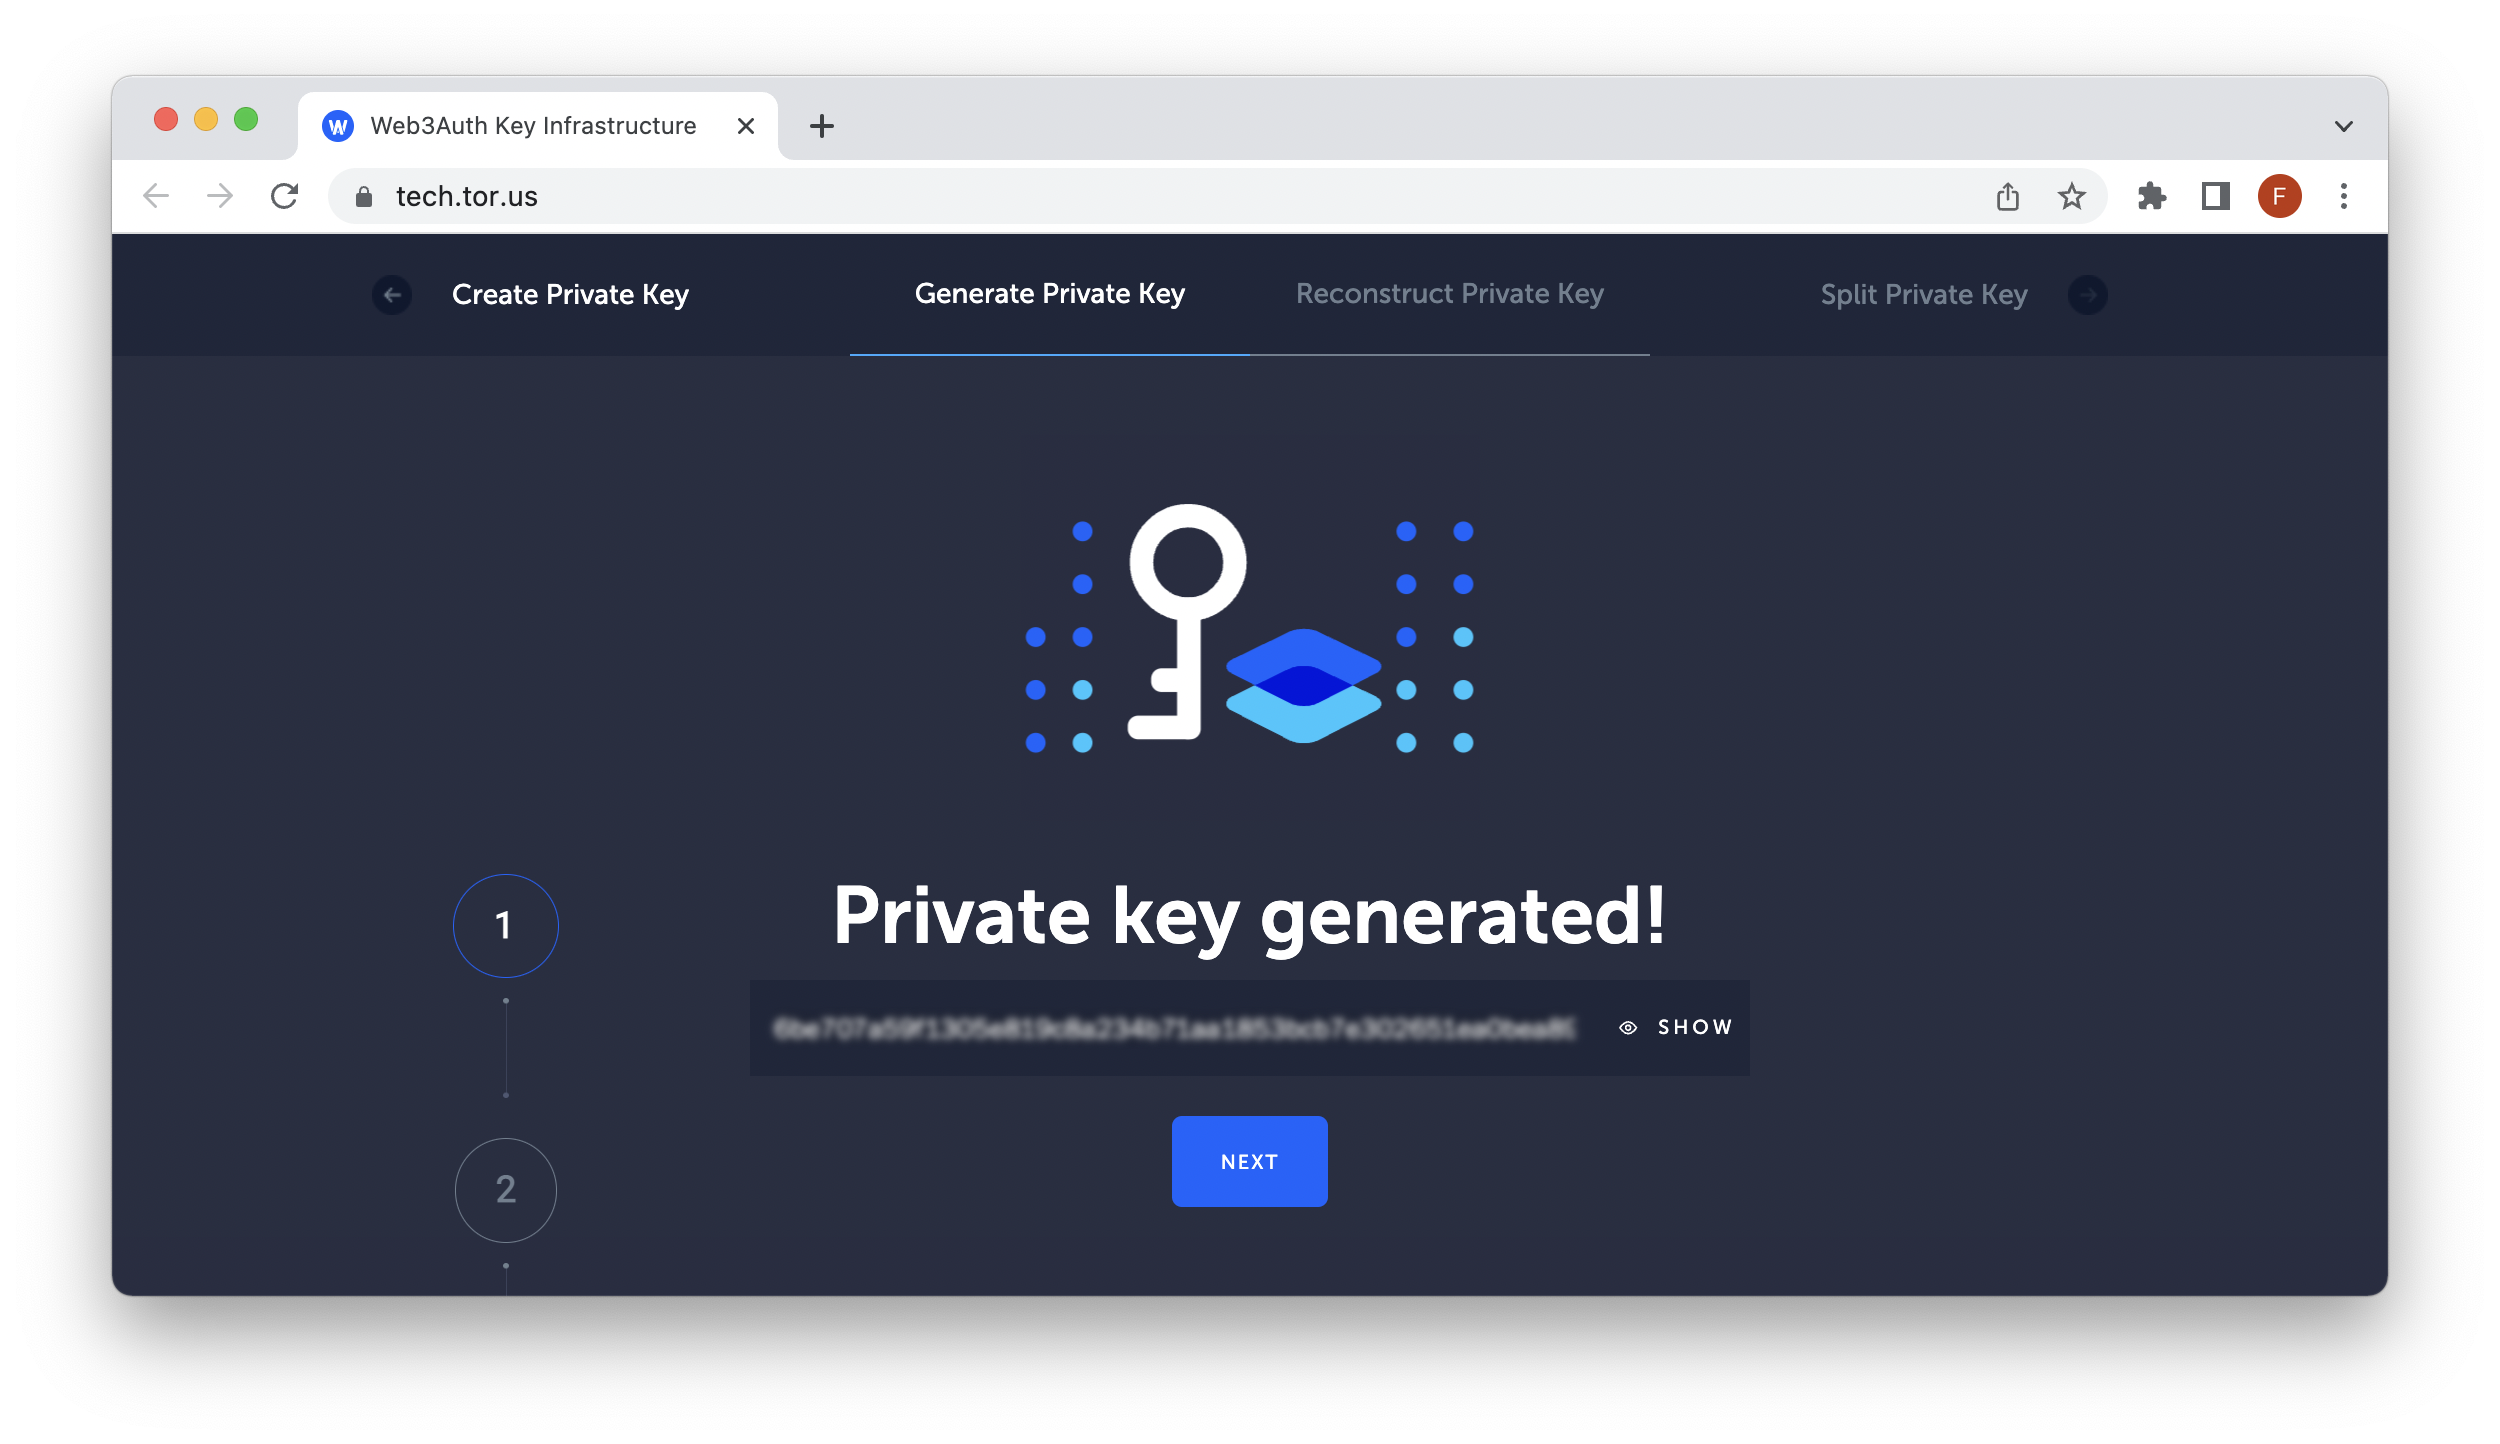
このガイドの技術的な内容に進む前に、Goerliテストネットワークのウォレットアドレスに、コントラクトのデプロイや操作にかかる費用を支払うのに十分な資金があることを確認してください。
Step 3: Create a new project
Node.js(バージョン 18 以上)がインストールされた状態で、スマートコントラクト開発用のプロジェクトフォルダを設定しましょう:
mkdir foundry_project && cd foundry_project && npm init -y
それでは、foundry_project ディレクトリ内で Foundry をインストールしましょう。foundryup を使って最新バージョンをインストールするか、ソースからビルドすることができます(Rust と Cargo が必要です)。このチュートリアルでは、foundryup を使ってインストールします。
curl -L https://foundry.paradigm.xyz | bash
これにより、foundryupがダウンロードされます。その後、以下のコマンドを実行してFoundryをインストールしてください:
foundryup
すべてが順調に進めば、これで「forge」、「cast」、「anvil」、「chisel」の4つのバイナリが利用可能になっているはずです。
macOS を使用していて、以下のエラーが表示された場合は、「brew install libusb」と入力して、必要なライブラリをインストールする必要があります。
dyld[32719]: ライブラリが読み込まれませんでした: /usr/local/opt/libusb/lib/libusb-1.0.0.dylib
インストール設定が完了したら、次のコマンドでFoundryプロジェクトを初期化してください:
forge init counter_contract
次に、`counter_contract` フォルダ内へ移動すると、プロジェクトの構造は次のようになります:
.
├── lib
├── script
├── src
└── test
foundry.toml
次のセクションでは、srcディレクトリにあるCounter.solファイルについて確認し、このガイドの後半でそれをデプロイします。
スマートコントラクトの作成
src フォルダ内で、Counter.sol ファイルを開きます:
// SPDX-License-Identifier: UNLICENSED
pragma solidity ^0.8.13;

contract Counter {
    uint256 public number;

    function setNumber(uint256 newNumber) public {
        number = newNumber;
    }

    function increment() public {
        number++;
    }
}
この契約は比較的単純で、状態変数が1つ、パブリック関数が2つしか含まれていません。
変数`number`は型 `uint256`(256 ビットの符号なし整数)として定義されており、キーワード`public` によってコントラクトの外部から公開されています。パブリック関数`setNumber`は、状態変数 `number` の値を設定します。この関数は、`newNumber` という名前の `uint256` 型の引数を受け取り、それを `number` の新しい値として設定します。パブリック関数`increment` は、状態変数`number`の値を 1 増やします。
契約をコンパイルするには、ターミナルで次の forge コマンドを実行してください:
Forgeビルド
次のようなコンパイルの詳細が表示されるはずです:
[⠰] Compiling...
[⠘] Compiling 19 files with 0.8.15
[⠊] Solc 0.8.15 finished in 1.31s
Compiler run successful
次のセクションでは、Foundryでテストを実行する方法について学びます。
スマートコントラクトのテスト
test/Counter.t.solファイルを開きます:
// SPDX-License-Identifier: UNLICENSED
pragma solidity ^0.8.13;

import "forge-std/Test.sol";
import "../src/Counter.sol";

contract CounterTest is Test {
    Counter public counter;

    function setUp() public {
        counter = new Counter();
        counter.setNumber(0);
    }

    function testIncrement() public {
        counter.increment();
        assertEq(counter.number(), 1);
    }

    function testSetNumber(uint256 x) public {
        counter.setNumber(x);
        assertEq(counter.number(), x);
    }
}
上記のコードは、前のセクションで作成したコントラクトに対して単体テストを実行するものです。ここで、そのコードを振り返ってみましょう。
輸入
このコードは、まず2つのファイルをインポートすることから始まります: forge-std/Test.sol そして ../src/Counter.sol. 最初のインポートは、 forge-std/Test.sol, はテストを作成するための標準的なForgeライブラリです。2つ目のimportは、 ../src/Counter.sol, は現在テストが行われている主要なスマートコントラクトです。
契約の定義
続いて、このコードでは、次のような名前のスマートコントラクトを定義しています。 CounterTest, これは~の下請けであり、 テスト インポートされたものから forge-std/Test.sol ライブラリ。
契約物件
この契約には、次という名前の単一のパブリックプロパティがあります。 カウンター, これは カウンター スマートコントラクト。
setUp 関数
その setUp function は、Forge のテストライブラリにある特殊な関数で、各テストの実行前に呼び出されます。この関数内では、 カウンター スマートコントラクトが作成され、その 番号 プロパティが 0 に設定されています。
testIncrement 関数
その testIncrement この関数は、 増分 の機能 カウンター スマートコントラクト。まず、 増分 関数を実行し、その後、 assertEq がかどうかを確認する関数 番号 の属性 カウンター インスタンスは 1 に等しい。もし 番号 プロパティの値が 1 以外の場合、テストは失敗します。
testSetNumber 関数
その testSetNumber この関数は、 setNumber の機能 カウンター スマートコントラクト。これには uint256 入力 x そして、 setNumber ~を伴う関数 x 引数として指定します。その後、 assertEq がかどうかを確認する関数 番号 の属性 カウンター インスタンスは以下と等しい x. もし 番号 プロパティは以下と等しくない x, テストは失敗します。
次に、テストを実行するには、Forgeターミナルで次のコマンドを実行してください:
フォージテスト
次のような出力が表示されるはずです:
Running 2 tests for test/Counter.t.sol:CounterTest
[PASS] testIncrement() (gas: 28356)
[PASS] testSetNumber(uint256) (runs: 256, μ: 27253, ~: 28342)
Test result: ok. 2 passed; 0 failed; finished in 11.95ms
また、以下のコマンドを使用して、テスト済みの関数のガスリポートを出力することもできます:
forge test --gas-report
処理が完了すると、「out」と「cache」という名前の2つの新しいフォルダが作成されます。「out」ディレクトリには、ABIを含むスマートコントラクトのアーティファクトが格納されます。一方、Forgeは「cache」フォルダを利用して、必要なコンポーネントのみを再コンパイルします。
スマートコントラクトのデプロイ
Counterコントラクトをネットワークにデプロイするには、次の `forge create` コマンドを実行してください。
You'll need to replace the QUICKNODE_HTTP_URL with your actual Quicknode endpoint. Also, replace the YOUR_PRIVATE_KEY placeholder with your actual private key.
forge create --rpc-url QUICKNODE_HTTP_URL \
--private-key YOUR_PRIVATE_KEY \
src/Counter.sol:Counter
次のような出力が表示されるはずです:
[⠆] Compiling...
No files changed, and compilation skipped
Deployer: 0x1851CC3b4996f9a75302C694485bf7437F3a4b7a
Deployed to: 0xEd1BaAaf5147aa060e3B590c5EdC17C846aa489E
Transaction hash: 0xa1cf5316ab326b43871874bfeb462a15a7d2913b799869c83faad117e2c39eb6
Etherscanなどのブロックエクスプローラーにアクセスすれば、確認することができます。
Note, you can also deploy the contract on a local testnet using anvil. To start a local testnet server, run the command:
金床anvil
Once started, Anvil will provide you a local RPC endpoint and accounts you can test with.
それでは、先ほどデプロイした「Counter」スマートコントラクトを操作してみましょう。
スマートコントラクトとのやり取り
Foundryには、Ethereum 呼び出しを実行するためのCLIである「cast」が含まれています。
Counter コントラクトのsetNumber関数を使用して書き込み呼び出しを行うには、cast sendコマンドを使用します:
cast send YOUR_CONTRACT_ADDRESS "setNumber(uint256)" 10 --rpc-urlQUICKNODE--private-key YOUR_PRIVATE_KEY
上記のcastコマンドでは、入力ペイロードとして値10を使用しています。
次のような結果が表示されます:
blockHash               0x66977720a56444502112851d144d0abbc48551c3842e49be81b739118adf051b
blockNumber             8492170
contractAddress
cumulativeGasUsed       1210319
effectiveGasPrice       3002296853
gasUsed                 43494
logs                    []
logsBloom               0x00000000000000000000000000000000000000000000000000000000000000000000000000000000000000000000000000000000000000000000000000000000000000000000000000000000000000000000000000000000000000000000000000000000000000000000000000000000000000000000000000000000000000000000000000000000000000000000000000000000000000000000000000000000000000000000000000000000000000000000000000000000000000000000000000000000000000000000000000000000000000000000000000000000000000000000000000000000000000000000000000000000000000000000000000000000
ルート
status                  1
transactionHash         0x5c3d0178a24fe6593439743a021b407293622caf8a4649ca9b027a8d4944fe77
transactionIndex        5
type                    2
number変数の状態を確認するためにreadコマンドを実行するには、castコマンドを使用します:
cast call YOUR_CONTRACT_ADDRESS "number()" --rpc-urlQUICKNODE
結果:
0x0000000000000000000000000000000000000000000000000000000000000064
上記の16進数は100に相当します。次のターミナルコマンドで確認できます:echo $((0x0000000000000000000000000000000000000000000000000000000000000064))
まとめ
これで、Foundry を使ってスマートコントラクトを開発するスキルが身につきました!