
7 min read
概要
If you plan to build a DeFi protocol, wallet, NFT platform, or any type of payment application on Solana, you will need to be able to check the balance of a Solana SPL token account. In this guide, we will walk through five easy ways to check the balance of an SPL token account:
- Using Solana's SPL-Token Command Line Interface (SPL-Token CLI) (Jump to SPL-Token CLI)
- Using Solana's JavaScript API (Jump to Solana-Web3.js)
- Using Solana's SPL Token Program API (Jump to SPL Token Program)
- Using a cURL script (Jump to cURL)
- Using Rust (Jump to Rust)
必要なもの
- Solana CLI latest version installed
- SPL Token Program CLI latest version installed
- Node.js(バージョン 16.15 以降)がインストールされていること
- Basic JavaScript experience
- cURL stable version installed
- A token account to query (e.g.,
2gS6PA4z17TuboiWyowsHDzdMbhhb4v5GBGSXBQqLG2U). If you do not know your token account address, check out our Guide: Five Ways to Find the Associated Token Address for a Solana Wallet and Mint
| 依存関係 | バージョン |
|---|---|
| solana-cli | 1.16.14 |
| spl-token-cli | 3.1.1 |
| node.js | 16.15 |
| curl | 8.1.12 |
| @solana/web3.js | 1.78.5 |
| solana | 0.3.7 |
| solanasdk | 1.16.14 |
| solana-client | 1.6.14 |
| cargo | 1.69.0 |
Before querying our token account, let's do a quick recap on Solana's clusters, as we will need to specify a specific cluster when checking a wallet's balance. "A Solana cluster is a set of validators working together to serve client transactions and maintain the integrity of the ledger. Many clusters may coexist." (Source: docs.solana.com/cluster/overview). In fact, Solana maintains three clusters that each serve different purposes:
- Mainnet Beta: production, permissionless environment where real tokens are used
- Devnet: a playground for application developers testing Solana applications (tokens on Devnet are not real and have no financial value). Devnet usually runs the same software release as Mainnet Beta
- Testnet: an environment where Solana core contributors and validators stress test new updates and features, with a focus on testing network performance (tokens on Testnet are not real and have no financial value)
Source: docs.solana.com/clusters
For this guide, we will use Mainnet-Beta, but you should know that a wallet can have a balance on each cluster simultaneously.
Method 1 - SPL-Token CLI
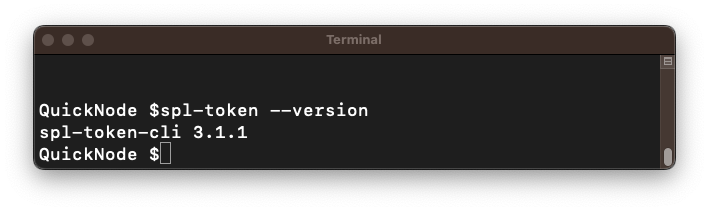
Our first method is to check the balance of a wallet using Solana SPL-Token CLI. If you do not already have it installed, follow the instructions for your operating environment at spl.solana.com/token. To make sure your installation was successful, open a new terminal and type:
spl-token --version
次のような画面が表示されるはずです:
You're ready to go! All you need to do is get your token account address handy--if you do not know your token account address, check out our Guide: Five Ways to Find the Associated Token Address for a Solana Wallet and Mint.
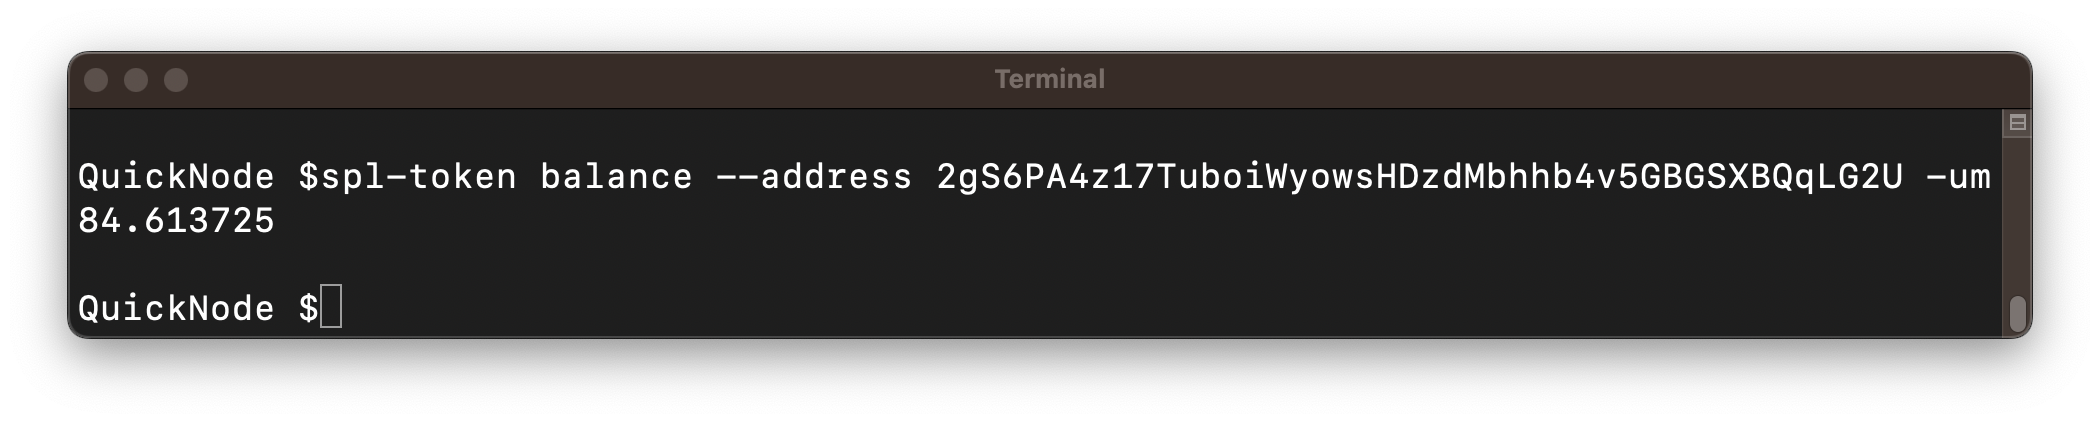
In your terminal, fetch your wallet balance by entering:
spl-token balance --address YOUR_TOKEN_ACCOUNT_ADDRESS -um
You can modify your search to get the balance of that wallet on different clusters by modifying your -u (URL for Solana's JSON RPC) option. We have used -うーん to ensure we are searching on Solana's mainnet. To get a devnet or testnet balance, try:
spl-token balance --address YOUR_TOKEN_ACCOUNT_ADDRESS -u devnet # for Devnet
# or
spl-token balance --address YOUR_TOKEN_ACCOUNT_ADDRESS -u testnet # for Testnet
These default clusters (mainnet-beta, testnet, devnet) are public JSON RPC endpoints. If you plan to do a lot of queries or build on Solana, you will probably want an endpoint of your own.
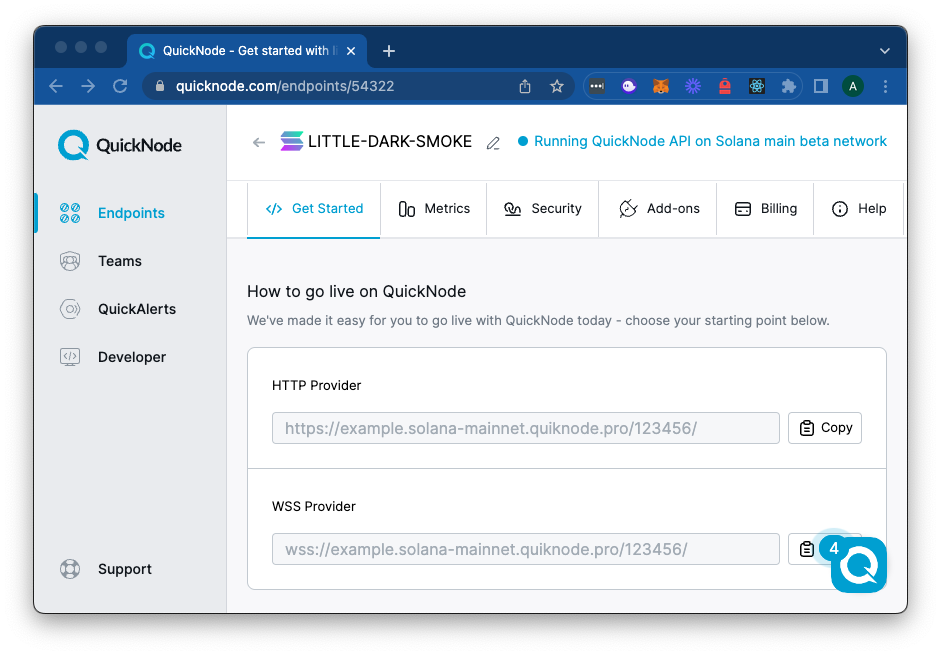
See why over 50% of projects on Solana choose Quicknode and sign up for a free account here. You will want a mainnet node to query a wallet's true balance:
You can now modify your query to use your endpoint:
spl-token balance --address YOUR_TOKEN_ACCOUNT_ADDRESS -u https://example.solana.quiknode.pro/000000/
よくやった!
Method 2 - Solana-Web3.js
Create a new project directory and file, balance.js, in your terminal with the following:
mkdir token-address && cd token-address && echo > balance.js
Install Solana Web3 dependencies:
yarn init -y
yarn add @solana/web3.js@1
または
npm init -y
npm install --save @solana/web3.js@1
Open balance.js in a code editor of choice, and on line 1, require @solana/web3.js. We will deconstruct the Connection and PublicKey classes from this package.
const { Connection, PublicKey } = require('@solana/web3.js');
On lines 3-5, define your wallet, mint, and the relevant programs (Token Program and Associated Token Program):
const QUICKNODE_RPC = 'https://example.solana.quiknode.pro/000000/'; // 👈 Replace with your Quicknode Endpoint OR clusterApiUrl('mainnet-beta')
const SOLANA_CONNECTION = new Connection(QUICKNODE_RPC);
const TOKEN_ADDRESS = new PublicKey('YOUR_TOKEN_ACCOUNT_ADDRESS'); //👈 Replace with your wallet address
Finally, fetch your address by creating and calling a new function, getTokenBalanceWeb3() that invokes the getTokenAccountBalance method on the 接続 class:
async function getTokenBalanceWeb3(connection, tokenAccount) {
    const info = await connection.getTokenAccountBalance(tokenAccount);
    if (info.value.uiAmount == null) throw new Error('No balance found');
    console.log('Balance (using Solana-Web3.js): ', info.value.uiAmount);
    return info.value.uiAmount;
}

getTokenBalanceWeb3(SOLANA_CONNECTION, TOKEN_ADDRESS).catch(err => console.log(err));
The returned value includes 金額 そして uiAmount. The 金額 response includes extra decimals based on the token mint. This is because Solana stores decimals as integers on chain to avoid floating-point math. The uiAmount response is the 金額 divided by the mint decimals. For example, if the 金額 is 1000000000 and the mint decimals value is 9, the uiAmount will be 1. If the 金額 is 1000000000 and the mint decimals value is 6, the uiAmount will be 1000.
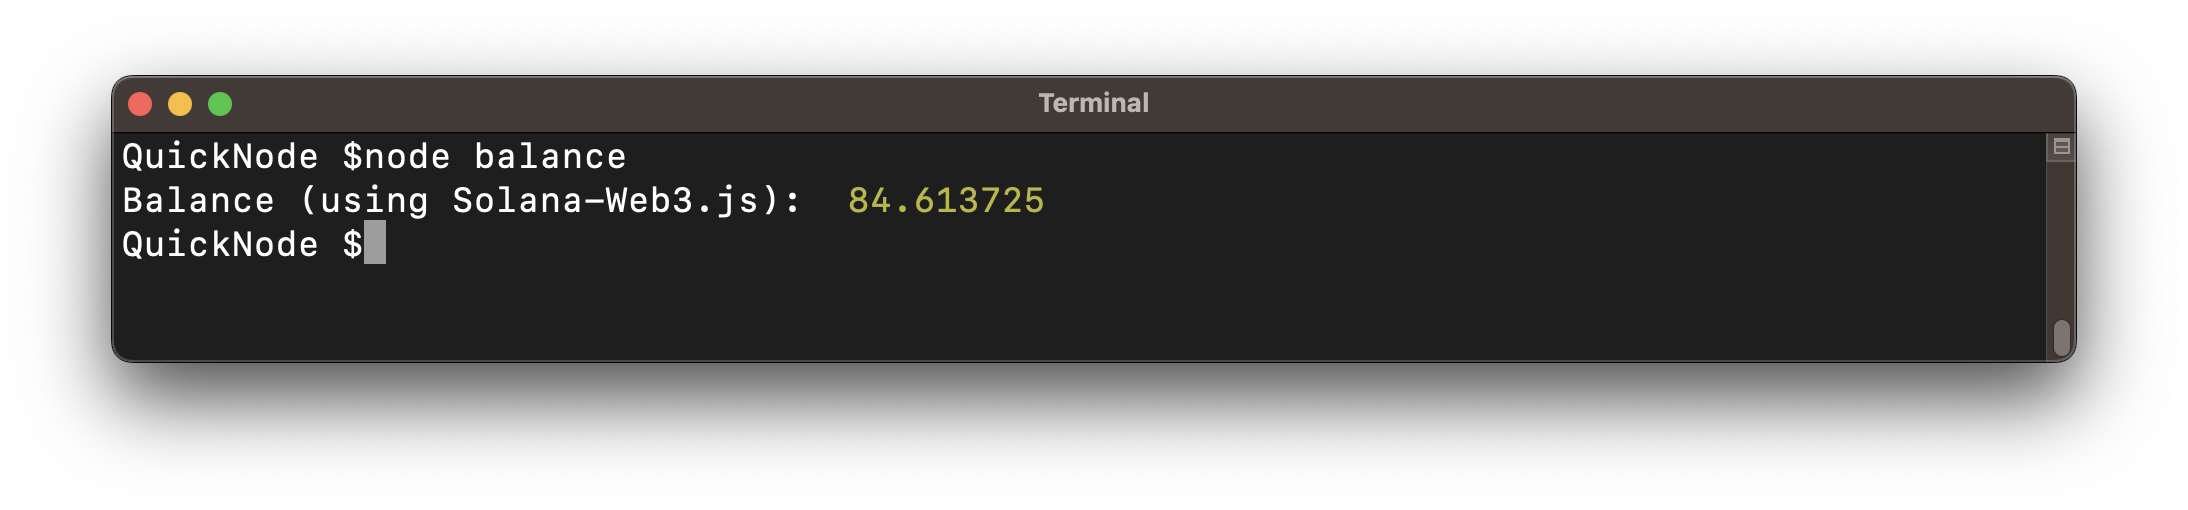
コードを実行してください。ターミナルで次のように入力してください。
node balance
次のような画面が表示されるはずです:
よくやったね!
Method 3 - Solana Token Program
The Solana SPL Token API makes this process a little easier. Let's look at how we can fetch the address of an associated token account using the SPL Token API.
First, install the SPL Token Program:
yarn add @solana/spl-token
または
npm install --savesolana
Open balance.js, and on line 1 (before our previous import), require solana. We will deconstruct the getAccount そして getMint methods from this package.
const { getAccount, getMint } = require('@solana/spl-token');
Now, at the bottom of your script, create and call a new function, getTokenBalanceSpl that will fetch your token account and then fetch the mint associated with that token account (for handling decimals):
async function getTokenBalanceSpl(connection, tokenAccount) {
    const info = await getAccount(connection, tokenAccount);
    const amount = Number(info.amount);
    const mint = await getMint(connection, info.mint);
    const balance = amount / (10 ** mint.decimals);
    console.log('Balance (using Solana-Web3.js): ', balance);
    return balance;
}

getTokenBalanceSpl(SOLANA_CONNECTION, TOKEN_ADDRESS).catch(err => console.log(err));
Though this method is a little more verbose, it is a great way to get the balance of a token account and handle decimals. Note that we must convert the 金額 returned from our getAccount call to a number (as the returned value is a bigint) and that we must fetch our token mint details to get our decimals (which we then use to divide our 金額 by to get our balance).
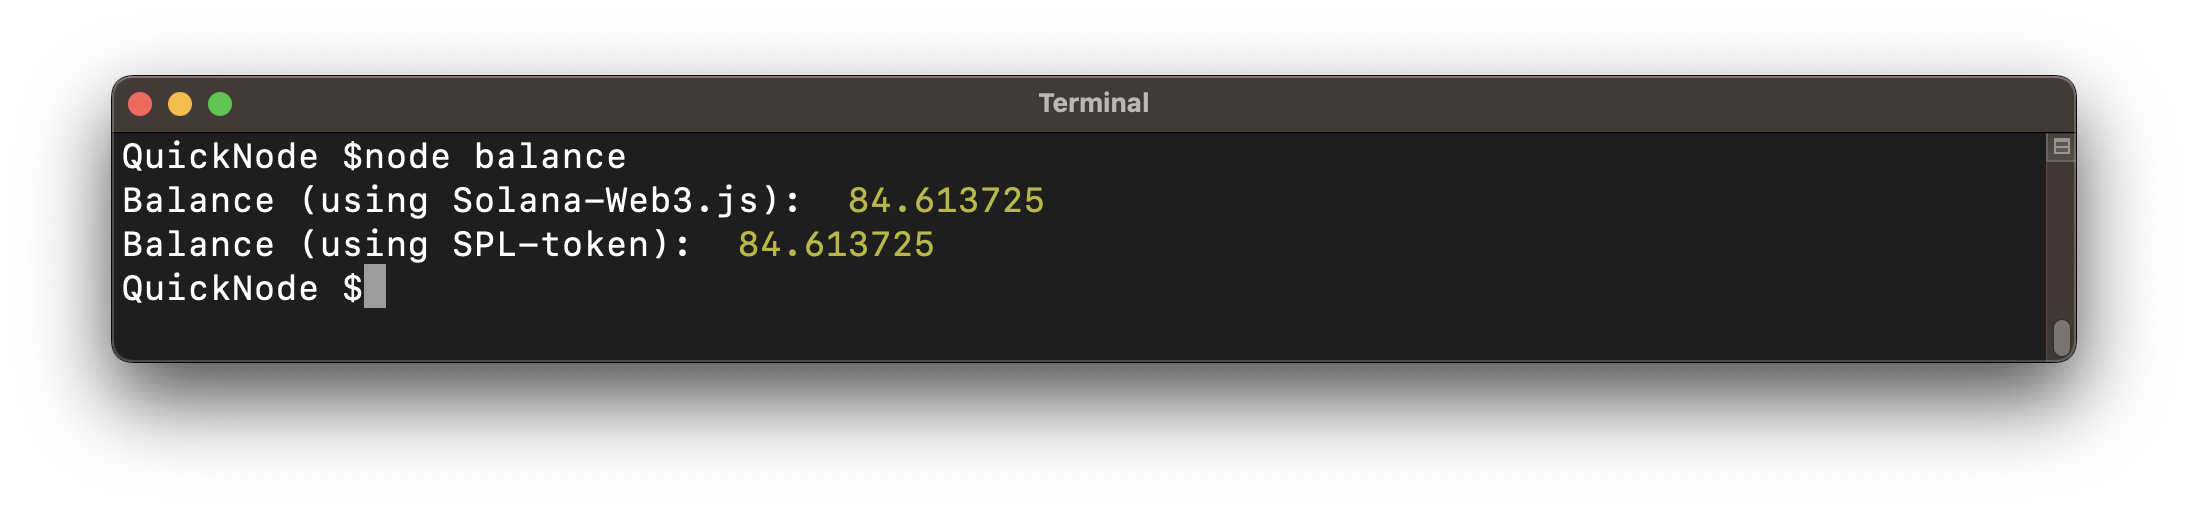
コードを実行してください。ターミナルで次のように入力してください。
node balance
You should see both methods return the same balance:
よくやったね!
Method 4 - cURL
cURL is a command line tool and library for transferring data with URLs. Most *nix-based systems have cURL support out of the box. Check if you have it by running the following:
curl -h
まだインストールしていない場合は、curl.seにアクセスしてセットアップを行ってください。
Once you are ready, all you need to do is drop this HTTP request in your terminal (make sure to replace your endpoint and token account address). In your terminal, enter:
curl https://docs-demo.solana-mainnet.quiknode.pro/ \
  -X POST \
  -H "Content-Type: application/json" \
  --data '{"jsonrpc":"2.0", "id":1, "method":"getTokenAccountBalance", "params": ["YOUR_TOKEN_ACCOUNT_ADDRESS"]}'
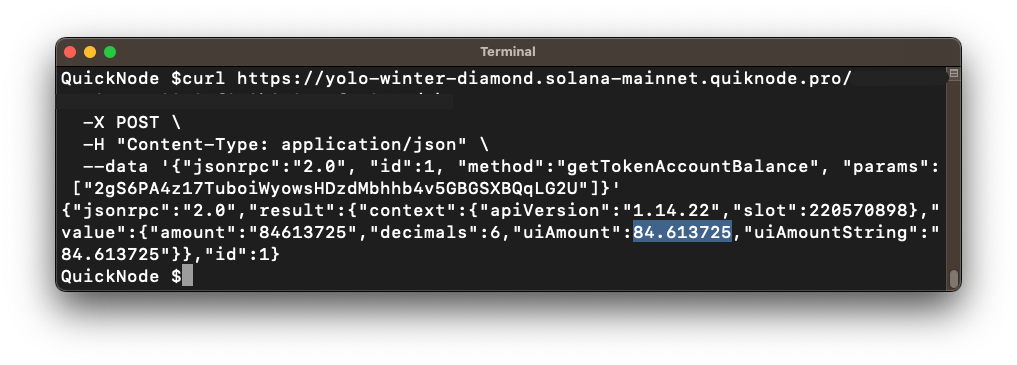
次のような画面が表示されるはずです:
 Note: You may utilize a package like jq to return formatted JSON data if you prefer.
Notice the same balance is returned in the result.value.uiAmount フィールド 🙌。ぜひ当社の docs の詳細については、 getTokenAccountBalance メソッド。
方法 5 - Rust
If you are a Rust developer, you can also use the Solana Rust SDK. Inside of your project folder, initiate a new project with the following command:
cargo new token-balance
Navigate to the newly created directory:
cd token-balance
Add the necessary dependencies to your Cargo.toml file:
[dependencies]
solana-sdk = "1.16.14"
solana-client = "1.6.14"
src/main.rs を開き、1行目で必要なパッケージをインポートします:
use solana_sdk::pubkey::Pubkey;
use solana_client::rpc_client::RpcClient;
use std::str::FromStr;
On lines 5-6, define your token account address:
const TOKEN_ADDRESS: &str = "YOUR_TOKEN_ADDRESS";
Finally, create your メイン function that will fetch your address by passing the public keys of your owner and mint into the get_token_account_balance メソッド:
fn main() {
    let associated_token_address = Pubkey::from_str(TOKEN_ADDRESS).unwrap();
    let connection = RpcClient::new("https://example.solana.quiknode.pro/000000/".to_string()); // 👈 Replace with your Quicknode Endpoint
    let account_data = connection.get_token_account_balance(&associated_token_address).unwrap();
    println!("Token Balance (using Rust): {}", account_data.ui_amount_string);
}
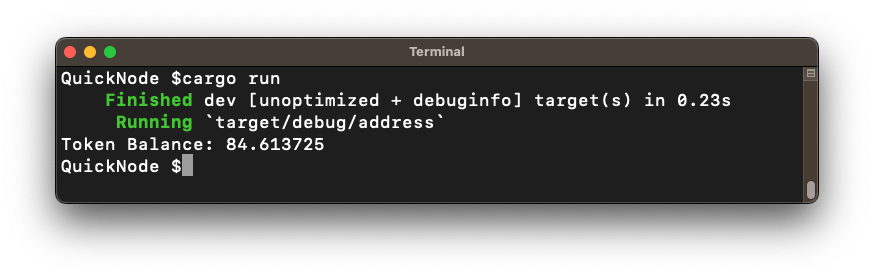
コードをコンパイルして実行してください。ターミナルで次のように入力してください。
cargo build
cargo run
すると、同じトークンアドレスが返されるはずです:
よくやったね!
まとめ
Nice work! You now have five useful tools for fetching the balance of a Solana SPL Token Account. If you are just getting started with your Solana journey, here are some resources that may be helpful:
We would love to hear more about what you are building. Drop us a line in Discord, or give us a follow on Twitter to stay up to date on all the latest information!