Retour aux exemples d'applications
Tableau de bord Hyperliquid
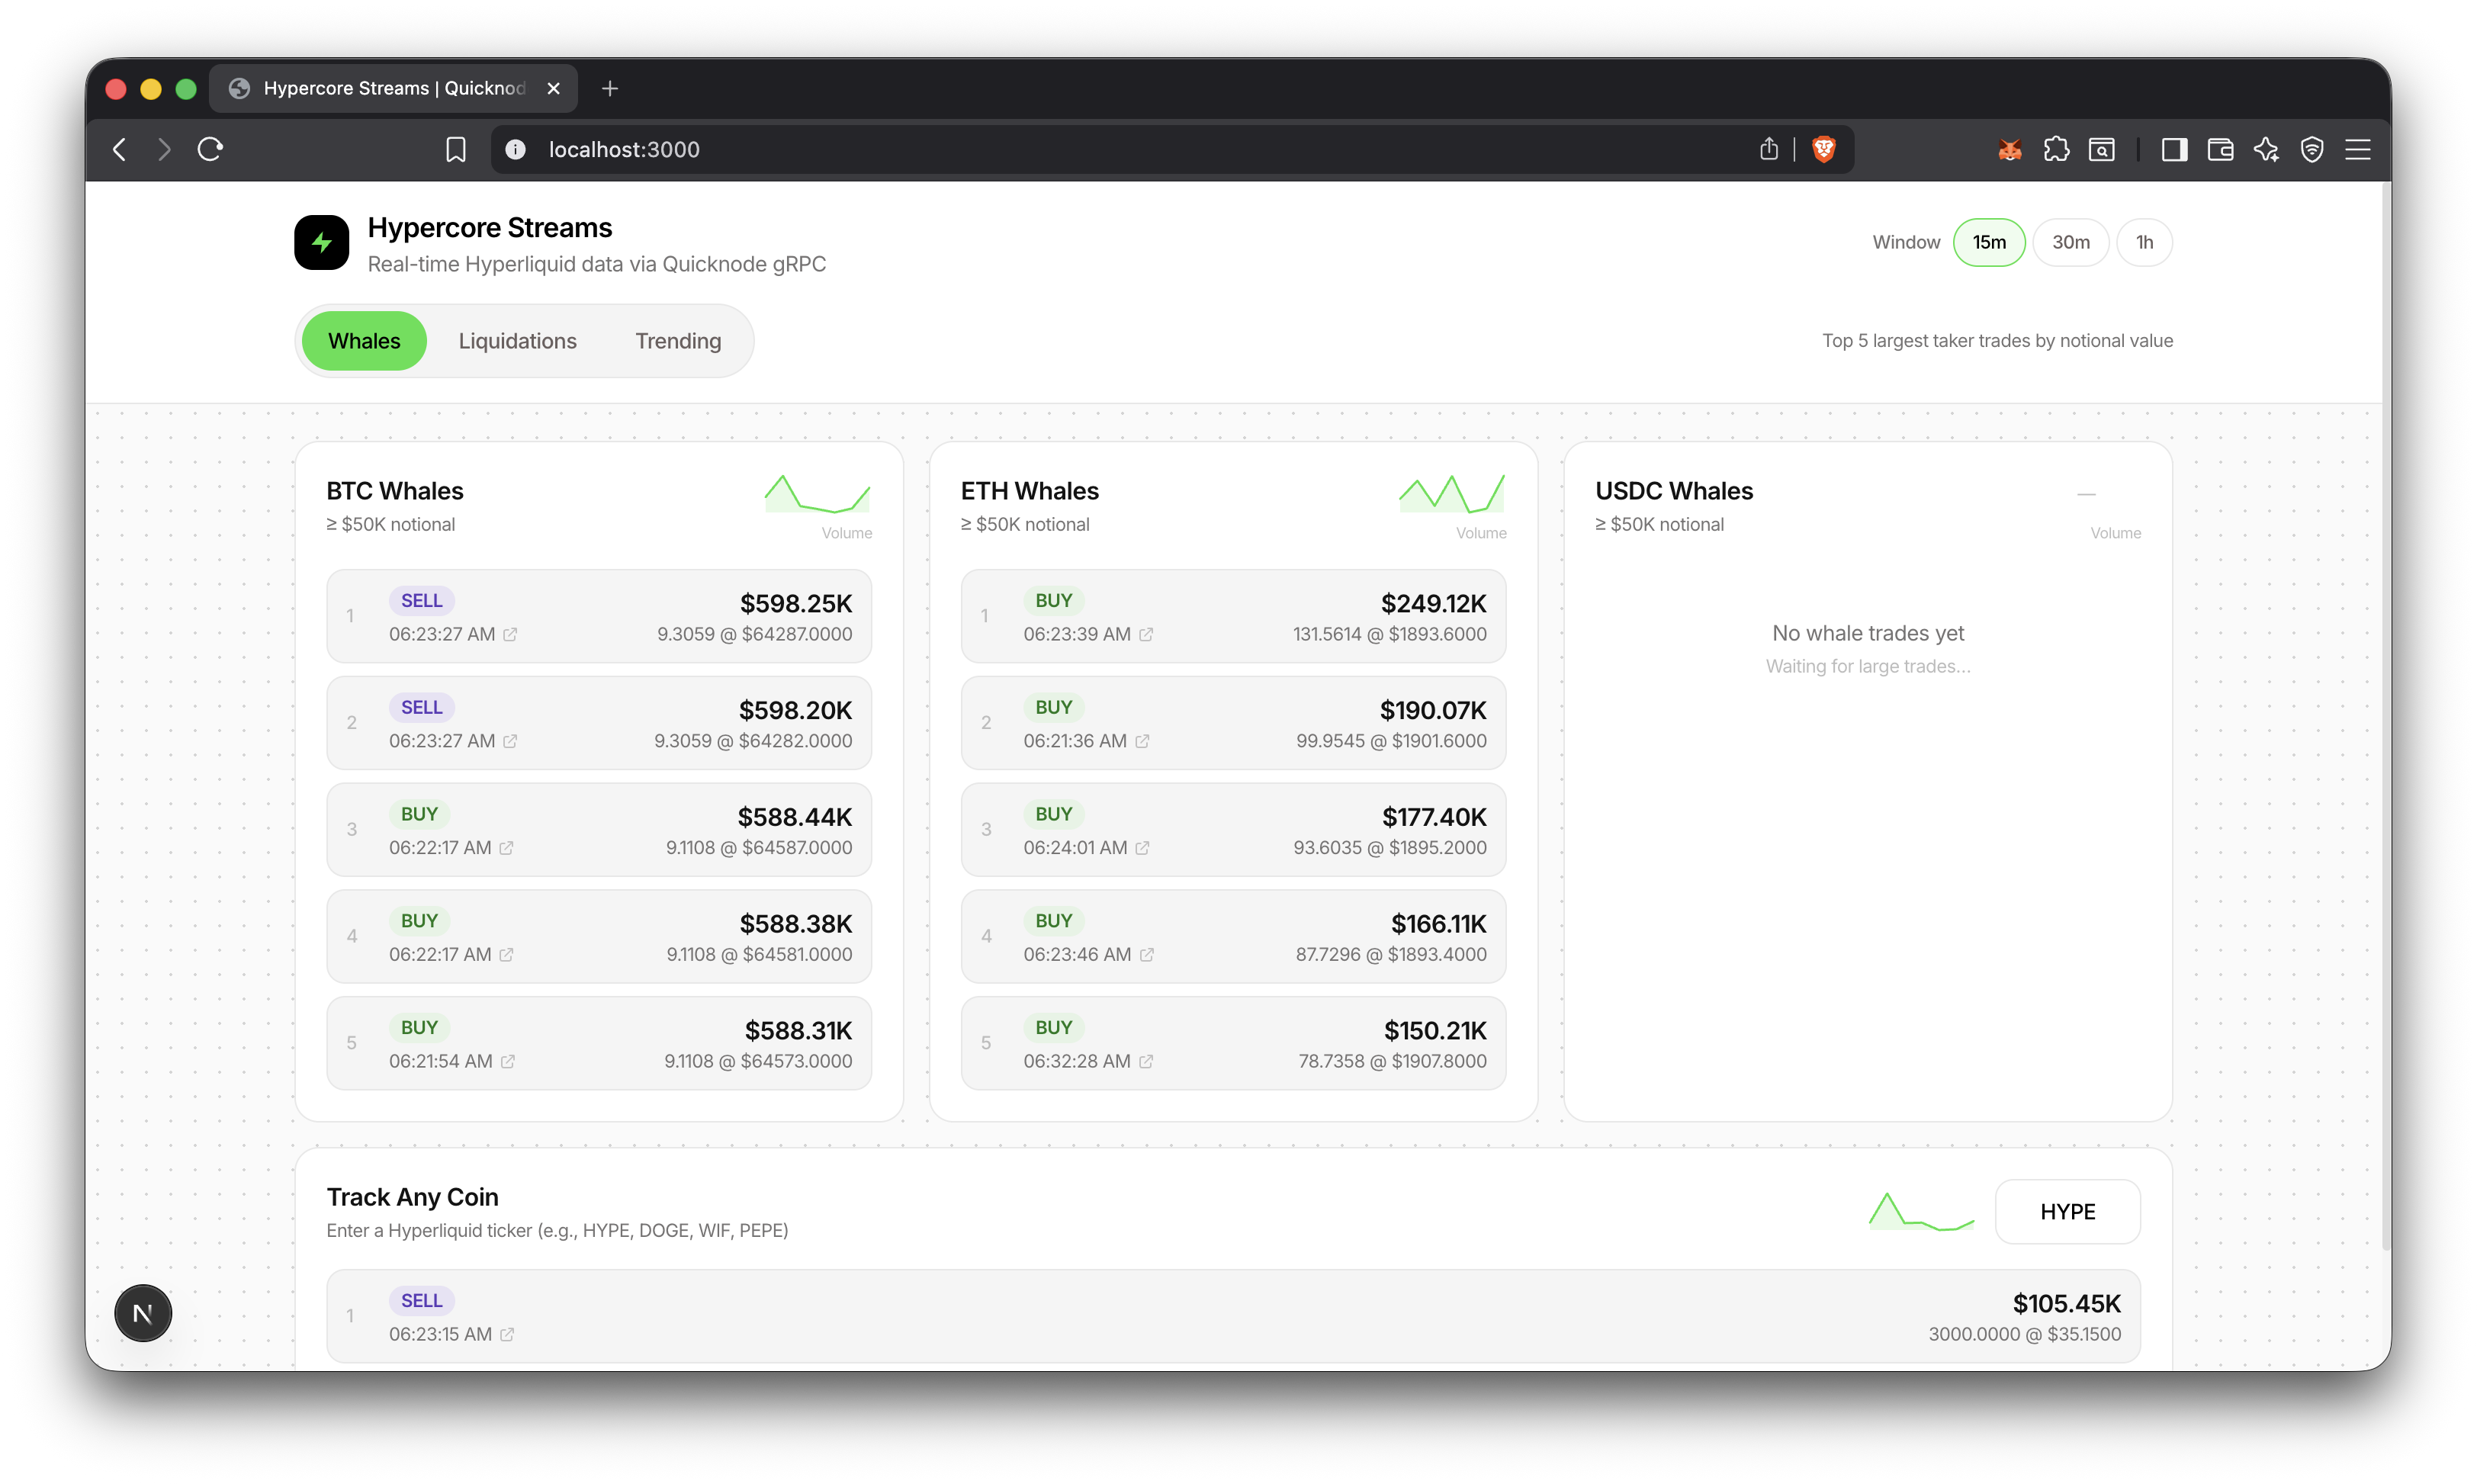
A dashboard for real-time whale trades, liquidations, and trending tokens from Hyperliquid using Quicknode's Hypercore gRPC.
Auteur



Framework/bibliothèque front-end :
Next.js
Langue :
TypeScript
Outil de compilation/serveur de développement :
npm
Présentation générale
This sample app streams every trade from Hyperliquid via Quicknode's Hypercore gRPC and filters for whale trades, liquidations, and trending tokens. gRPC bidirectional streaming delivers data with sub-second latency, with no polling required.
Ressources supplémentaires
For video walkthrough of building the app, check out our video
Architecture
      Quicknode Hypercore gRPC
        (stream every trade)
                  │
                  ▼
        ┌─────────────────┐
        │     Worker      │
        │  Filter + Agg   │
        └────────┬────────┘
                 │
    ┌────────────┼────────────┐
    ▼            ▼            ▼
 Whales    Liquidations   Trending
 (≥$50K)                  (1m buckets)
    │            │            │
    └────────────┼────────────┘
                 ▼
        ┌─────────────────┐
        │    PostgreSQL   │
        └────────┬────────┘
                 │
                 ▼
        ┌─────────────────┐
        │     Next.js     │
        │  [15m/30m/1h]   │
        └────────┬────────┘
                 │
                 ▼
        ┌─────────────────┐
        │    Dashboard    │
        └─────────────────┘
Caractéristiques
- Whale trade detection (≥$50K notional, configurable)
- Liquidation tracking with full metadata (user, mark price, method)
- Trending tokens ranked by trade count with buy/sell breakdown
- Time window filtering (15m, 30m, 1h)
- Custom coin tracking, any Hyperliquid token
- Volume sparklines with trend indicators
- Explorer deep links for trade verification
- 1-minute aggregation buckets for efficient trending queries
Conditions préalables
- Node.js 20+ installed
- A PostgreSQL instance, you can use a platform like Aiven to spin up a hosted instance. We'll need this for
DATABASE_URL. - Quicknode account with Hypercore gRPC endpoint. We'll need this for
GRPC_ENDPOINTetAUTH_TOKEN.
Pour commencer
1. Clone and install
git clone https://github.com/quiknode-labs/qn-guide-examples.git

cd qn-guide-examples/sample-dapps/hyperliquid-trading-dashboard

npm install
2. Start PostgreSQL
If you are using a hosted PostgreSQL instance, skip this step.
npm run db:up
3. Configure environment
export DATABASE_URL="postgresql://postgres:postgres@localhost:5432/hypercore"
export GRPC_ENDPOINT="your-endpoint.hype-mainnet.quiknode.pro:10000"
export AUTH_TOKEN="your_quicknode_token"
Note: Just paste these with values in two terminal windows. You'll need one window for the Next.js app and another for the database worker.
4. Initialize database
npm run db:push
5. Start the worker
npm run worker
This starts the worker process that:
- Connects to Quicknode HyperCore gRPC
- Streams live trading events
- Stores raw trades and aggregated data in PostgreSQL
- Tracks whale activity and liquidations
You should see:
Ping ok: { count: 1 }
Ingester running
WHALE_MIN_USD: 50000
6. Start the dashboard
npm exécuter en mode développement
Database
PostgreSQL with Prisma ORM. Two tables:
TradeEvent- Individual whale trades and liquidationsTradeAggMinute- Per-minute aggregations for trending
Common commands:
npm run db:up       # Start PostgreSQL container
npm run db:push     # Apply schema
npm run db:studio   # Open Prisma Studio
API Endpoints
GET /api/whales?coin=BTC&windowMin=15&thresholdUsd=50000- Whale tradesGET /api/liquidations?windowMin=15- LiquidationsGET /api/trending?windowMin=15- Trending coinsGET /api/sparklines?windowMin=15&coins=BTC,ETH,SOL- Volume sparklinesGET /api/health- Health check
Aperçu
En savoir plus
Contributions et commentaires
Nous serions ravis de connaître votre avis et nous vous invitons à contribuer à cette application d'exemple !
Pour signaler des problèmes ou faire part de vos commentaires, créez un ticket GitHub dans le qn-guide-exemples référentiel.
Pour contribuer, procédez comme suit :
- Créer une branche du dépôt
- Créer une branche de fonctionnalité :git checkout -b feature/amazing-feature
- Validez vos modifications :git commit -m "Ajout d'une fonctionnalité géniale"
- Publiez votre branche :git push origin feature/amazing-feature
- Créez une demande de fusion.
Découvrez d'autres exemples d'applications