


서론
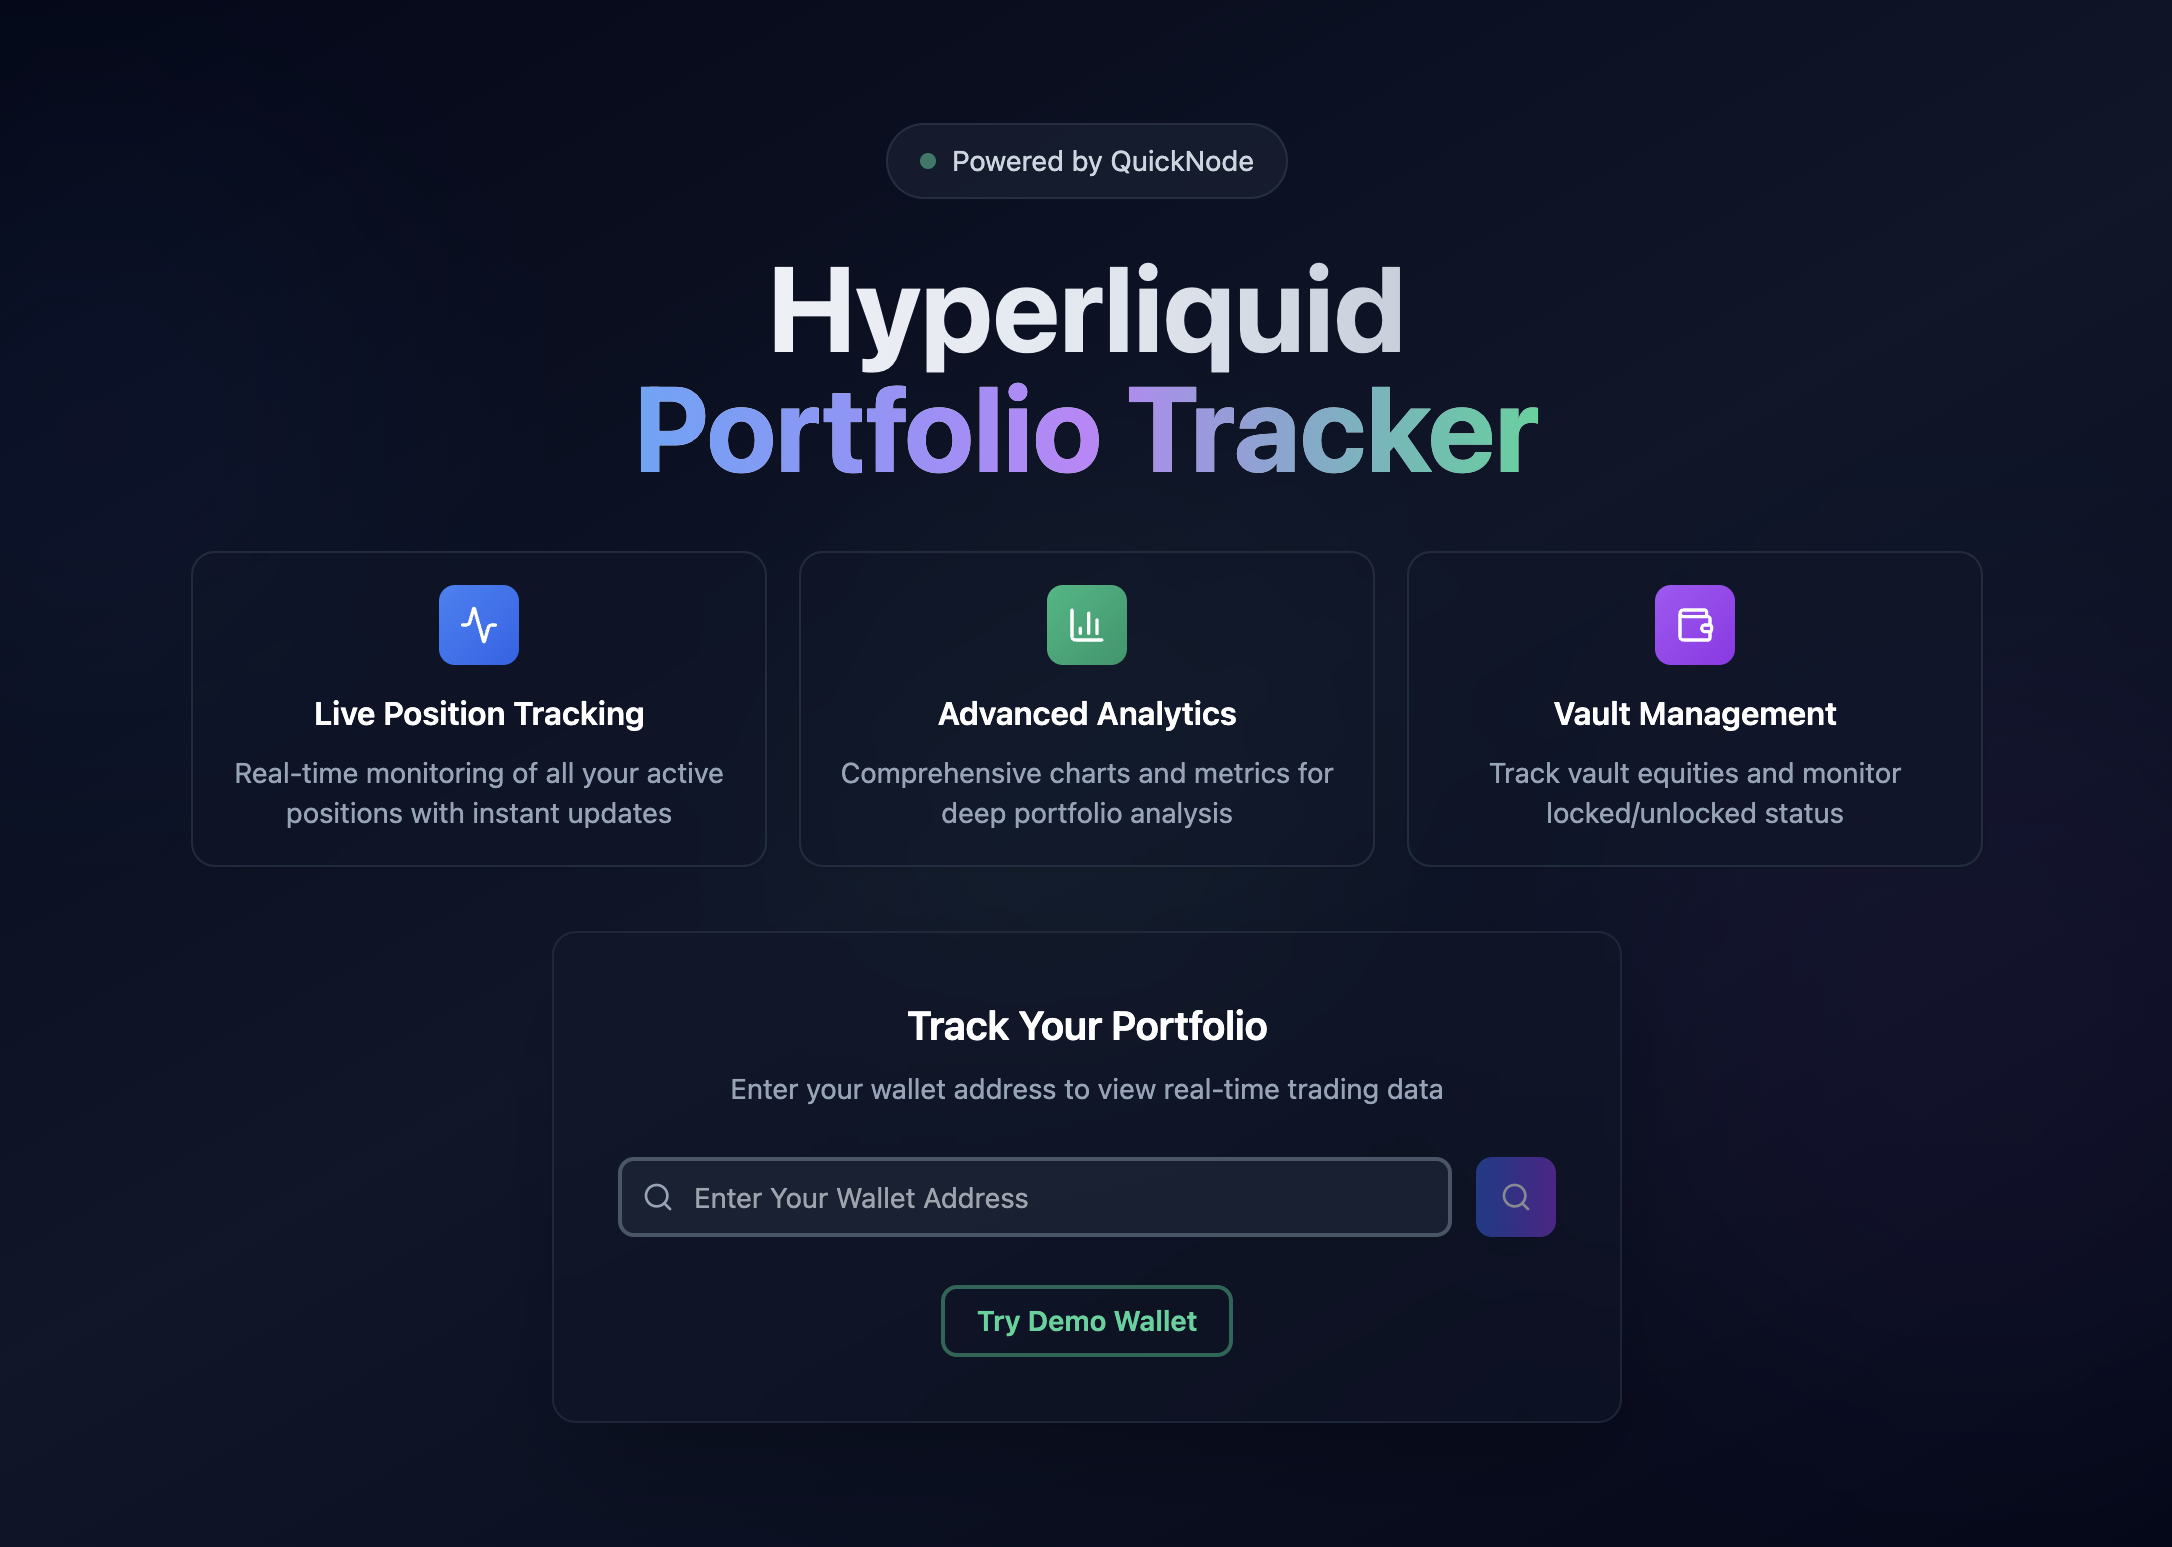
As a perpetual trader on Hyperliquid, having a comprehensive portfolio tracker is essential for monitoring your positions, PnL, and margin utilization in real-time. This guide shows you how to build a powerful portfolio tracker that monitors any Hyperliquid wallet using Quicknode's Hyperliquid info endpoint.
This example app is provided for educational and demonstration purposes only.
For an in-depth guide on implementing this portfolio tracker from scratch, check out our comprehensive guide on Quicknode
주요 기능
- Live Position Tracking: Real-time updates on perpetual positions with PnL
- Portfolio Analytics: Account value, margin usage, and risk metrics
- Vault Management: Track vault value and lock-up schedules
- Spot Holdings: Monitor token balances and USD values
- Search For Any Wallet: Switch between different trading accounts
기술 스택
프론트엔드
- React + TypeScript + Tailwind CSS + shadcn/ui & Radix UI
- Displays trading data in a responsive interface
- Polls database every 1000ms for updates
- Handles wallet switching through database requests
백엔드
- Node.js indexer with 500ms polling interval
- Fetches data from 5 different Hyperliquid endpoints
- Stores data in PostgreSQL with proper precision handling
- Manages wallet switching requests from the frontend
This guide uses aggressive polling intervals (500ms for indexer, 1000ms for frontend) to demonstrate real-time updates. You can adjust these intervals if needed:
- Frontend:
src/Dashboard.tsxlines 260-264 - Change the1000value in:const interval = setInterval(async () => {
await fetchData(currentWallet);
}, 1000); - Indexer:
src/indexer/indexer.tslines 623-630 - Change the500value in:setInterval(async () => {
await indexer.checkForWalletSwitch();
await indexer.indexData();
}, 500);
Monitor your Quicknode and Supabase usage to optimize costs.
Database
- Supabase PostgreSQL
- Stores trading data in 6 tables with financial precision (
DECIMALtypes) - Handles communication between frontend and indexer via
wallet_switch_requeststable - Uses unique constraints to prevent duplicate entries
Data Source
- Hyperliquid
정보endpoint via Quicknode - Provides account data, positions, vault holdings, spot balances, and delegations
- Returns data in JSON format with string numbers for precision
- Accessed via HTTP POST requests with wallet address parameter
건축
                    ┌─────────────────┐
                    │   Perp Trader   │
                    └─────────┬───────┘
                              │ 1. Enter wallet address
                              ▼
                    ┌─────────────────┐
                    │ React Dashboard │◄─────────────────┐
                    └─────────┬───────┘                  │
                              │ 2. Store request         │ 6. Read & display data
                              ▼                          │
                    ┌─────────────────┐                  │
                    │    Supabase     │◄─────────────────┤
                    │   PostgreSQL    │                  │
                    └─────────┬───────┘                  │
                              │ 3. Detect request        │ 5. Store data
                              ▼                          │
                    ┌─────────────────┐                  │
                    │     Indexer     │──────────────────┘
                    │   (500ms poll)  │
                    └─────────┬───────┘
                              │ 4. Fetch HyperCore data
                              ▼
                    ┌─────────────────┐
                    │   Quicknode     │
                    │  Hyperliquid    │
                    │   Endpoint      │
                    └─────────────────┘
The portfolio tracker consists of three components that communicate through a PostgreSQL database. The indexer fetches data from Hyperliquid, stores it in the database, and the frontend queries the database for display.
선행 조건
- Quicknode account with Hyperliquid endpoint
- Supabase account
- Node.js v20+, npm, and a code editor
- Basic React/TypeScript and REST API concepts
- Basic SQL concepts
- Optional: Hyperliquid perpetual trading experience
Quicknode provides dedicated Hyperliquid API endpoints that eliminate the need to run your own node:
- Pre-configured endpoints with no setup required
- Handles connection management and failover
- Direct access to HyperCore data without additional infrastructure
빠른 시작
1. Clone the Repository
git clone https://github.com/quiknode-labs/qn-guide-examples.git
cd qn-guide-examples/sample-dapps/hyperliquid-portfolio-tracker
2. Setup Environment File
cp .env.example .env
3. Supabase Database Setup
-
Create a new Supabase account or login at supabase.com
-
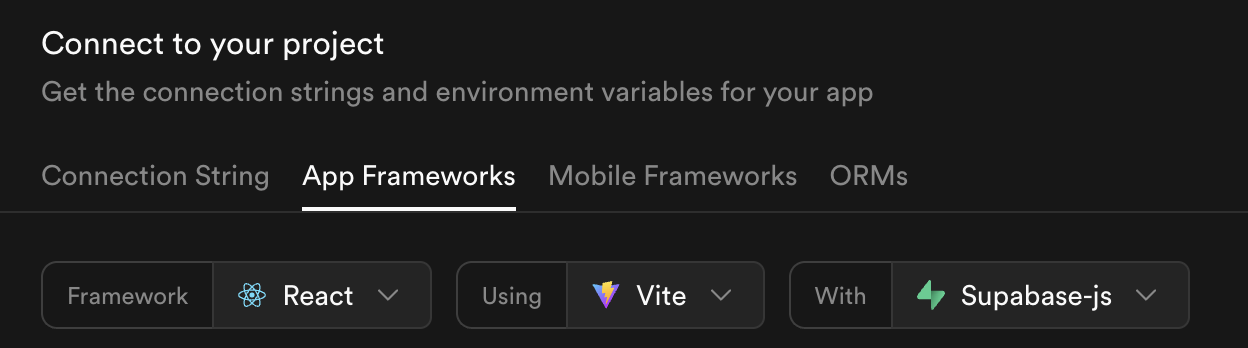
Create a new project, then click the Connect button

- In the App Frameworks section, select React and change
~를 사용하여~에 Vite
- Copy the
VITE_SUPABASE_URL그리고VITE_SUPABASE_ANON_KEYvalues to your.envfile 1 - Navigate to the SQL Editor, paste the content of
supabase/schema.sql, then click 실행
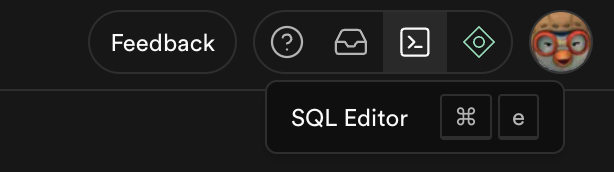
This creates all necessary tables and functions for storing and fetching trading data.
4. Quicknode Setup
- Create a free trial Quicknode account
- Create a Hyperliquid RPC endpoint
- Copy the endpoint URL and paste it to your
.envfile
Make sure you remove the existing /evm and add /정보 at the end of your Quicknode endpoint URL to gain access to the Hyperliquid info endpoints.
5. Start the Application
npm install && npm run dev:both
This runs both the frontend application and the indexer. Open your browser at http://localhost:5173 and use the demo wallet button to see the tracker in action.
Troubleshooting
If the indexer stops responding or no data appears after wallet search, simply re-run the indexer:
npm run dev:indexer
Then search again by inputting a valid wallet address.
미리 보기
Main Page
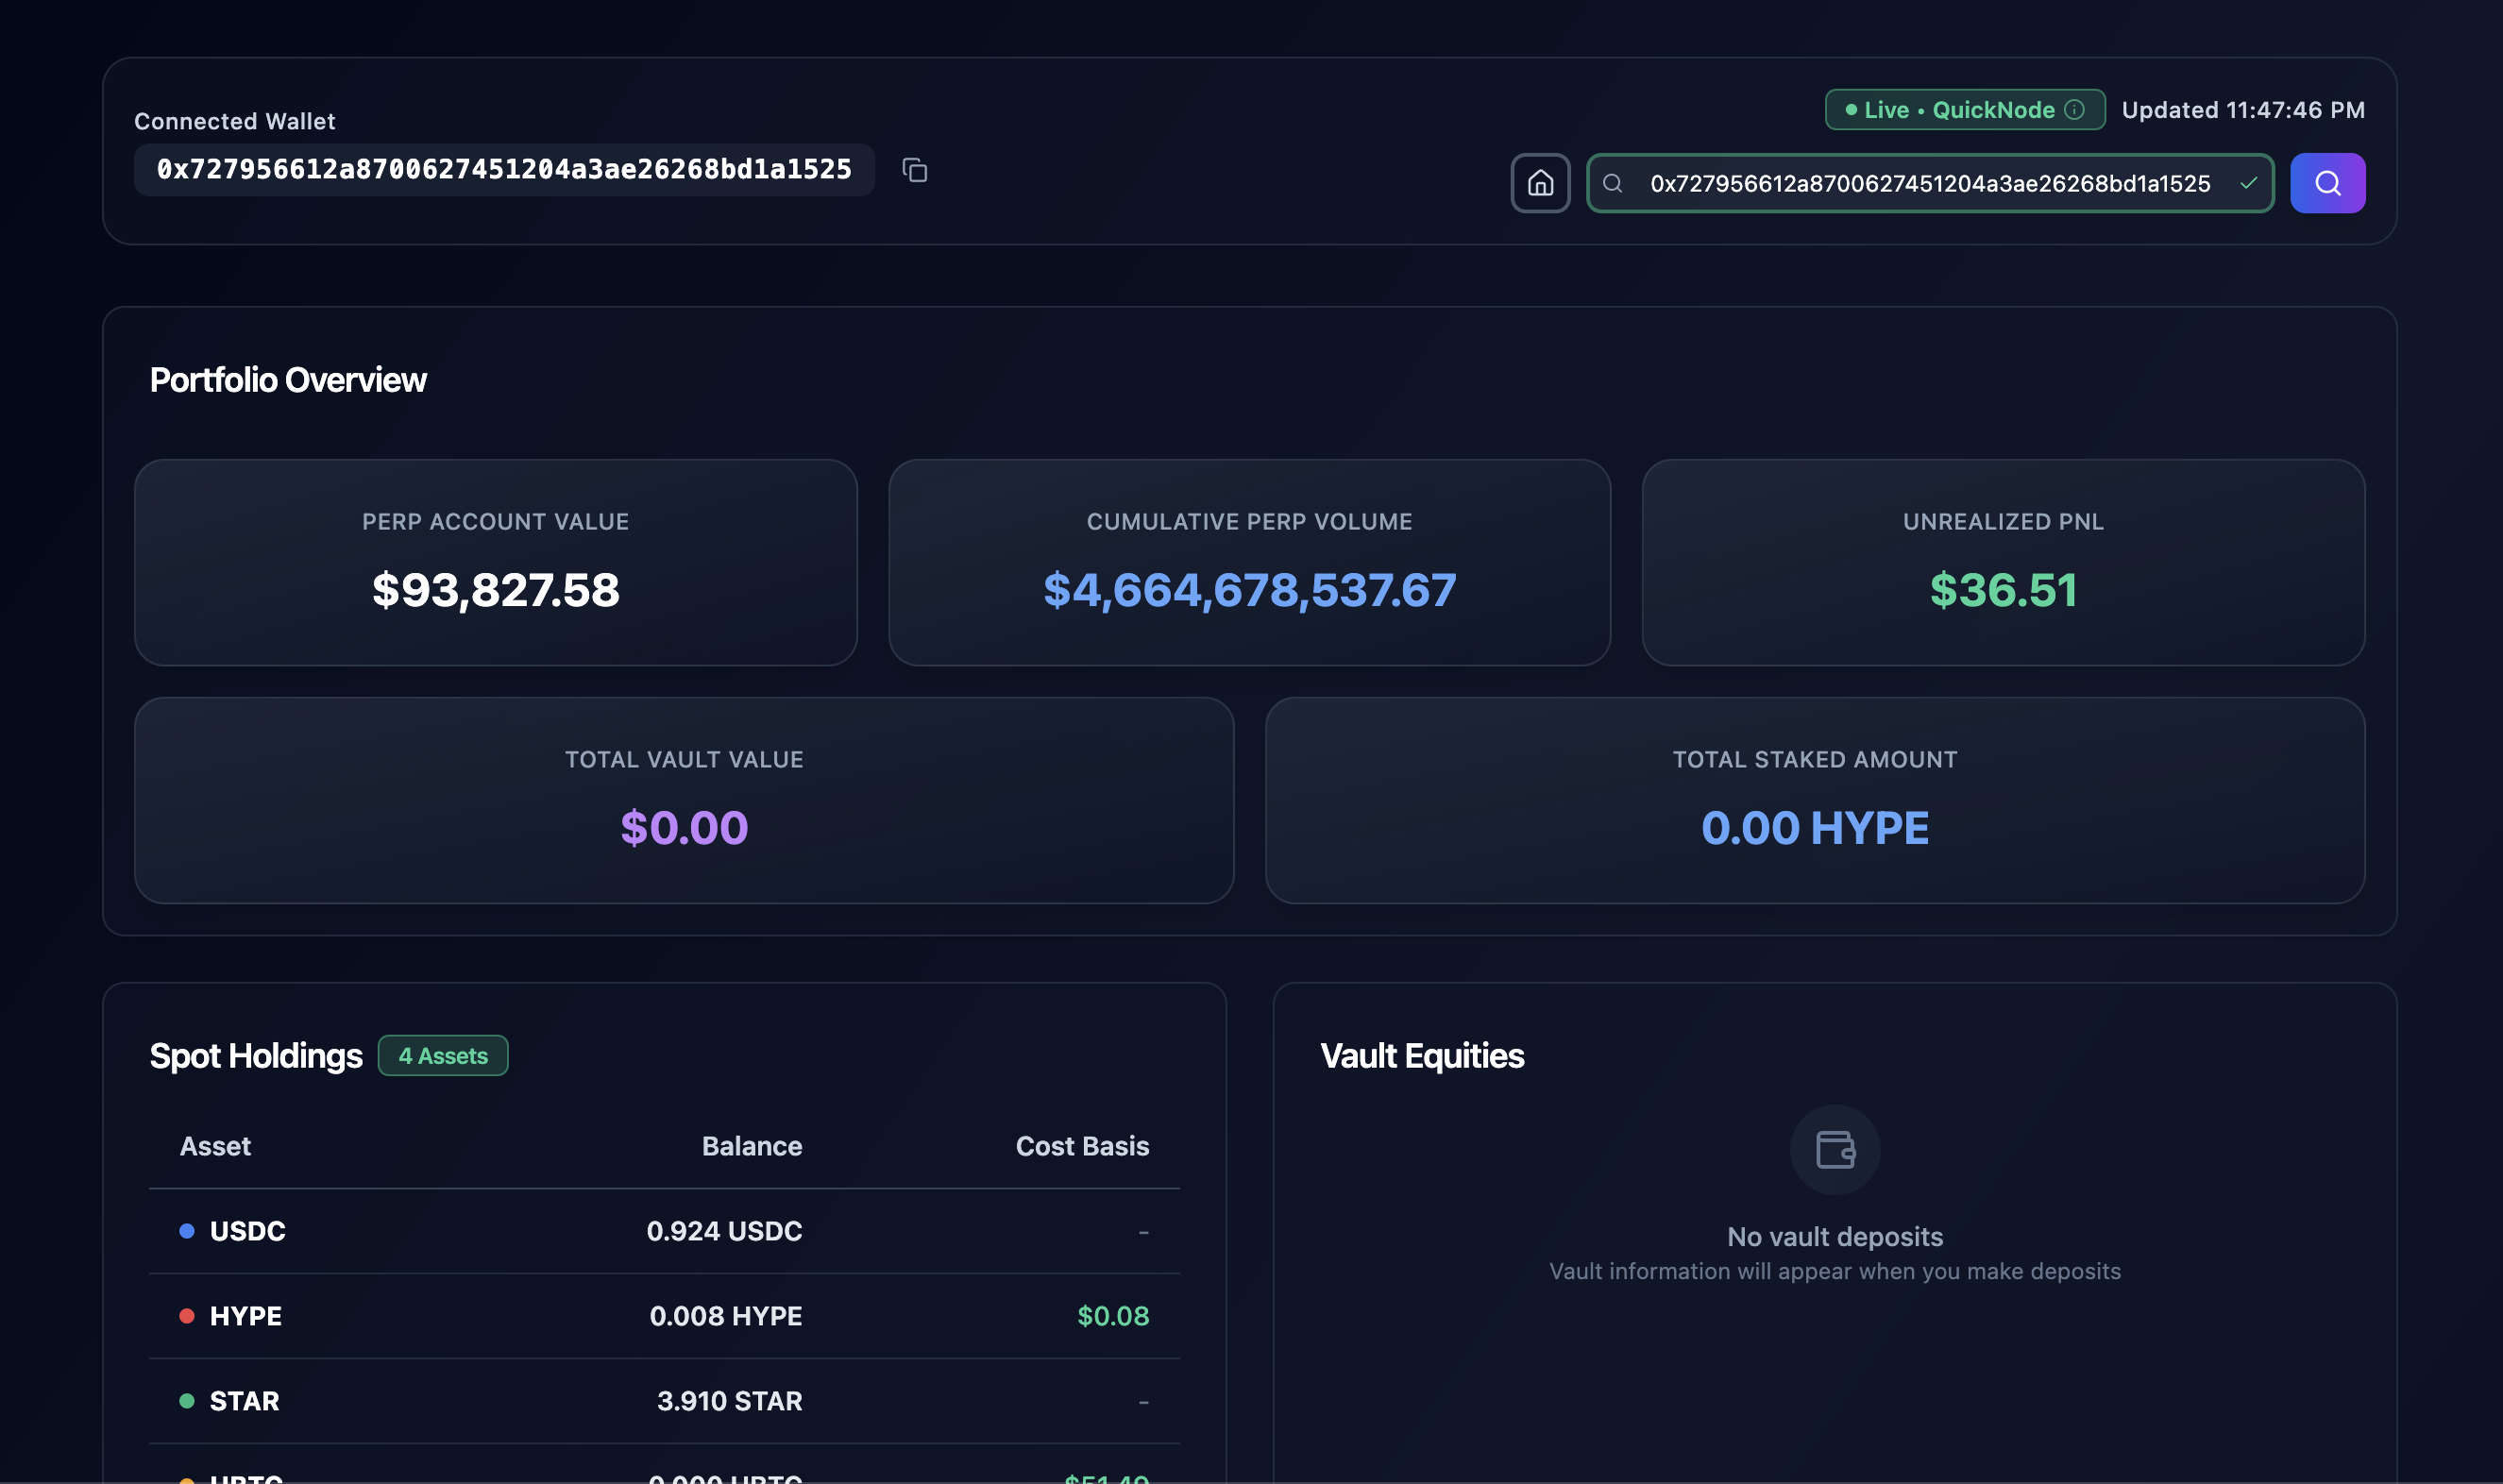
Dashboard View
자세히 알아보기
Future Improvements
- Liquidation Warnings: Alert users when positions approach dangerous margin levels
- Performance Charts: Track portfolio performance over time with Recharts
- Price Alerts: Send notifications using your favorite notification service
- Multi-Wallet Dashboard: Compare multiple trading accounts side-by-side
- 저장소를 포크하기
- 기능 브랜치 생성:git checkout -b feature/amazing-feature
- 변경 사항을 커밋하세요:git commit -m "멋진 기능 추가"
- 브랜치를 푸시하세요:git push origin feature/amazing-feature
- 풀 리퀘스트를 제출하세요.