개요
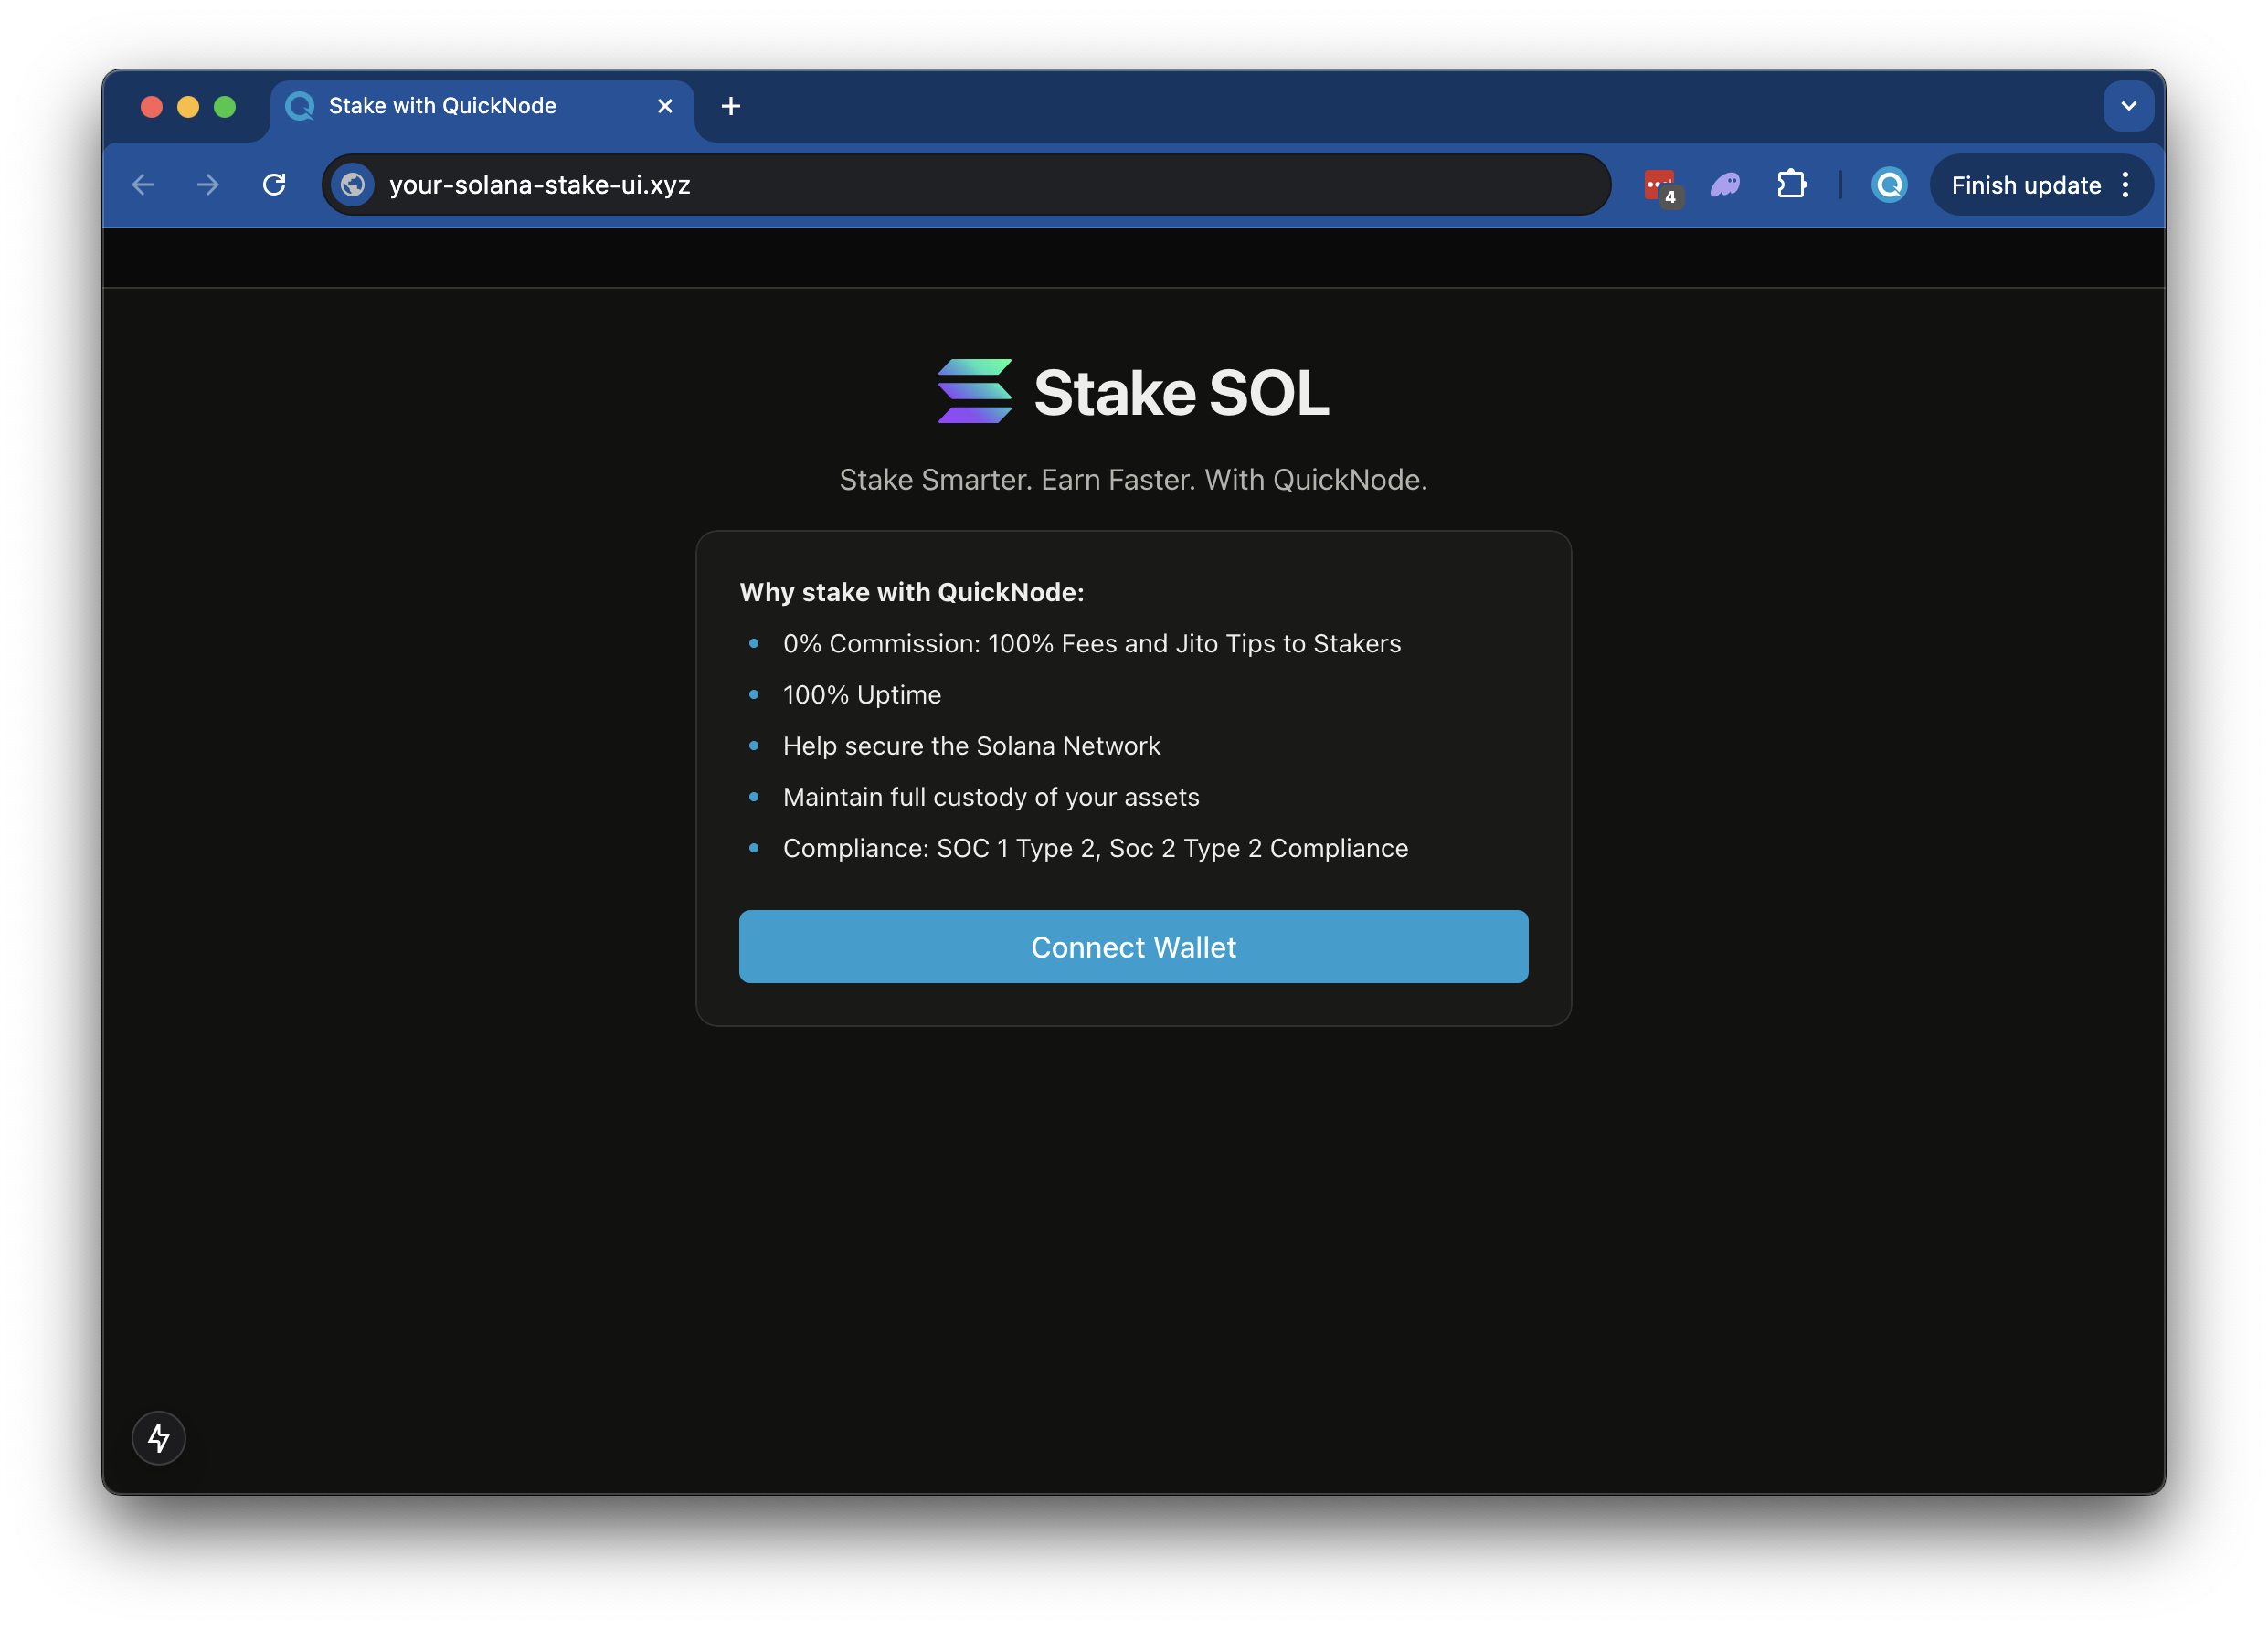
This is a simple demo let's stand up a staking page to easily empower your users to stake to your validator (modeled off of Quicknode Solana Stake UI).
The demo uses
- Solana
- Wallet Standard
- Next.js project bootstrapped with
create-next-app. - Radix UI
시작하기
Install Dependencies
Open the project directory:
cd sample-dapps/solana-staking-ui
Then, install the dependencies:
npm install
# or
yarn
# or
pnpm install
# or
bun install
Set Environment Variables
Make sure you have a Quicknode endpoint handy--you can get one free here.
- Rename
.env.example~에.envand update with your Quicknode Solana Node Endpoint. - Specify which cluster you are using (mainnet-beta, devnet) (using
NEXT_PUBLIC_NETWORK_ENV). - Specify the validator vote address that your staker should stake to (using
NEXT_PUBLIC_VALIDATOR_ADDRESS). The default value,5s3vajJvaAbabQvxFdiMfg14y23b2jvK6K2Mw4PYcYKis Quicknode's validator.
DEVNET_RPC_ENDPOINT=https://example.solana-devnet.quiknode.pro/12345/
MAINNET_RPC_ENDPOINT=https://example.solana-mainnet.quiknode.pro/12345/
NEXT_PUBLIC_NETWORK_ENV=mainnet
NEXT_PUBLIC_VALIDATOR_ADDRESS=5s3vajJvaAbabQvxFdiMfg14y23b2jvK6K2Mw4PYcYK
First, run the development server:
npm run dev
# or
yarn dev
# or
pnpm dev
# or
bun dev
Open http://localhost:3000 with your browser to see the result.
Using the Dapp
- Upload an Image (this will be used for your token metadata)
- Fill out the form with the token details
- Connect your wallet
- Make sure you have ~0.04 SOL in your wallet to cover the new account fees
- If you are using Devnet, you can get free SOL from the Solana Faucet
- Click "Mint" to upload your image and metadata to IPFS and mint your token!
건축
src/
├── app/
│   ├── page.tsx
│   └── layout.tsx
│   └── api/
│       └── balance/
│       │   └── route.ts   # Get wallet SOL balance
│       └── stake/
│       │   └── fetch/route.ts  # Get a wallets' staking accounts
│       │   └── generate/route.ts   # Generate staking accounts
│       └── transaction/
│           └── confirm/route.ts  # Confirm a transaction
└── components/
    ├── stake/     # Various staking components
    └── [supporting components]
└── context/       # Wallet connect context
└── hooks/         # Is wallet connected hook
└── utils/         # Is wallet connected hook
    ├── solana/    # Solana staking and account utils
    └── config.ts  # Network settup
    └── constants.ts
Deploy on Vercel
기여 및 피드백
여러분의 의견을 듣고 싶으며, 이 샘플 앱에 대한 모든 기여를 환영합니다!
문제를 신고하거나 피드백을 공유하려면, 다음에서 GitHub 이슈를 생성해 주세요. qn-가이드-예시 저장소.
기여하시려면 다음 단계를 따르세요:
- 저장소를 포크하기
- 기능 브랜치 생성:git checkout -b feature/amazing-feature
- 변경 사항을 커밋하세요:git commit -m "멋진 기능 추가"
- 브랜치를 푸시하세요:git push origin feature/amazing-feature
- 풀 리퀘스트를 제출하세요.
더 많은 샘플 앱 살펴보기