](https://vercel.com/new/clone?repository-url=https%3A%2F%2Fgithub.com%2Fquiknode-labs%2Fqn-guide-examples%2Ftree%2Fmain%2Fsample-dapps%2Fsolana-wallet-explorer&env=SOLANA_RPC_URL,DAS_API_ENABLED,NEXT_PUBLIC_FETCH_JUPLIST&envDescription=SOLANA_RPC_URL%3A%20Use%20Quicknode%20Solana%20Mainnet%20Endpoint%20%7C%20DAS_API_ENABLED%20%3D%20true%20with%20the%20Metaplex%20product%20enabled%20in%20the%20Quicknode%20Dashboard%20%7C%20NEXT_PUBLIC_FETCH_JUPLIST%20%3D%20true%20to%20fetch%20token%20names&envLink=https%3A%2F%2Fdashboard.quicknode.com%2Fendpoints&project-name=starter-solana-explorer&repository-name=starter-solana-explorer&redirect-url=https%3A%2F%2Fdashboard.quicknode.com%2Fendpoints&demo-title=Quicknode%20Starter%20Solana%20Explorer&demo-image=https%3A%2F%2Fgithub.com%2Fquiknode-labs%2Fqn-guide-examples%2Ftree%2Fmain%2Fsample-dapps%2Fsolana-wallet-explorer%2Fpublic%2Fdemo.png)

개요
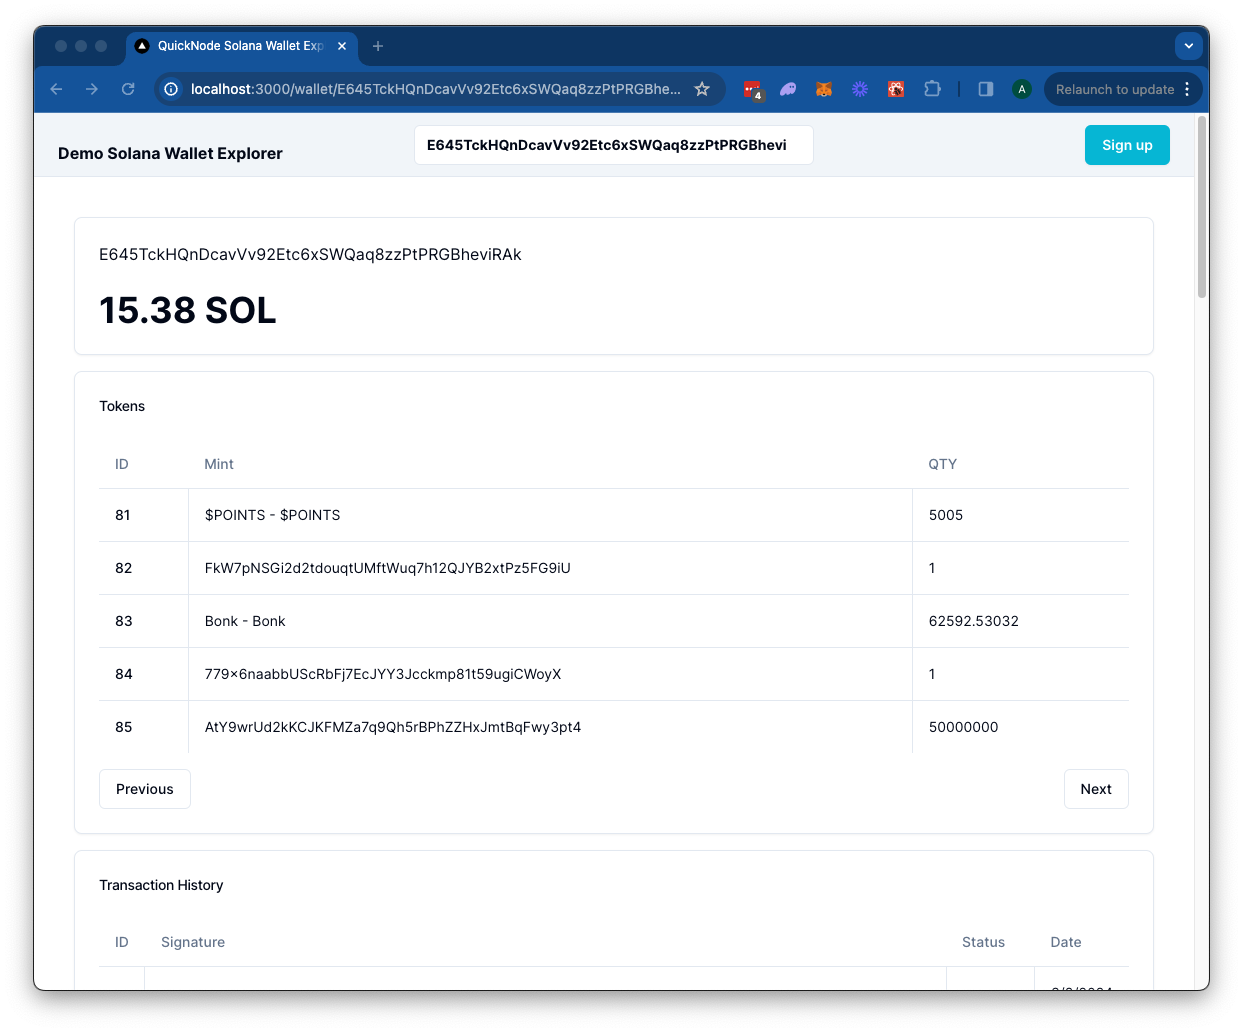
The Solana Wallet Explorer leverages a Quicknode Solana Endpoint to retrieve token balances, transaction history, and NFTs for a specified wallet on the Solana blockchain. It uses a Next.js 14 project bootstrapped with create-next-app.
시작하기
Install Dependencies
First, install the dependencies:
npm install
# or
yarn
# or
pnpm install
# or
bun install
Set Environment Variables
Make sure you have a Quicknode endpoint handy--you can get one free here.
Rename .env.example ~에 .env.local and add your Quicknode Solana endpoint. Set DAS_API_ENABLED ~에 true only if you have access to the Metaplex product.
SOLANA_RPC_URL=https://example.solana-mainnet.quiknode.pro/123456/
DAS_API_ENABLED=true
NEXT_PUBLIC_FETCH_JUPLIST=true
First, run the development server:
npm run dev
# or
yarn dev
# or
pnpm dev
# or
bun dev
Open http://localhost:3000 with your browser to see the result.
Using the Dapp
Search for a Solana wallet address and press enter.
The Dapp will redirect to /wallet/[address] and query the Solana blockchain for the wallet's token balances, transactions, and NFTs. Results are rendered in respective cards.
건축
src/
├── app/
│   └── api/
│       └── wallet/
├── components/
    ├── explorer/
    └── header/
api- Contains the API routes for the Solana RPC calls. These can be accessed from the client via/api/wallet/[method]?walletAddress=[address]. These GET requests utilize the@solana/web3.jslibrary and Metaplex Digital Asset Standard framework to handle queries.components- Contains the React components for the dapp.- 그
explorercomponent contains client-side components that call the API routes and render the results. - 그
헤더component contains the search bar for the dapp.
- 그
Deploy on Vercel

미리 보기
Next.js Documentation
To learn more about Next.js, take a look at the following resources:
- Next.js Documentation - learn about Next.js features and API.
- Learn Next.js - an interactive Next.js tutorial.
You can check out the Next.js GitHub repository - your feedback and contributions are welcome!
- 저장소를 포크하기
- 기능 브랜치 생성:git checkout -b feature/amazing-feature
- 변경 사항을 커밋하세요:git commit -m "멋진 기능 추가"
- 브랜치를 푸시하세요:git push origin feature/amazing-feature
- 풀 리퀘스트를 제출하세요.