개요
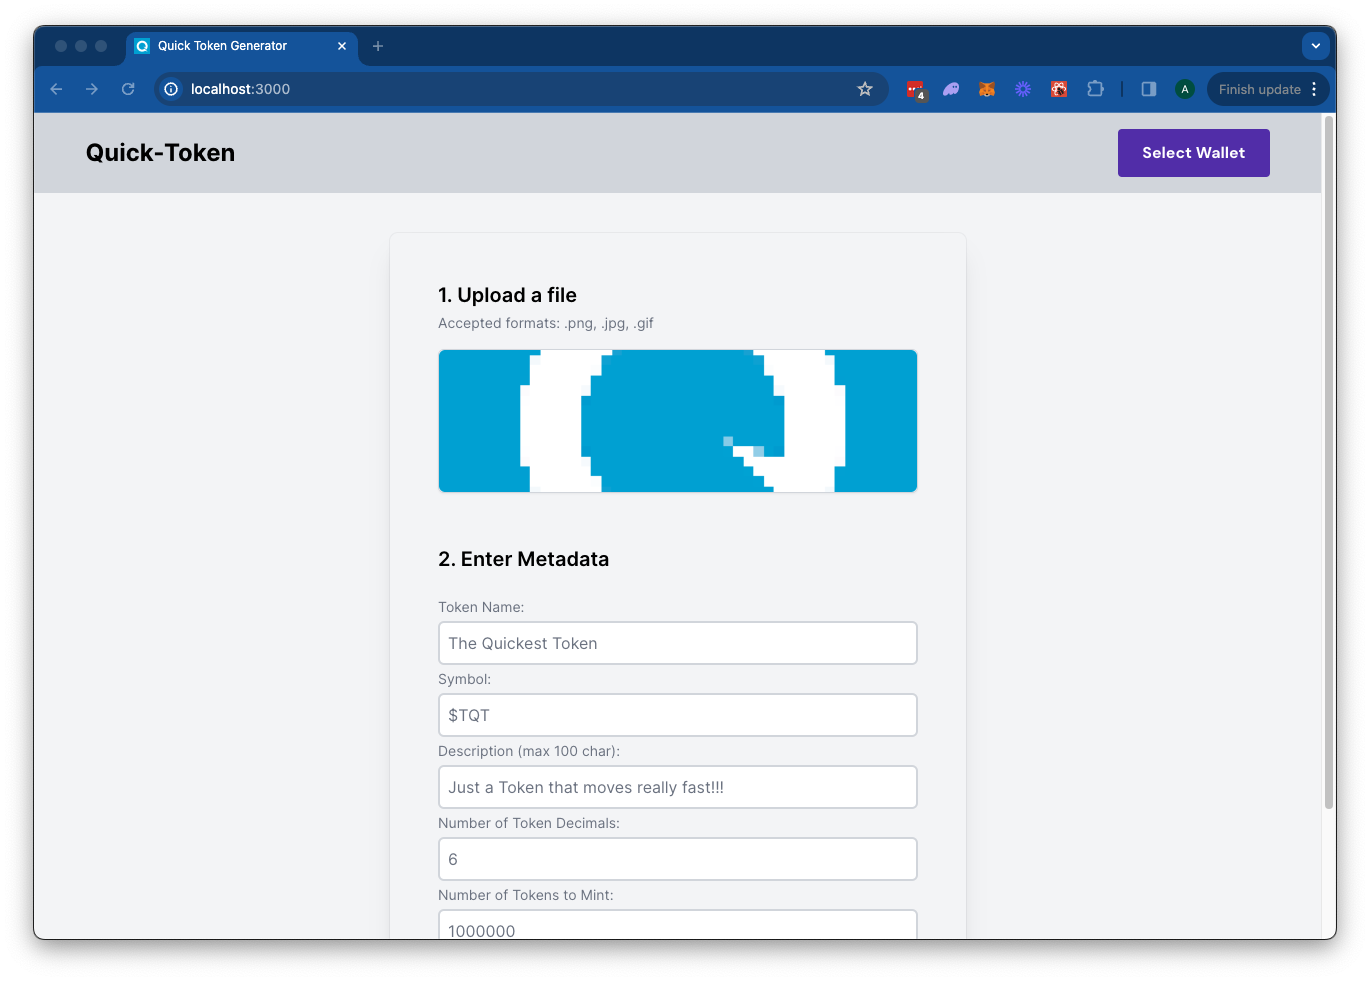
The Solana Token Minter app allows you to create fungible tokens on the Solana blockchain with built-in support for IPFS image uploads using Quicknode's IPFS API. Simply upload an image for your token metadata, fill out the token details, and connect your wallet. Click "Mint" to upload your metadata to IPFS and mint your token seamlessly.This app uses Next.js 14 project bootstrapped with create-next-app.
시작하기
Install Dependencies
Open the project directory:
cd sample-dapps/solana-token-maker
Then, install the dependencies:
npm install
# or
yarn
# or
pnpm install
# or
bun install
Set Environment Variables
Make sure you have a Quicknode endpoint handy--you can get one free here.
- Rename
.env.example~에.env.localand update with your Quicknode Solana Node Endpoint and Quicknode IPFS key. - Make sure to update the cluster to ensure your transaction URLs point to the correct explorer (use only of the enum values provided in the
.env.examplefile). - You can use Quicknode's public IPFS Gateway URL or replace it with your own.
QN_IPFS_API=QN_abc123456789xyz_REPLACE_THIS
QN_ENDPOINT=https://example.solana-mainnet.quiknode.pro/123456
NEXT_PUBLIC_CLUSTER=mainnet-beta # mainnet-beta | devnet | testnet | local
NEXT_PUBLIC_GATEWAY_URL=https://quicknode.quicknode-ipfs.com/ipfs/
First, run the development server:
npm run dev
# or
yarn dev
# or
pnpm dev
# or
bun dev
Open http://localhost:3000 with your browser to see the result.
Using the Dapp
- Upload an Image (this will be used for your token metadata)
- Fill out the form with the token details
- Connect your wallet
- Make sure you have ~0.04 SOL in your wallet to cover the new account fees
- If you are using Devnet, you can get free SOL from the Solana Faucet
- Click "Mint" to upload your image and metadata to IPFS and mint your token!
건축
src/
├── app/
│   ├── page.tsx
│   └── layout.tsx
│   └── api/
│       └── solana/
│           └── createMintTx/route.ts   # Create New Mint Transaction
│           └── sendAndConfirm/route.ts # Send and Confirm Transaction
│       └── upload/
│           └── image/route.ts  # IPFS Image Upload
│           └── json/route.ts   # IPFS JSON Upload
└── components/
    ├── SolanaProviders.tsx     # Wallet Adapter Context providers
    ├── Minter.tsx              # Main component
    └── [supporting components]
Deploy on Vercel
Next.js Documentation
To learn more about Next.js, take a look at the following resources:
- Next.js Documentation - learn about Next.js features and API.
- Learn Next.js - an interactive Next.js tutorial.
You can check out the Next.js GitHub repository - your feedback and contributions are welcome!
기여 및 피드백
여러분의 의견을 듣고 싶으며, 이 샘플 앱에 대한 모든 기여를 환영합니다!
문제를 신고하거나 피드백을 공유하려면, 다음에서 GitHub 이슈를 생성해 주세요. qn-가이드-예시 저장소.
기여하시려면 다음 단계를 따르세요:
- 저장소를 포크하기
- 기능 브랜치 생성:git checkout -b feature/amazing-feature
- 변경 사항을 커밋하세요:git commit -m "멋진 기능 추가"
- 브랜치를 푸시하세요:git push origin feature/amazing-feature
- 풀 리퀘스트를 제출하세요.
더 많은 샘플 앱 살펴보기