返回範例應用程式
Solana Staking UI
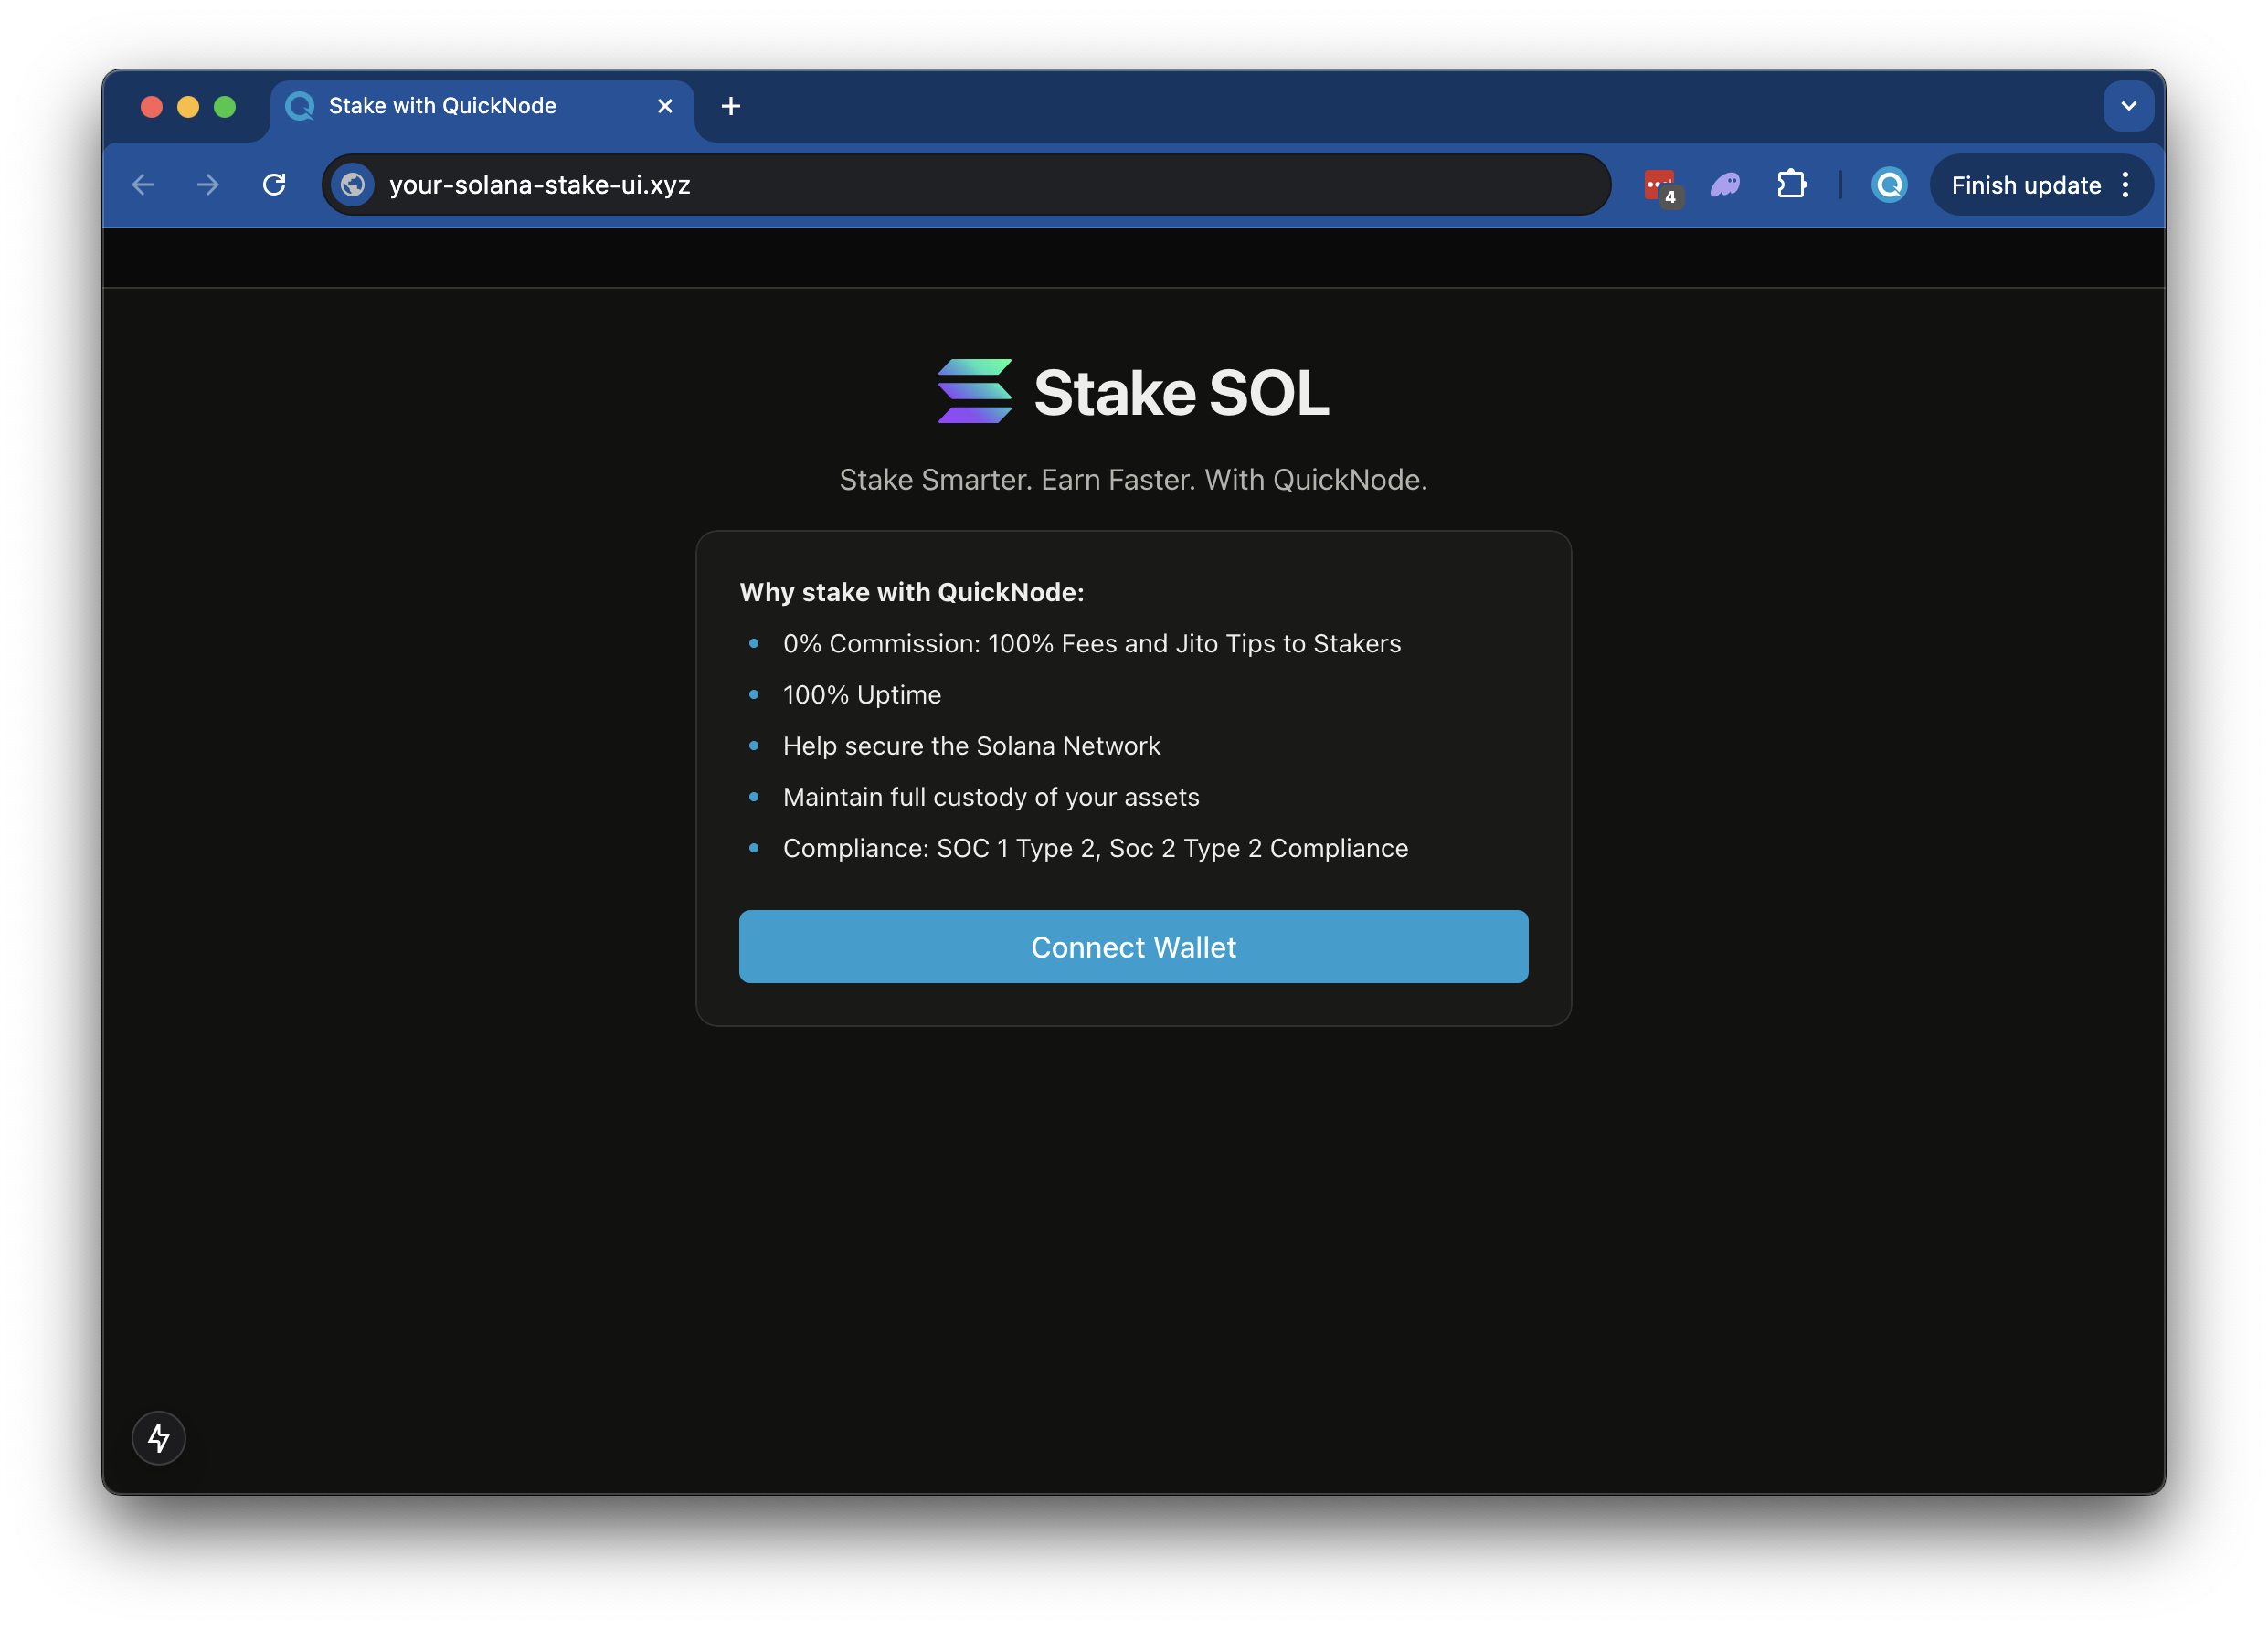
This application lets users quickly stake to your Solana validator with minimal setup. It comes with pre-configured wallet connections, allowing your users to connect their preferred Solana wallets and stake their tokens directly to your validator node through a simple, streamlined interface.
作者



前端框架/函式庫:
React
語言:
TypeScript
建置工具/開發伺服器:
Next.js
概覽
This is a simple demo let's stand up a staking page to easily empower your users to stake to your validator (modeled off of Quicknode Solana Stake UI).
此示範程式使用
- Solana
- Wallet Standard
- Next.js 此專案採用以下方式啟動:
create-next-app. - Radix UI
開始使用
安裝依賴項
開啟專案目錄:
cd sample-dapps/solana-staking-ui
接著,安裝依賴項:
npm 安裝
# 或
yarn
# 或
pnpm 安裝
# 或
bun 安裝
設定環境變數
Make sure you have a Quicknode endpoint handy--you can get one free here.
- 重新命名
.env.example至.envand update with your Quicknode Solana Node Endpoint. - Specify which cluster you are using (mainnet-beta, devnet) (using
NEXT_PUBLIC_NETWORK_ENV). - Specify the validator vote address that your staker should stake to (using
NEXT_PUBLIC_VALIDATOR_ADDRESS). The default value,5s3vajJvaAbabQvxFdiMfg14y23b2jvK6K2Mw4PYcYKis Quicknode's validator.
DEVNET_RPC_ENDPOINT=https://example.solana-devnet.quiknode.pro/12345/
MAINNET_RPC_ENDPOINT=https://example.solana-mainnet.quiknode.pro/12345/
NEXT_PUBLIC_NETWORK_ENV=mainnet
NEXT_PUBLIC_VALIDATOR_ADDRESS=5s3vajJvaAbabQvxFdiMfg14y23b2jvK6K2Mw4PYcYK
首先,執行開發伺服器:
npm 執行 dev
# 或
yarn dev
# 或
pnpm dev
# 或
bun dev
請使用瀏覽器開啟http://localhost:3000以查看結果。
使用 Dapp
- Upload an Image (this will be used for your token metadata)
- Fill out the form with the token details
- Connect your wallet
- Make sure you have ~0.04 SOL in your wallet to cover the new account fees
- If you are using Devnet, you can get free SOL from the Solana Faucet
- Click "Mint" to upload your image and metadata to IPFS and mint your token!
建築
src/
├── app/
│   ├── page.tsx
│   └── layout.tsx
│   └── api/
│       └── balance/
│       │   └── route.ts   # Get wallet SOL balance
│       └── stake/
│       │   └── fetch/route.ts  # Get a wallets' staking accounts
│       │   └── generate/route.ts   # Generate staking accounts
│       └── transaction/
│           └── confirm/route.ts  # Confirm a transaction
└── components/
    ├── stake/     # Various staking components
    └── [supporting components]
└── context/       # Wallet connect context
└── hooks/         # Is wallet connected hook
└── utils/         # Is wallet connected hook
    ├── solana/    # Solana staking and account utils
    └── config.ts  # Network settup
    └── constants.ts
部署至 Vercel
貢獻與回饋
我們非常樂意聽取您的意見,並歡迎您為這個範例應用程式提供任何貢獻!
若要回報問題或提供意見回饋,請在 qn-guide-examples 儲存庫。
若要貢獻,請依照以下步驟操作:
- 分叉此儲存庫
- 建立功能分支:git checkout -b feature/amazing-feature
- 將您的變更提交:git commit -m "新增超棒的功能"
- 推送您的分支:git push origin feature/amazing-feature
- 開啟一個 Pull Request。
探索更多範例應用程式