概覽
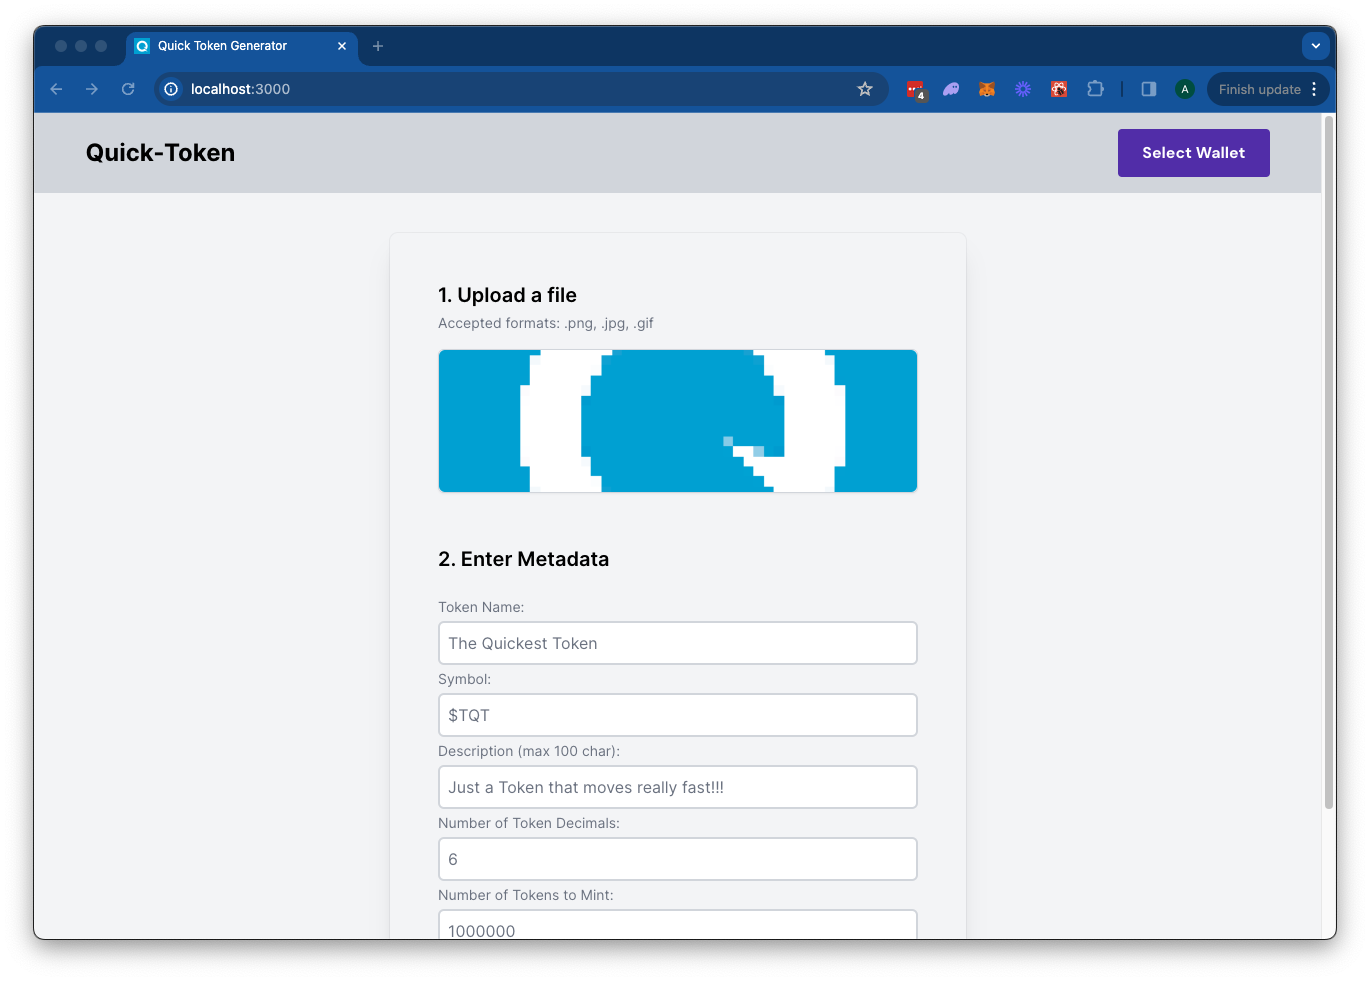
The Solana Token Minter app allows you to create fungible tokens on the Solana blockchain with built-in support for IPFS image uploads using Quicknode's IPFS API. Simply upload an image for your token metadata, fill out the token details, and connect your wallet. Click "Mint" to upload your metadata to IPFS and mint your token seamlessly.This app uses Next.js 14 此專案採用以下方式啟動: create-next-app.
開始使用
安裝依賴項
開啟專案目錄:
cd sample-dapps/solana-token-maker
接著,安裝依賴項:
npm 安裝
# 或
yarn
# 或
pnpm 安裝
# 或
bun 安裝
設定環境變數
Make sure you have a Quicknode endpoint handy--you can get one free here.
- 重新命名
.env.example至.env.localand update with your Quicknode Solana Node Endpoint and Quicknode IPFS key. - Make sure to update the cluster to ensure your transaction URLs point to the correct explorer (use only of the enum values provided in the
.env.examplefile). - You can use Quicknode's public IPFS Gateway URL or replace it with your own.
QN_IPFS_API=QN_abc123456789xyz_REPLACE_THIS
QN_ENDPOINT=https://example.solana-mainnet.quiknode.pro/123456
NEXT_PUBLIC_CLUSTER=mainnet-beta # mainnet-beta | devnet | testnet | local
NEXT_PUBLIC_GATEWAY_URL=https://quicknode.quicknode-ipfs.com/ipfs/
首先,執行開發伺服器:
npm 執行 dev
# 或
yarn dev
# 或
pnpm dev
# 或
bun dev
請使用瀏覽器開啟http://localhost:3000以查看結果。
使用 Dapp
- Upload an Image (this will be used for your token metadata)
- Fill out the form with the token details
- Connect your wallet
- Make sure you have ~0.04 SOL in your wallet to cover the new account fees
- If you are using Devnet, you can get free SOL from the Solana Faucet
- Click "Mint" to upload your image and metadata to IPFS and mint your token!
建築
src/
├── app/
│   ├── page.tsx
│   └── layout.tsx
│   └── api/
│       └── solana/
│           └── createMintTx/route.ts   # Create New Mint Transaction
│           └── sendAndConfirm/route.ts # Send and Confirm Transaction
│       └── upload/
│           └── image/route.ts  # IPFS Image Upload
│           └── json/route.ts   # IPFS JSON Upload
└── components/
    ├── SolanaProviders.tsx     # Wallet Adapter Context providers
    ├── Minter.tsx              # Main component
    └── [supporting components]
部署至 Vercel
Next.js 文件
若想進一步了解 Next.js,請參考以下資源:
- Next.js 文件— 了解 Next.js 的功能與 API。
- 學習 Next.js—— 一套互動式 Next.js 教學指南。
您可以瀏覽Next.js 的 GitHub 儲存庫——歡迎提供您的意見回饋與貢獻!
貢獻與回饋
我們非常樂意聽取您的意見,並歡迎您為這個範例應用程式提供任何貢獻!
若要回報問題或提供意見回饋,請在 qn-guide-examples 儲存庫。
若要貢獻,請依照以下步驟操作:
- 分叉此儲存庫
- 建立功能分支:git checkout -b feature/amazing-feature
- 將您的變更提交:git commit -m "新增超棒的功能"
- 推送您的分支:git push origin feature/amazing-feature
- 開啟一個 Pull Request。
探索更多範例應用程式