概述
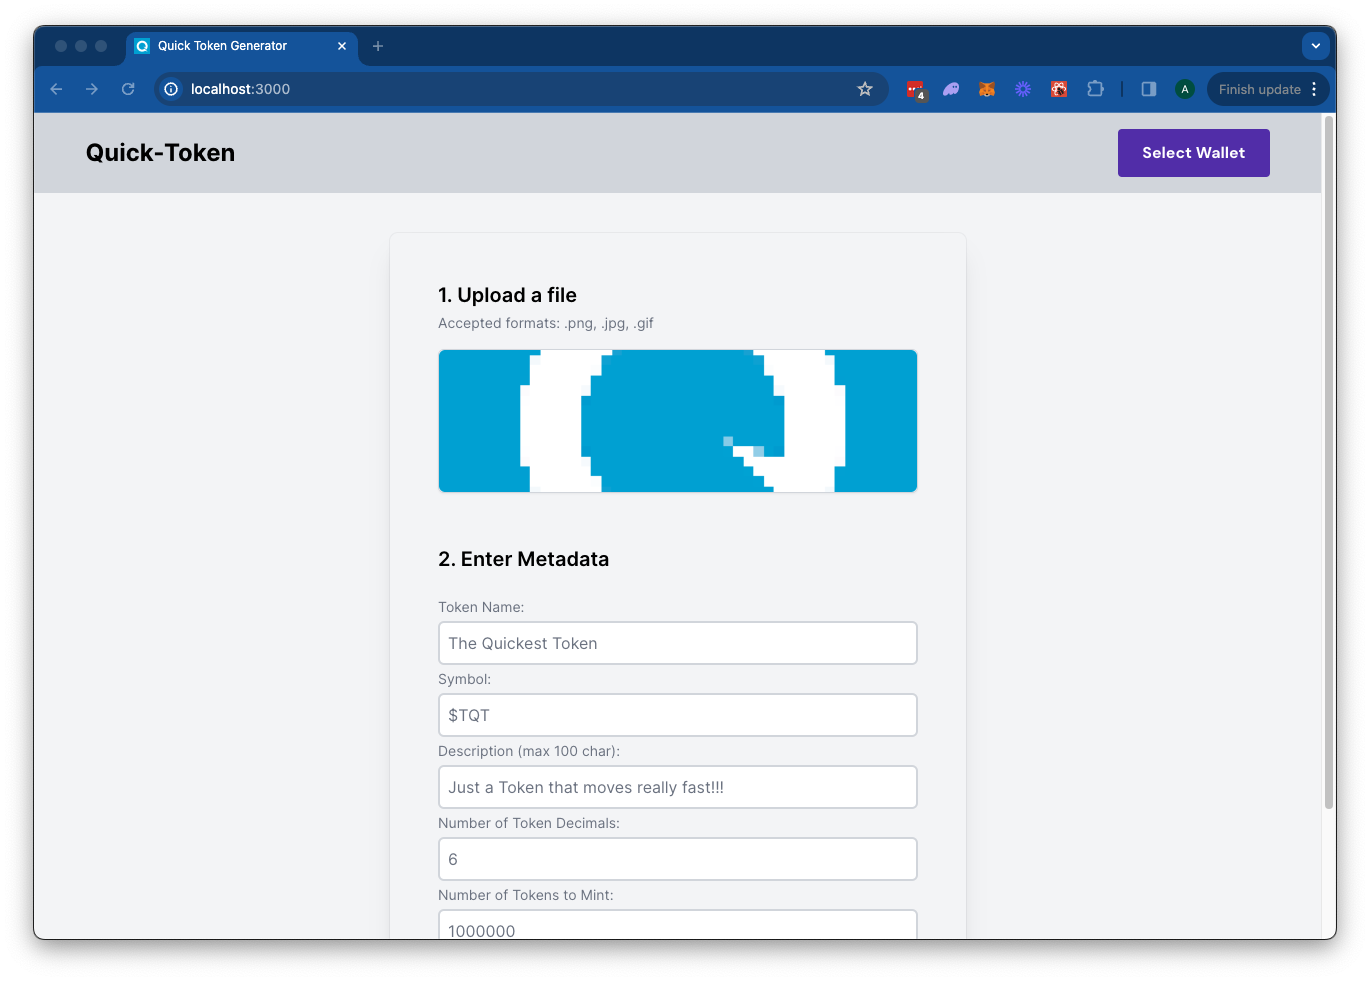
The Solana Token Minter app allows you to create fungible tokens on the Solana blockchain with built-in support for IPFS image uploads using Quicknode's IPFS API. Simply upload an image for your token metadata, fill out the token details, and connect your wallet. Click "Mint" to upload your metadata to IPFS and mint your token seamlessly.This app uses Next.js 14 project bootstrapped with create-next-app.
入门指南
Install Dependencies
Open the project directory:
cd sample-dapps/solana-token-maker
Then, install the dependencies:
npm install
# or
yarn
# or
pnpm install
# or
bun install
Set Environment Variables
Make sure you have a Quicknode endpoint handy--you can get one free here.
- 重命名
.env.example到.env.localand update with your Quicknode Solana Node Endpoint and Quicknode IPFS key. - Make sure to update the cluster to ensure your transaction URLs point to the correct explorer (use only of the enum values provided in the
.env.examplefile). - You can use Quicknode's public IPFS Gateway URL or replace it with your own.
QN_IPFS_API=QN_abc123456789xyz_REPLACE_THIS
QN_ENDPOINT=https://example.solana-mainnet.quiknode.pro/123456
NEXT_PUBLIC_CLUSTER=mainnet-beta # mainnet-beta | devnet | testnet | local
NEXT_PUBLIC_GATEWAY_URL=https://quicknode.quicknode-ipfs.com/ipfs/
First, run the development server:
npm run dev
# or
yarn dev
# or
pnpm dev
# or
bun dev
Open http://localhost:3000 with your browser to see the result.
Using the Dapp
- Upload an Image (this will be used for your token metadata)
- Fill out the form with the token details
- Connect your wallet
- Make sure you have ~0.04 SOL in your wallet to cover the new account fees
- If you are using Devnet, you can get free SOL from the Solana Faucet
- Click "Mint" to upload your image and metadata to IPFS and mint your token!
建筑
src/
├── app/
│   ├── page.tsx
│   └── layout.tsx
│   └── api/
│       └── solana/
│           └── createMintTx/route.ts   # Create New Mint Transaction
│           └── sendAndConfirm/route.ts # Send and Confirm Transaction
│       └── upload/
│           └── image/route.ts  # IPFS Image Upload
│           └── json/route.ts   # IPFS JSON Upload
└── components/
    ├── SolanaProviders.tsx     # Wallet Adapter Context providers
    ├── Minter.tsx              # Main component
    └── [supporting components]
部署到 Vercel
Next.js Documentation
To learn more about Next.js, take a look at the following resources:
- Next.js Documentation - learn about Next.js features and API.
- Learn Next.js - an interactive Next.js tutorial.
You can check out the Next.js GitHub repository - your feedback and contributions are welcome!
投稿与反馈
我们非常期待收到您的反馈,并欢迎大家为本示例应用贡献力量!
如需报告问题或提供反馈,请在 qn-guide-示例 存储库。
如需贡献,请按照以下步骤操作:
- 分叉该仓库
- 创建一个功能分支:git checkout -b feature/amazing-feature
- 提交您的更改:git commit -m "添加超棒的功能"
- 推送您的分支:git push origin feature/amazing-feature
- 提交一个拉取请求。
探索更多示例应用