Solana -Blinker
Mit der Solana Blinker-App können Sie Solana erstellen und Solana in die entsprechenden Aktionen auflösen.



Übersicht
Mit der Anwendung Solana Blinker“ können Sie Solana erstellen und mit Solana interagieren, indem Sie Solana in die entsprechenden Aktionen auflösen. Mit diesem Tool können Sie eine gültige Aktions-URL eingeben, um deren Details anzuzeigen, Ihre Wallet verbinden, um verfügbare Aktionen auszuführen, und neue Aktionen gemäß der vorgegebenen Struktur erstellen. Ganz gleich, ob Sie bestehende Aktionen auflösen oder neue erstellen – diese App vereinfacht die Interaktion mit Solana .
Es verwendet ein Next.js 14 Projekt, das mit create-next-app.
Hintergrund
Solana bieten eine standardisierte Möglichkeit, signierbare Transaktionen oder Nachrichten von einer Anwendung direkt an einen Nutzer zu übermitteln. Blinks sind Client-Apps, die Solana in teilbare, metadatenreiche Benutzeroberflächen umwandeln, über die man mit den Actions interagieren und diese ausführen kann. Weitere Informationen finden Sie in unserem Leitfaden zu Solana .
Erste Schritte
Abhängigkeiten installieren
Öffnen Sie das Projektverzeichnis:
cdsolana
Installieren Sie anschließend die Abhängigkeiten:
npm install
# oder
yarn
# oder
pnpm install
# oder
bun install
Umgebungsvariablen festlegen
Stellen Sie sicher, dass Sie einenendpoint zur Hand haben – hier könnenendpoint kostenlos einen erhalten.
- Umbenennen
.env.examplezu.env.localund aktualisieren Sie ihn mit Ihrem Quicknode Solana Endpoint. - Stellen Sie sicher, dass Sie den Cluster aktualisieren, damit Ihre Transaktions-URLs auf den richtigen Explorer verweisen (verwenden Sie ausschließlich die in der
.env.exampleDatei).
QN_ENDPOINT=mainnet
mainnet# mainnet| devnet | testnet  local
Starten Sie zunächst den Entwicklungsserver:
npm run dev
# oder
yarn dev
# oder
pnpm dev
# oder
bun dev
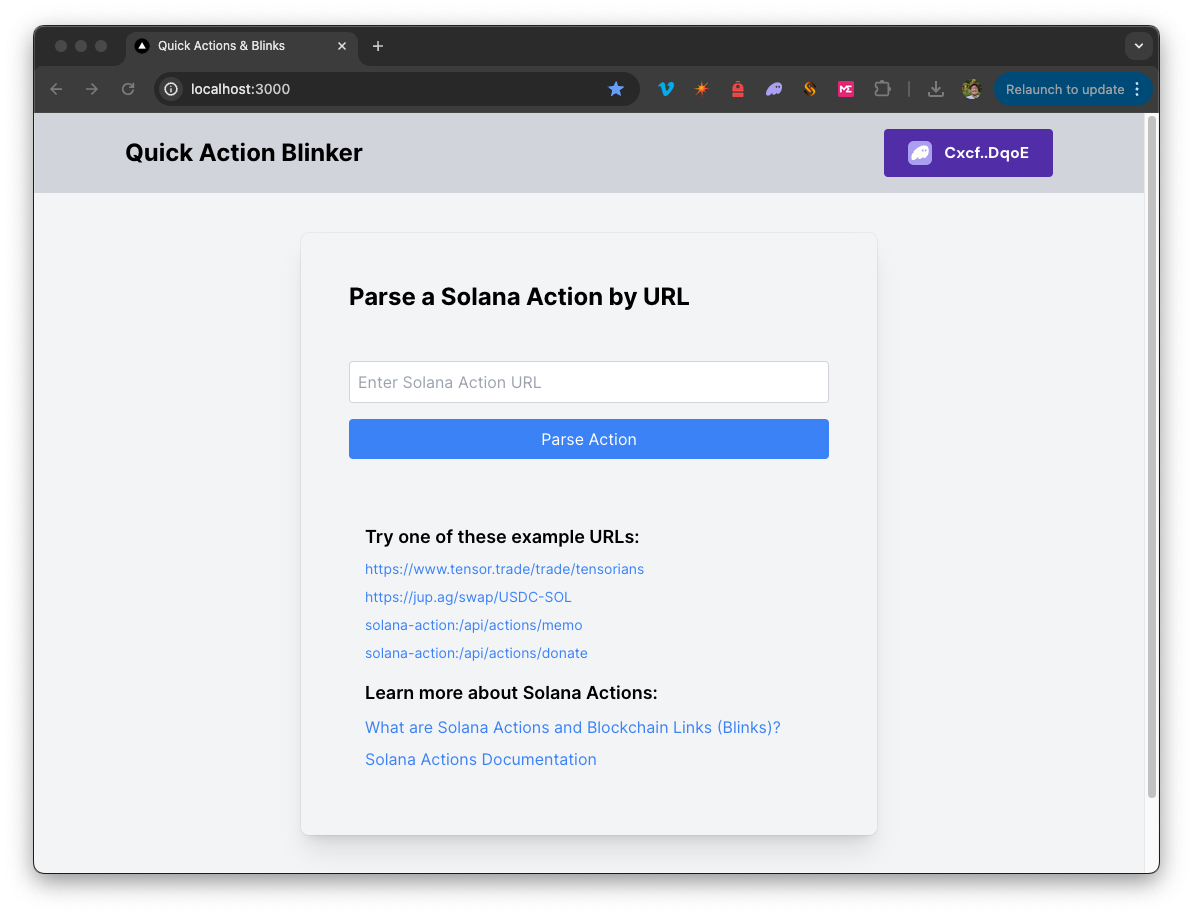
Öffnen Sie http://localhost:3000 in Ihrem Browser, um das Ergebnis anzuzeigen.
Nutzung der Dapp
- Geben Sie eine gültige Solana in das Eingabefeld ein. Sie können einen der Beispiel-Links auf der Startseite kopieren und einfügen.
- Klicken Sie auf „Aktion analysieren“, um die Details der analysierten Aktion anzuzeigen.
- Sie sehen die analysierten Details der Aktions-URL. Um die verfügbaren Aktionen anzuzeigen und auszuführen, verbinden Sie eine Wallet.
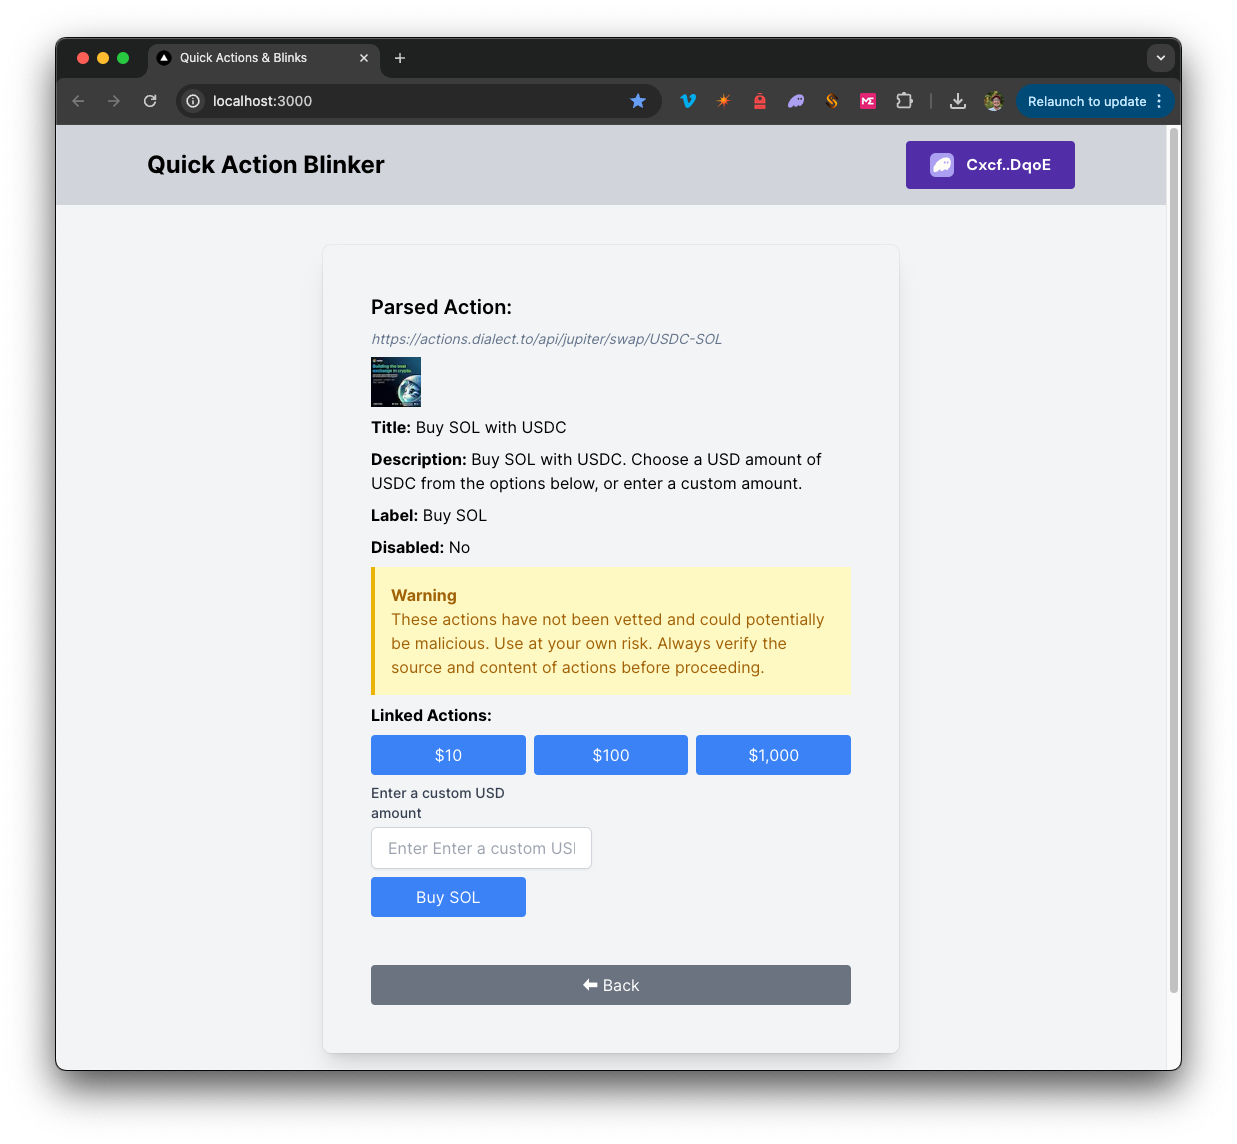
- Klicken Sie auf eine der verfügbaren Aktionen, um diese auszuführen (Sie müssen die Transaktion signieren, sobald Sie von Ihrer Wallet dazu aufgefordert werden).
- Sie können weitere Aktionen erstellen, indem Sie sich an die Struktur in
solana
Architektur
src/
├── app/
│   ├── page.tsx # Hauptseite für Blink
│   └── layout.tsx # Layout für die Seite
│   └── api/
│       └── solana
│           └── sendAndConfirm/route.ts # Transaktion senden und bestätigen
│       └── actions/
│           └── memo/route.ts  # Erstellt eine Solana für eine Notiz
│           └── donate/route.ts  # Erstellt eine Solana „Donate“
└── components/
│   ├── ActionComponents/     # Enthält Komponenten zum Parsen und Ausführen von Solana
│   ├── Blink.tsx        # Hauptkomponente
│   ├── SolanaProviders.tsx     # Anbieter für den Wallet-Adapter-Kontext
│   └── [unterstützende Komponenten]
└── hooks/
│   ├── useActionFetch.ts  # Ruft Solana über URLs ab und wertet sie aus
│   └── useTransactionProcessor.ts  # Führt Solana aus
└── utils/ # Enthält verschiedene Hilfsfunktionen und Konstanten
Auf Vercel bereitstellen
Next.js-Dokumentation
Wenn Sie mehr über Next.js erfahren möchten, sehen Sie sich die folgenden Ressourcen an:
- Next.js-Dokumentation – Erfahren Sie mehr über die Funktionen und die API von Next.js.
- Next.js lernen – ein interaktives Next.js-Tutorial.
Schaut euch doch mal das Next.js-GitHub-Repository an – wir freuen uns über euer Feedback und eure Beiträge!
- Das Repository forken
- Erstelle einen Feature-Branch:git checkout -b feature/amazing-feature
- Speichere deine Änderungen:git commit -m "Tolle Funktion hinzufügen"
- Deinen Branch pushen:git push origin feature/amazing-feature
- Erstelle einen Pull Request.