Solana Staking UI
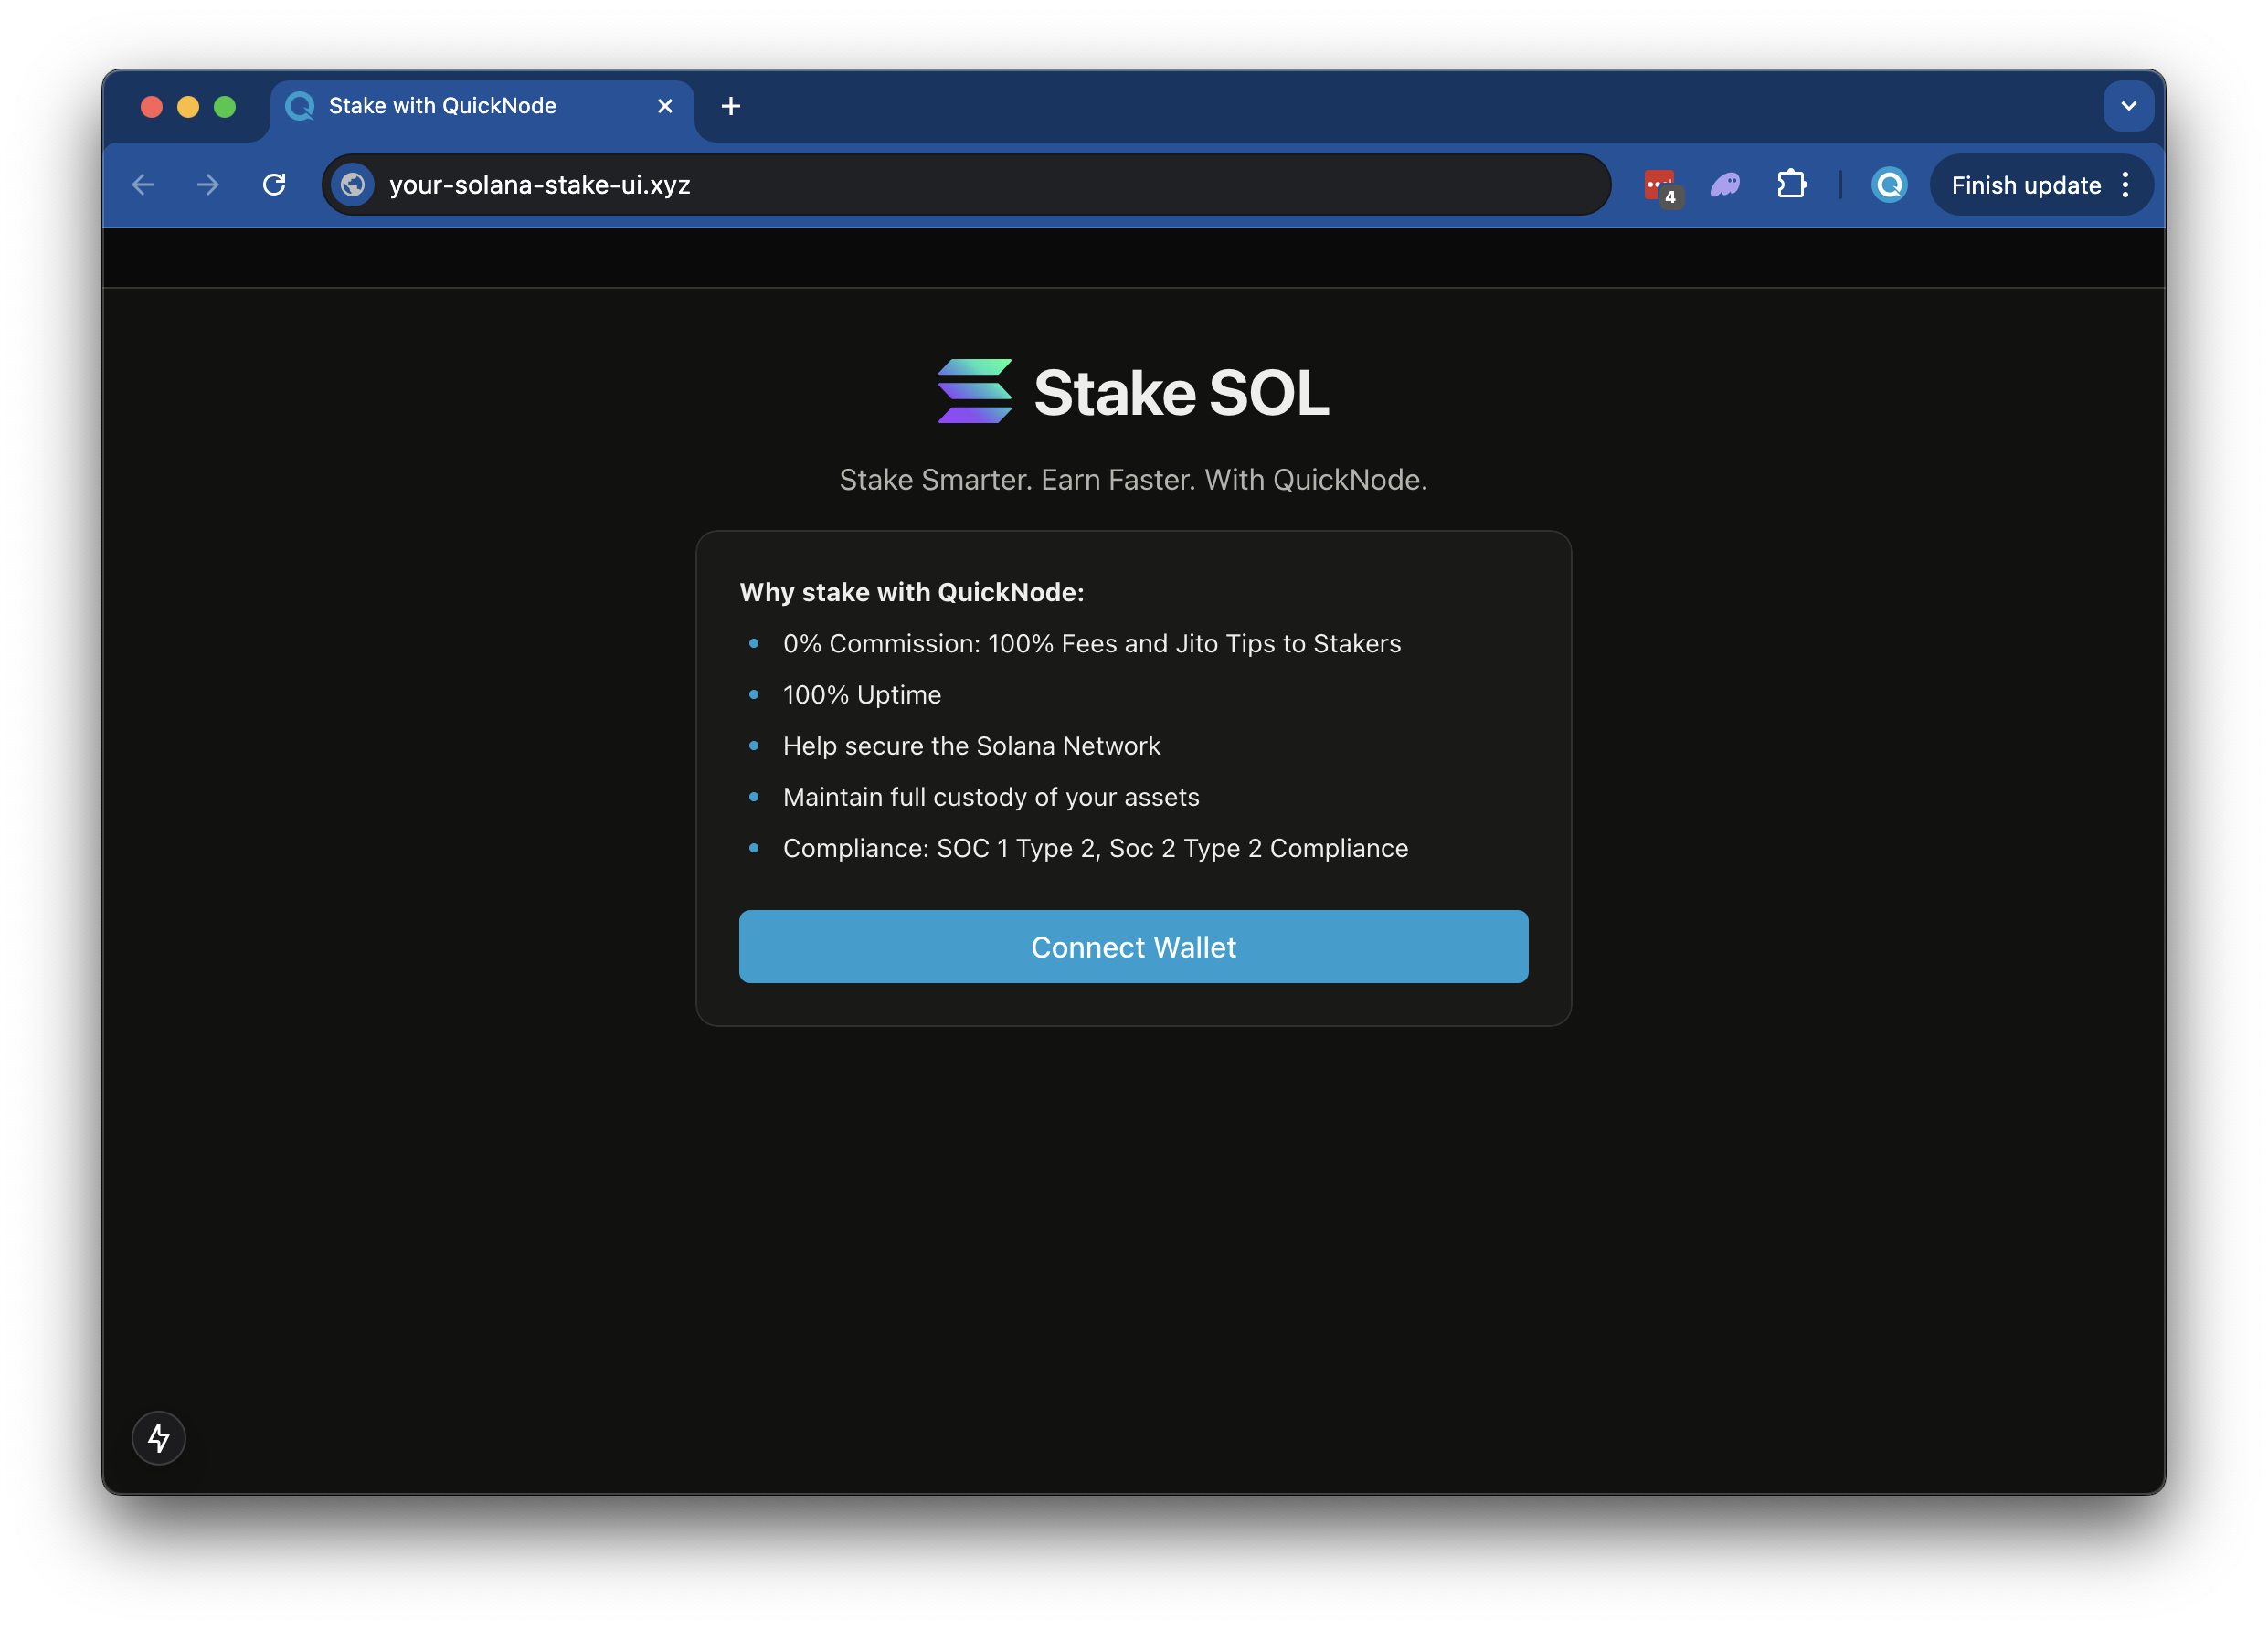
This application lets users quickly stake to your Solana validator with minimal setup. It comes with pre-configured wallet connections, allowing your users to connect their preferred Solana wallets and stake their tokens directly to your validator node through a simple, streamlined interface.



Übersicht
This is a simple demo let's stand up a staking page to easily empower your users to stake to your validator (modeled off of Quicknode Solana Stake UI).
The demo uses
- Solana Kit
- Wallet Standard
- Next.js Projekt, das mit
create-next-app. - Radix UI
Erste Schritte
Abhängigkeiten installieren
Öffnen Sie das Projektverzeichnis:
cd sample-dapps/solana-staking-ui
Installieren Sie anschließend die Abhängigkeiten:
npm install
# oder
yarn
# oder
pnpm install
# oder
bun install
Umgebungsvariablen festlegen
Stellen Sie sicher, dass Sie einenendpoint zur Hand haben – hier könnenendpoint kostenlos einen erhalten.
- Umbenennen
.env.examplezu.envund aktualisieren Sie ihn mit Ihrem Quicknode Solana Endpoint. - Specify which cluster you are using (mainnet-beta, devnet) (using
NEXT_PUBLIC_NETWORK_ENV). - Specify the validator vote address that your staker should stake to (using
NEXT_PUBLIC_VALIDATOR_ADDRESS). The default value,5s3vajJvaAbabQvxFdiMfg14y23b2jvK6K2Mw4PYcYKis Quicknode's validator.
DEVNET_RPC_ENDPOINT=https://example.solana-devnet.quiknode.pro/12345/
MAINNET_RPC_ENDPOINT=https://example.solana-mainnet.quiknode.pro/12345/
NEXT_PUBLIC_NETWORK_ENV=mainnet
NEXT_PUBLIC_VALIDATOR_ADDRESS=5s3vajJvaAbabQvxFdiMfg14y23b2jvK6K2Mw4PYcYK
Starten Sie zunächst den Entwicklungsserver:
npm run dev
# oder
yarn dev
# oder
pnpm dev
# oder
bun dev
Öffnen Sie http://localhost:3000 in Ihrem Browser, um das Ergebnis anzuzeigen.
Nutzung der Dapp
- Upload an Image (this will be used for your token metadata)
- Fill out the form with the token details
- Connect your wallet
- Make sure you have ~0.04 SOL in your wallet to cover the new account fees
- If you are using Devnet, you can get free SOL from the Solana Faucet
- Click "Mint" to upload your image and metadata to IPFS and mint your token!
Architektur
src/
├── app/
│   ├── page.tsx
│   └── layout.tsx
│   └── api/
│       └── balance/
│       │   └── route.ts   # Get wallet SOL balance
│       └── stake/
│       │   └── fetch/route.ts  # Get a wallets' staking accounts
│       │   └── generate/route.ts   # Generate staking accounts
│       └── transaction/
│           └── confirm/route.ts  # Confirm a transaction
└── components/
    ├── stake/     # Various staking components
    └── [supporting components]
└── context/       # Wallet connect context
└── hooks/         # Is wallet connected hook
└── utils/         # Is wallet connected hook
    ├── solana/    # Solana staking and account utils
    └── config.ts  # Network settup
    └── constants.ts
Auf Vercel bereitstellen
- Das Repository forken
- Erstelle einen Feature-Branch:git checkout -b feature/amazing-feature
- Speichere deine Änderungen:git commit -m "Tolle Funktion hinzufügen"
- Deinen Branch pushen:git push origin feature/amazing-feature
- Erstelle einen Pull Request.