Solana Staking UI
Cette application permet aux utilisateurs de staker rapidement sur votre Solana avec une configuration minimale. Elle intègre des connexions de portefeuille préconfigurées, ce qui permet à vos utilisateurs de connecter leurs Solana préférés et de staker leurs tokens directement sur votre nœud de validation via une interface simple et intuitive.



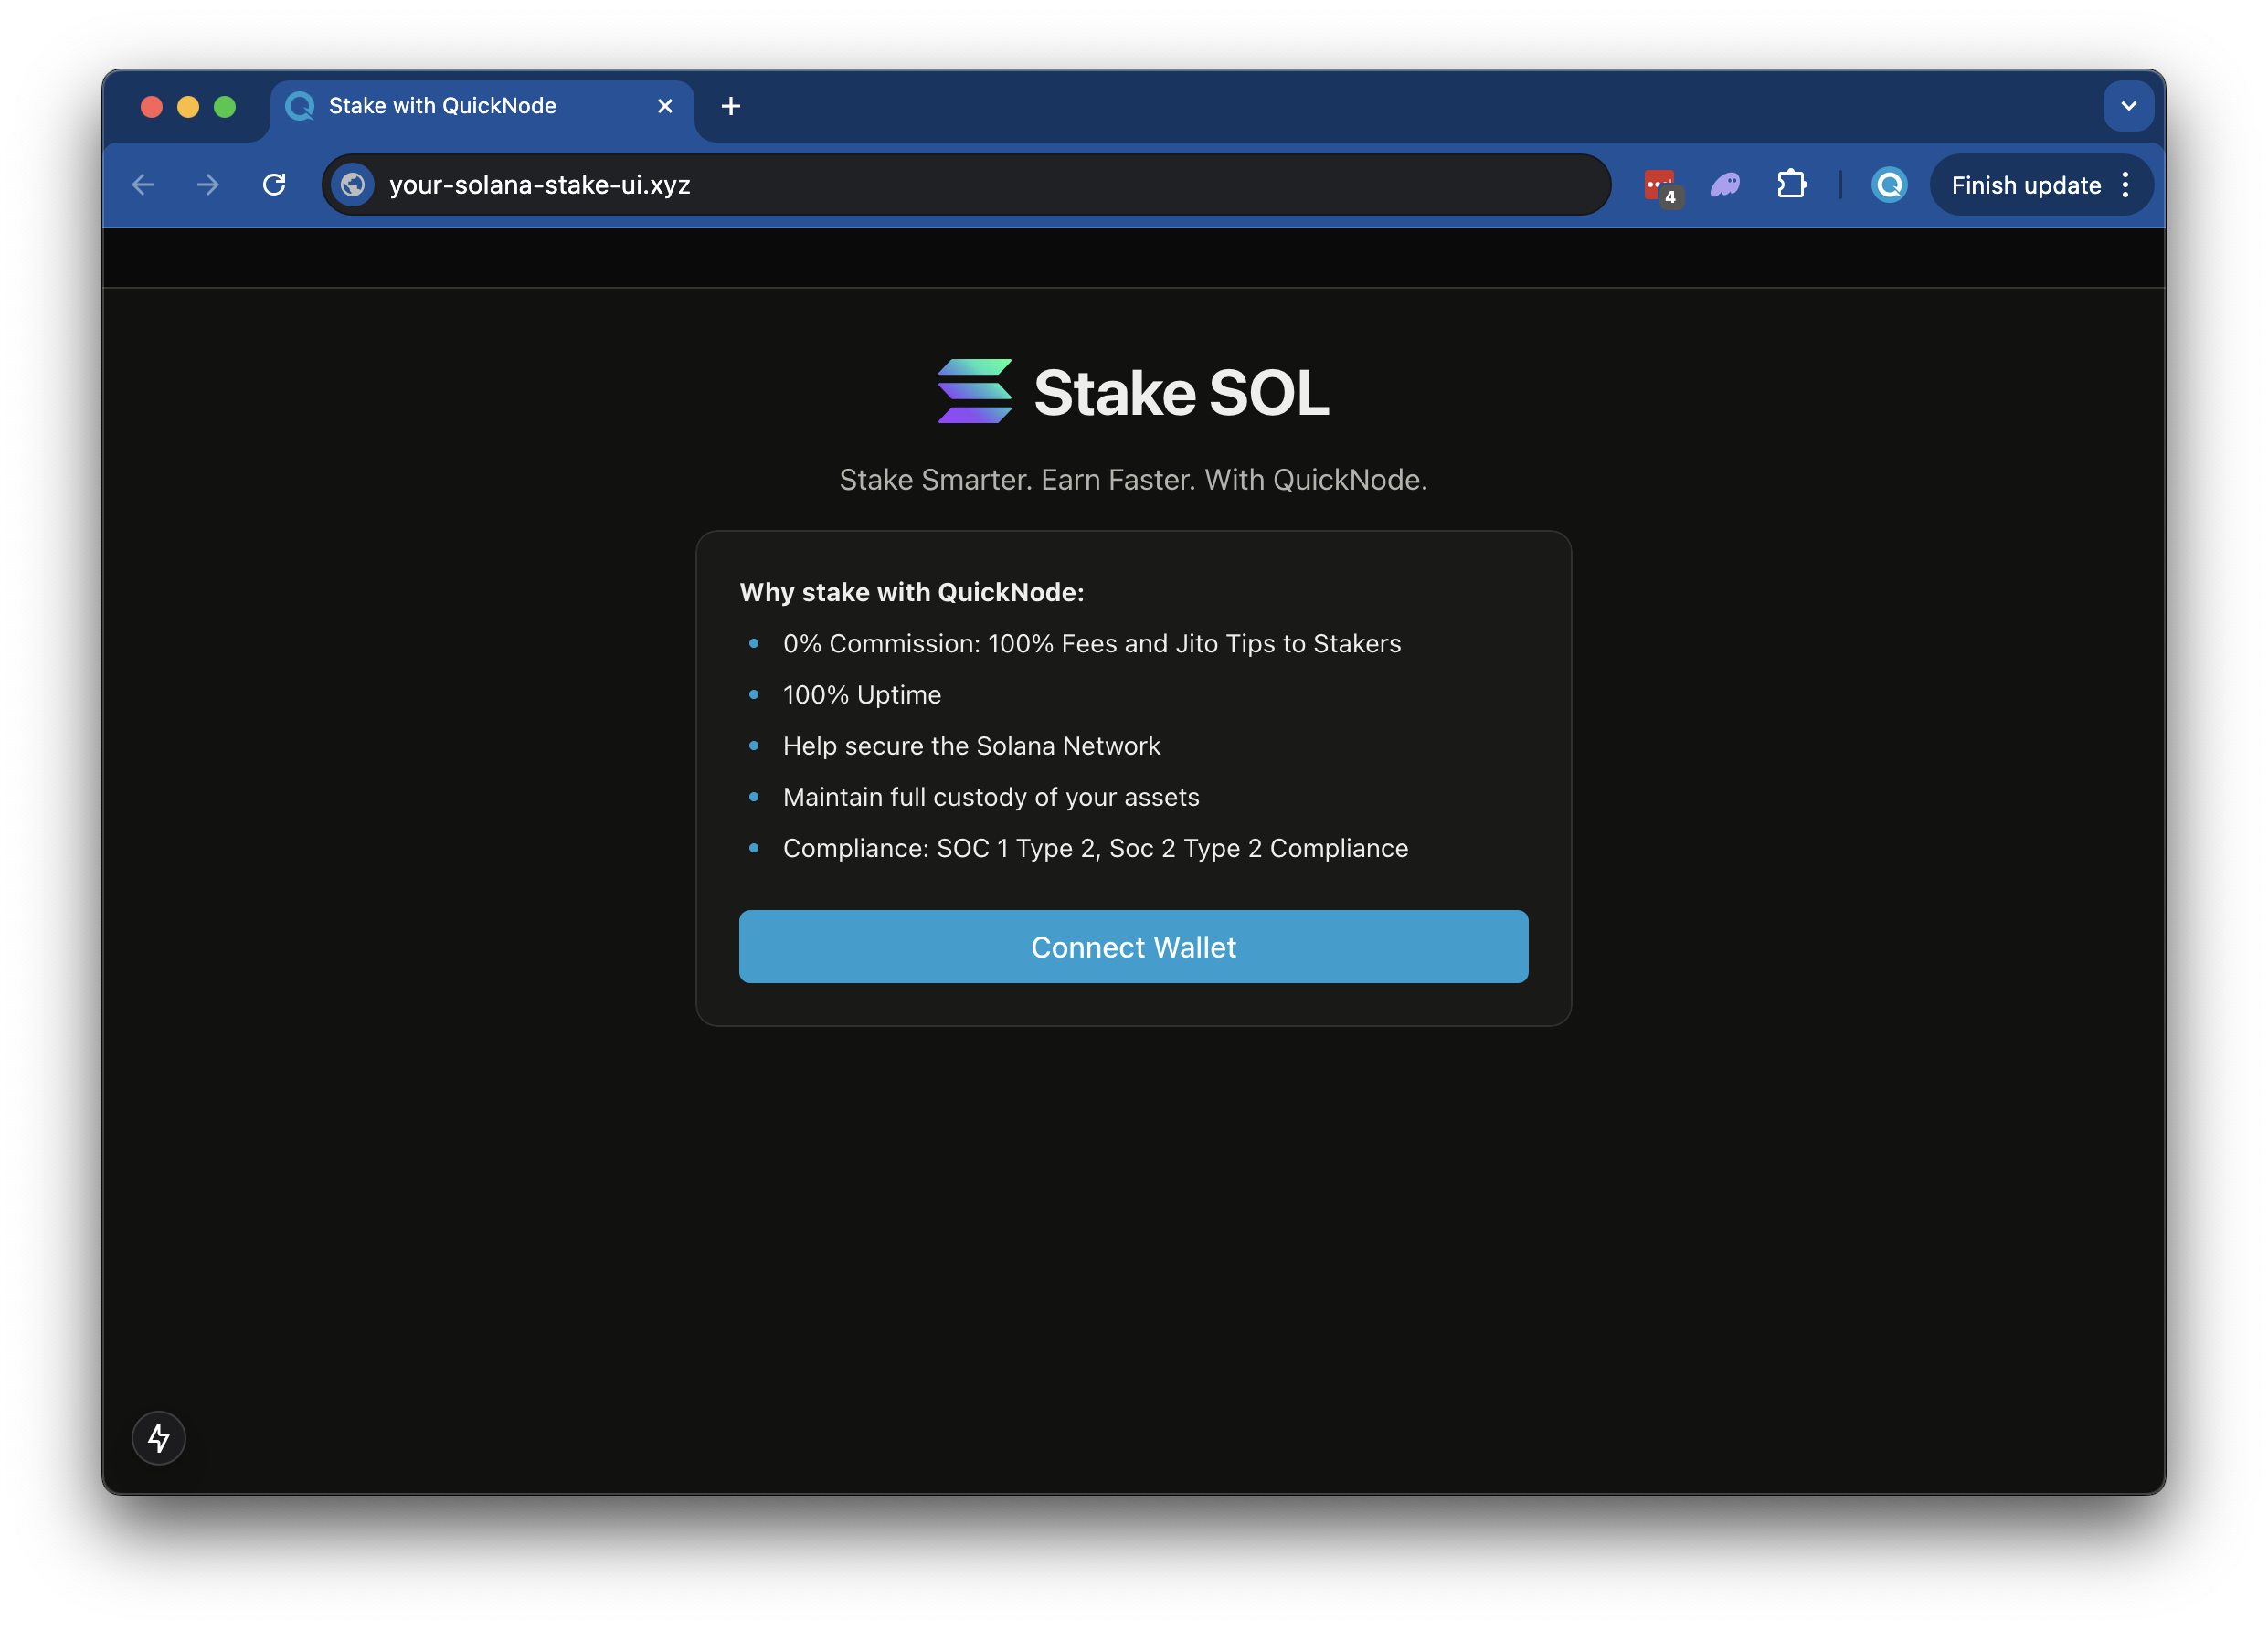
Présentation générale
This is a simple demo let's stand up a staking page to easily empower your users to stake to your validator (modeled off of Quicknode Solana Stake UI).
The demo uses
- Solana Kit
- Wallet Standard
- Next.js projet lancé grâce à
create-next-app. - Radix UI
Pour commencer
Installer les dépendances
Ouvrez le répertoire du projet :
cd sample-dapps/solana-staking-ui
Ensuite, installez les dépendances :
npm installer
# ou
yarn
# ou
pnpm installer
# ou
bun install
Définir les variables d'environnement
Assurez-vous d'avoir unendpoint Quicknode à portée de mainendpoint pouvez en obtenir un gratuitement ici.
- Renommer
.env.exampleà.envet remplacez-le par Endpoint de votreSolana Quicknode Solana . - Specify which cluster you are using (mainnet-beta, devnet) (using
NEXT_PUBLIC_NETWORK_ENV). - Specify the validator vote address that your staker should stake to (using
NEXT_PUBLIC_VALIDATOR_ADDRESS). The default value,5s3vajJvaAbabQvxFdiMfg14y23b2jvK6K2Mw4PYcYKis Quicknode's validator.
DEVNET_RPC_ENDPOINT=https://example.solana-devnet.quiknode.pro/12345/
MAINNET_RPC_ENDPOINT=https://example.solana-mainnet.quiknode.pro/12345/
NEXT_PUBLIC_NETWORK_ENV=mainnet
NEXT_PUBLIC_VALIDATOR_ADDRESS=5s3vajJvaAbabQvxFdiMfg14y23b2jvK6K2Mw4PYcYK
Commencez par lancer le serveur de développement :
npm exécuter dev
# ou
yarn dev
# ou
pnpm dev
# ou
bun dev
Ouvrez http://localhost:3000 dans votre navigateur pour voir le résultat.
Utilisation de la Dapp
- Upload an Image (this will be used for your token metadata)
- Fill out the form with the token details
- Connect your wallet
- Make sure you have ~0.04 SOL in your wallet to cover the new account fees
- If you are using Devnet, you can get free SOL from the Solana Faucet
- Click "Mint" to upload your image and metadata to IPFS and mint your token!
Architecture
src/
├── app/
│   ├── page.tsx
│   └── layout.tsx
│   └── api/
│       └── balance/
│       │   └── route.ts   # Get wallet SOL balance
│       └── stake/
│       │   └── fetch/route.ts  # Get a wallets' staking accounts
│       │   └── generate/route.ts   # Generate staking accounts
│       └── transaction/
│           └── confirm/route.ts  # Confirm a transaction
└── components/
    ├── stake/     # Various staking components
    └── [supporting components]
└── context/       # Wallet connect context
└── hooks/         # Is wallet connected hook
└── utils/         # Is wallet connected hook
    ├── solana/    # Solana staking and account utils
    └── config.ts  # Network settup
    └── constants.ts
Déployer sur Vercel
- Créer une branche du dépôt
- Créer une branche de fonctionnalité :git checkout -b feature/amazing-feature
- Validez vos modifications :git commit -m "Ajout d'une fonctionnalité géniale"
- Publiez votre branche :git push origin feature/amazing-feature
- Créez une demande de fusion.