Hyperliquid टीपी/एसएल हीटमैप
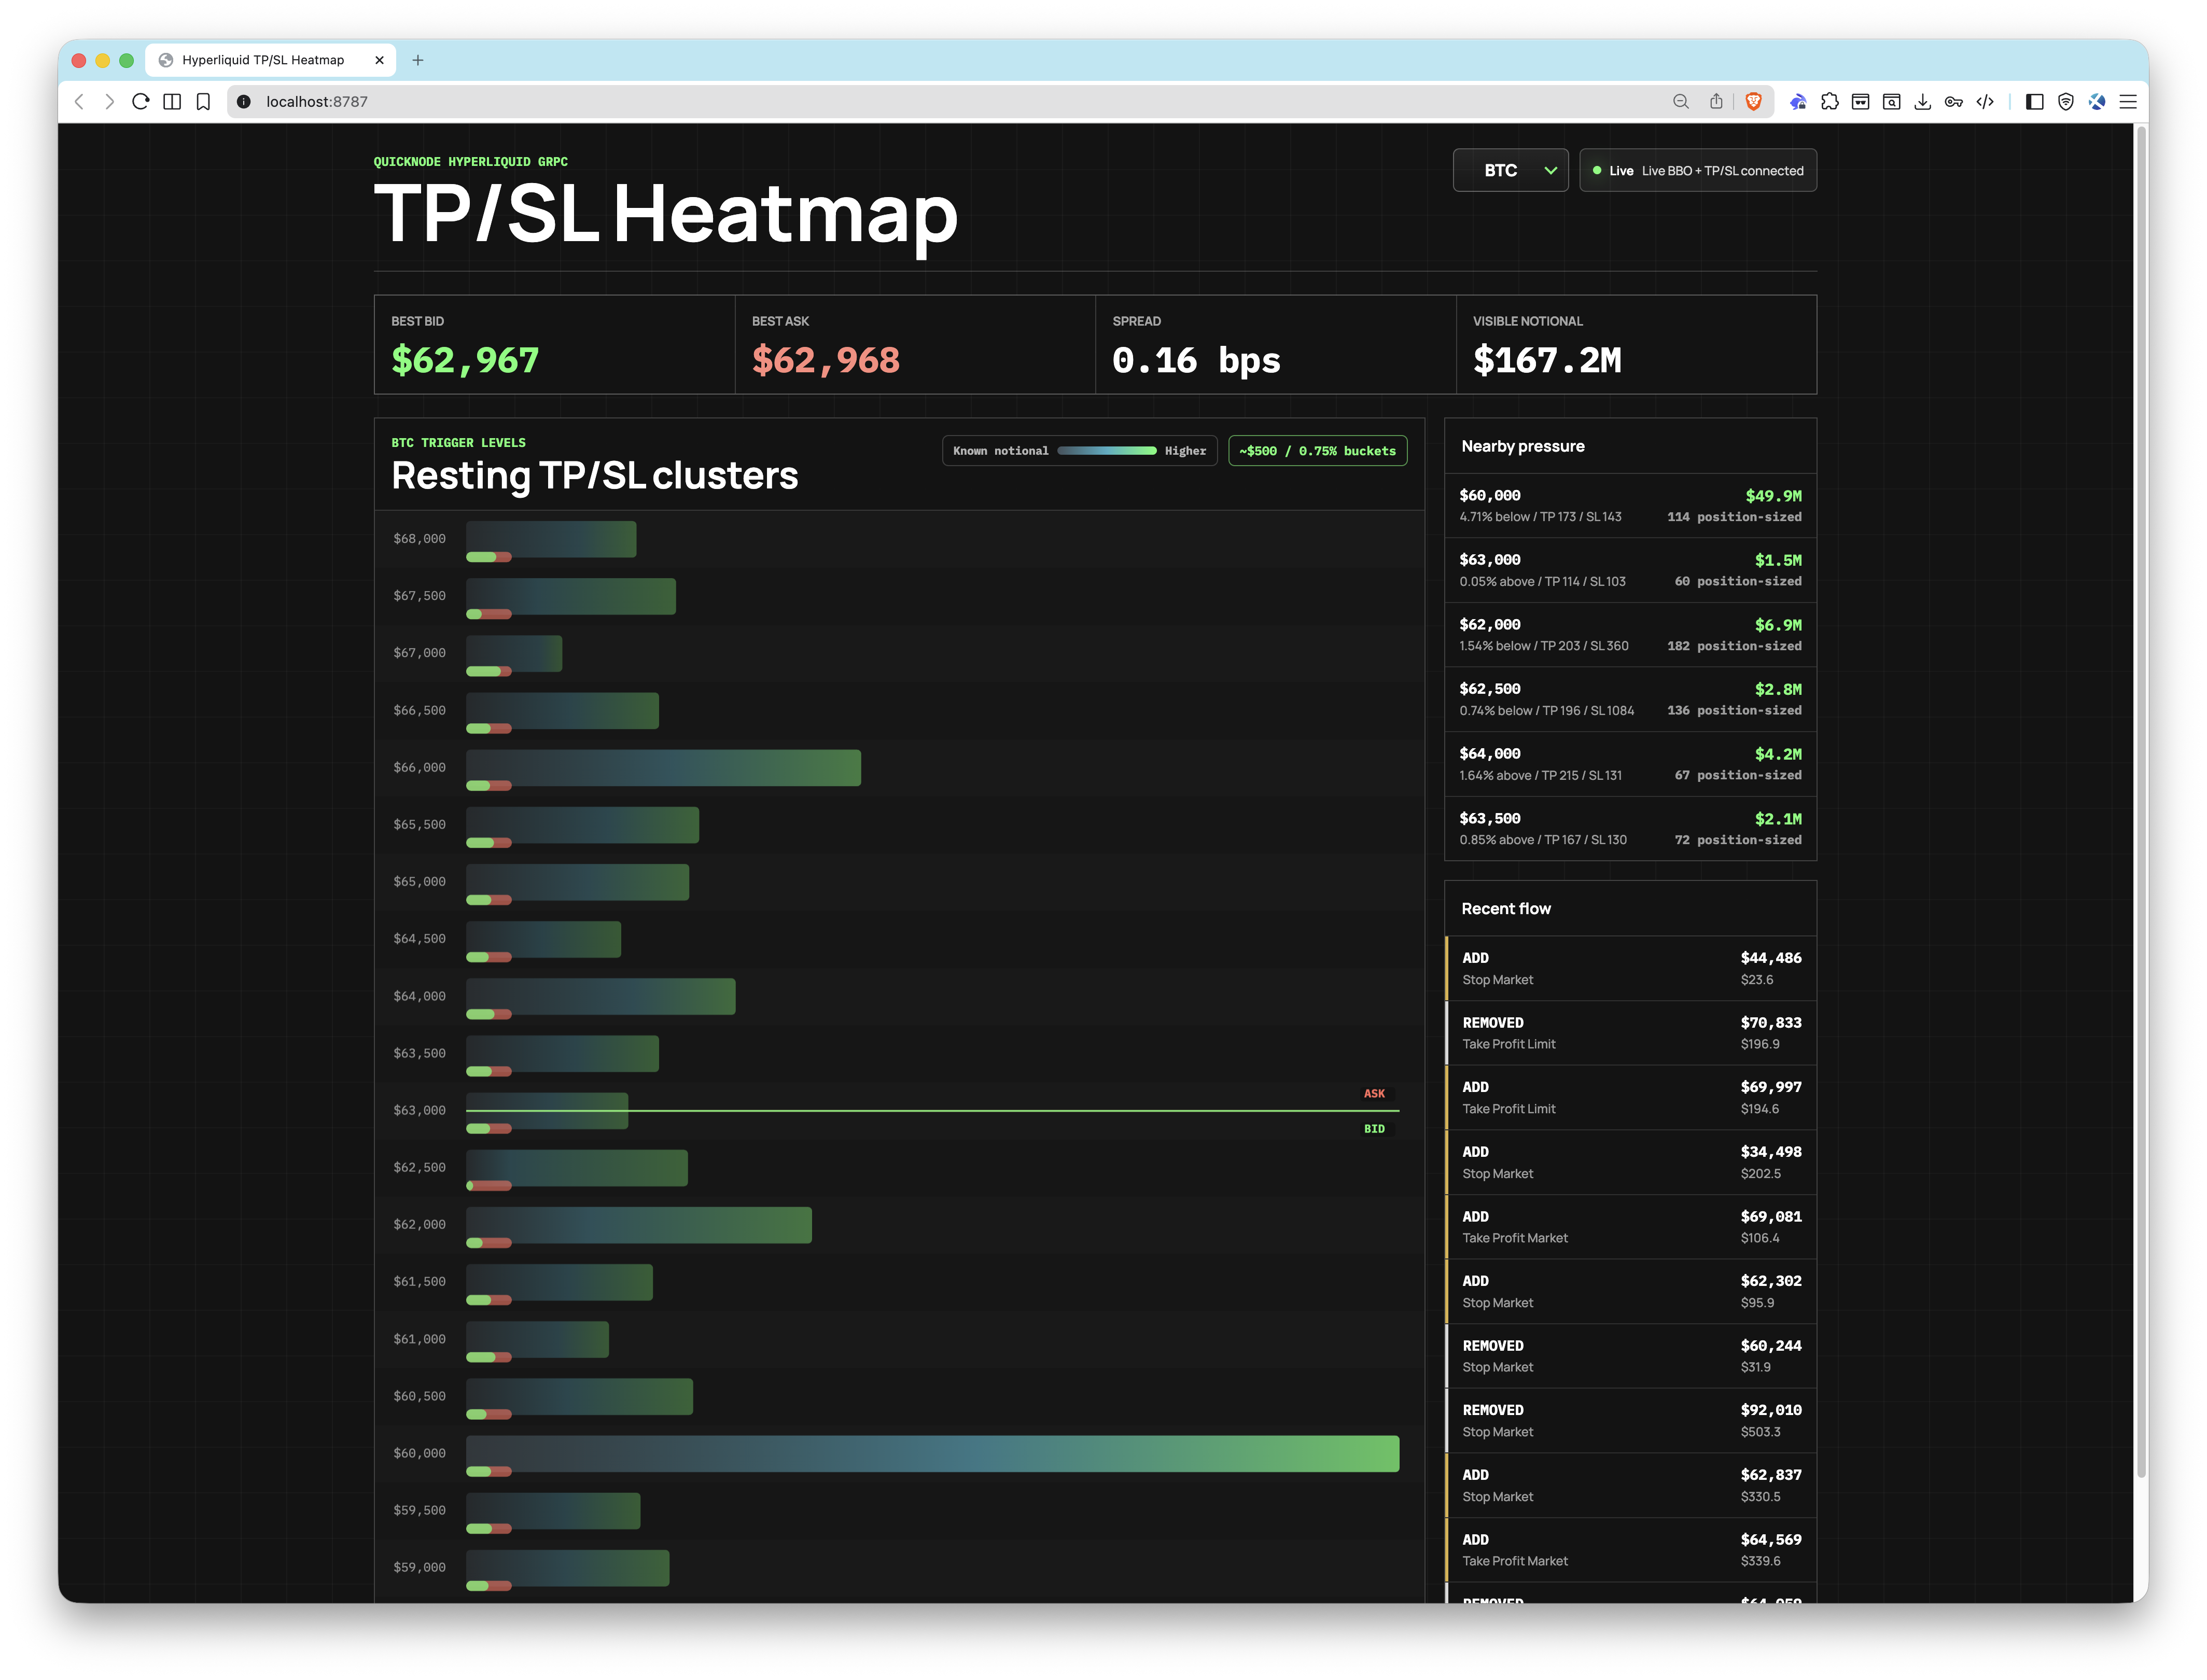
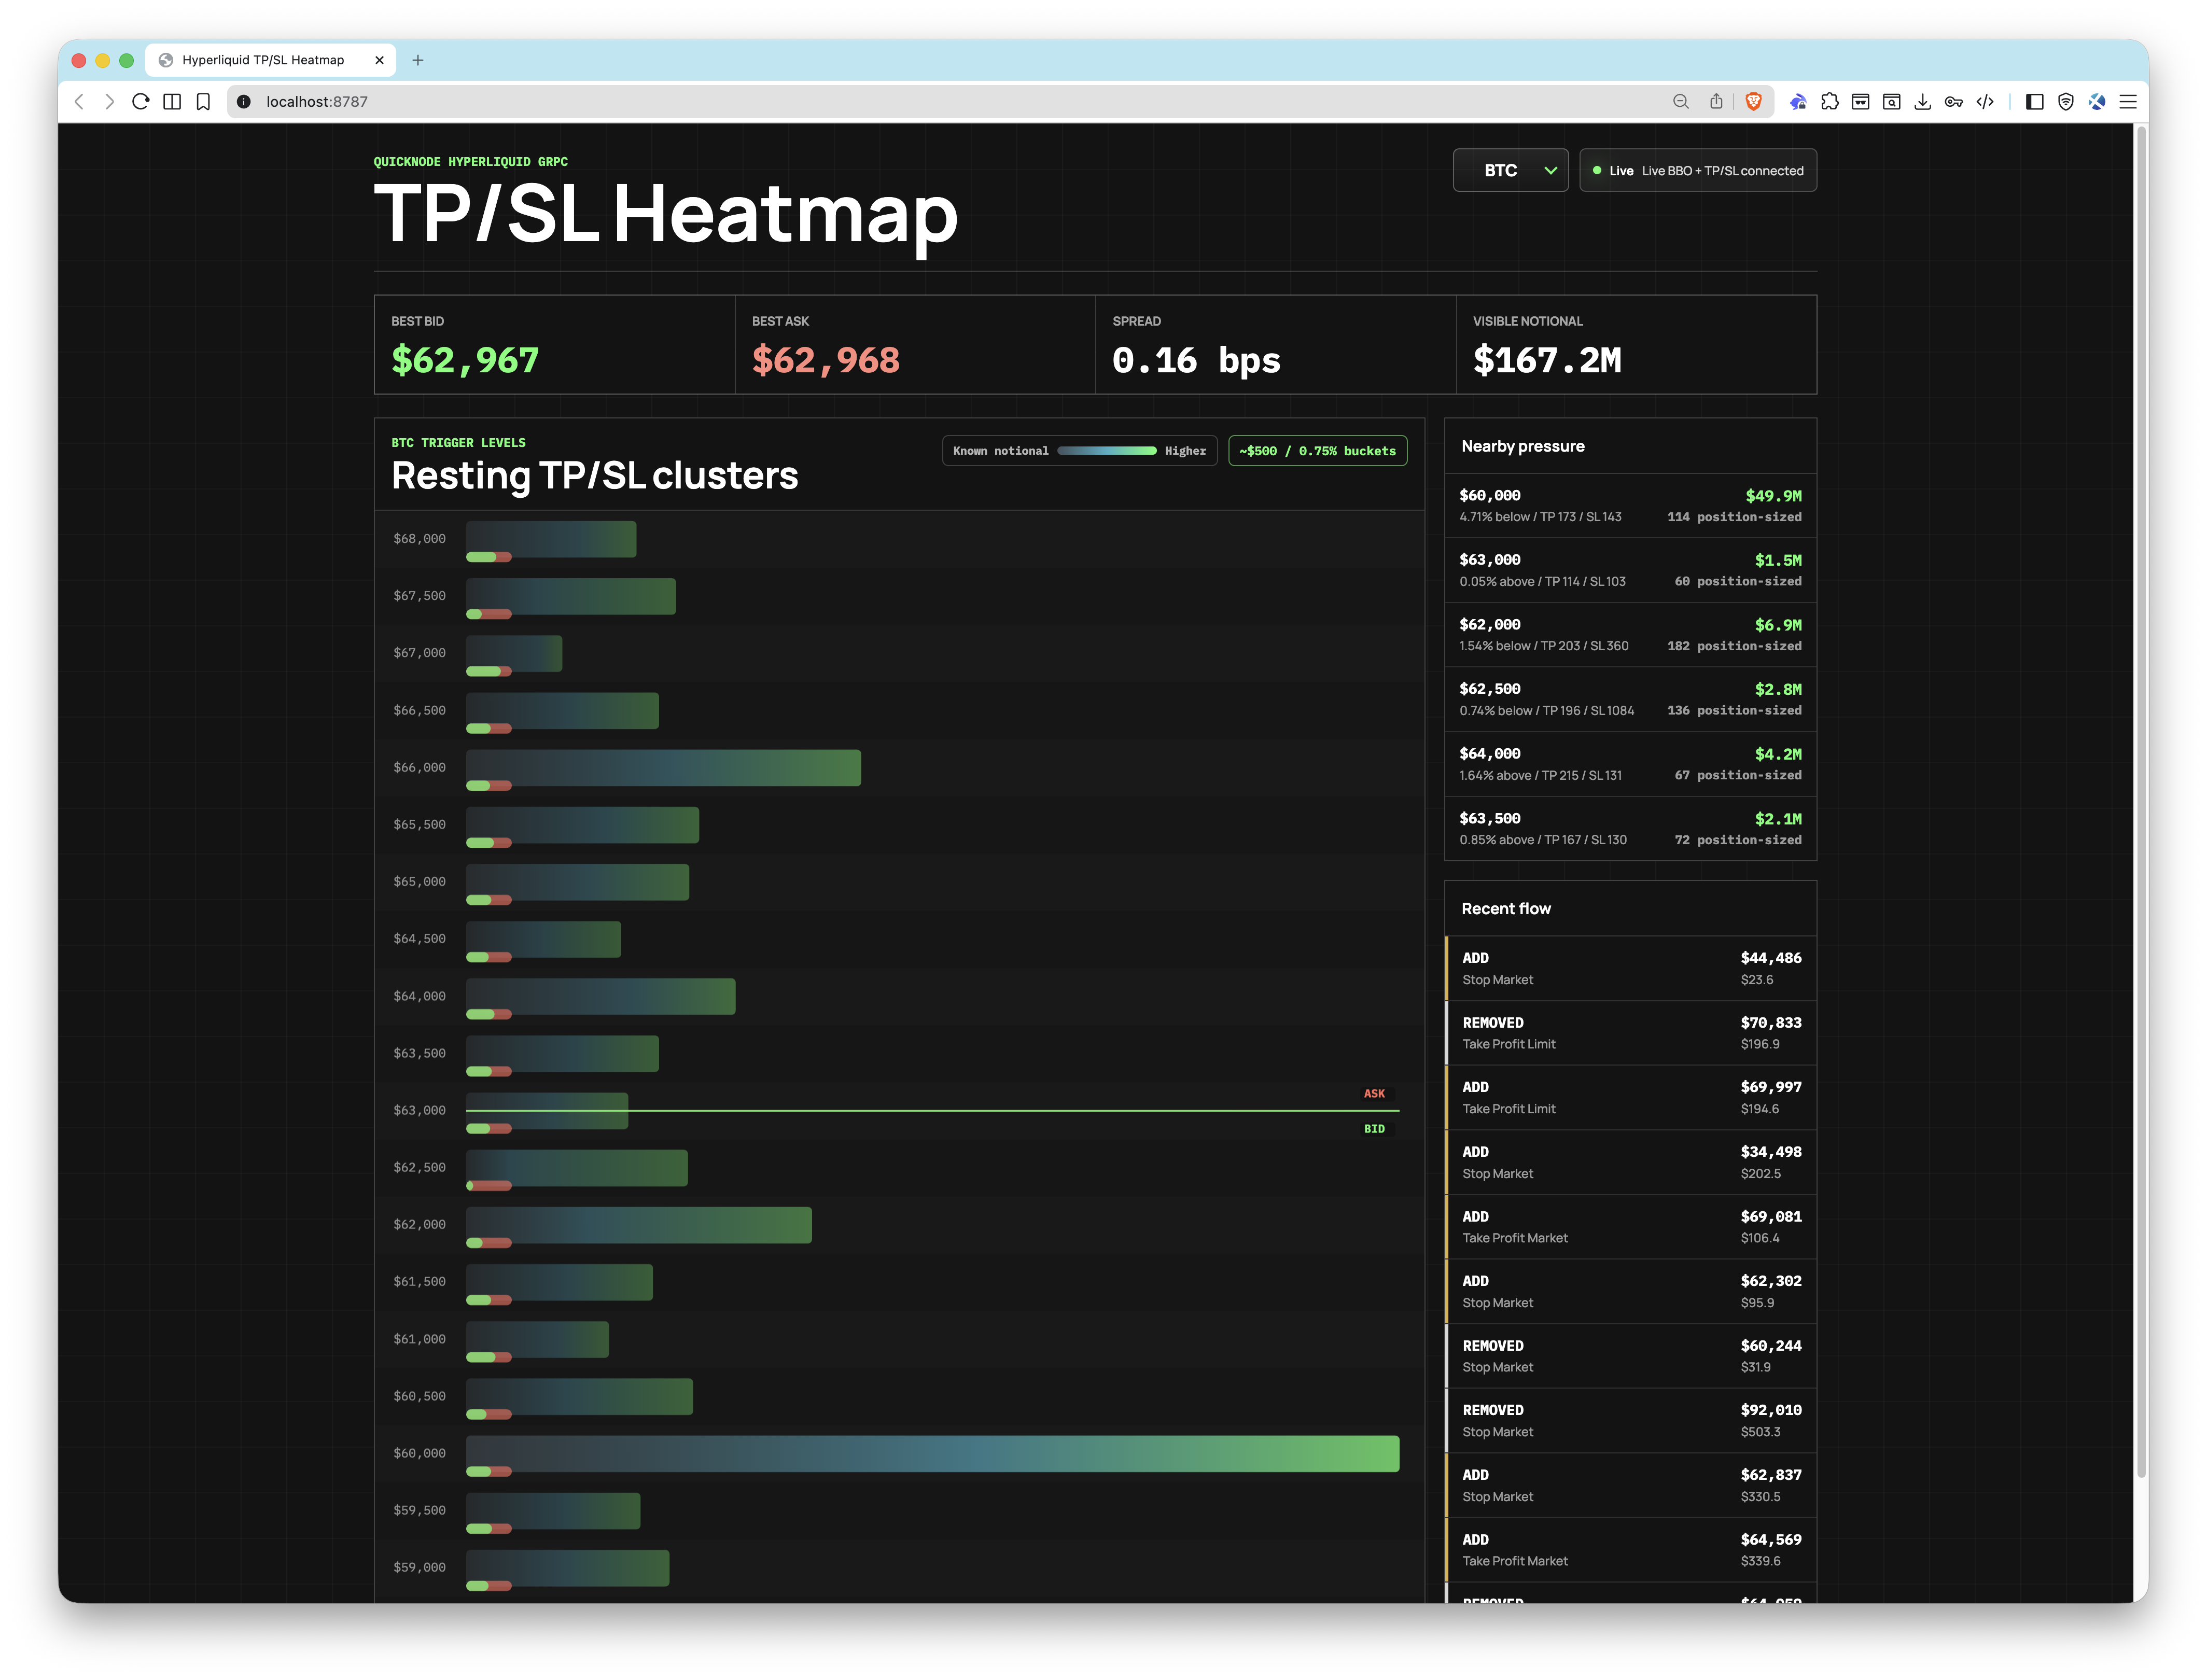
एक रीयल-टाइम ब्राउज़र डैशबोर्ड जो आराम करने की स्थिति को दर्शाता है Hyperliquid टीपी/एसएल ट्रिगर ऑर्डर मूल्य स्तर के अनुसार कार्य करते हैं। clusters लाइव बिड/आस्क कीमतों के आधार पर, Quicknode हाइपरकोर gRPC streams .


अवलोकन
This app connects to Quicknode's Hyperliquid gRPC endpoint to stream live TP/SL trigger order events (StreamTpslUpdates) and best bid/offer prices (StreamBboBook). Open orders are clustered into configurable price buckets and pushed to the browser over WebSocket, where a canvas-based heatmap renders the aggregated trigger pressure at each price level in real time.
The app ships with a built-in demo mode that uses a synthetic feed, so you can explore the UI without any credentials.
यह उदाहरण ऐप केवल शैक्षिक और प्रदर्शन उद्देश्यों के लिए प्रदान किया गया है।
वास्तुकला
Browser (React + Canvas)
        ▲
        │  WebSocket
        │
Node.js HTTP + WebSocket Server
        │
        ├── gRPC: StreamTpslUpdates ──┐
        │                             ├── Quicknode Hyperliquid gRPC Endpoint
        └── gRPC: StreamBboBook ──────┘
विशेषताएँ
- Real-time TP/SL heatmap: price-bucket clusters updated live from Quicknode gRPC streams
- BBO anchor: current bid and ask prices overlaid on the heatmap for market context
- TP/SL mix indicator: each bucket shows a small green/red marker for take-profit vs. stop-loss share
- Multi-asset support: monitor BTC, ETH, SOL, HYPE, and any other Hyperliquid perp symbol simultaneously
- Configurable bucket width:
BUCKET_SIZE_PCTscales bucket size relative to the current mid price - Demo mode: runs with a synthetic feed when credentials are missing or
DEMO_MODE=true - Health endpoint:
GET /healthreturns server status and current run mode as JSON
आवश्यक शर्तें
- Quicknode account with a Hyperliquid endpoint (gRPC access required)
- Node.js v18+
- pnpm
परियोजना संरचना
proto/
  orderbook.proto           # gRPC service definition
src/
  client/
    App.tsx                 # Coin selector and WebSocket client
    HeatmapCanvas.tsx       # Canvas-based heatmap renderer
    main.tsx                # React entry point
    styles.css              # App styles
  server/
    cluster-store.ts        # Order clustering and BBO state
    config.ts               # Env var loading
    demo.ts                 # Synthetic demo feed
    grpc.ts                 # gRPC client setup
    server.ts               # HTTP + WebSocket server
    streams.ts              # Live gRPC stream connections
  shared/
    types.ts                # Shared TypeScript types
पर्यावरण चर
प्रतिलिपि .env.example को .पर्यावरण and fill in your credentials:
# https://your-endpoint.hype-mainnet.quiknode.pro:10000
QUICKNODE_GRPC_ENDPOINT=your-endpoint.hype-mainnet.quiknode.pro:10000
QUICKNODE_GRPC_TOKEN=your-auth-token
TARGET_COINS=BTC,ETH,SOL
DEFAULT_COIN=BTC
BUCKET_SIZE_PCT=0.75
DEMO_MODE=false
PORT=8787
| चर | विवरण |
|---|---|
QUICKNODE_GRPC_ENDPOINT | Your Quicknode Hyperliquid gRPC endpoint (host:port) |
QUICKNODE_GRPC_TOKEN | Auth token for the gRPC endpoint |
TARGET_COINS | Comma-separated list of Hyperliquid perp symbols to monitor |
DEFAULT_COIN | Which coin to display on load (must be in TARGET_COINS) |
BUCKET_SIZE_PCT | Bucket width as a percentage of mid price (e.g., 0.75 = ~$500 buckets on BTC near $64k) |
DEMO_MODE | Set to true to force demo mode regardless of credentials |
PORT | HTTP server port (default: 8787) |
शुरू करना
1. Clone the repo
git clone https://github.com/quiknode-labs/qn-guide-examples.git
cd qn-guide-examples/sample-dapps/hyperliquid-tpsl-heatmap
2. Install dependencies
pnpm install
3. Configure environment
cp .env.example .env
खुला .पर्यावरण and set QUICKNODE_GRPC_ENDPOINT और QUICKNODE_GRPC_TOKEN with your Quicknode Hyperliquid endpoint credentials. Omitting them will start the app in demo mode automatically.
4. Start the app
पीएनपीएम देव
Open http://localhost:8787 in your browser.
पूर्व दर्शन
- रिपॉजिटरी को फोर्क करें
- एक फीचर ब्रांच बनाएं:git checkout -b feature/amazing-feature
- अपने बदलावों को सेव करें:git commit -m "अद्भुत सुविधा जोड़ें"
- अपनी शाखा को आगे बढ़ाएं:git push origin feature/amazing-feature
- एक पुल रिक्वेस्ट खोलें।