サンプルアプリに戻る
Solana Staking UI
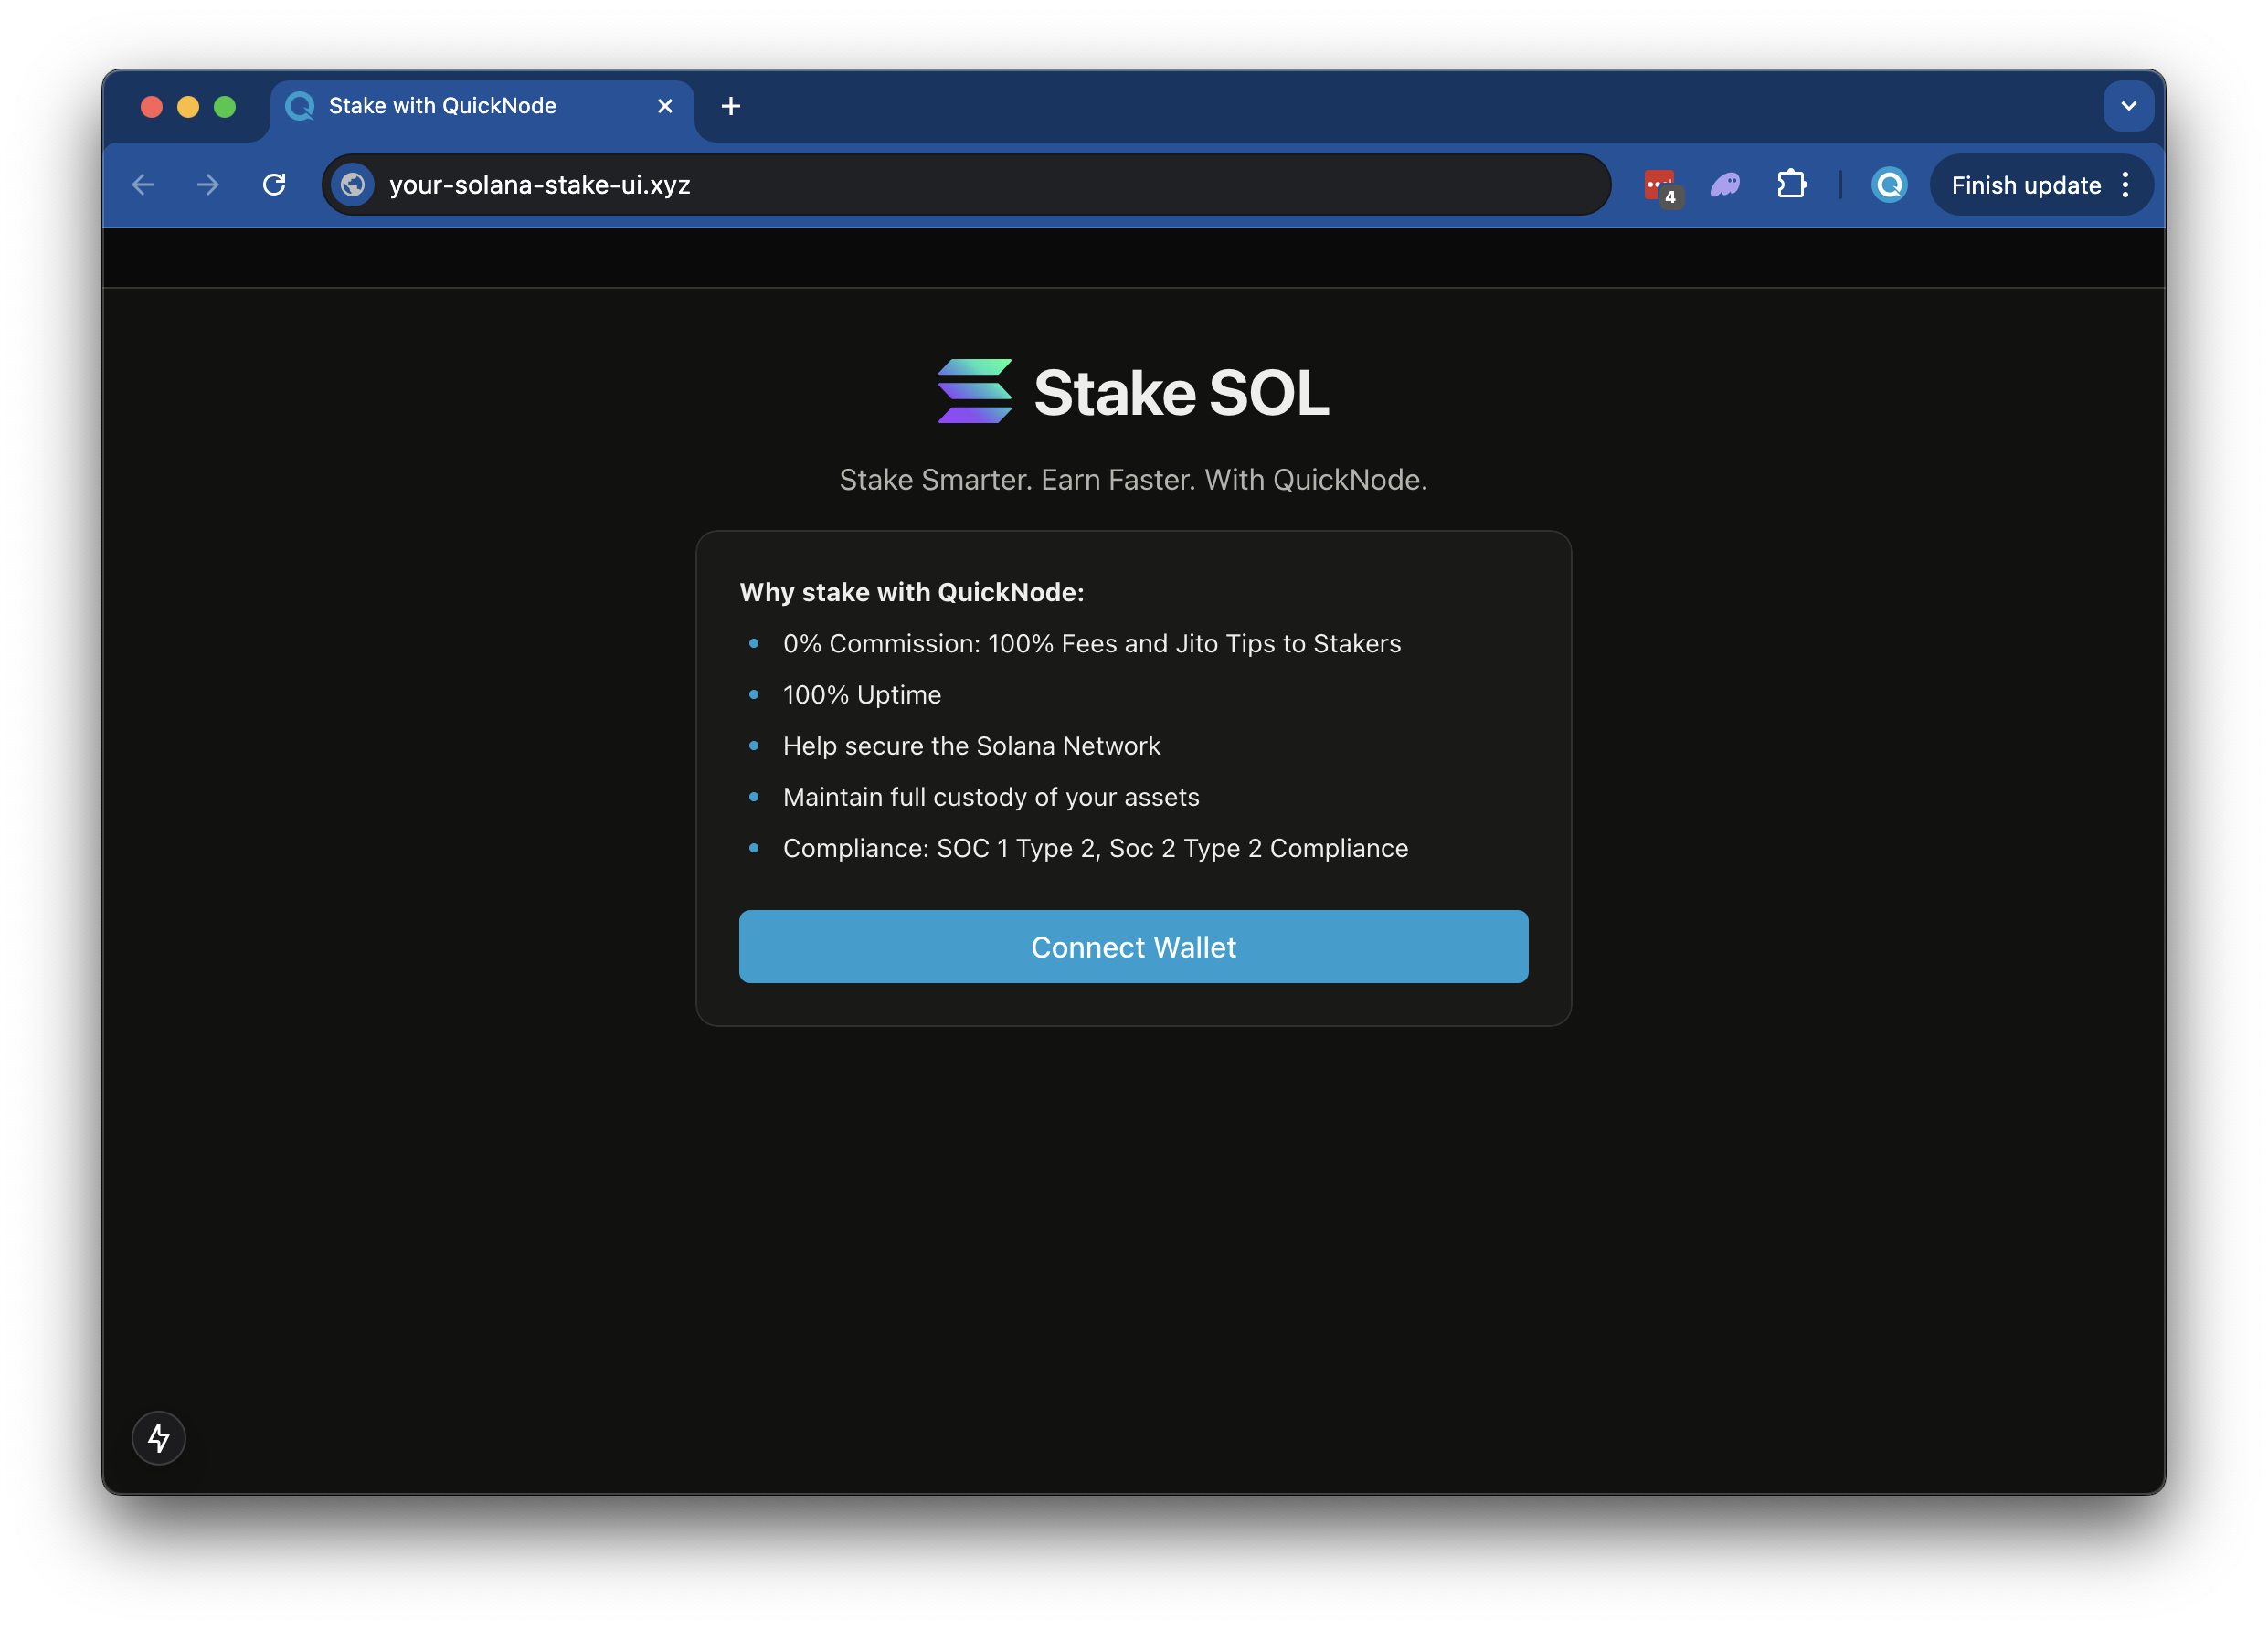
This application lets users quickly stake to your Solana validator with minimal setup. It comes with pre-configured wallet connections, allowing your users to connect their preferred Solana wallets and stake their tokens directly to your validator node through a simple, streamlined interface.
著者



フロントエンドフレームワーク/ライブラリ:
React
言語:
TypeScript
ビルドツール/開発サーバー:
Next.js
概要
This is a simple demo let's stand up a staking page to easily empower your users to stake to your validator (modeled off of Quicknode Solana Stake UI).
The demo uses
- Solana
- Wallet Standard
- Next.js 以下のツールを使用して立ち上げられたプロジェクト
create-next-app. - Radix UI
はじめに
依存関係をインストールする
プロジェクトディレクトリを開きます:
cd sample-dapps/solana-staking-ui
次に、依存関係をインストールします:
npm install
# または
yarn
# または
pnpm install
# または
bun install
環境変数の設定
endpoint 必ず手元に用意しておいてくださいendpoint こちらから無料で取得できます。
- 名前を変更する
.env.example~へ.envそして、Quicknode のSolana Endpointに更新してください。 - Specify which cluster you are using (mainnet-beta, devnet) (using
NEXT_PUBLIC_NETWORK_ENV). - Specify the validator vote address that your staker should stake to (using
NEXT_PUBLIC_VALIDATOR_ADDRESS). The default value,5s3vajJvaAbabQvxFdiMfg14y23b2jvK6K2Mw4PYcYKis Quicknode's validator.
DEVNET_RPC_ENDPOINT=https://example.solana-devnet.quiknode.pro/12345/
MAINNET_RPC_ENDPOINT=https://example.solana-mainnet.quiknode.pro/12345/
NEXT_PUBLIC_NETWORK_ENV=mainnet
NEXT_PUBLIC_VALIDATOR_ADDRESS=5s3vajJvaAbabQvxFdiMfg14y23b2jvK6K2Mw4PYcYK
まず、開発サーバーを起動します:
npm run dev
# または
yarn dev
# または
pnpm dev
# または
bun dev
ブラウザでhttp://localhost:3000を開くと、結果を確認できます。
Dappの利用方法
- Upload an Image (this will be used for your token metadata)
- Fill out the form with the token details
- ウォレットを接続する
- Make sure you have ~0.04 SOL in your wallet to cover the new account fees
- If you are using Devnet, you can get free SOL from the Solana Faucet
- Click "Mint" to upload your image and metadata to IPFS and mint your token!
建築
src/
├── app/
│   ├── page.tsx
│   └── layout.tsx
│   └── api/
│       └── balance/
│       │   └── route.ts   # Get wallet SOL balance
│       └── stake/
│       │   └── fetch/route.ts  # Get a wallets' staking accounts
│       │   └── generate/route.ts   # Generate staking accounts
│       └── transaction/
│           └── confirm/route.ts  # Confirm a transaction
└── components/
    ├── stake/     # Various staking components
    └── [supporting components]
└── context/       # Wallet connect context
└── hooks/         # Is wallet connected hook
└── utils/         # Is wallet connected hook
    ├── solana/    # Solana staking and account utils
    └── config.ts  # Network settup
    └── constants.ts
Vercelへのデプロイ
投稿とフィードバック
皆様からのご意見をお待ちしております。また、このサンプルアプリへのご協力も大歓迎です!
問題の報告やフィードバックの共有を行うには、GitHubのイシューを qn-ガイド-例 リポジトリ。
投稿するには、以下の手順に従ってください:
- リポジトリをフォークする
- フィーチャーブランチを作成する:git checkout -b feature/amazing-feature
- 変更をコミットします:git commit -m "素晴らしい機能を追加"
- ブランチをプッシュしてください:git push origin feature/amazing-feature
- プルリクエストを作成してください。
その他のサンプルアプリを見る