Voltar aos aplicativos de exemplo
Interface de utilizador Solana
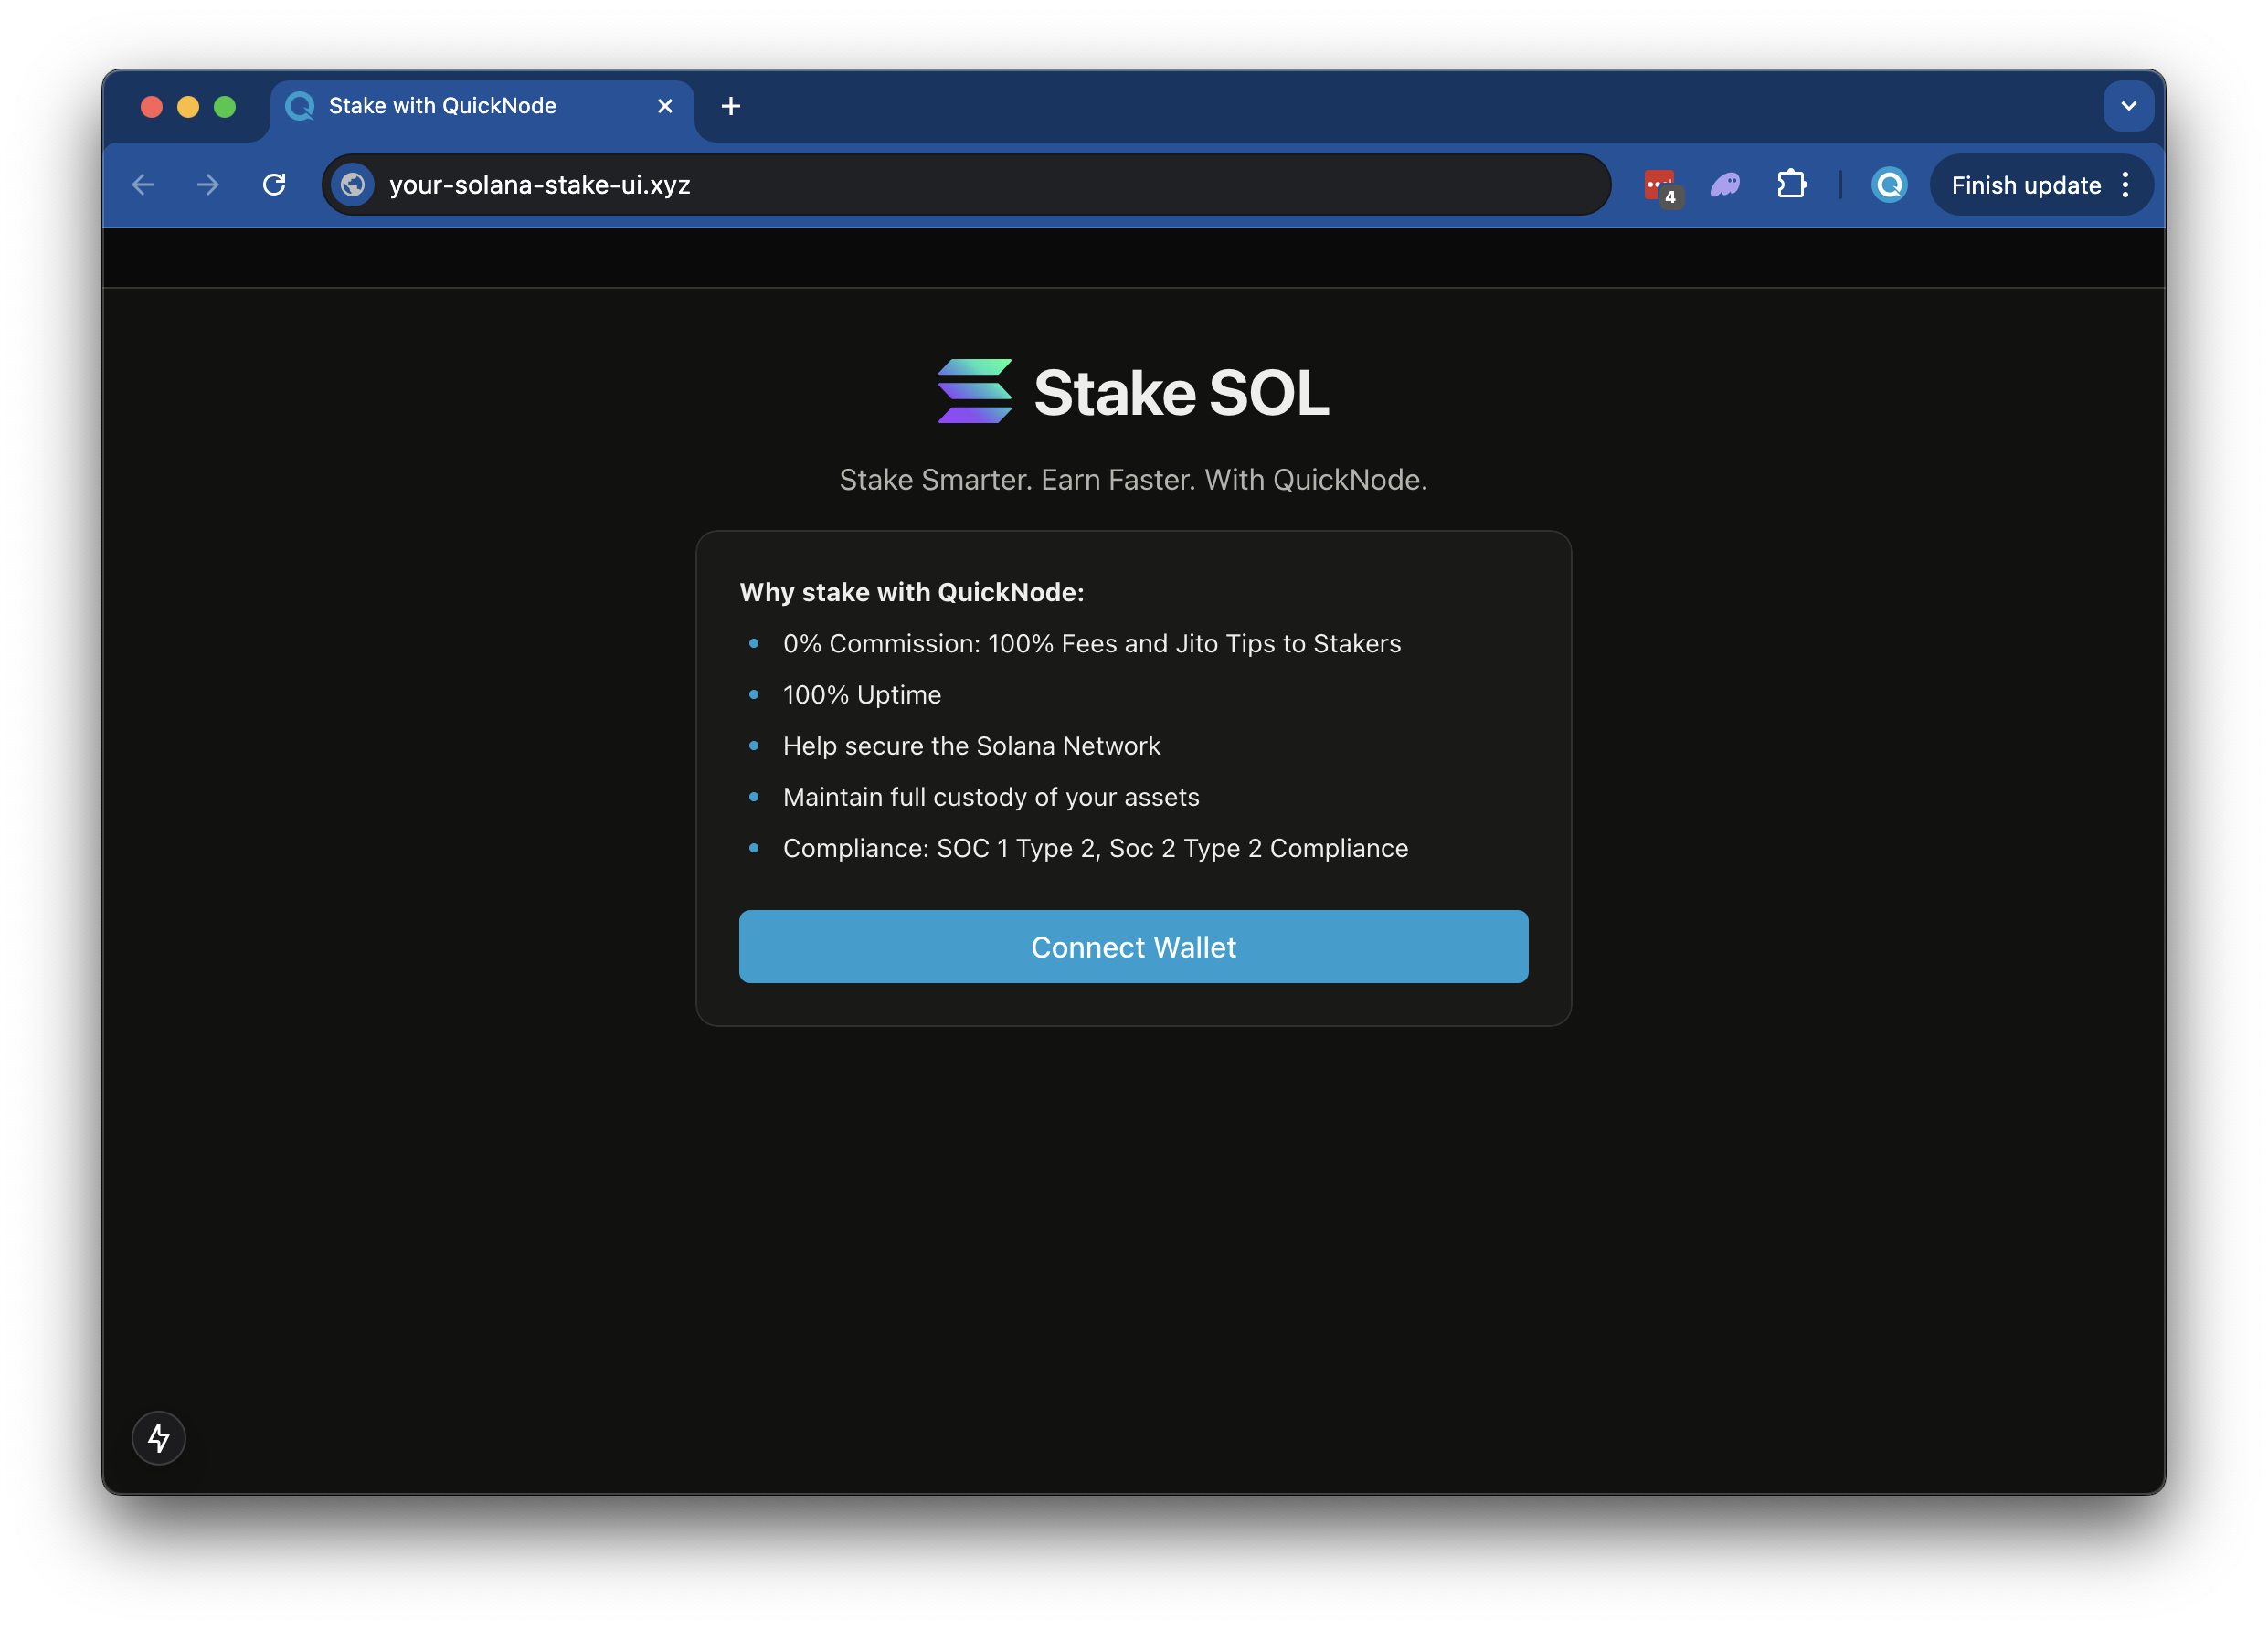
This application lets users quickly stake to your Solana validator with minimal setup. It comes with pre-configured wallet connections, allowing your users to connect their preferred Solana wallets and stake their tokens directly to your validator node through a simple, streamlined interface.
Author



Framework/Biblioteca de Frontend:
Reagir
Idioma:
TypeScript
Servidor de ferramentas de compilação/desenvolvimento:
Next.js
Visão geral
This is a simple demo let's stand up a staking page to easily empower your users to stake to your validator (modeled off of Quicknode Solana Stake UI).
A demonstração utiliza
- Solana
- Carteira Standard
- Next.js projeto iniciado com
create-next-app. - Radix UI
Primeiro passos
Instalar dependências
Abra o diretório do projeto:
cdsample-dapps/solana-staking-ui
Em seguida, instale as dependências:
npm instalar
# ou
yarn
# ou
pnpm instalar
# ou
bun install
Definir variáveis de ambiente
Certifique-se de que tem umendpoint Quicknode endpoint pode obter um gratuitamente aqui.
- Renomear
.env.examplepara.enve atualize com o seu EndpointSolana Quicknode Solana . - Especifique qual o cluster que está a utilizar (mainnet, devnet) (utilizando
NEXT_PUBLIC_NETWORK_ENV). - Indique o endereço de votação do validador para o qual o seu staker deve fazer o staking (utilizando
NEXT_PUBLIC_VALIDATOR_ADDRESS). O valor predefinido,5s3vajJvaAbabQvxFdiMfg14y23b2jvK6K2Mw4PYcYKé o validador Quicknode.
DEVNET_RPC_ENDPOINT=solana
MAINNET=mainnet
NEXT_PUBLIC_NETWORK_ENV=mainnet
NEXT_PUBLIC_VALIDATOR_ADDRESS=5s3vajJvaAbabQvxFdiMfg14y23b2jvK6K2Mw4PYcYK
Primeiro, execute o servidor de desenvolvimento:
npm executar dev
# ou
yarn dev
# ou
pnpm dev
# ou
bun dev
Aceda a http://localhost:3000 no seu navegador para ver o resultado.
Utilizar a Dapp
- Carregar uma imagem (esta será utilizada para os metadados do seu token)
- Preencha o formulário com os dados do token
- Ligue a sua carteira
- Certifica-te de que tens cerca de 0,04 SOL na tua carteira para cobrir as taxas de abertura da nova conta
- Se estiver a utilizar o Devnet, pode obter SOL gratuitamente através do Solana
- Clique em «Mint» para carregar a sua imagem e os metadados para IPFS criar o seu token!
Arquitetura
src/
├── app/
│   ├── page.tsx
│   └── layout.tsx
│   └── api/
│       └── balance/
│       │   └── route.ts   # Obter saldo SOL da carteira
│       └── stake/
│       │   └── fetch/route.ts  # Obter as contas de staking das carteiras
│       │   └── generate/route.ts   # Gerar contas de staking
│       └── transaction/
│           └── confirm/route.ts  # Confirmar uma transação
└── componentes/
    ├── stake/     # Vários componentes de staking
    └── [componentes de suporte]
└── contexto/       # Contexto do Wallet Connect
└── hooks/         # Hook para verificar se a carteira está ligada
└── utils/         # Hook «A carteira está ligada?»
    ├── solana   # Utilitários Solana e de conta Solana
    └── config.ts  # Configuração da rede
    └── constants.ts
Implantar no Vercel
Contribuições e feedback
Gostaríamos de receber seu feedback e contribuições para este aplicativo de exemplo!
Para relatar problemas ou enviar feedback, abra uma issue no GitHub em qn-guide-examples repositório.
Para contribuir, siga estas etapas:
- Fazer fork do repositório
- Criar uma branch de funcionalidades:git checkout -b feature/amazing-feature
- Faça commit das suas alterações:git commit -m "Add amazing feature"
- Faça push da sua branch:git push origin feature/amazing-feature
- Abrir um Pull Request.
Explorar mais aplicativos de exemplo