跳至主要內容
返回範例應用程式

Solana MCP 伺服器

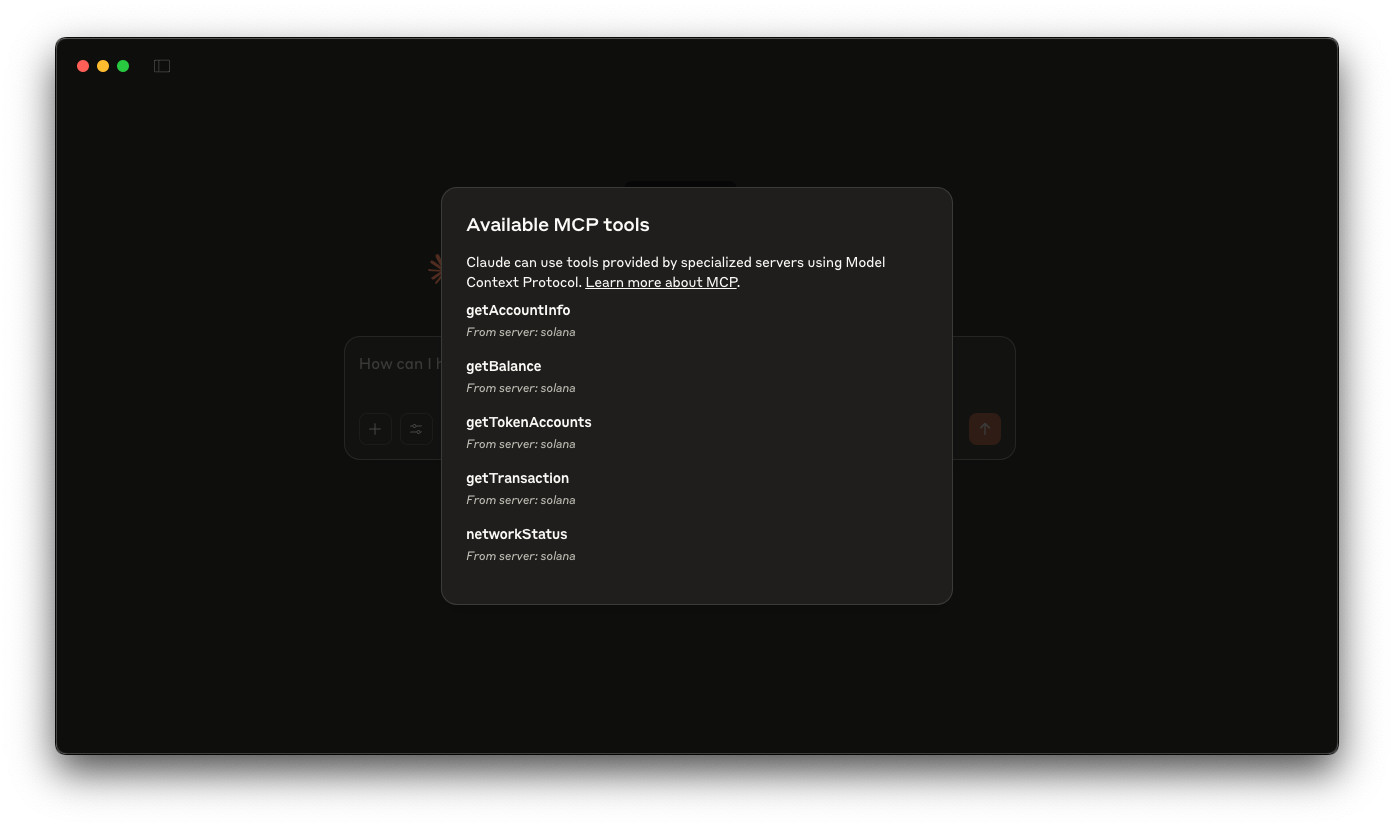
A basic Solana MCP server that gives tools like Claude Desktop (or Cursor) the ability to query the Solana blockchain directly. This integration will enables you to perform tasks like checking wallet balances, viewing token accounts, retrieving transaction details, and analyzing account information—all from the power of your LLM client.

前端框架/函式庫:
Solana 套件
語言:
TypeScript
建置工具/開發伺服器:
Model Context Protocol
範例應用程式預覽

概覽

The Model Context Protocol (MCP) allows you to extend AI assistants like Claude with custom tools that interact with external data sources and services. In this guide, you'll build a Solana MCP server that gives tools like Claude Desktop (or Cursor) the ability to query the Solana blockchain directly. This integration will enable Claude to perform tasks like checking wallet balances, viewing token accounts, retrieving transaction details, and analyzing account information—all while you maintain control over these interactions.

The demo uses:

Supporting resources:

開始使用

Install Dependencies

Open the project directory:

cd AI/solana-mcp

Then, install the dependencies:

npm install
# or
yarn
# or
pnpm install
# or
bun install

Build the Server:

Then, build the server:

npm run build
# or
yarn build
# or
pnpm build
# or
bun build

Setup Claude Desktop

Update your claude_desktop_config.json file with the content from example Claude desktop config. You can find instructions 這裡.

Make sure to update SOLANA_RPC_ENDPOINT with your Quicknode RPC endpoint. You can get one free 這裡.

Make sure your args pass in the absolute path to the built server (for us it is /YOUR_PATH/build/index.js).

Relaunch Claude Desktop after setting up your config file.

Now you can prompt Claude with commands like:

  • What is the Wallet balance of <wallet_address>?
  • What is the token balance of <wallet_address>?
  • What's the status of the Solana network?
貢獻與回饋
我們非常樂意聽取您的意見,並歡迎您為這個範例應用程式提供任何貢獻!
若要回報問題或提供意見回饋,請在 qn-guide-examples 儲存庫。
若要貢獻,請依照以下步驟操作:
  1. 分叉此儲存庫
  2. 建立功能分支:
    git checkout -b feature/amazing-feature
  3. 將您的變更提交:
    git commit -m "新增超棒的功能"
  4. 推送您的分支:
    git push origin feature/amazing-feature
  5. 開啟一個 Pull Request。