Serveur Solana
Un serveur Solana de base qui permet à des outils tels que Claude (ou Cursor) d'interroger directement la Solana . Cette intégration vous permettra d'effectuer des tâches telles que la vérification des soldes de portefeuille, la consultation des comptes de jetons, la récupération des détails des transactions et l'analyse des informations de compte, le tout grâce à la puissance de votre client LLM.


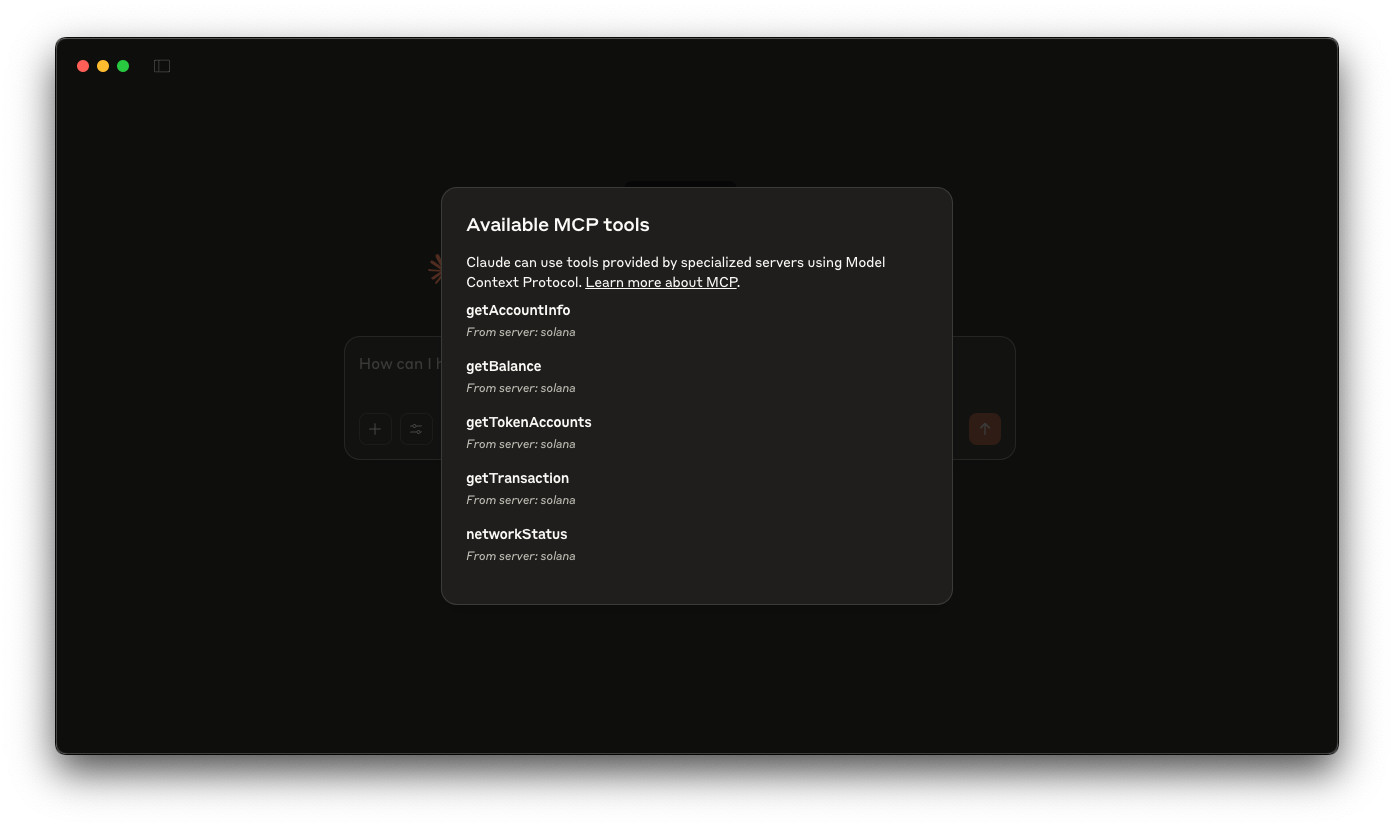
Présentation générale
The Model Context Protocol (MCP) allows you to extend AI assistants like Claude with custom tools that interact with external data sources and services. In this guide, you'll build a Solana MCP server that gives tools like Claude Desktop (or Cursor) the ability to query the Solana blockchain directly. This integration will enable Claude to perform tasks like checking wallet balances, viewing token accounts, retrieving transaction details, and analyzing account information—all while you maintain control over these interactions.
The demo uses:
Supporting resources:
Pour commencer
Installer les dépendances
Ouvrez le répertoire du projet :
cd AI/solana-mcp
Ensuite, installez les dépendances :
npm installer
# ou
yarn
# ou
pnpm installer
# ou
bun install
Build the Server:
Then, build the server:
npm run build
# or
yarn build
# or
pnpm build
# or
bun build
Setup Claude Desktop
Update your claude_desktop_config.json file with the content from example Claude desktop config. You can find instructions here.
Make sure to update SOLANA_RPC_ENDPOINT with your Quicknode RPC endpoint. You can get one free here.
Make sure your args pass in the absolute path to the built server (for us it is /YOUR_PATH/build/index.js).
Relaunch Claude Desktop after setting up your config file.
Now you can prompt Claude with commands like:
- What is the Wallet balance of
<wallet_address>? - What is the token balance of
<wallet_address>? - What's the status of the Solana network?
- Créer une branche du dépôt
- Créer une branche de fonctionnalité :git checkout -b feature/amazing-feature
- Validez vos modifications :git commit -m "Ajout d'une fonctionnalité géniale"
- Publiez votre branche :git push origin feature/amazing-feature
- Créez une demande de fusion.