3 min read
Overview
An external add-on is one that is primarily used outside of QuickNode’s platform, like REST APIs, GraphQL APIs, Standalone products like Explorers, dApps, or financial planning apps. In this guide, we’ll go over all of the steps needed to create an external add-on for QuickNode’s marketplace.
Creating a marketplace account
Creating a marketplace account is as simple as clicking the “Developers” tab on the left nav bar, then filling out the marketplace account application and agreeing to our terms! Here’s a preview of the form:
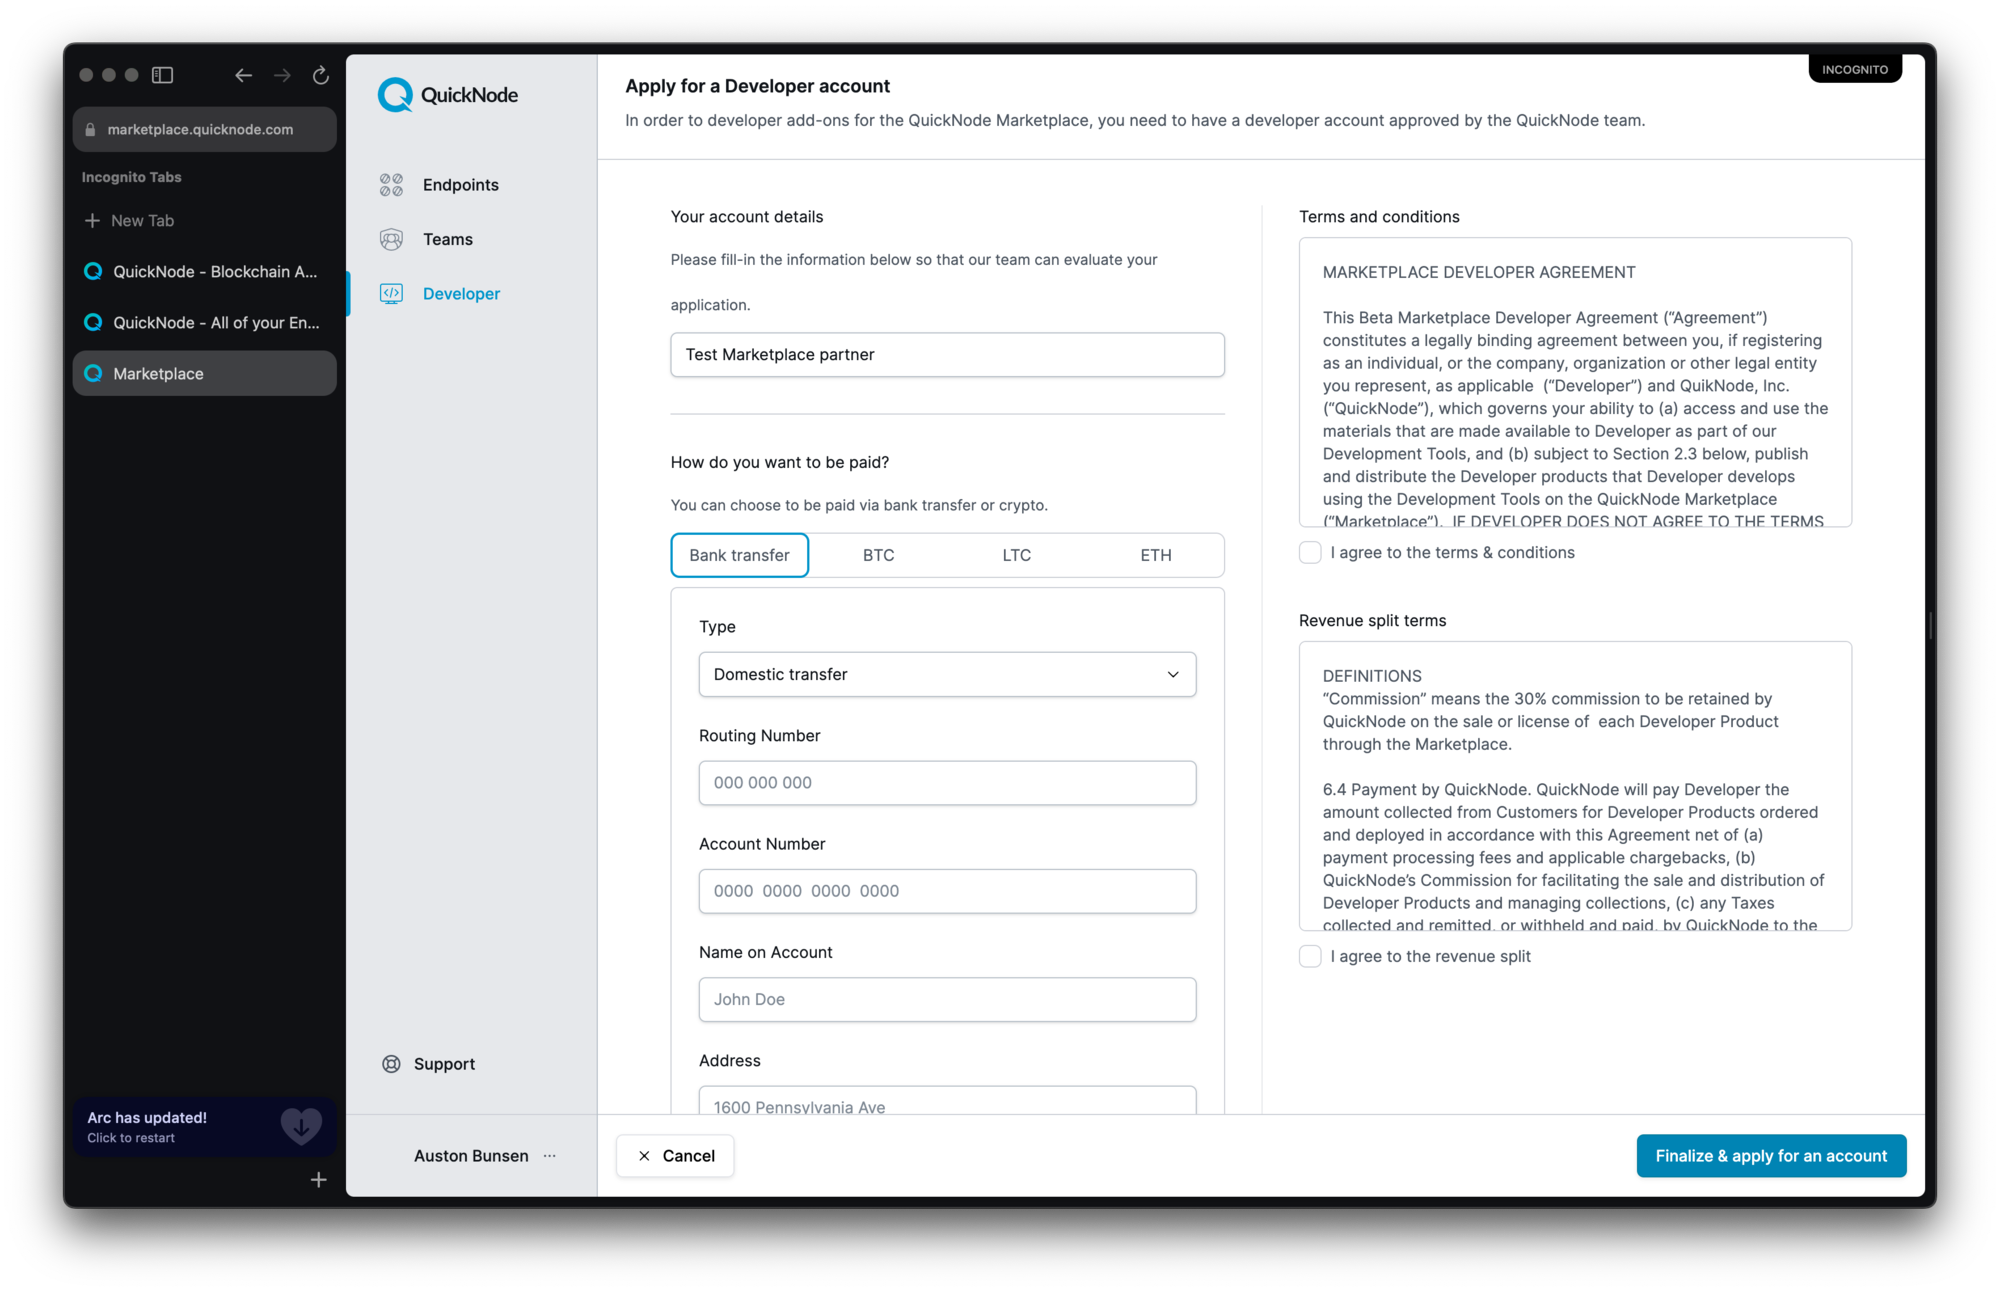
There is an approval process for new marketplace partners, so please be patient while we work through applications. You can typically expect a response in 5-10 business days at most.
Creating an add on
The next step is to tell us about your add-on, which is a pretty straight forward process, tell us about the add-on, provide icons, screenshots, a list of which chains and networks you support, where we can provision/update/de-provision your add on, where to send customer support requests, and your JWT secret for SSO. It looks like this:
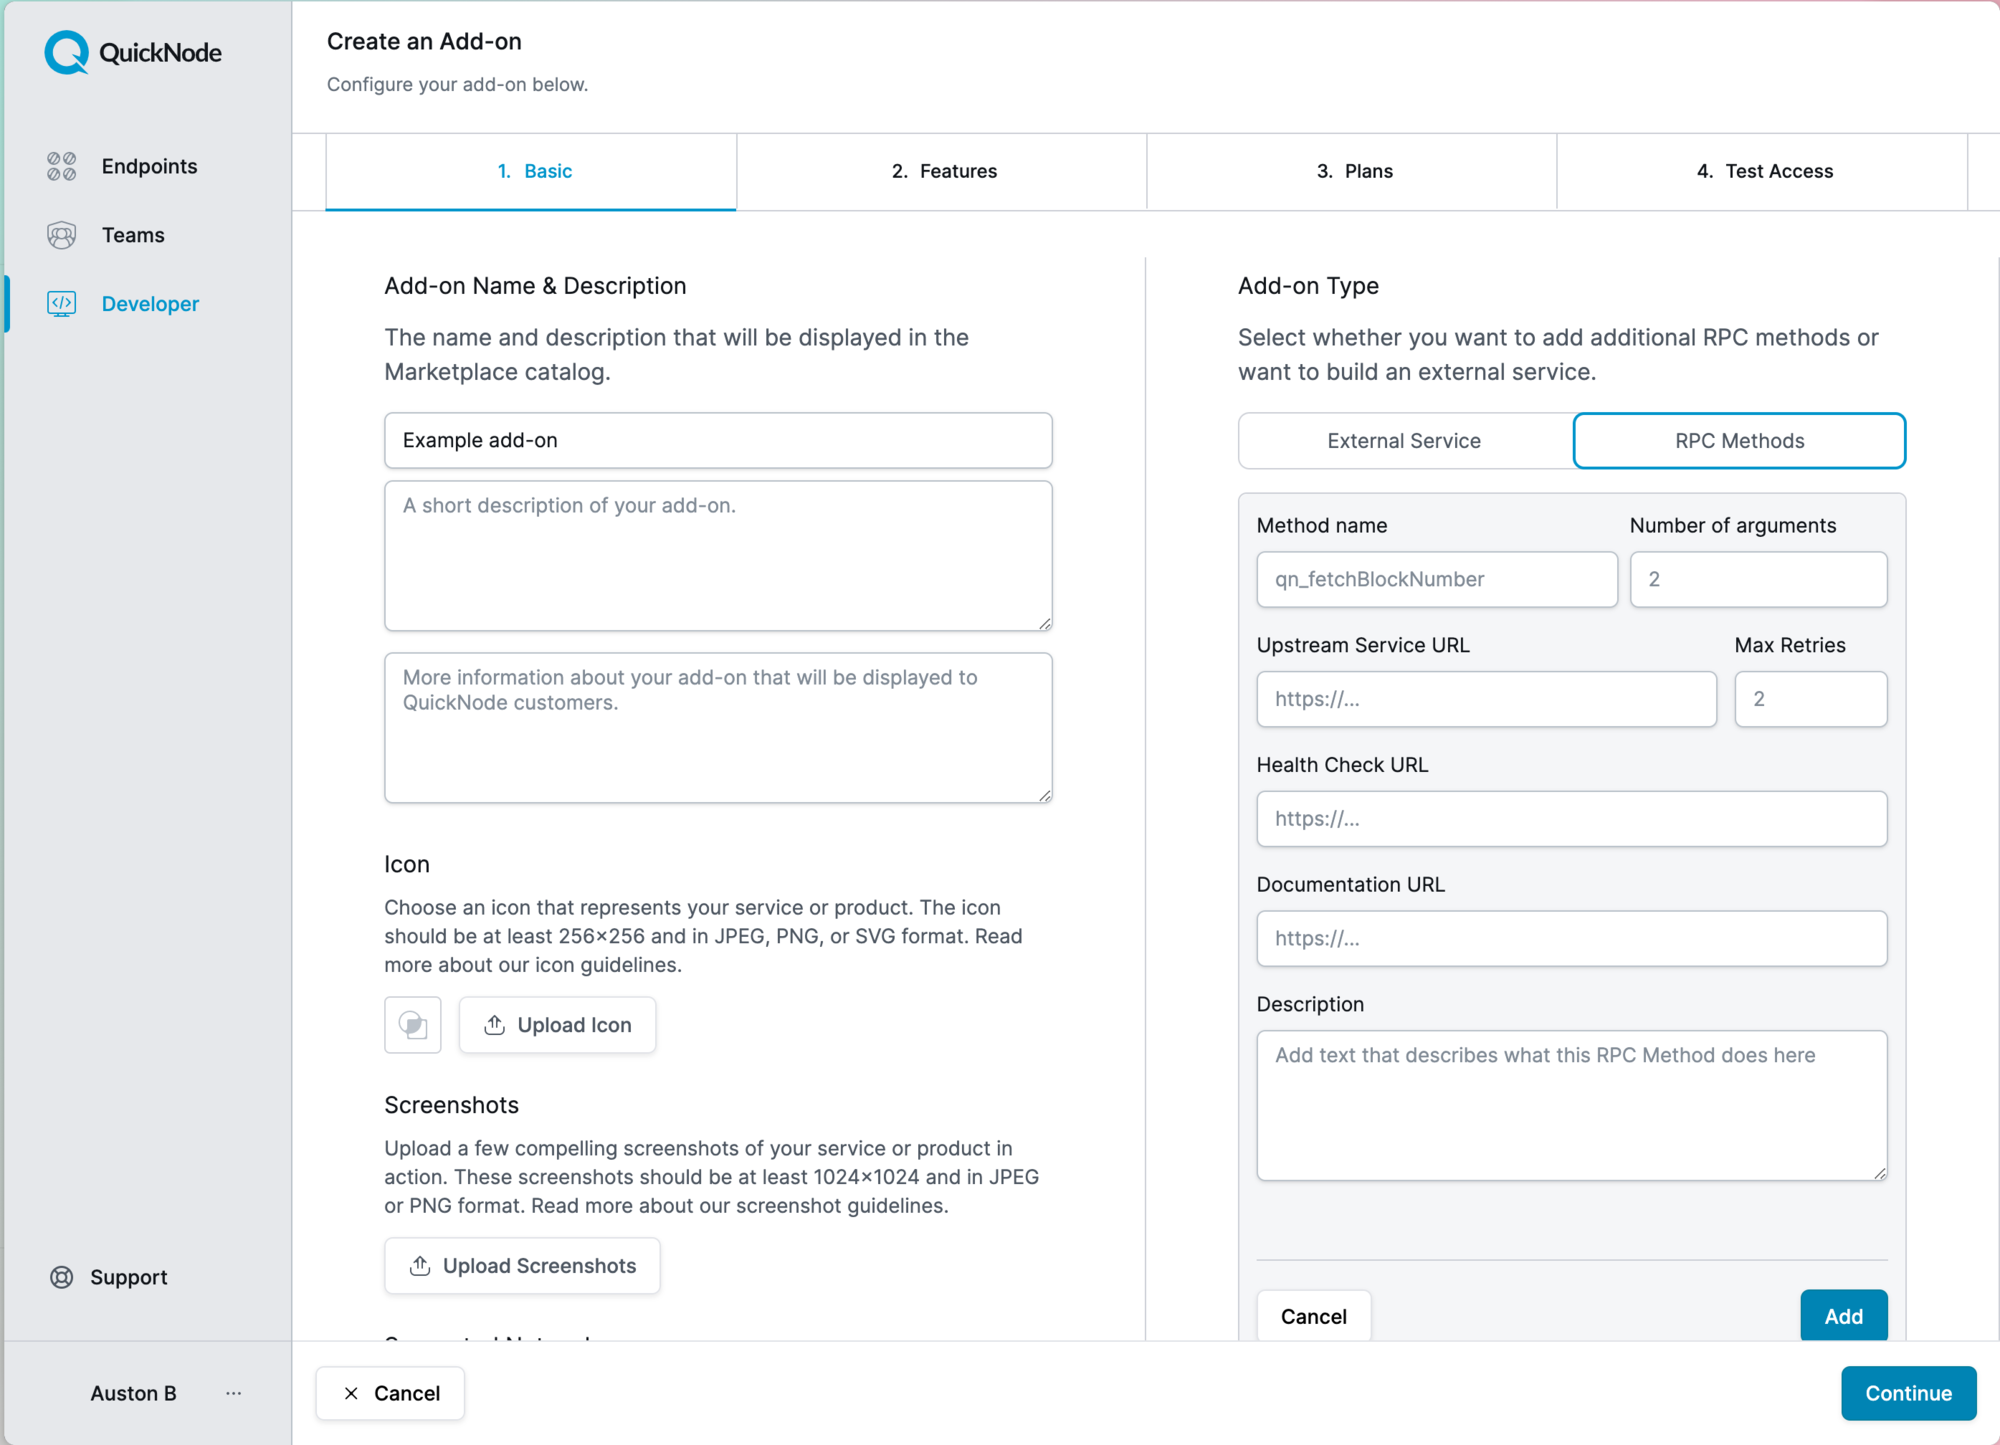
Once completed, your add-on will be in a pending state, read on for more information on how to get your add-on approved.
Getting your add-on approved
The full details of the approval process are here, but we tend to approve add-ons that are high quality among one or more of these dimensions:
-
We have a high degree of confidence that the add-on can handle QuickNodes scale of traffic
-
We believe customers would benefit from this add-on because it’s specialized
-
We believe customers would benefit from this add-on because it’s innovative
-
We believe customers would benefit from this add-on because it’s critical infrastructure for them
If your add-on meets one or more of these requirements, there is a high likelihood we will reach out to learn more and fast track your add-on.
Provisioning
We’ve written an extensive guide on how provisioning, updating and de-provisioning your add-on works. We use authentication to do this, read the full guide here.
Testing
When it comes to testing, we highly recommend you install ngrok, so you can test the provisioning, update and de-provisioning steps of the process. To set up ngrok, if you’re using a mac, run this:
brew install ngrok/ngrok/ngrok
On windows:
choco install ngrok
On Linux:
curl -s https://ngrok-agent.s3.amazonaws.com/ngrok.asc | sudo tee /etc/apt/trusted.gpg.d/ngrok.asc >/dev/null && echo "deb https://ngrok-agent.s3.amazonaws.com buster main" | sudo tee /etc/apt/sources.list.d/ngrok.list && sudo apt update && sudo apt install ngrok
Once you’re set up, if you have your service running on your local machine, simply start ngrok and point it at a port, you’ll immediately get a hostname back that you can use, it will look like this:
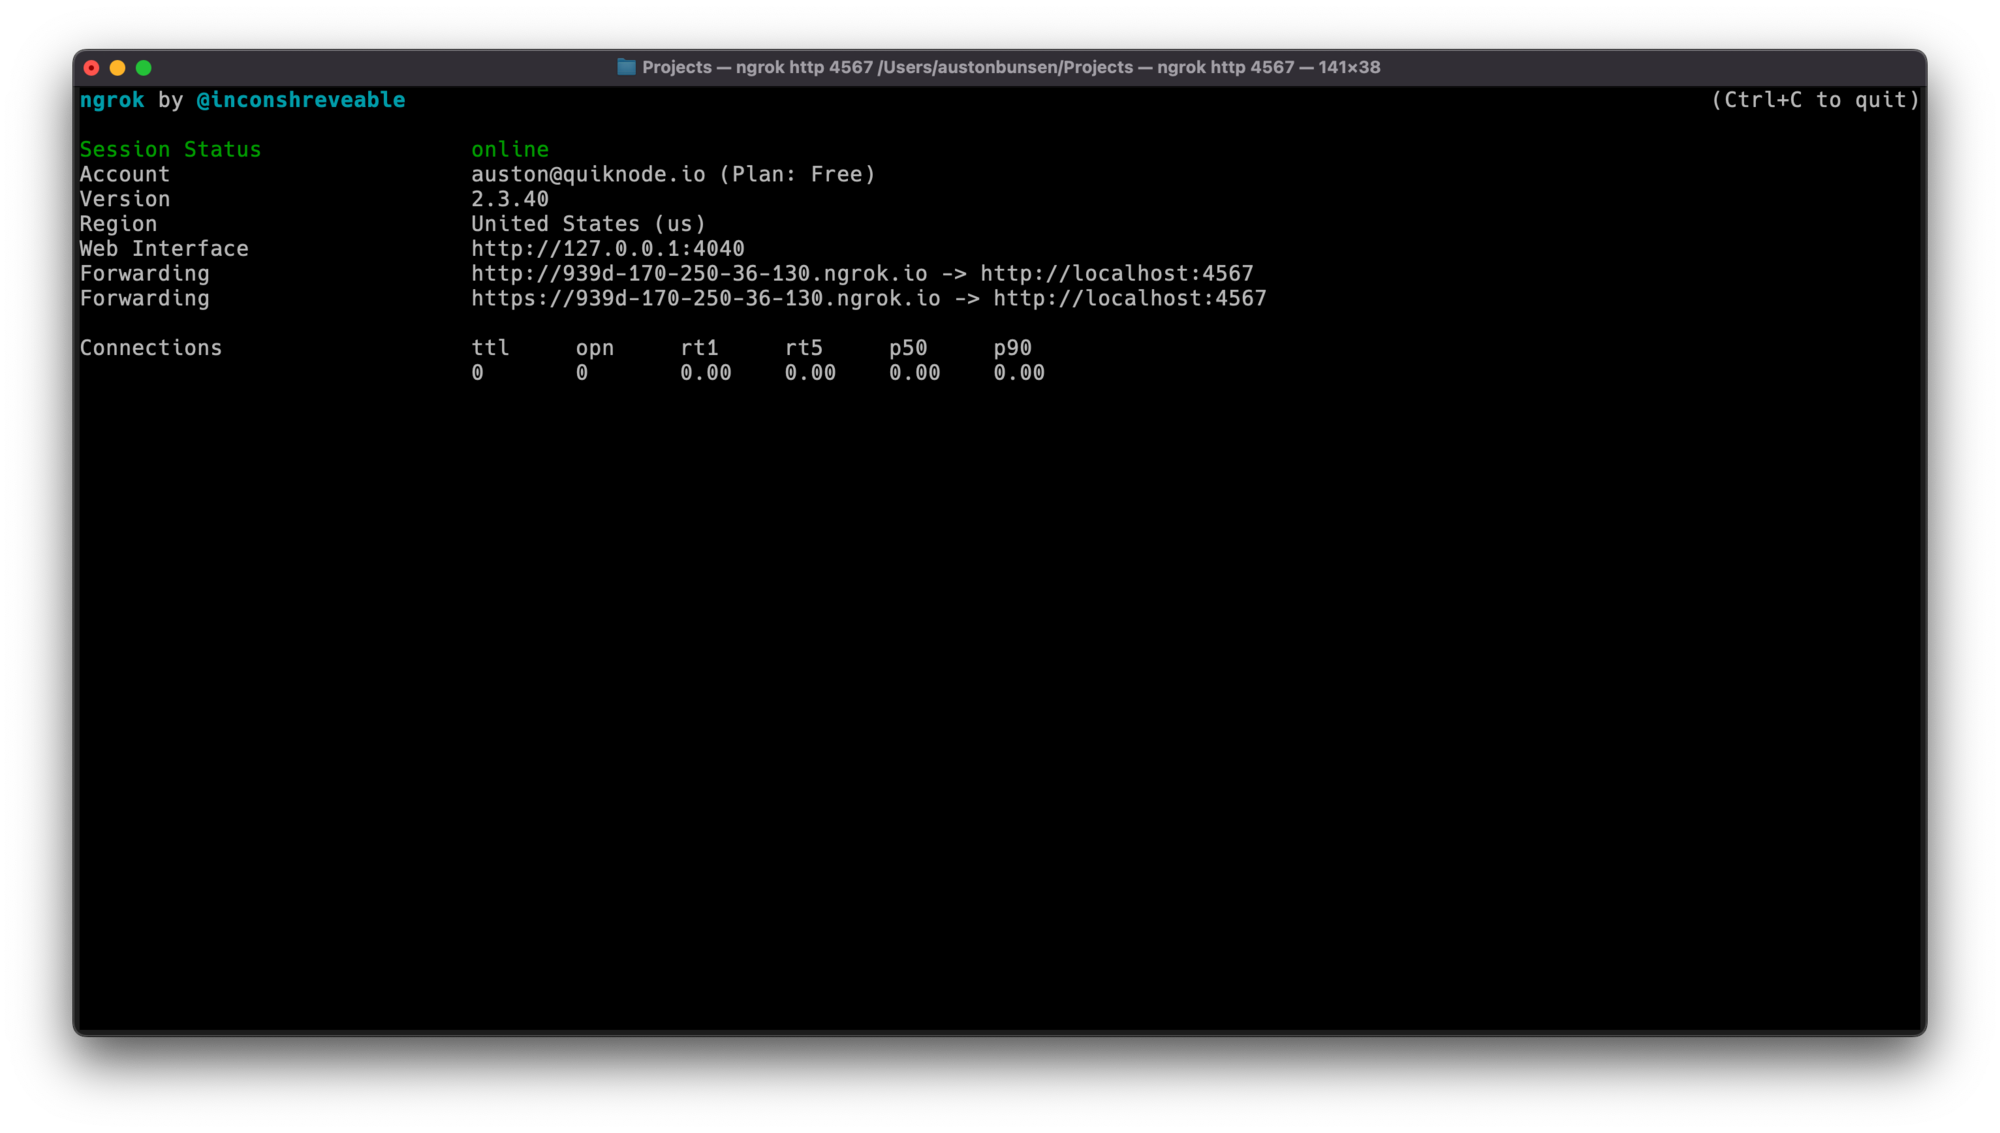
Then you can put that forwarding address into the provision testing software we have set up and it will allow you test example provisioning requests.
SSO login
We’ve written an extensive guide on how to get customer details and log them into your systems with SSO. Read the full guide here.
Going live!
After you’ve gone through the full approval process, we will get you live! You’ll get placement in app on the check out page, the add-ons tab for endpoints and the public website. We’ll help you promote your add-on and recommend it to customers when appropriate. We’ll work hard to be the best partner you have and help you whenever we can.
If you have any questions, don’t hesitate to reach out!
**We ❤️ Feedback!
**
If you have any feedback or questions on this guide, let us know here! We’d love to hear from you!