
8 min read
概覽
Often, a dApp may require a user to pay for a product or service with a specific token, or a dApp may have built-in mechanics that require a user to swap tokens. In these cases, having a swap feature built into your dApp can be helpful. Jupiter, a leading swap program on Solana, has created a simple, end-to-end swap component that can be added to any webpage: Jupiter Terminal. Jupiter Terminal allows users to swap tokens without leaving your site.
您將負責的工作內容
In this guide, you will learn how to use Jupiter Terminal to add a swap feature to any webpage in 5 minutes.
- Learn the Basics of the Jupiter protocol
- Create a simple HTML page
- Add Jupiter Terminal to the page
您需要準備的物品
- Basic knowledge of Solana Fundamentals
- A modern web browser (Chrome, Firefox, Safari, Edge) to use Solana Playground
- Node.js (version 18.16 or higher) installed
What is Jupiter?
Jupiter is a Web3 Swap program on Solana. Jupiter allows users to find efficient routes for swapping tokens on Solana. Token swapping is a core feature of DeFi that enables users to trade one token for another while accounting for the market value of each token.
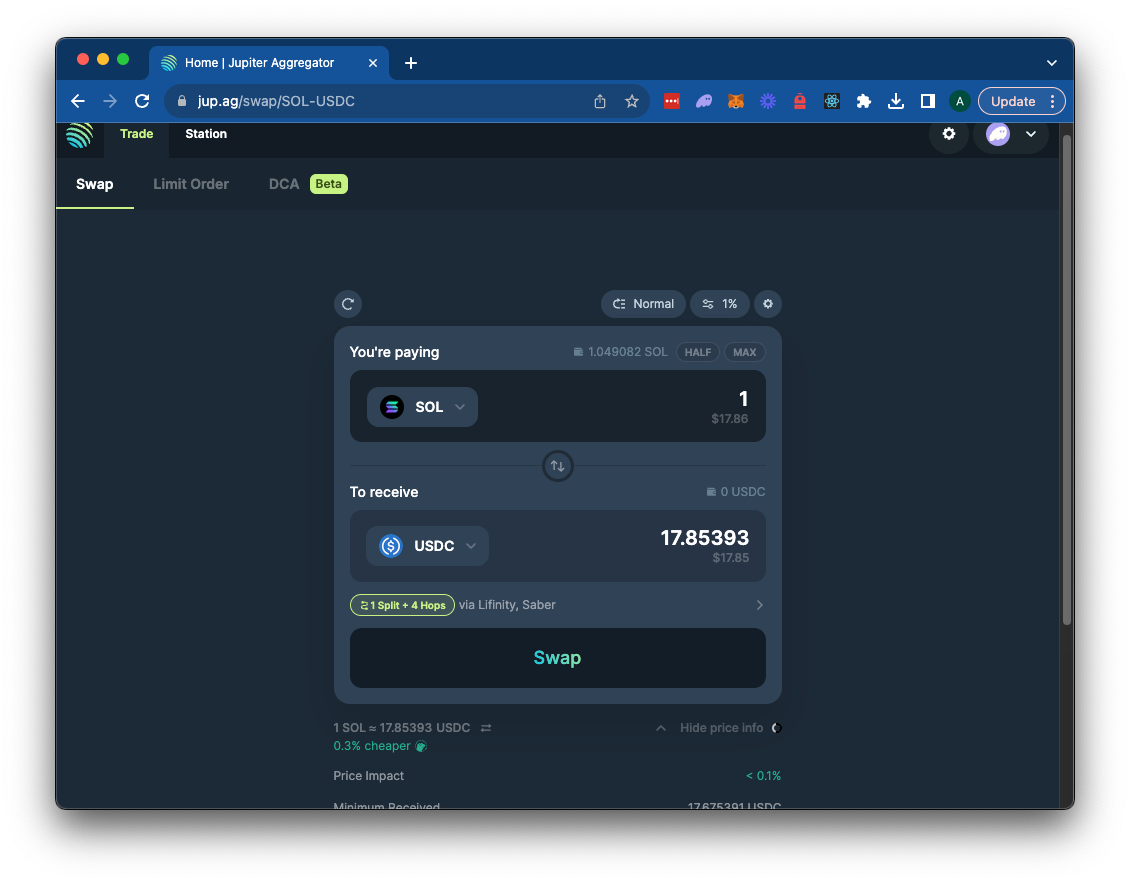 Source: jup.ag
Jupiter aggregates pricing from many decentralized exchanges (DEXs) and automated market makers (AMMs) and employs a unique algorithm called "smart routing" that allows users to find the best price for their swap.
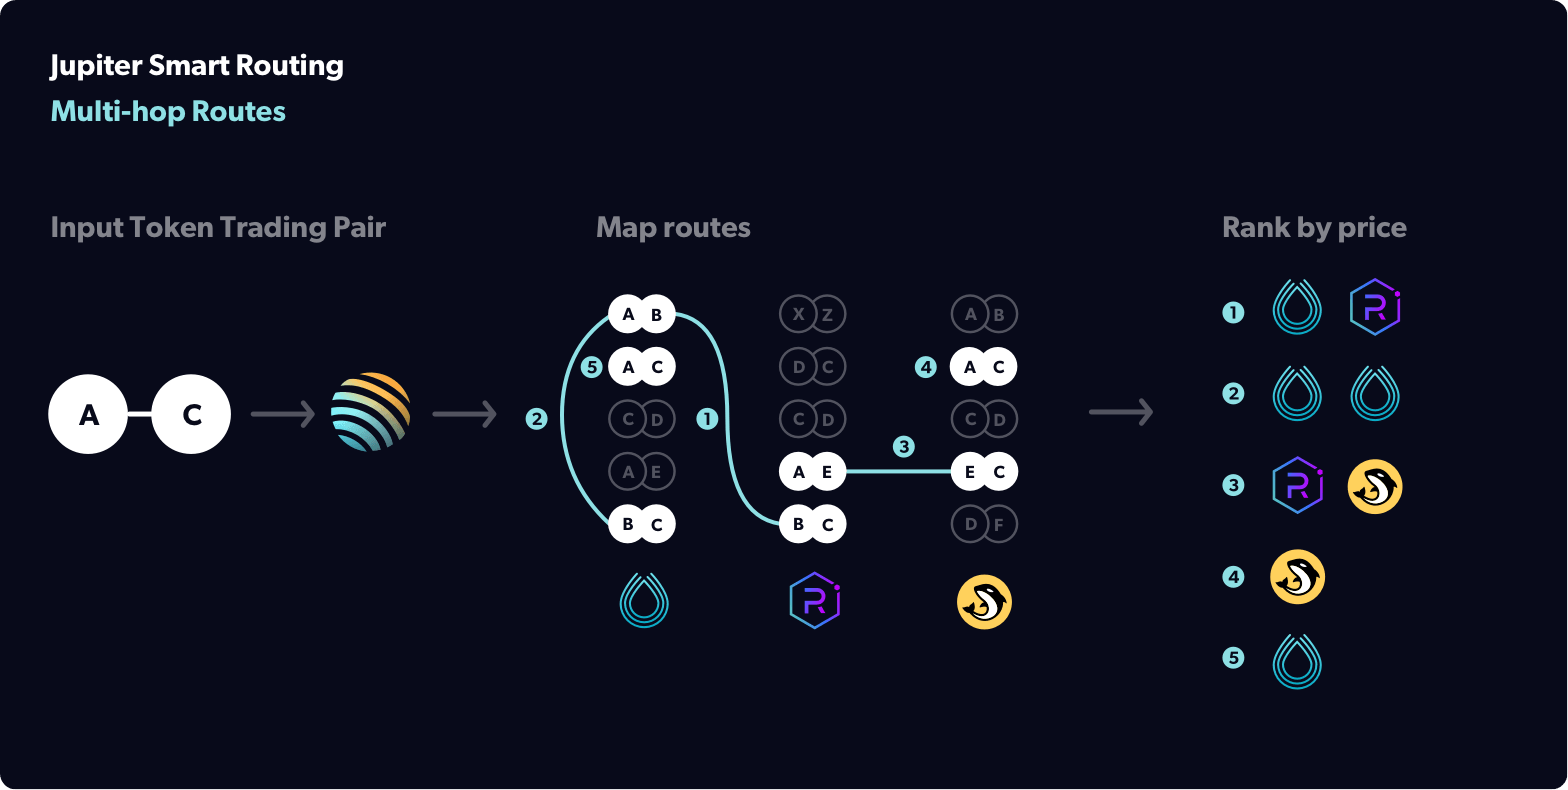 Source: Jupiter Docs: How Does Jupiter Work
Jupiter will also search for inefficiencies in intermediary swaps (e.g., USDC-mSOL-SOL instead of USDC-SOL) to find lower costs for users. When executing swaps, Jupiter also utilizes a concept called Trade Splitting, which breaks a trade into smaller trades across multiple DEXs to find the best price.
What is Jupiter Terminal?
Jupiter Terminal is a simple, end-to-end swap component that can be added to any webpage. Jupiter Terminal allows users to swap tokens without leaving your site. Jupiter Terminal is a great way to add a swap feature to your site without having to build your own swap program or component.
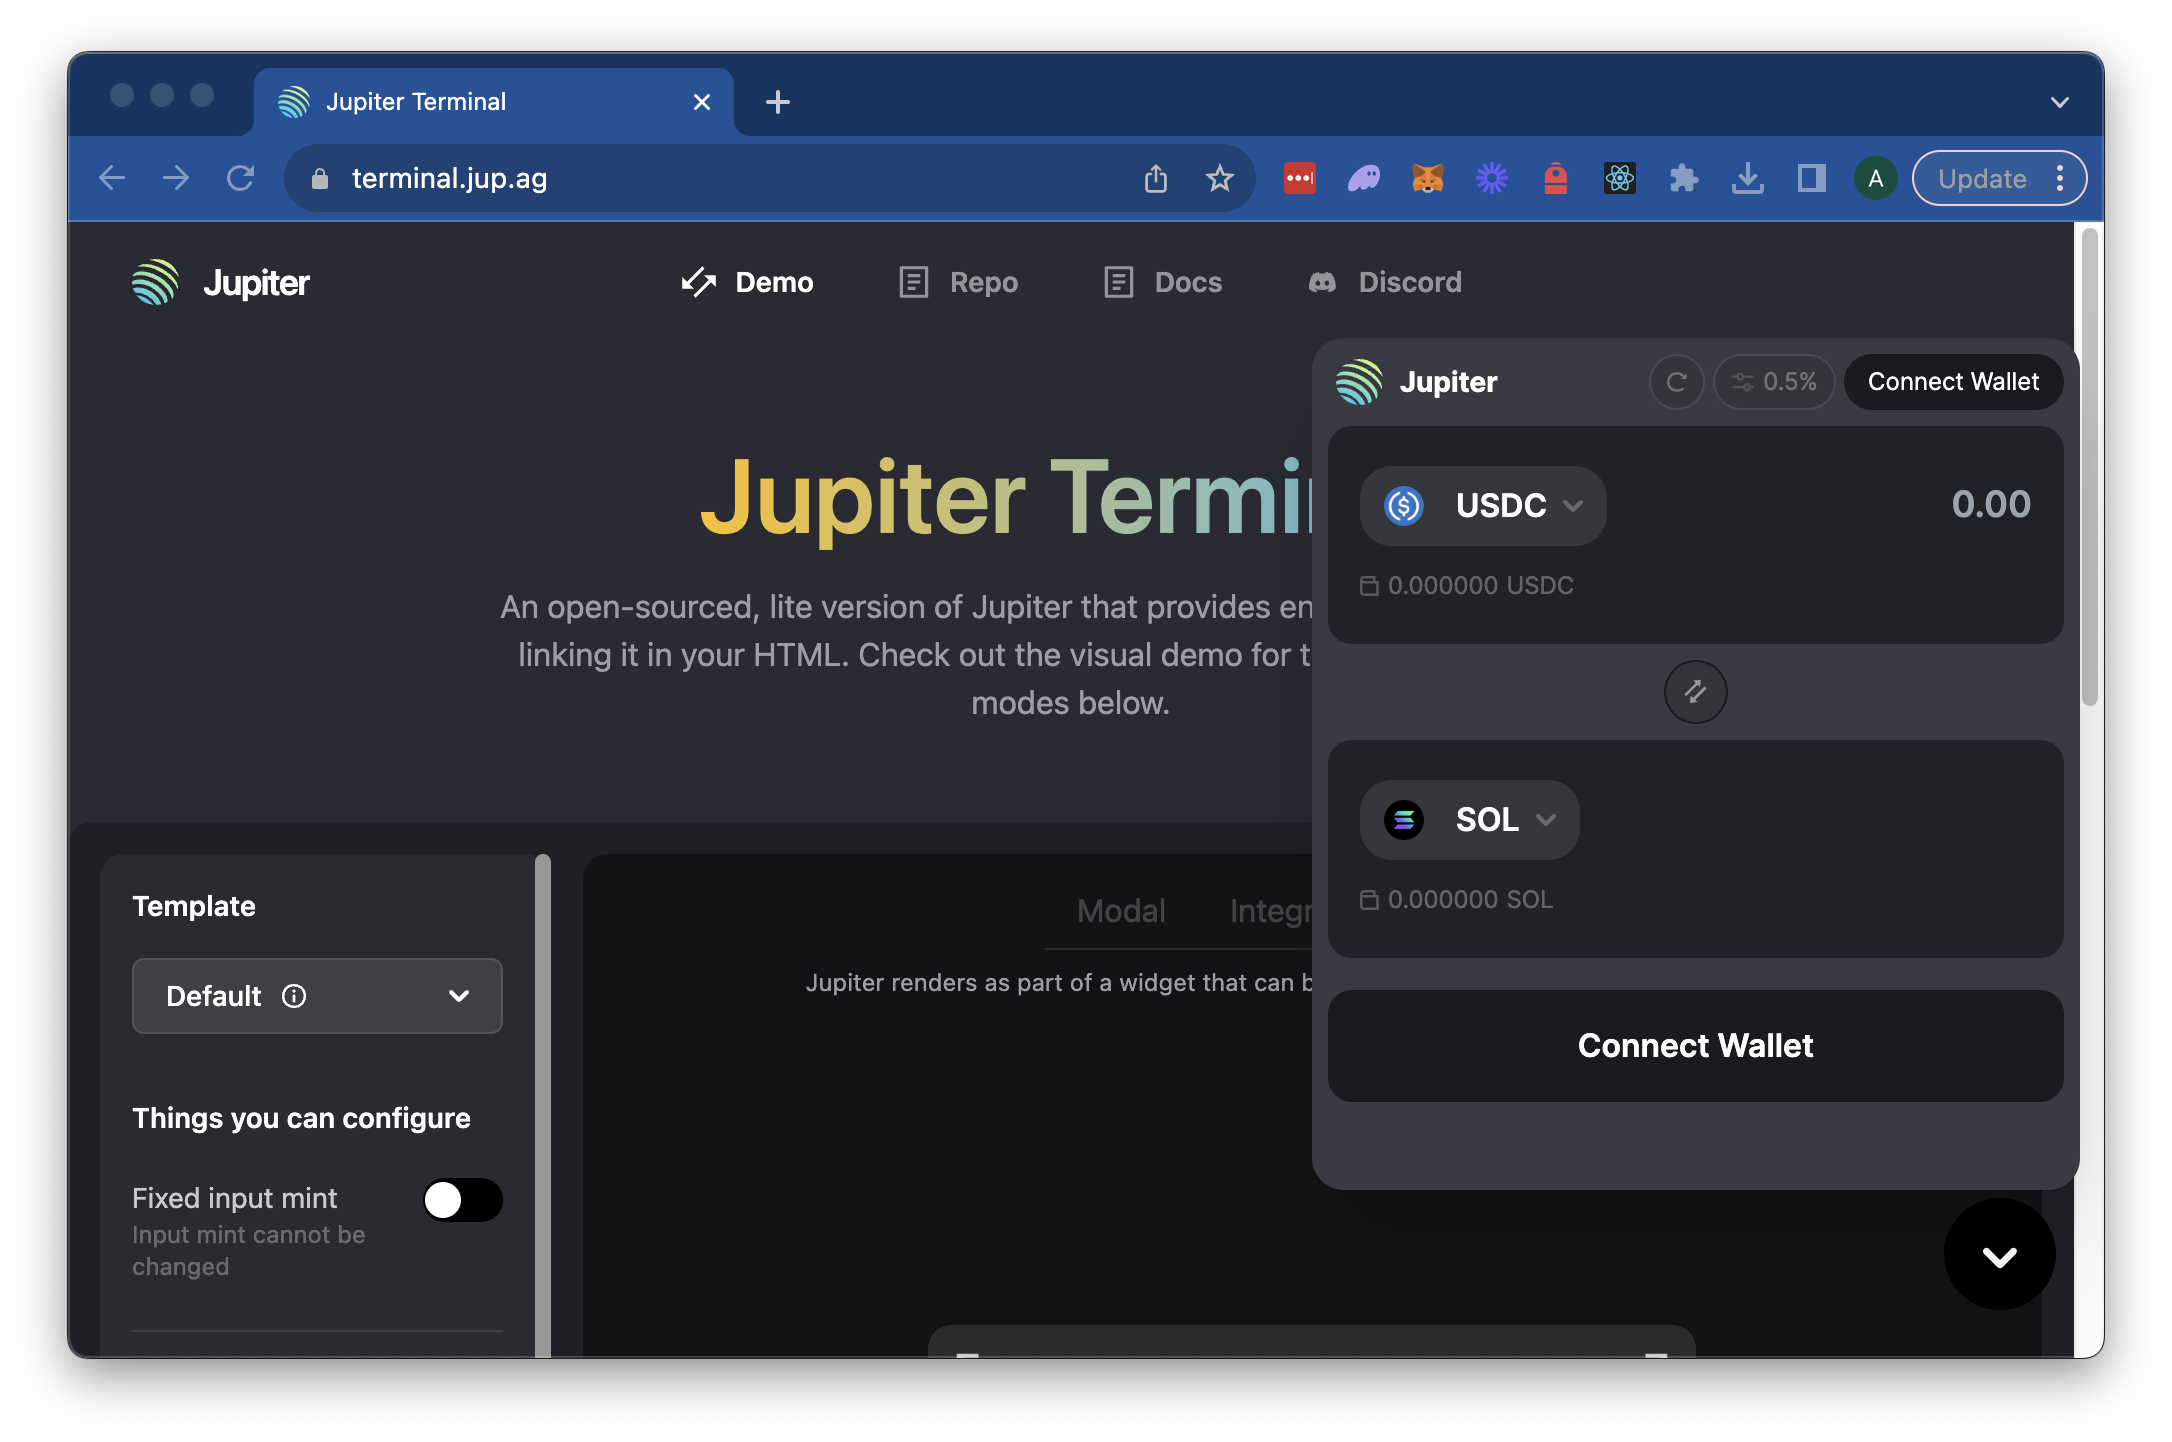
It also allows users to enjoy a seamless experience with a reputable swap program. Additionally, you can easily add fees to your swaps, a great way to monetize your site.
Currently, Jupiter Terminal is available in three different formats:
- Modal: (default) a modal overlaying the whole screen.
- Integrated: Renders Jupiter Terminal component as a part of your webpage.
- Widget: renders Jupiter Terminal as a widget/pop-up button that can be placed in different positions.
For this demo, we will create a page with an integrated terminal, but you can use the same process to add a modal or widget to your page.
Create a Simple HTML Page
Let's start by creating a new file, index.html, in a new project directory, jupiter-example. In your terminal, run the following command:
mkdir jupiter-example && cd jupiter-example && echo > index.html
開啟 index.html file in your favorite text editor and add the following code:
<!DOCTYPE html>
<html lang="en">

<head>
    <meta charset="UTF-8">
    <meta name="viewport" content="width=device-width, initial-scale=1.0">
    <title>Quick Swap Demo</title>
    <style>
        body {
            display: flex;
            flex-direction: column;
            align-items: center;
            font-family: Arial, sans-serif;
            background-color: #002e3b;
        }
        h1 {
            padding: 20px;
            font-size: 24px;
            color: white;
        }
        #integrated-terminal {
            padding: 10px;
            border-radius: 20px;
            background-color: #304256
        }
    </style>
</head>

<body>
    <h1>Quick Swap Demo</h1>
    <div id="integrated-terminal">
    </div>
</body>

</html>
This should give us a simple page with a title and a div with the id integrated-terminal. We will use this div to render the Jupiter Terminal component. We have included some styling to make the page look a little nicer, but feel free to add your own styling.
Let's make sure our page renders before we move on. In your terminal, run the following command:
npx http-server
該 http-server command will start a local server and serve your index.html file. You should see the following output:
Starting up http-server, serving ./
//...
Available on:
  http://127.0.0.1:8080
Hit CTRL-C to stop the server
Open your browser and navigate to the path specified in your terminal (in this case http://127.0.0.1:8080). You should see the following page:
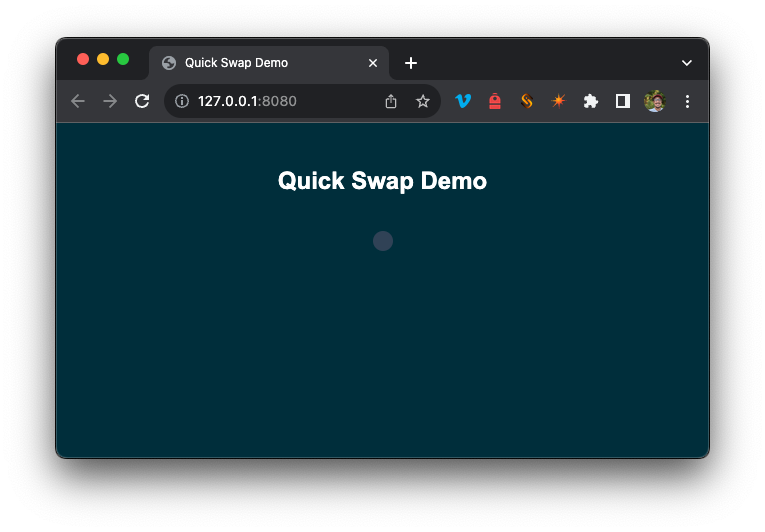
Nice work. Now, let's add an integrated Jupiter Terminal component to our page. Terminate your http-server process by pressing CTRL-C 或 CMD-C in your terminal.
Add Jupiter Terminal
In your index.html file, we will need to add our Jupiter Terminal script and inject the component into our page. Under your <title> tag, add the main Jupiter Terminal script with the data-preload tag:
    <title>Quick Swap Demo</title>
    <!-- Add This 👇 -->
    <script src="https://terminal.jup.ag/main-v1.js" data-preload></script>
This will ensure the script is preloaded on your browser's document.readyState === "complete" 活動。
Before we can initialize our Jupiter Terminal, we will need a Solana Mainnet endpoint to connect to.
Connect to a Solana Cluster with Your Quicknode Endpoint
To build on Solana, you'll need an API endpoint to connect with the network. You're welcome to use public nodes or deploy and manage your own infrastructure; however, if you'd like 8x faster response times, you can leave the heavy lifting to us.
See why over 50% of projects on Solana choose Quicknode and start your free trial 這裡. We're going to use a Solana Mainnet endpoint.
Copy the HTTP Provider link: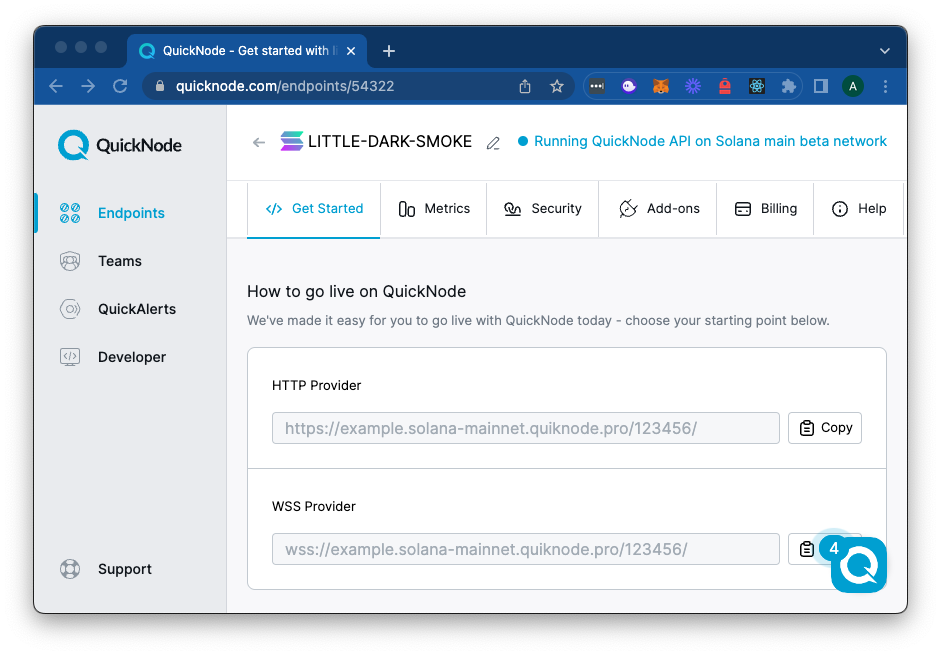
Now, inside the integrated-terminal div we created, we just need to initialize the Jupiter Terminal using a window.Jupiter.init script:
    <div id="integrated-terminal">
        <!-- Add This 👇 -->
        <script>
            window.Jupiter.init({
                displayMode: "integrated",
                integratedTargetId: "integrated-terminal",
                // 👇 REPLACE THIS WITH YOUR OWN HTTP PROVIDER ENDPOINT
                endpoint: "https://example.solana-mainnet.quiknode.pro/123456/",
                formProps: {
                    fixedOutputMint: false
                }
            });
        </script>
    </div>
該 window.Jupiter.init script takes a few parameters:
displayModespecifies the type of Jupiter Terminal to render. In this case, we are usingintegratedto render the component on our page. Alternatively, you could passmodal(default) orwidget.integratedTargetIdis required fordisplayMode: "integrated". This is the ID of the div we created earlier.endpointis our Quicknode Solana endpoint we created earlier.
Let's test it out and make sure it works. In your terminal, run the following command:
npx http-server
Great job! You should now have a Jupiter Swap component embedded in your page. You can now swap tokens without leaving your page. You should notice that the Component allows you to connect a Solana wallet (even though our page did not include a Solana Wallet Adapter). We can select a token to swap from, enter an amount, and select the token we would like to receive:
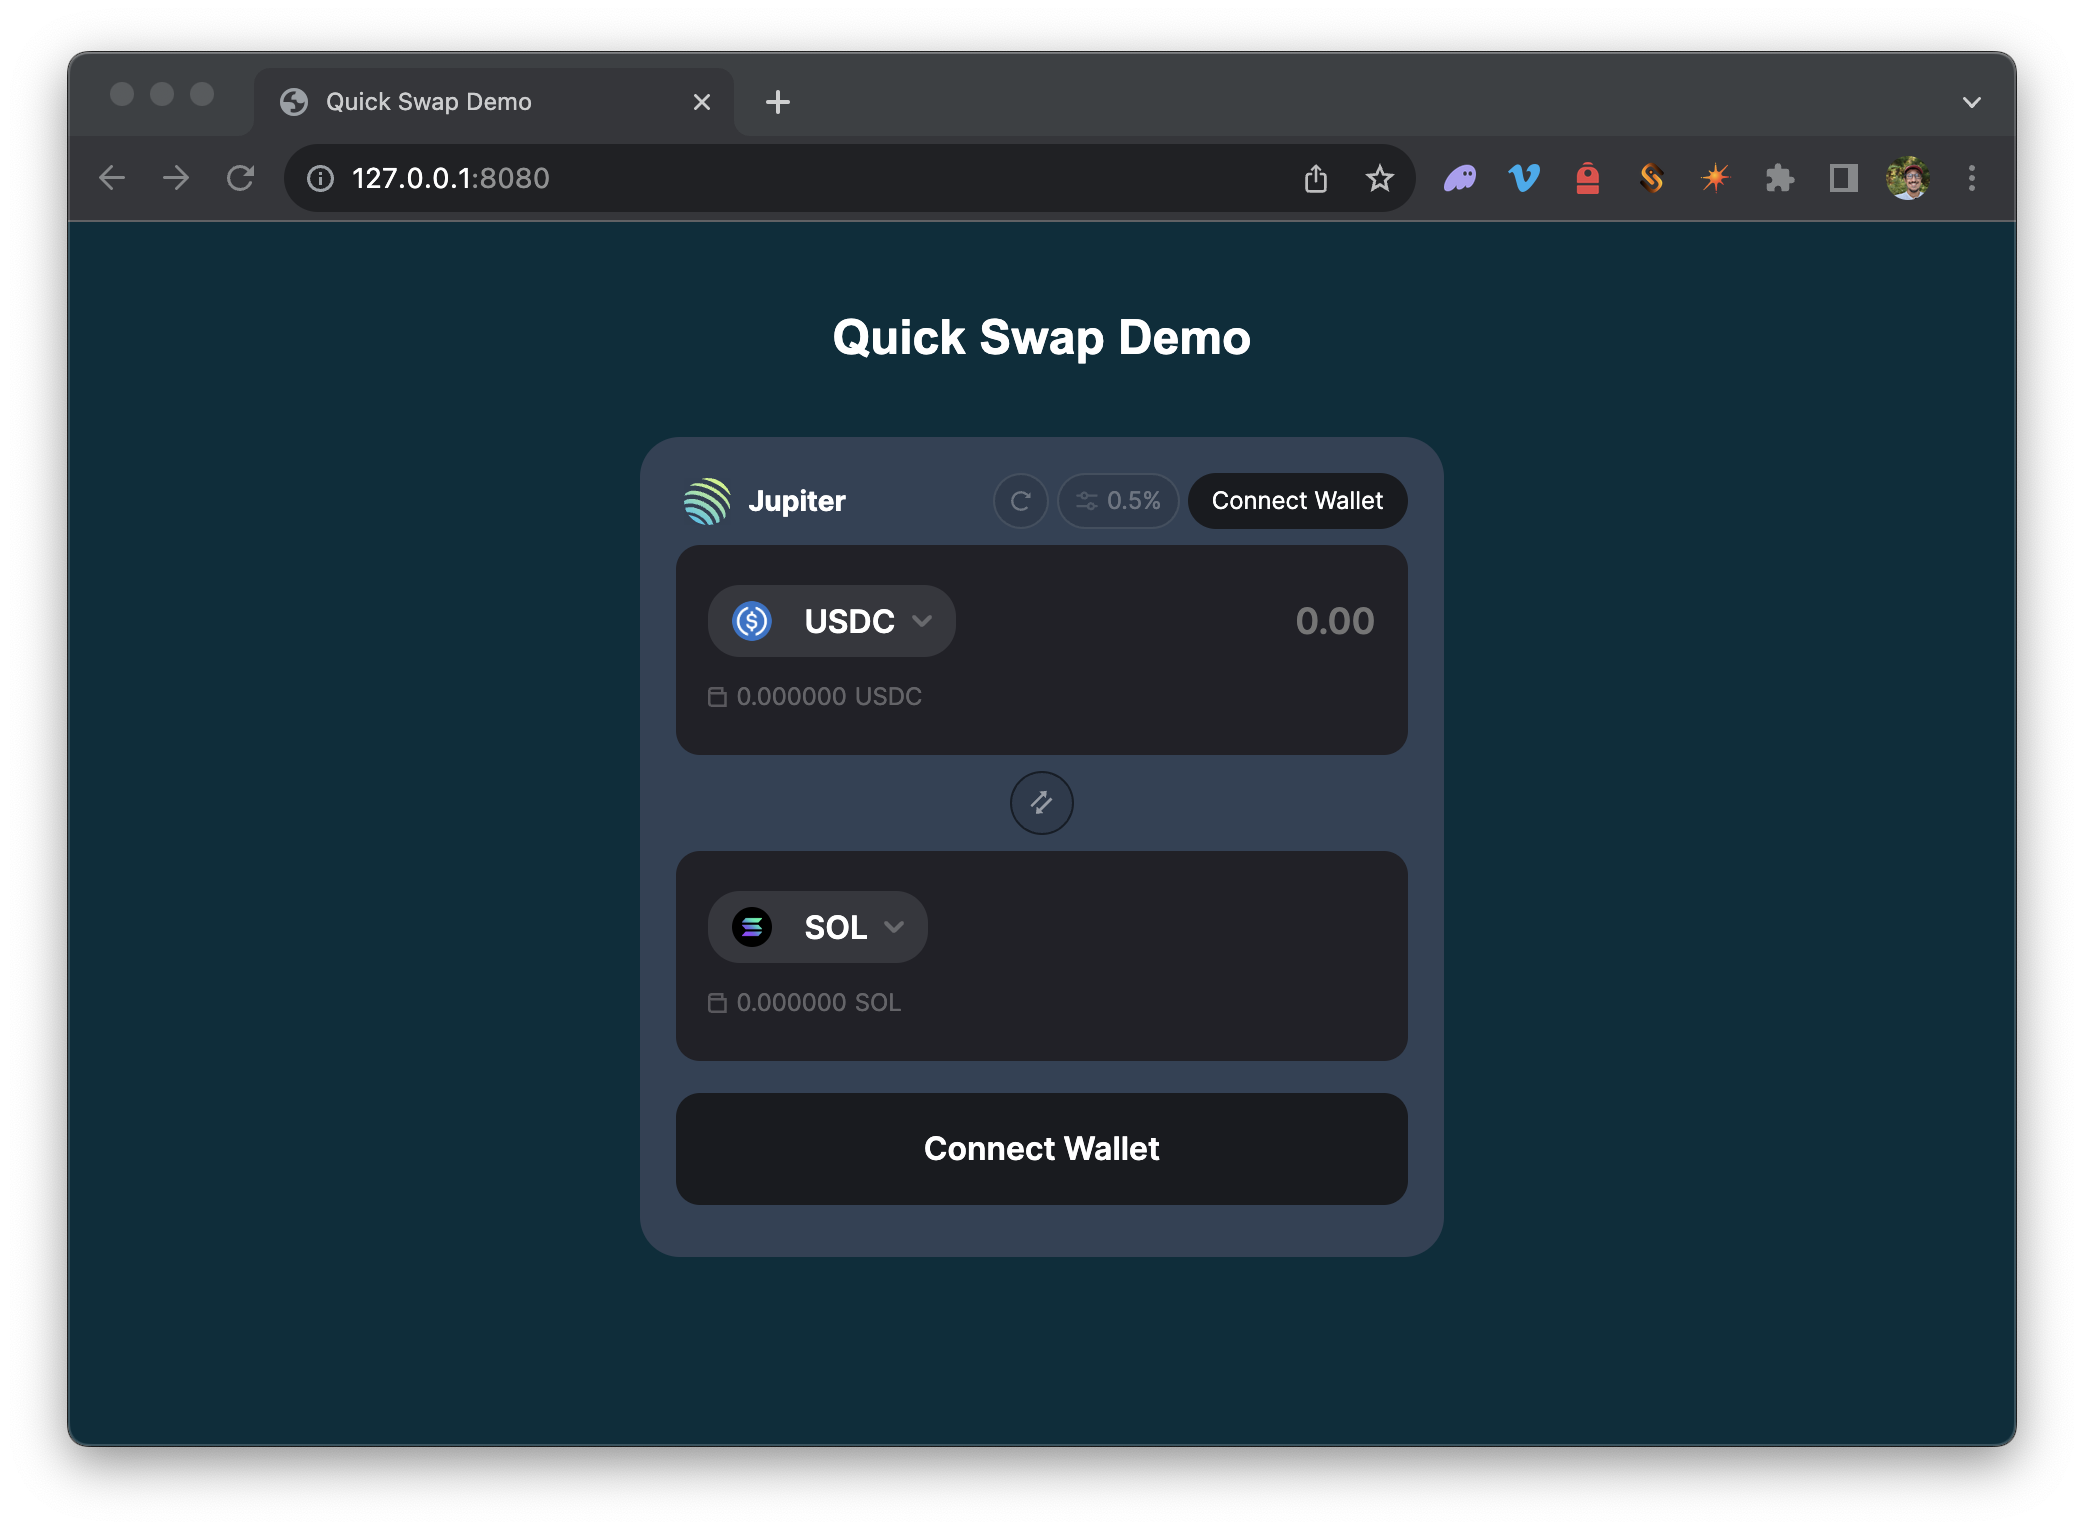
Jupiter allows you to use your dApp's existing wallet provider. You can pass a walletProvider parameter to the passThroughWallet parameter to use your dApp's existing wallet provider.
const App = () => {
  const { wallet } = useWallet();

  const initJupiter = () => {
    if (wallet) {
      window.Jupiter.init({
        endpoint,
        // 👇 USE YOUR DAPP'S EXISTING WALLET PROVIDER
        passThroughWallet: wallet,
      });
    }
  };
};
Additional Parameters
Additionally, you can add some optional parameters depending on your use case:
strictTokenList(布林值): a smaller set of tokens that have been validated by the Jupiter team (default: true)formProps(物件): a set of form properties that can be used to customize the functionality of the swap. Example:
    {
        // Limit the input token to a single token
        "fixedInputMint": true,
        // Limit the output token to a single token
        "fixedOutputMint": true,
        // Define how the swap is calculated
            // ExactIn: The user specifies the amount of input tokens, and the amount of output tokens is calculated
            // ExactOut: The user specifies the amount of output tokens, and the amount of input tokens is calculated
        "swapMode": "ExactOut" // "ExactIn",
        // Restrict user to not be able to change the input amount
        "fixedAmount": true,
        // Predefine the input amount
        "initialAmount": "8888888800000",
        // Predefine the input token
        "initialInputMint": "DezXAZ8z7PnrnRJjz3wXBoRgixCa6xjnB7YaB1pPB263",
        // Predefine the output token
        "initialOutputMint": "AZsHEMXd36Bj1EMNXhowJajpUXzrKcK57wW4ZGXVa7yR"
    }
passThroughWallet(布林值): use your dApp's existing wallet provider (default: false)widgetStyle(物件, fordisplayMode: "widget"only): styling for the widget. Example:
    {
        position: 'bottom-right', // 'bottom-left', 'top-left', 'top-right'
        size: 'default', // 'sm'
    }
defaultExplorer: 'Solana Explorer' (default) | 'Solscan' | 'Solana Beach' | 'SolanaFM'containerStyles(字串): inject CSS styles to the outer-most containercontainerClassName(字串): inject Tailwind classes to the outer-most container
總結
You just created a simple landing page with a swap feature using Jupiter Terminal. You can use this process to add a swap component, widget, or modal to any webpage.
如果您有任何問題或想分享的想法,歡迎透過Discord或Twitter 聯絡我們!