6 min read
Introduction
In this practical guide you will build a basic Wallet application with React and Web3 that will interact with Solana Network.
This application will do the following operations:
Connect to the Network
You will use Connection to create a connection with Solana Network. There are three options: mainnet-beta, testnet and devnet.
In this example we will use devnet because it is the one that acts like a playground for anyone who wants to start to build with Solana and tokens aren't real.
Generate an Account
In order to interact with Solana Network you will need to create a Keypair that will contain a Public Key and a Secret Key. Public Key will be your address for anyone that want to send you tokens and Secret Key will be used to sign transactions.
Get the balance of the generated Account
You can check at anytime the balance of an account if you know its public key.
Request an Airdrop
Solana devnet allows us to ask for free tokens to be able to do tests while we are building our applications.
These tokens aren't real and you will see them only while you are connected to devnet.
Prerequisites:
In order to follow this guide you will need the following:
Setup the Boilerplate
We have prepared a small boilerplate repository to make it easier to build this Wallet application.
It contains:
- A basic skeleton with the empty methods that we will implement along the tutorial.
- A layout to show the data that we will get from the Solana Network.
- @solana/web3.js package to communicate with the Solana Network.
File structure:
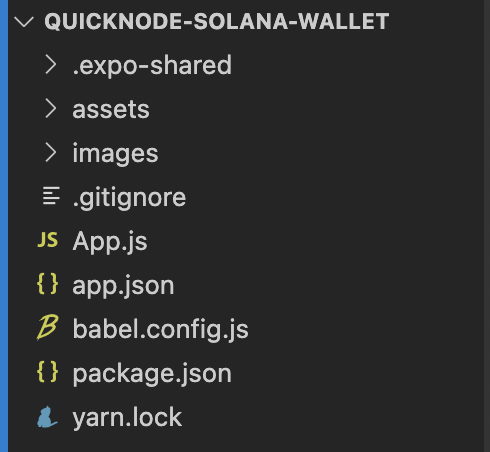
- App.js The main file of the App and where you will put your code.
- app.json This file contains information about the project: name, supported platforms, icon, splash images...
- assets This folder will contain the images.
- babel.config.js This file is used to extend Babel configuration.
- node_modules This folder contains all the dependencies and packages of the application.
- package.json This file contains a list of dependencies and some scripts to run or build it.
- yarn.lock This file will update automatically every time that add new dependencies. It contains a list of the exact versions for every dependency.
First, you will need to clone the Github repository:
git clone https://github.com/quiknode-labs/QuickNode-solana-wallet
Once cloned, you will need to install dependencies:
cd QuickNode-solana-wallet
yarn install
Last, run it:
expo web
At this point you will see the following:
Terminal
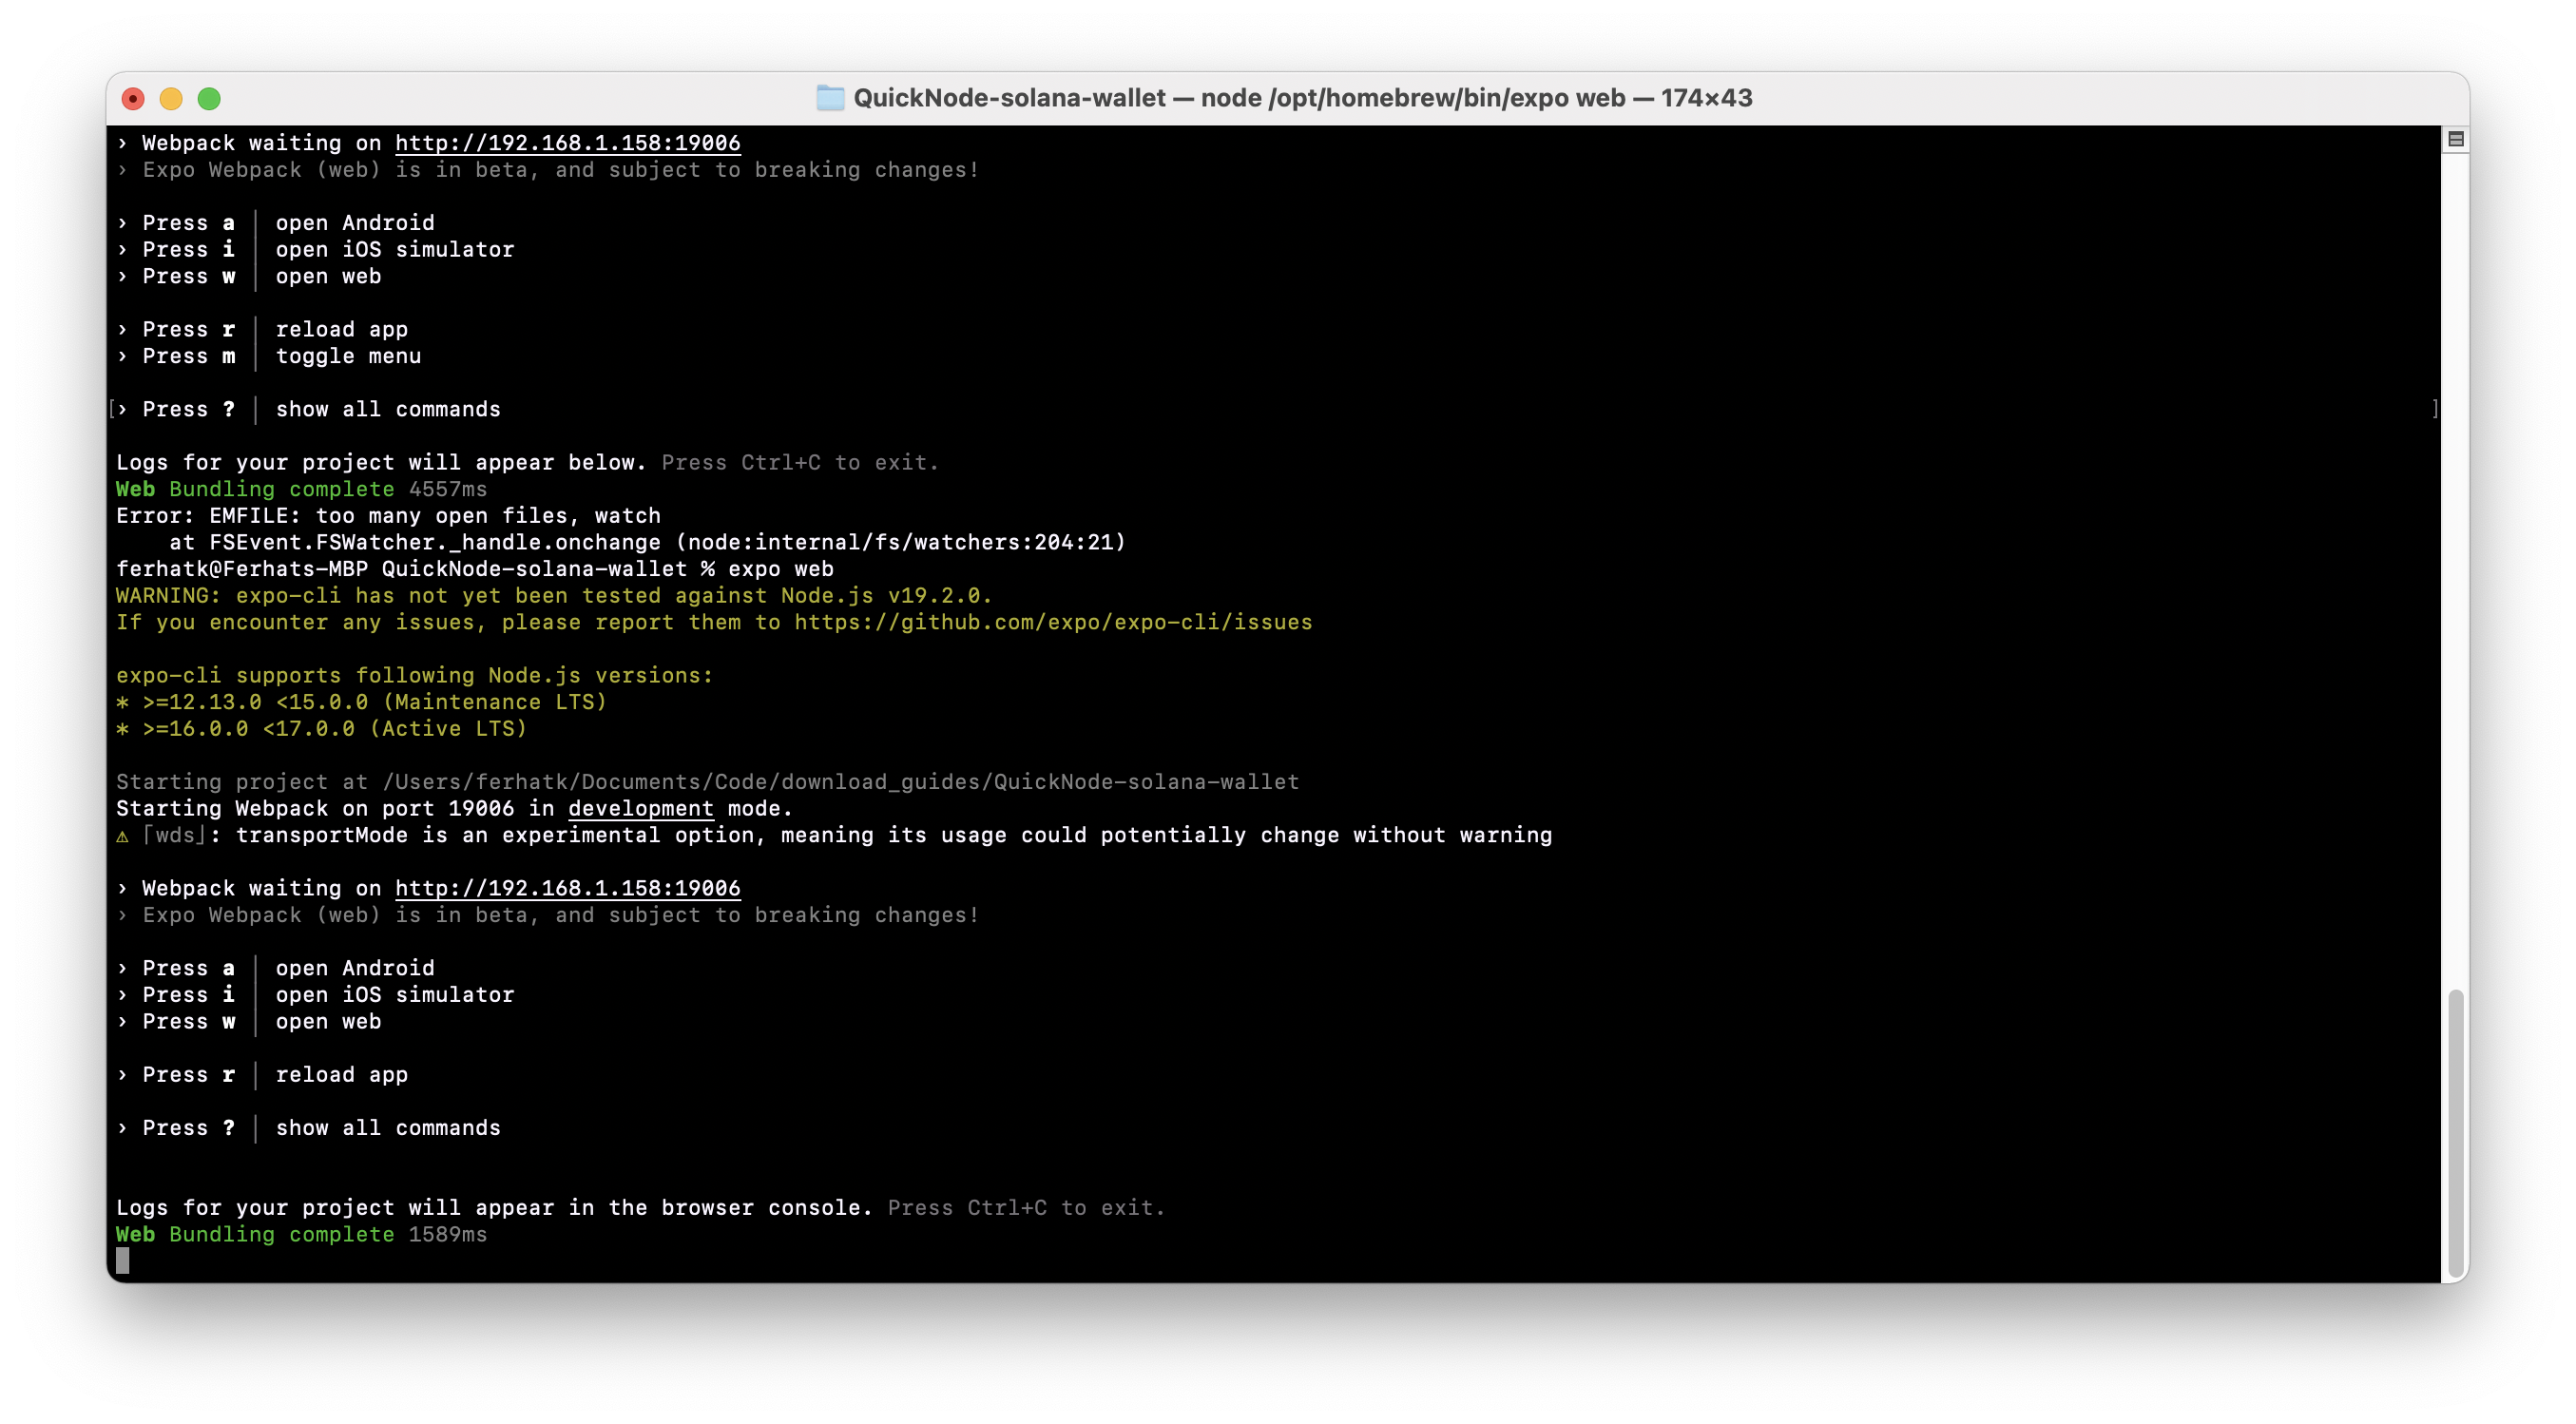
Press w in your Terminal or Run in web browser in your browser to open the app.
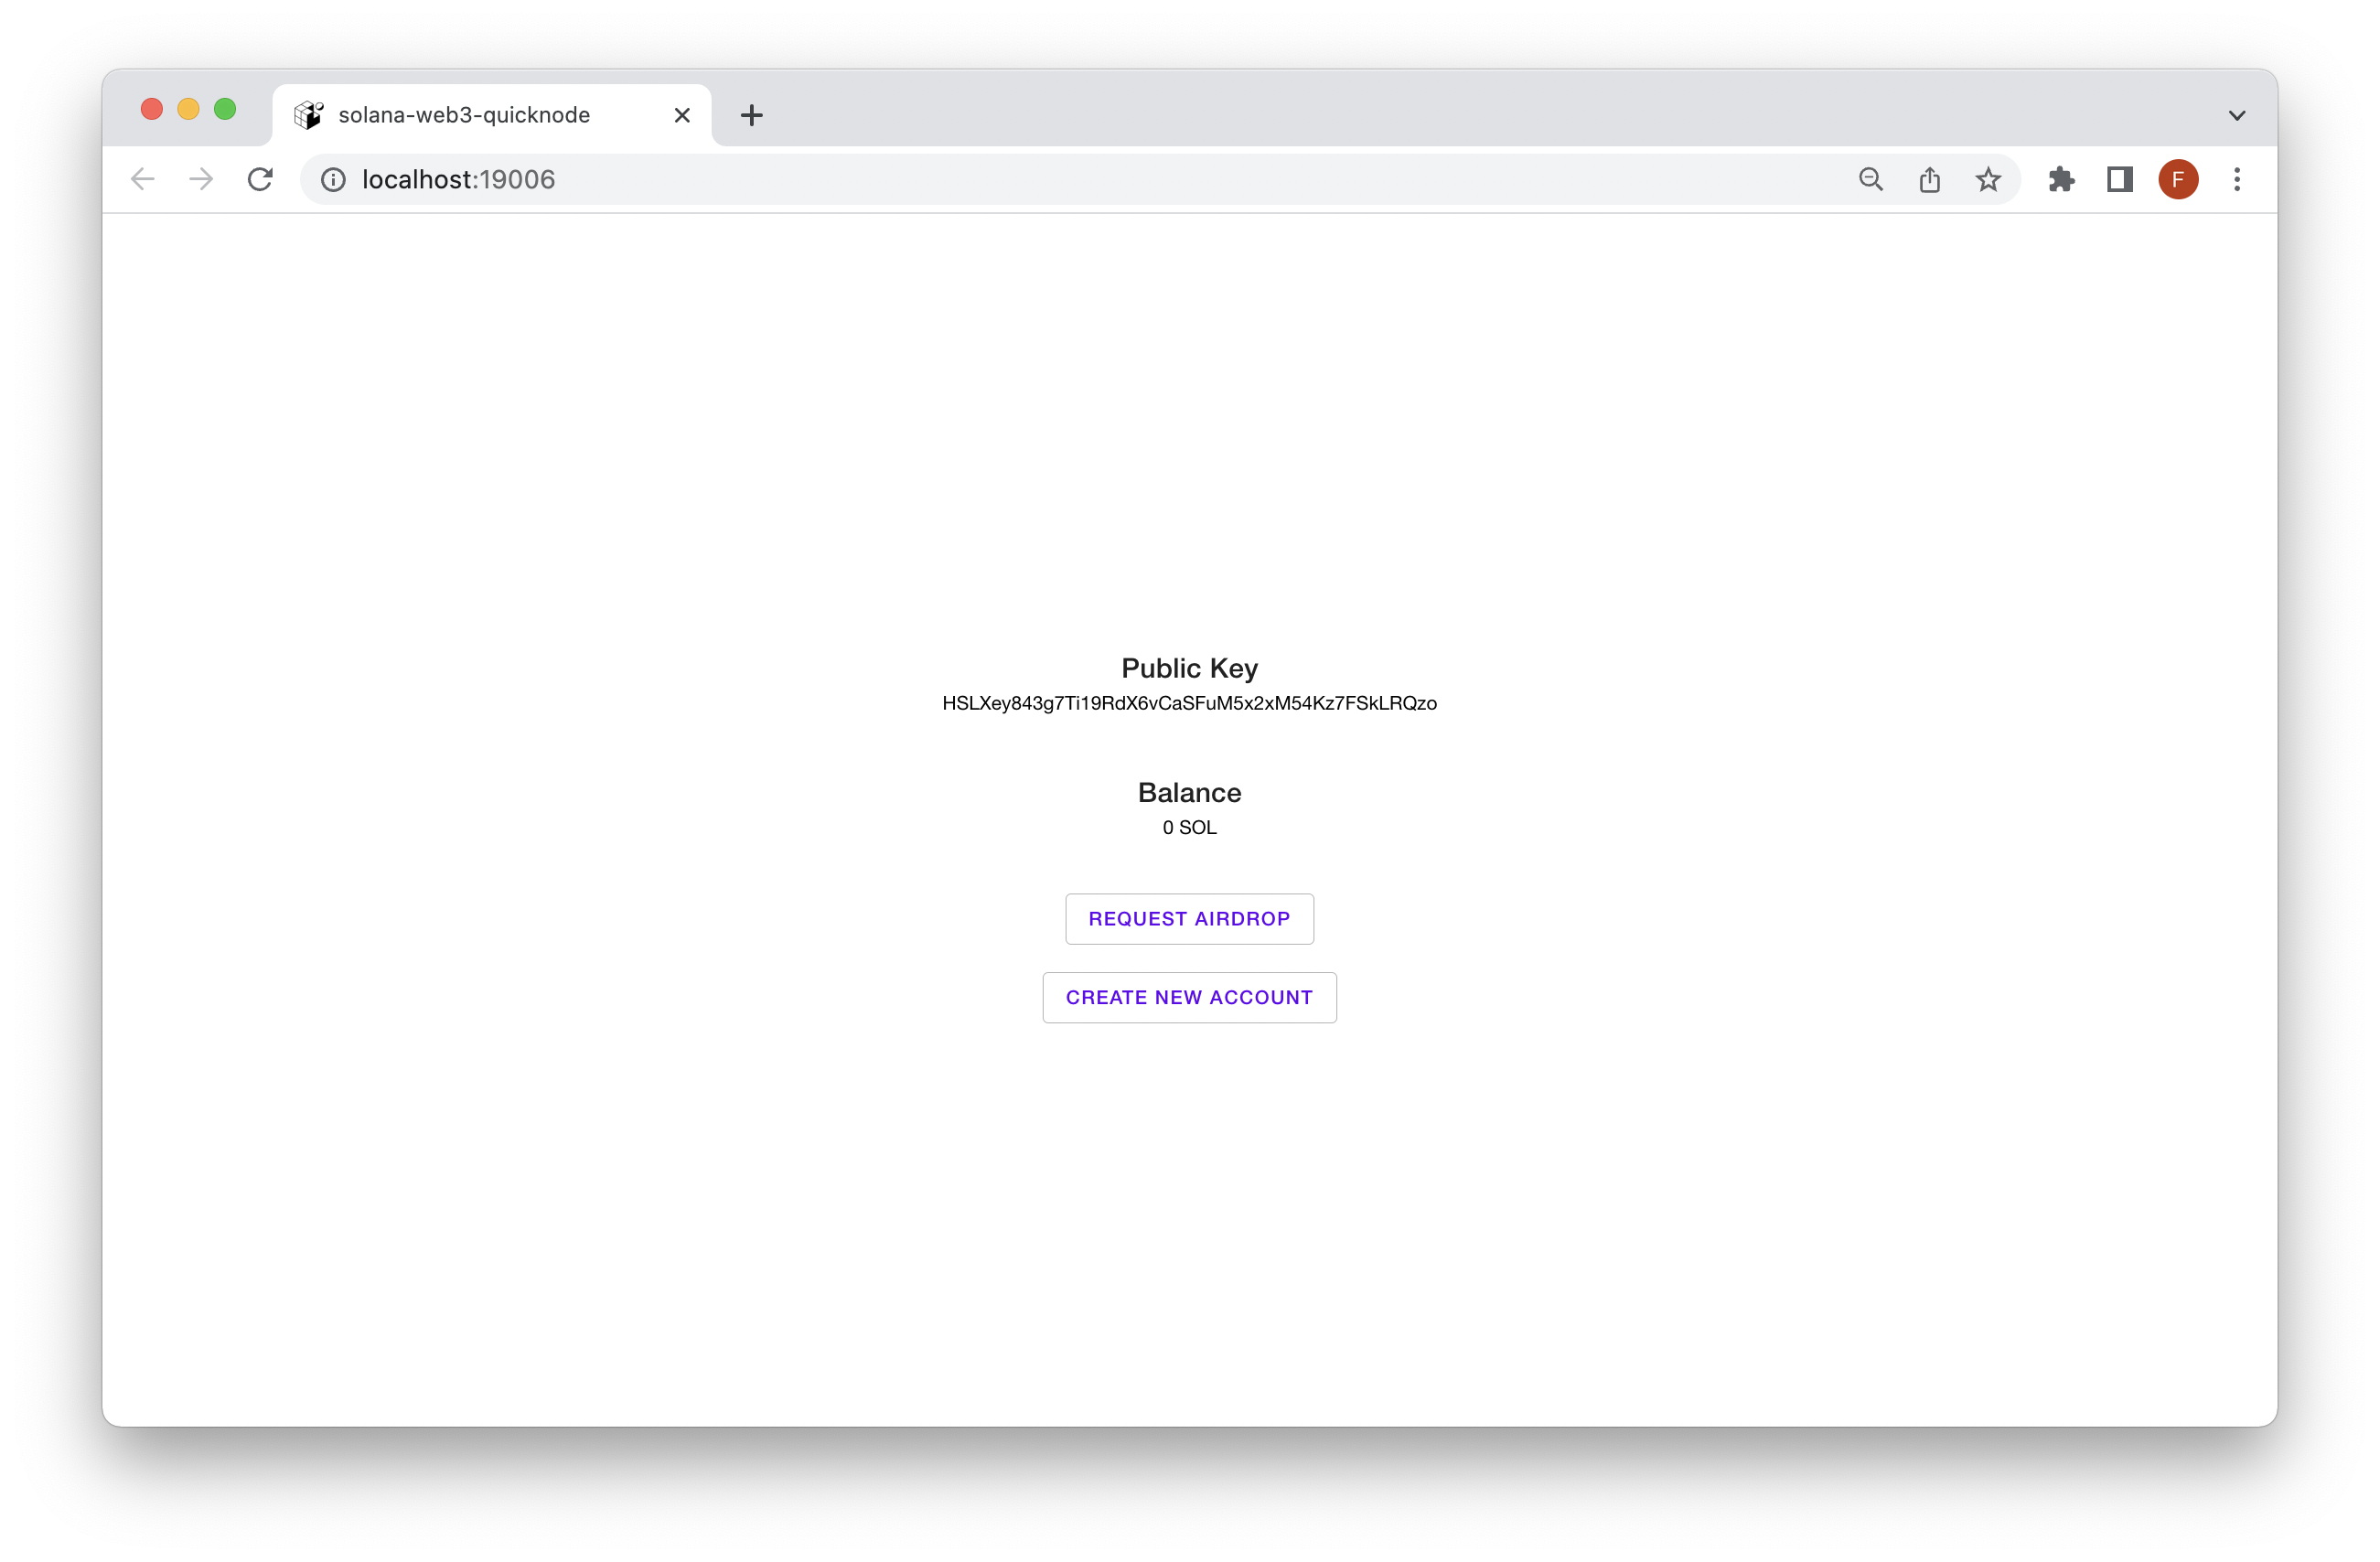
Now that everything is configured and server is running, it's time to start building the wallet app.
Make sure that the Terminal is open and Expo is running while you continue following this guide.
Connect to the Network
Connection to Solana Network is pretty straightforward, we don't need to register to get an account or ask for API keys.
If you open App.js you will realize that we already have the imports and the empty functions that you need to implement:
import {
Connection,
clusterApiUrl,
...
} from "@solana/web3.js";
You can now access Logs for your RPC endpoints, helping you troubleshoot issues more effectively. If you encounter an issue with your RPC calls, simply check the logs in your QuickNode dashboard to identify and resolve problems quickly. Learn more about log history limits on our pricing page.
Connection accepts an endpoint parameter with the url of the fullnode.
In our example we will use devnet that as we mentioned before it is the one intended to act like a playground for anyone who wants to start building in Solana Network and where tokens are not real.
Functions are already defined so the only you will need to do is to implement them.
So, look for createConnection function in your code and modify it to look like this:
const createConnection = () => {
  return new Connection(clusterApiUrl("devnet"));
};
Other valid options for the endpoint parameter are:
- devnet
- testnet
- mainnet-beta
Last, we could call this method and print in console to see that is connecting to the Network:
console.log(createConnection());
You should see something like this in your browser's console:
Object{
   "_commitment":"undefined",
   "_confirmTransactionInitialTimeout":"undefined",
   "_rpcEndpoint":"https://api.devnet.solana.com",
   "_rpcWsEndpoint":"wss://api.devnet.solana.com/",
   "_rpcClient":{
      "…"
   },
   "_rpcRequest":"createRpcRequest(method",
   "args)",
   "_rpcBatchRequest":"createRpcBatchRequest(requests)",
   "_rpcWebSocket":{
      "…"
   },
   "_rpcWebSocketConnected":false,
   "_rpcWebSocketHeartbeat":null,
   "…"
}
Generate an Account
To create an account we will need to generate a Keypair that will contains a Public Key and Secret Key.
For that, we already have the import:
import {
...
Keypair
...
} from "@solana/web3.js";
Look for the empty createAccount function in our code and implement it like this:
 const createAccount = () => {
   const keypair = Keypair.generate();
   const initialBalance = 0;
   setAccount({ keypair: keypair, balance: 0 });
 };
- Line 1: Define the function.
- Line 2: Define a keypair variable with the result of calling the function to generate a random Keypair.
- Line 3: Define an initialBalance variable and set to 0.
- Line 4: Set the state variable with 2 keys: keypair and balance.
After save, the application should reload and you will able to create new random accounts every time that you press the button Create new account.

Get Balance of the Account
To get the balance of an account you will need to look for the getBalance function in the code and implement it like this:
const getBalance = async (publicKey) => {
 const connection = createConnection();

 const lamports = await connection.getBalance(publicKey).catch((err) => {
   console.error(`Error: ${err}`);
 });

   return lamports / LAMPORTS_PER_SOL;
 };
- Line 1: Function receives publicKey as parameter.
- Line 2: Defines a connection variable with the result of calling createConnection function.
- Line 4: Defines a lamports variable with the result of calling the getBalance function of the connection that we defined before.
- Line 8: Instead of return the value in lamports (1000000000) we divide it by the amount of lamports in a SOL to return a more friendly value: 1 SOL.
A lamport is the minimal unit in Solana Network: 1 SOL = 1 billion lamports.
Request Airdrop
As we said before, in devnet tokens are not real. Solana Network let us to request some tokens to be able to do tests while we are building our applications.
Solana Web3 requestAirdrop function accepts two parameters:
- to: PublicKey of the account
- lamports: number of lamports
For that, we will need to implement the empty requestAirdrop function in our code like this:
  const requestAirdrop = async (publicKey) => {
    setRequestAirdropButton({ text: BUTTON_TEXT_LOADING, loading: true });
    const connection = createConnection();

    const airdropSignature = await connection.requestAirdrop(
      publicKey,
      LAMPORTS_PER_SOL
    );

    const timeToWait = 30000;
    const startTime = Date.now();

    while (true) {
      const { value: statuses } = await connection.getSignatureStatuses([
        airdropSignature,
      ]);

      if (statuses[0].confirmationStatus === "confirmed") {
        break;
      }

      if (Date.now() - startTime > timeToWait) {
        throw new Error("Airdrop transaction timed out");
      }
      await new Promise(resolve => setTimeout(resolve, 1000));
    }

    const newBalance = await getBalance(publicKey);

    setAccount({ ...account, balance: newBalance });
    setRequestAirdropButton({ text: BUTTON_TEXT, loading: false });
  };
- Function receives publicKey as parameter.
- Set button to loading state.
- Defines a connection variable with the result of calling createConnection function.
- Defines an airdropSignature variable with the result of calling requestAirdrop function of the connection that we defined before.
- Verify the transaction status until it is confirmed.
- Defines a newBalance variable with the result of calling our getBalance function.
- Set state variable to update balance key with newBalance.
- After update balance we set button to initial state.
Conclusion
Congratulations on making it to the end! You've taken your first steps to build a basic Wallet Application that interacts with Solana Network. You learned how to connect to the network, generate random accounts and request airdrops. Also, you learned how to put everything together working with React.
Subscribe to our newsletter for more articles and guides on Ethereum. If you have any feedback, feel free to reach out to us via Twitter. You can always chat with us on our Discord community server, featuring some of the coolest developers you'll ever meet :)