
10 min read
Overview
x402 is an open protocol for internet-native payments that leverages the HTTP 402 "Payment Required" status code. With x402, you can implement paywalls behind API requests, webpages, and more without the traditional friction of credit card processing, KYC, and high transaction fees.
In this guide, you'll utilize x402 as a seller and buyer on the Base Sepolia testnet via building a simple HTML/JS web app using Express as the backend to protect content behind a paywall and allow users to pay using cryptocurrency on the testnet.
Let's get started!
If you're a visual learner and want to learn how x402, check out this video walkthrough.
What You Will Do
- Learn about x402 and how it works
- Set up a HTML/JS web app with an Express server with x402 integration
- Test the web app in a local environment with Base Sepolia
What You Will Need
- Basic understanding of programming and blockchain concepts
- Node.js installed (v22+)
- An EVM-compatible wallet with ETH and USDC on Base Sepolia blockchain
What is x402?
x402 is a chain-agnostic protocol built around the HTTP 402 Payment Required status code that enables services to charge for access to their APIs and content directly over HTTP. This open payment standard allows clients to programmatically pay for resources without accounts, sessions, or credential management. With x402, any web service can require payment before serving a response, using crypto-native payments for speed and privacy.
Who is x402 for?
- Sellers: Service providers who want to monetize their APIs or content. x402 enables direct, programmatic payments from clients with minimal setup.
- Buyers: Developers and AI agents seeking to access paid services without accounts or manual payment flows.
Both sellers and buyers interact directly through HTTP requests, with payment handled transparently through the protocol.
Core Components of x402
Client/Server Architecture
Client Role (Buyer)
- Initiates requests to access paid resources
- Processes 402 responses and extracts payment details
- Submits payment with the X-PAYMENT header
Server Role (Seller)
- Defines payment requirements with HTTP 402 responses
- Verifies incoming payment payloads
- Provides the requested resource once payment confirms
Facilitators
Facilitators simplify the payment process by:
- Verifying payment payloads
- Settling payments on the blockchain for servers
- Removing the need for servers to implement complex blockchain interactions
Having a Facilitator is optional, but it is recommended to use one. Currently, Coinbase Developer Platform (CDP) hosts the primary facilitator, offering fee-free USDC settlement on Base mainnet.
x402 Payment Flow
The x402 protocol leverages ERC-3009 TransferWithAuthorization standard to enable gasless transfers, a key component for frictionless web3 monetization. Let's cover the flow of using x402 along with specs to comply with the standard.
- Client requests a resource from a server
- Server responds with 402 Payment Required and payment instructions:
{
  "maxAmountRequired": "0.10",
  "resource": "/api/market-data",
  "description": "Access requires payment",
  "payTo": "0xABCDEF1234567890ABCDEF1234567890ABCDEF12",
  "asset": "0xA0b86991C6218b36c1d19D4a2e9Eb0cE3606EB48",
  "network": "ethereum-mainnet"
}
- Client prepares payment based on requirements
- Client retries with X-PAYMENT header containing signed payload
- Server verifies payment via facilitator
- Server settles payment on blockchain
- Server delivers resource once payment confirms
Now that we have a good understanding of what x402 is and how it works under the hood, let's move onto building a simple x402 demo. However, we will first need to fulfill some project prerequisites but if you already have ETH on Base Sepolia and an RPC endpoint, feel free to skip to the Project Set Up section.
Project Prerequisite: Retrieve USDC on Base Sepolia
You will need some USDC on Base Sepolia in order to demonstrate a simple x402 payment.
To retrieve USDC, navigate to the Circle USDC faucet and request some funds. Once you have USDC on Base Sepolia, you can move onto the next step.
Project Prerequisite: Quicknode Base Endpoint
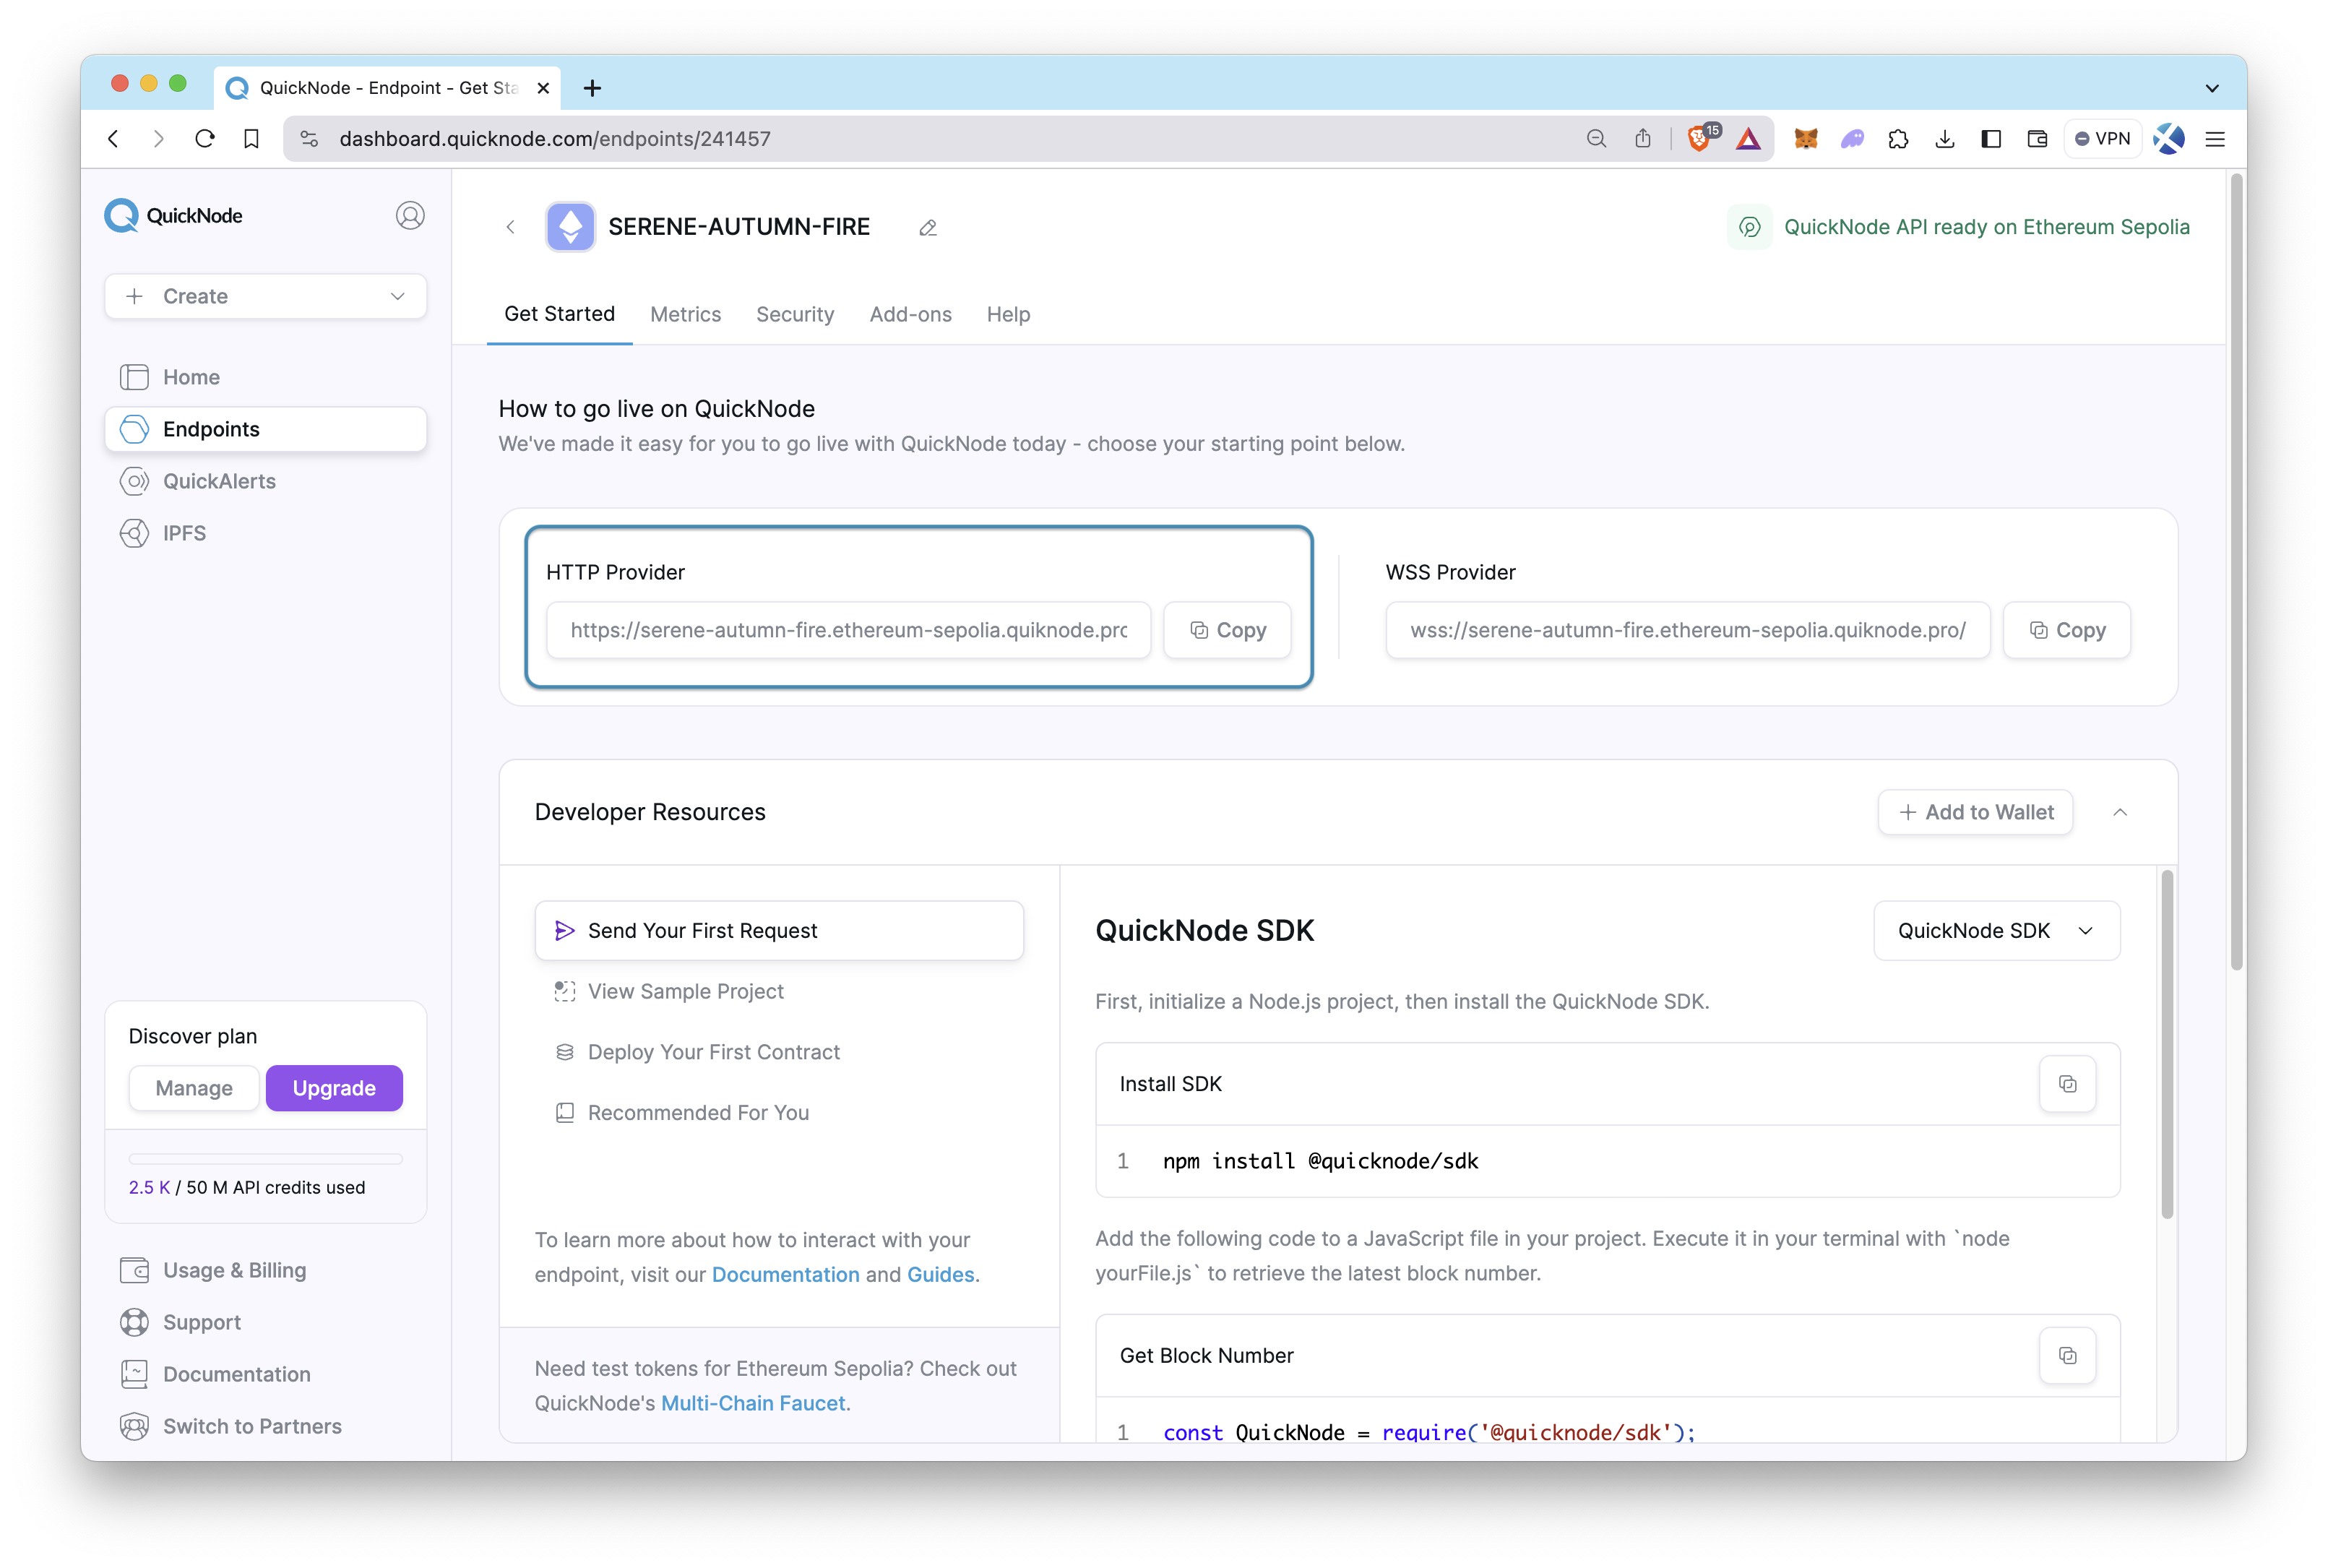
To interact with Base Sepolia, you'll need an API endpoint to communicate with the network. You're welcome to use public nodes or deploy and manage your own infrastructure; however, if you'd like faster response times, you can leave the heavy lifting to us. Sign up for an account here.
Once logged into Quicknode, click the Create an endpoint button, then select the Base chain and Sepolia network. After creating your endpoint, copy the HTTP Provider link and add it in your Web3 wallet's RPC settings as the Base Sepolia blockchain.
Project Set Up
With the prerequisites out of the way, let's get into project setup. The demo we will be building in this guide will do the following:
- Allow a user to connect their wallet and sign a message that will be used to verify the payment
- The server will then authenticate the 402 status code was met and
- Respond with the paywalled API request or webpage
Let's get started!
Clone the Repository
Clone the qn-guide-examples repository:
git clone git@github.com:quiknode-labs/qn-guide-examples.git
Install Dependencies
Then, navigate inside the project folder and install dependencies:
cd sample-apps/coinbase-x402
npm install
Configure Environment
cp .env.local .env
Next, open up the .env file and ensure you put in the wallet address receiving payments and other environment variables:
# Receiving wallet address (where payments will be sent)
WALLET_ADDRESS=INPUT_WALLET_ADDRESS_HERE

# Environment
NODE_ENV=development

# Server port (default: 4021)
PORT=4021
Save the file.
Now, let's get into the logic of the codebase.
Server Setup
We will be using Express to create a simple server that will handle the payment and the API request.
Open the api/index.js file and let's recap the logic of the file.
import express from "express";
import { paymentMiddleware } from "x402-express";
import dotenv from "dotenv";
import path from "path";
import { log } from "../utils/log.js";
import { videoAccessHandler } from "../handlers/videoAccessHandler.js";

dotenv.config();

// Create and configure the Express app
const app = express();

// Use Base Sepolia (testnet) for development
const network = "base-sepolia";
const facilitatorObj = { url: "https://x402.org/facilitator" };

// Serve static files from the public directory
app.use(express.static(path.join(process.cwd(), "public")));

app.use(express.json());

// x402 payment middleware configuration
app.use(
  paymentMiddleware(
    process.env.WALLET_ADDRESS, // your receiving wallet address
    {
      // Protected endpoint for authentication
      "GET /authenticate": {
        price: "$0.10", // Set your desired price
        network: network,
      },
    },
    facilitatorObj
  )
);

// Add request logging middleware
app.use((req, res, next) => {
  const start = Date.now();
  log(`${req.method} ${req.url}`);
  log(`Request Headers: ${JSON.stringify(req.headers)}`);
  res.on("finish", () => {
    const duration = Date.now() - start;
    log(`${req.method} ${req.url} - ${res.statusCode} (${duration}ms)`);
  });
  next();
});

// Authentication endpoint - just redirects to the authenticated content
app.get("/authenticate", (req, res) => {
  log("Payment successful, redirecting to video content");
  res.redirect("/video-content");
});

// Video content endpoint - serves the authenticated content
app.get("/video-content", videoAccessHandler);

// Serve the home page
app.get("/", (req, res) => {
  res.sendFile(path.join(process.cwd(), "public", "index.html"));
});

// Handle 404s
app.use((req, res) => {
  res.status(404).json({ error: "Route not found" });
});

// Export the app for Vercel serverless functions
export default app;

// Start the server for local development
const PORT = process.env.PORT || 4021;
app.listen(PORT, () => {
  log(`Server is running on http://localhost:${PORT}`);
});
Client Setup
Now we'll set up the client (our frontend), which we'll need to build three pages in the public directory of our project:
index.html: Homepageauthenticate.html: Authenticate and paymentvideo-content.htmlPage serving the paywalled video content
Let's dig into each. First, let's check out the homepage file (index.html):
<!DOCTYPE html>
<html lang="en">
<head>
  <meta charset="UTF-8">
  <meta name="viewport" content="width=device-width, initial-scale=1.0">
  <title>x402 Video Paywall Demo</title>
  <link rel="stylesheet" href="style.css">
</head>
<body>
  <header>
    <h1>x402 Video Paywall Demo</h1>
    <p>Ready to access premium content with <a href="https://www.x402.org/" target="_blank">x402 payment</a> protocol.</p>
  </header>

  <div class="card">
    <h3>Premium Video Content</h3>
    <p>Access our premium video content for just $0.10 in USDC:</p>
    <a href="/authenticate" class="cta-button">Pay $0.10 to Access Video</a>
  </div>
</body>
</html>
The HTML above is the homepage of the app which users will be first shown.
Then, the payment page (i.e., authenticate.html):
<!DOCTYPE html>
<html lang="en">
<head>
  <meta charset="UTF-8">
  <meta name="viewport" content="width=device-width, initial-scale=1.0">
  <title>x402 Video Paywall Demo</title>
  <link rel="stylesheet" href="style.css">
</head>
<body>
  <header>
    <h1>x402 Video Paywall Demo</h1>
    <p>Processing your payment...</p>
  </header>

  <div class="card">
    <h3>Payment in Progress</h3>
    <div class="payment-processing">
      <div class="loader"></div>
      <p>Your payment is being processed. Please do not close this window.</p>
      <p>You will be automatically redirected to the video content once the payment is confirmed.</p>
    </div>
    <a href="/" class="cta-button secondary-button">Cancel Payment</a>
  </div>
</body>
</html>
We'll also need to build the paywall webpage which won't be shown unless the user successfully submits payment and retrieves a successful 402 status code response. This logic will be contained within the video-content.html file as shown below:
<!DOCTYPE html>
<html lang="en">
<head>
  <meta charset="UTF-8">
  <meta name="viewport" content="width=device-width, initial-scale=1.0">
  <title>x402 Video Paywall Demo</title>
  <link rel="stylesheet" href="style.css">
</head>
<body>
  <header>
    <h1>x402 Video Paywall Demo</h1>
  </header>

  <div class="card">
    <h3>Premium Video Content</h3>
    <div class="video-container">
      <iframe
        width="100%"
        height="450"
        src="https://www.youtube.com/embed/dQw4w9WgXcQ"
        title="YouTube video player"
        frameborder="0"
        allow="accelerometer; autoplay; clipboard-write; encrypted-media; gyroscope; picture-in-picture"
        allowfullscreen>
      </iframe>
    </div>
    <br />
    <p>You have successfully paid $0.10 in cryptocurrency to access this content.</p>
    <a href="/" class="cta-button">Return to Homepage</a>
  </div>
</body>
</html>
Helper Functions
We'll also need to create a helper function that processes the video page. This will be within the handlers/videoAccessHandler.js file:
import { log } from "../utils/log.js";
import path from "path";

export function videoAccessHandler(req, res) {
  const startTime = Date.now();
  try {
    log("Processing video access request");

    // Send the video content page
    res.sendFile(path.join(process.cwd(), "public", "video-content.html"));

    log(`Request completed in ${Date.now() - startTime}ms`);
  } catch (error) {
    log("Error serving video content:", "error", error);
    res.status(500).send({
      error: "Failed to serve video content",
      message: error.message,
    });
  }
}
Note that there is also a vercel.json file that is used for deployment that tells Vercel to route all requests (/(.*)) to your /api directory.
Testing the Paywall
With our backend and frontend setup, let's now try and test it. Start the server by running the command in your terminal window within the project's root folder:
npm run dev
The Express server runs on port 4021 and serves the app. You'll see a page like this:
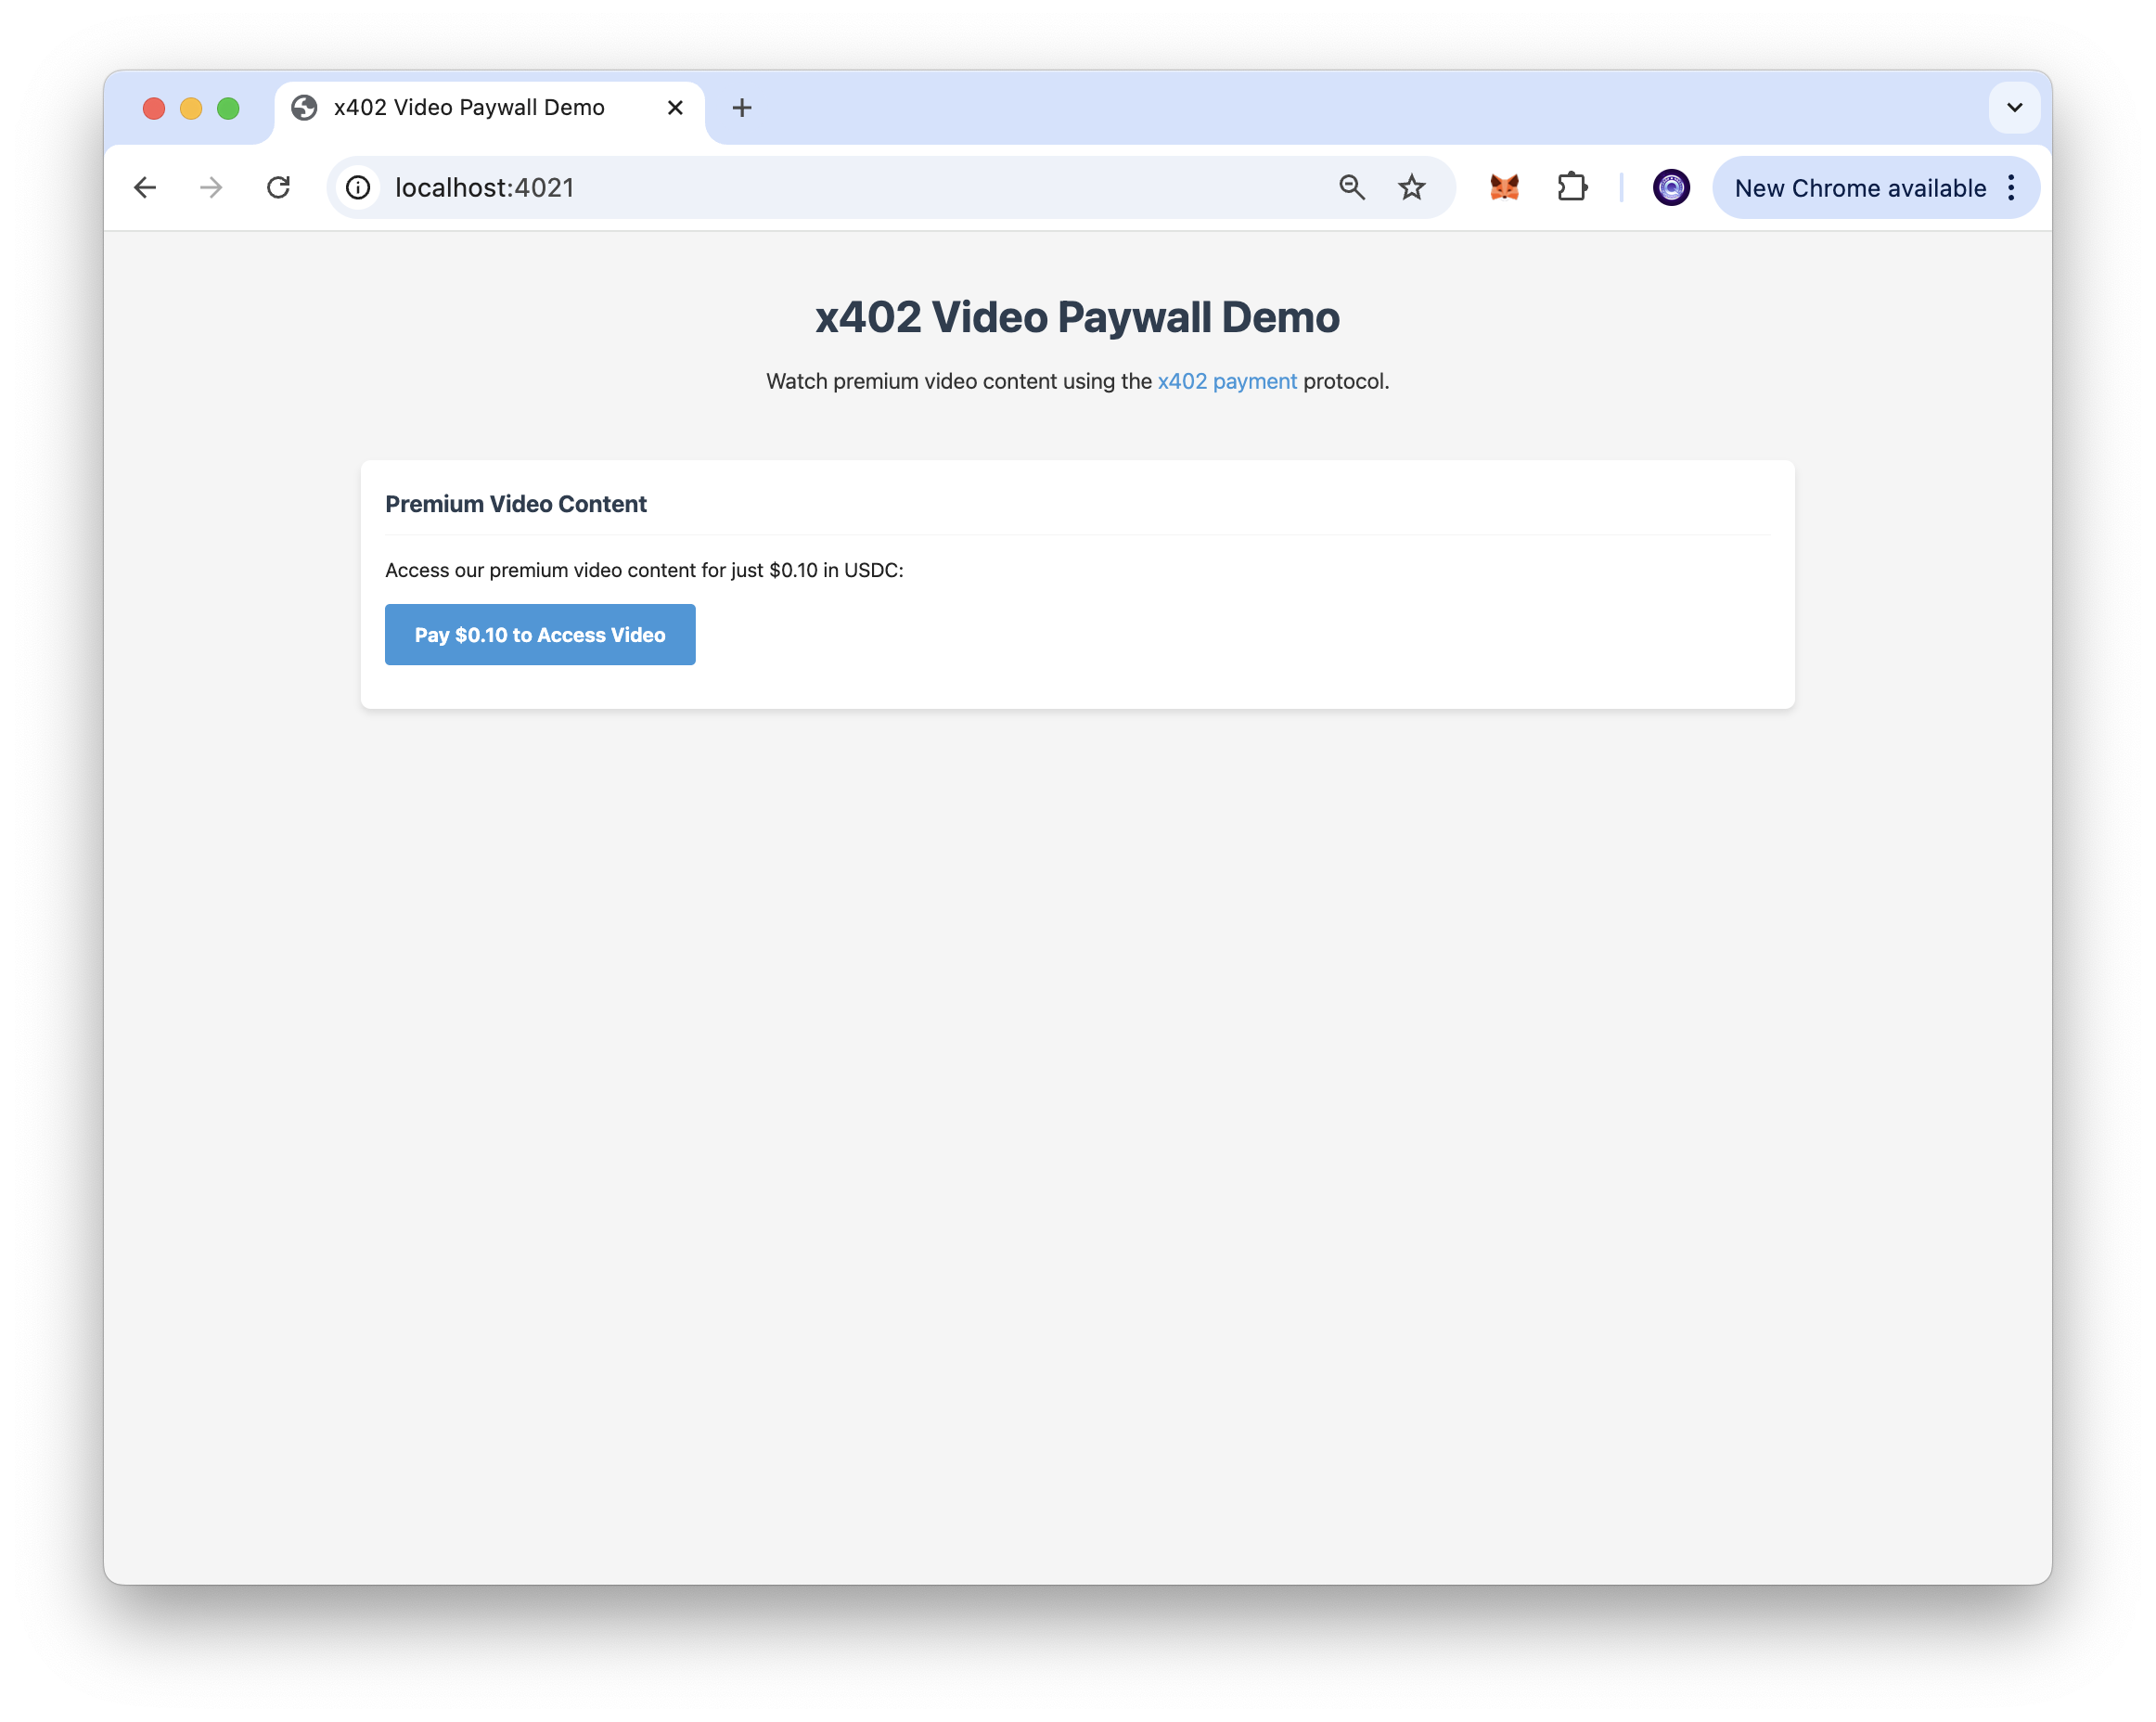
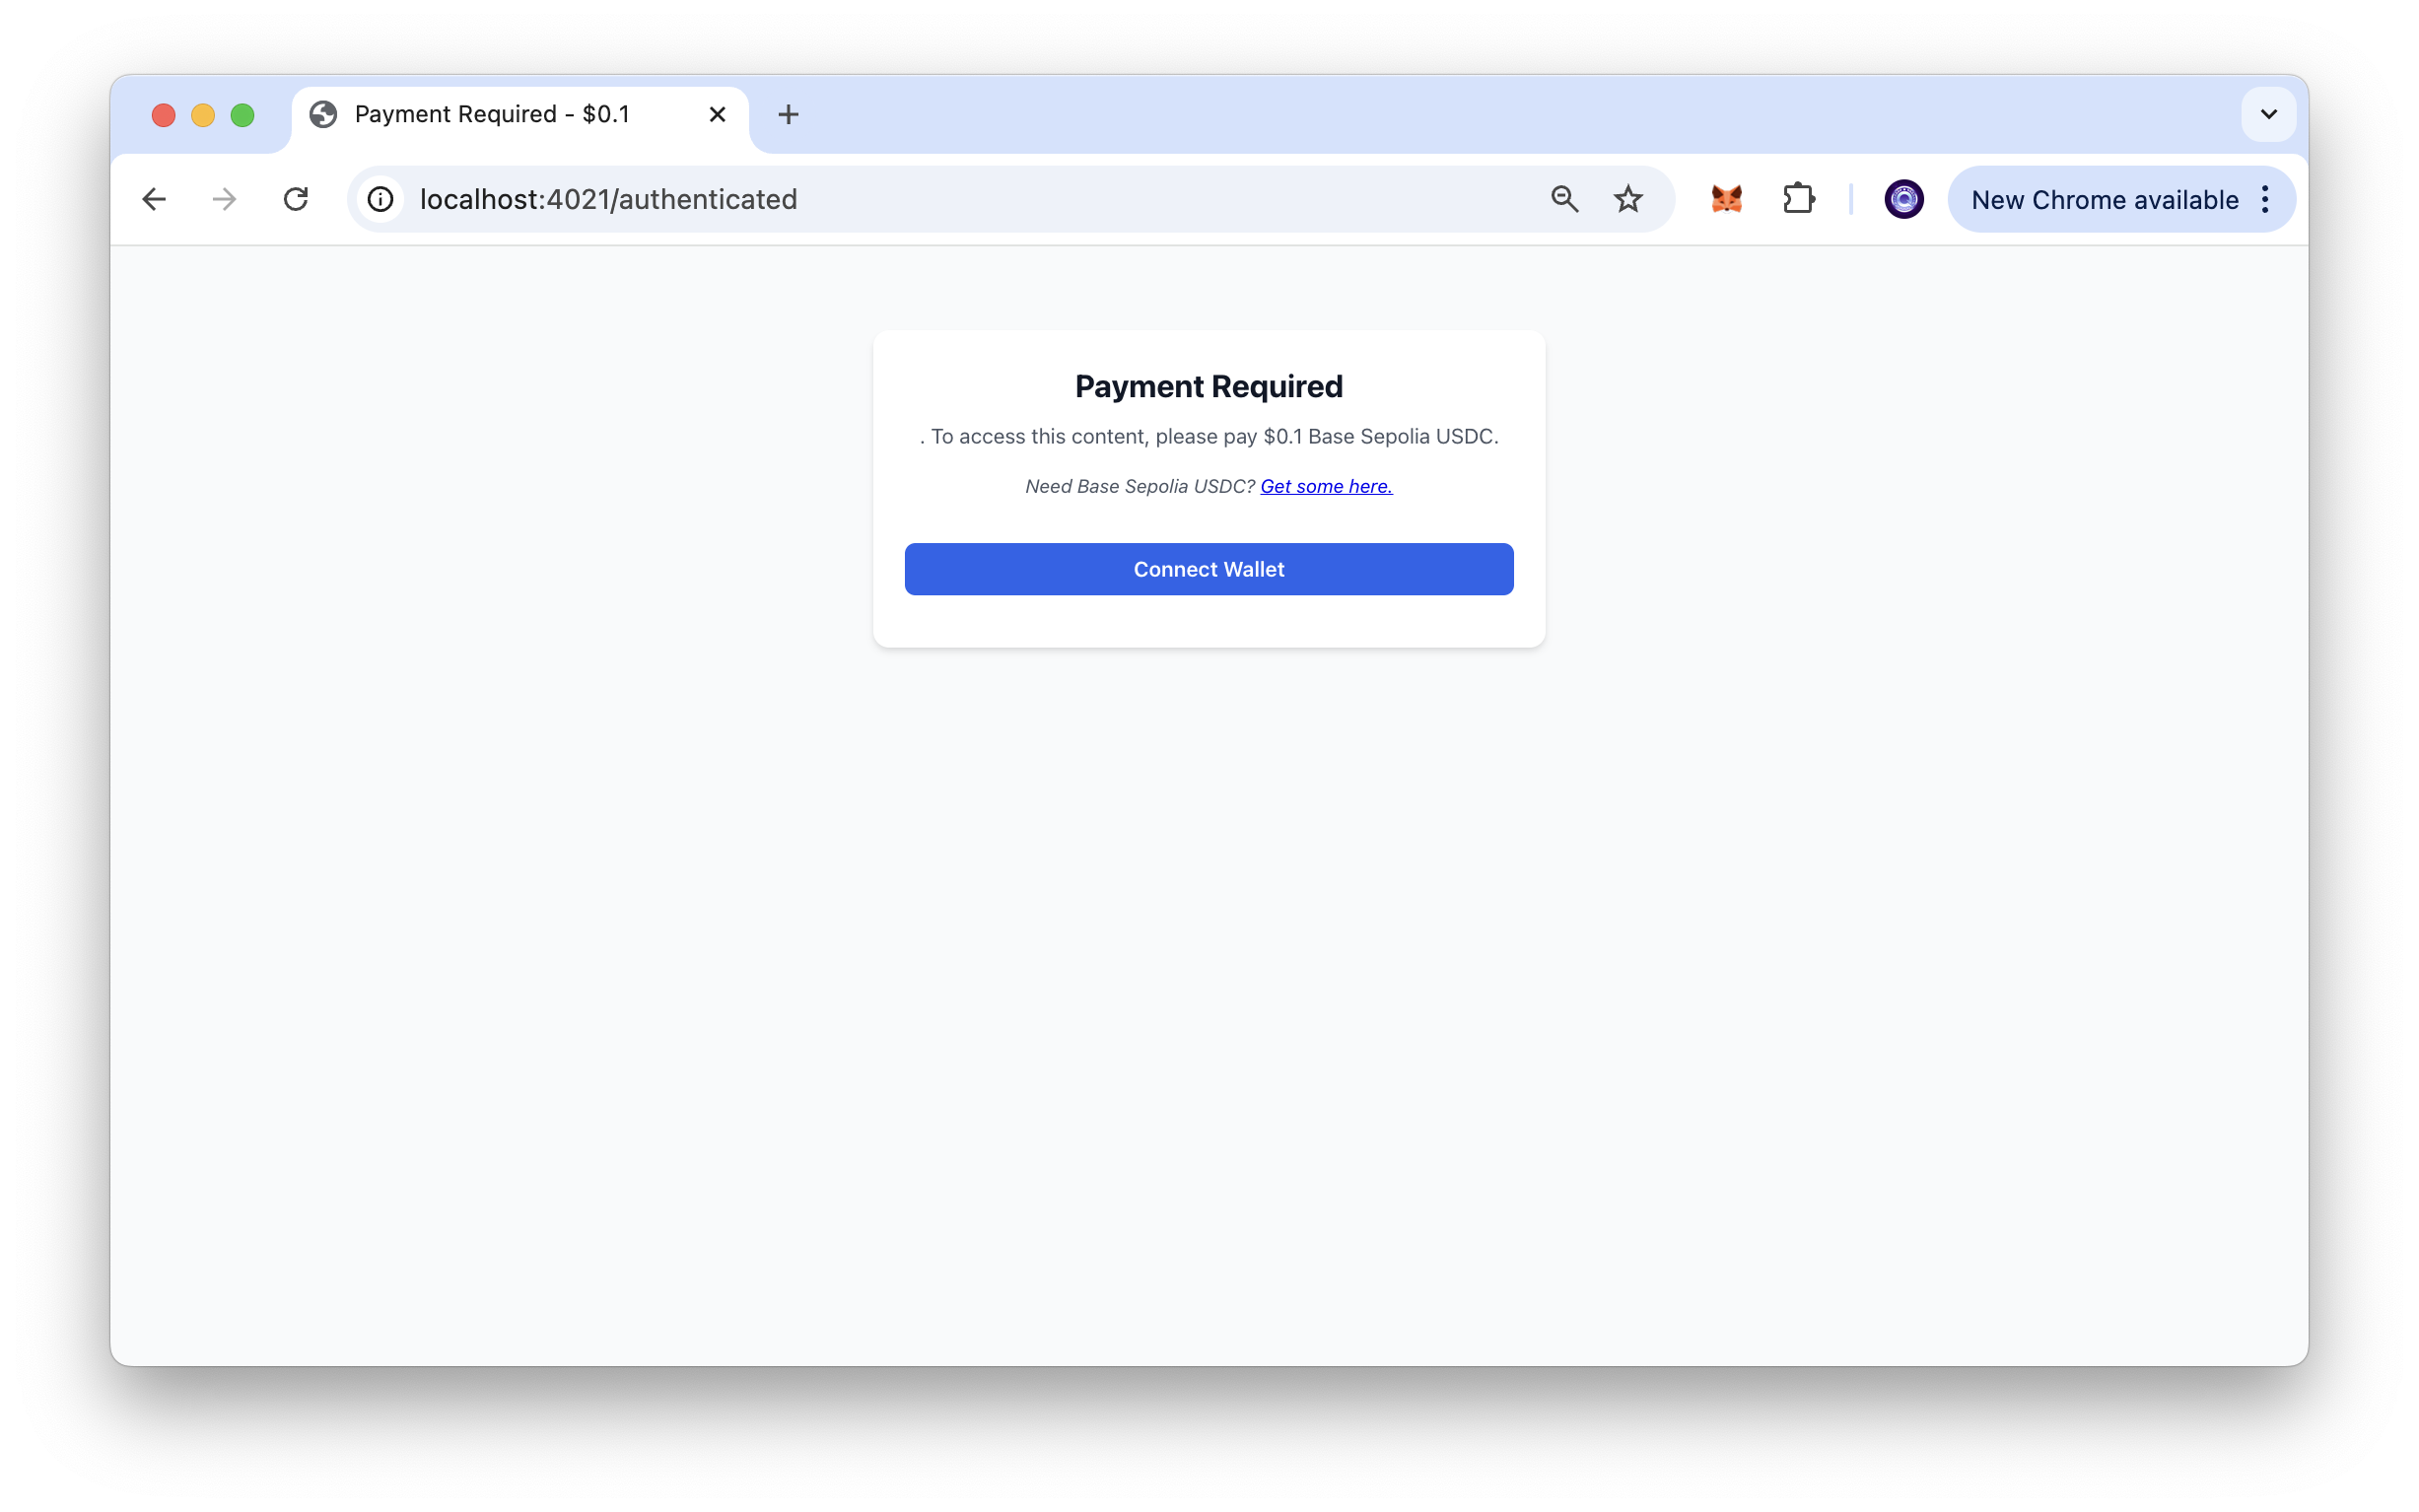
Click the payment button and you'll be forwarded to an authentication page (e.g., localhost:4021/authenticate) where you need to connect your wallet and pay.
You'll be prompted to sign a message such as the screenshot below. You'll notice we're signing a TransferWithAuthorization message (implemented in ERC-3009) which allows gasless transfers by delegating to a 3rd-party EOA or smart contract. The signer authorizes fund transfer from themself to another party.
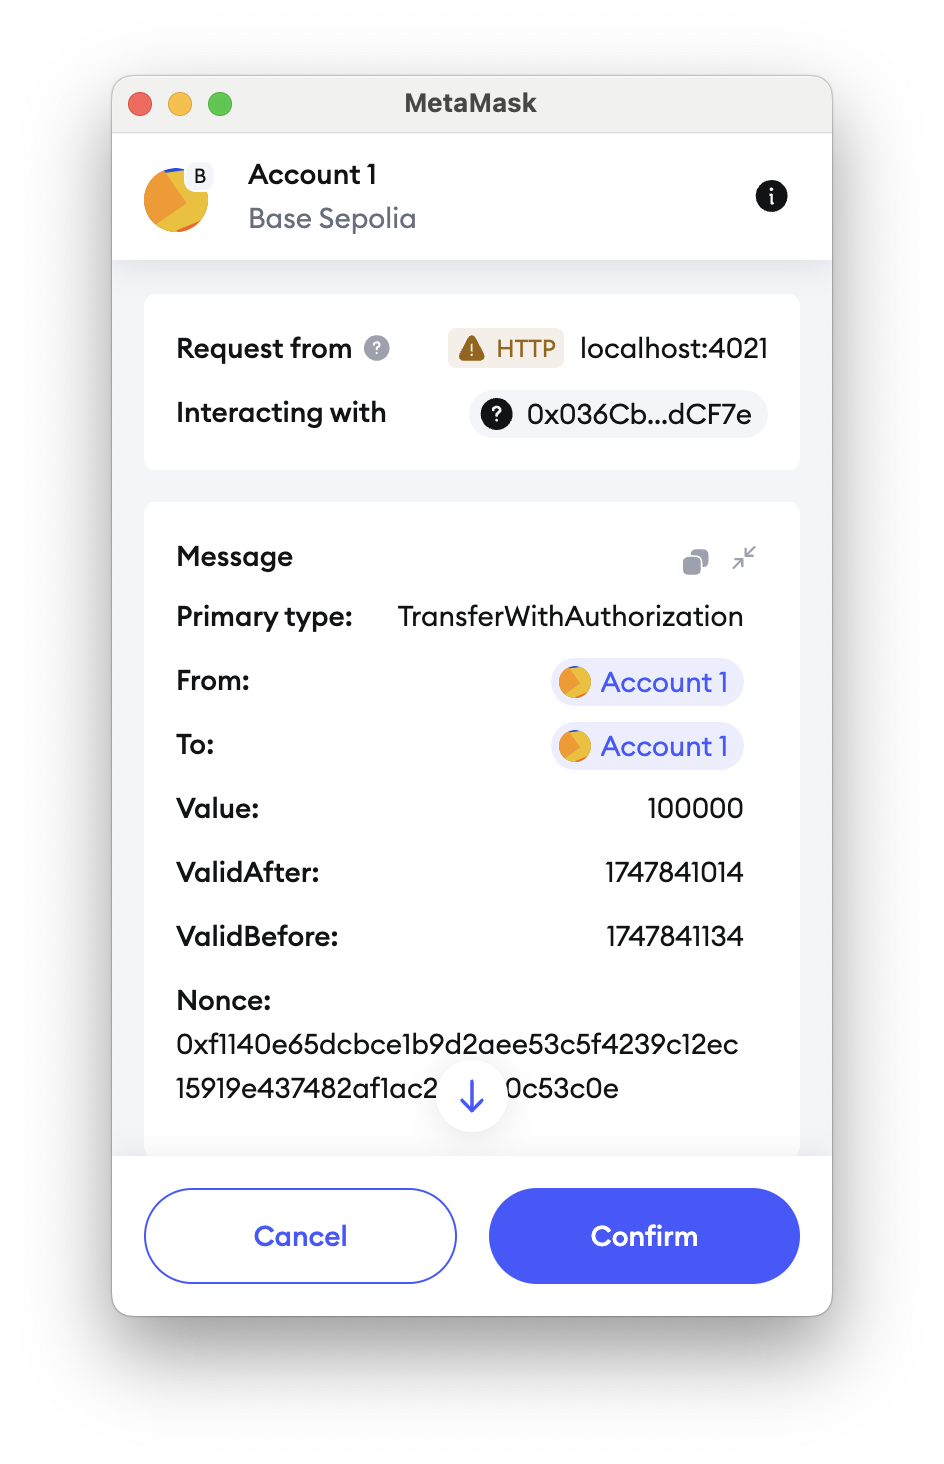
This signed message contains all the necessary details for the transfer:
- The sender address
- The recipient address
- The transfer amount
- Validity time window
- A unique nonce to prevent replay attacks
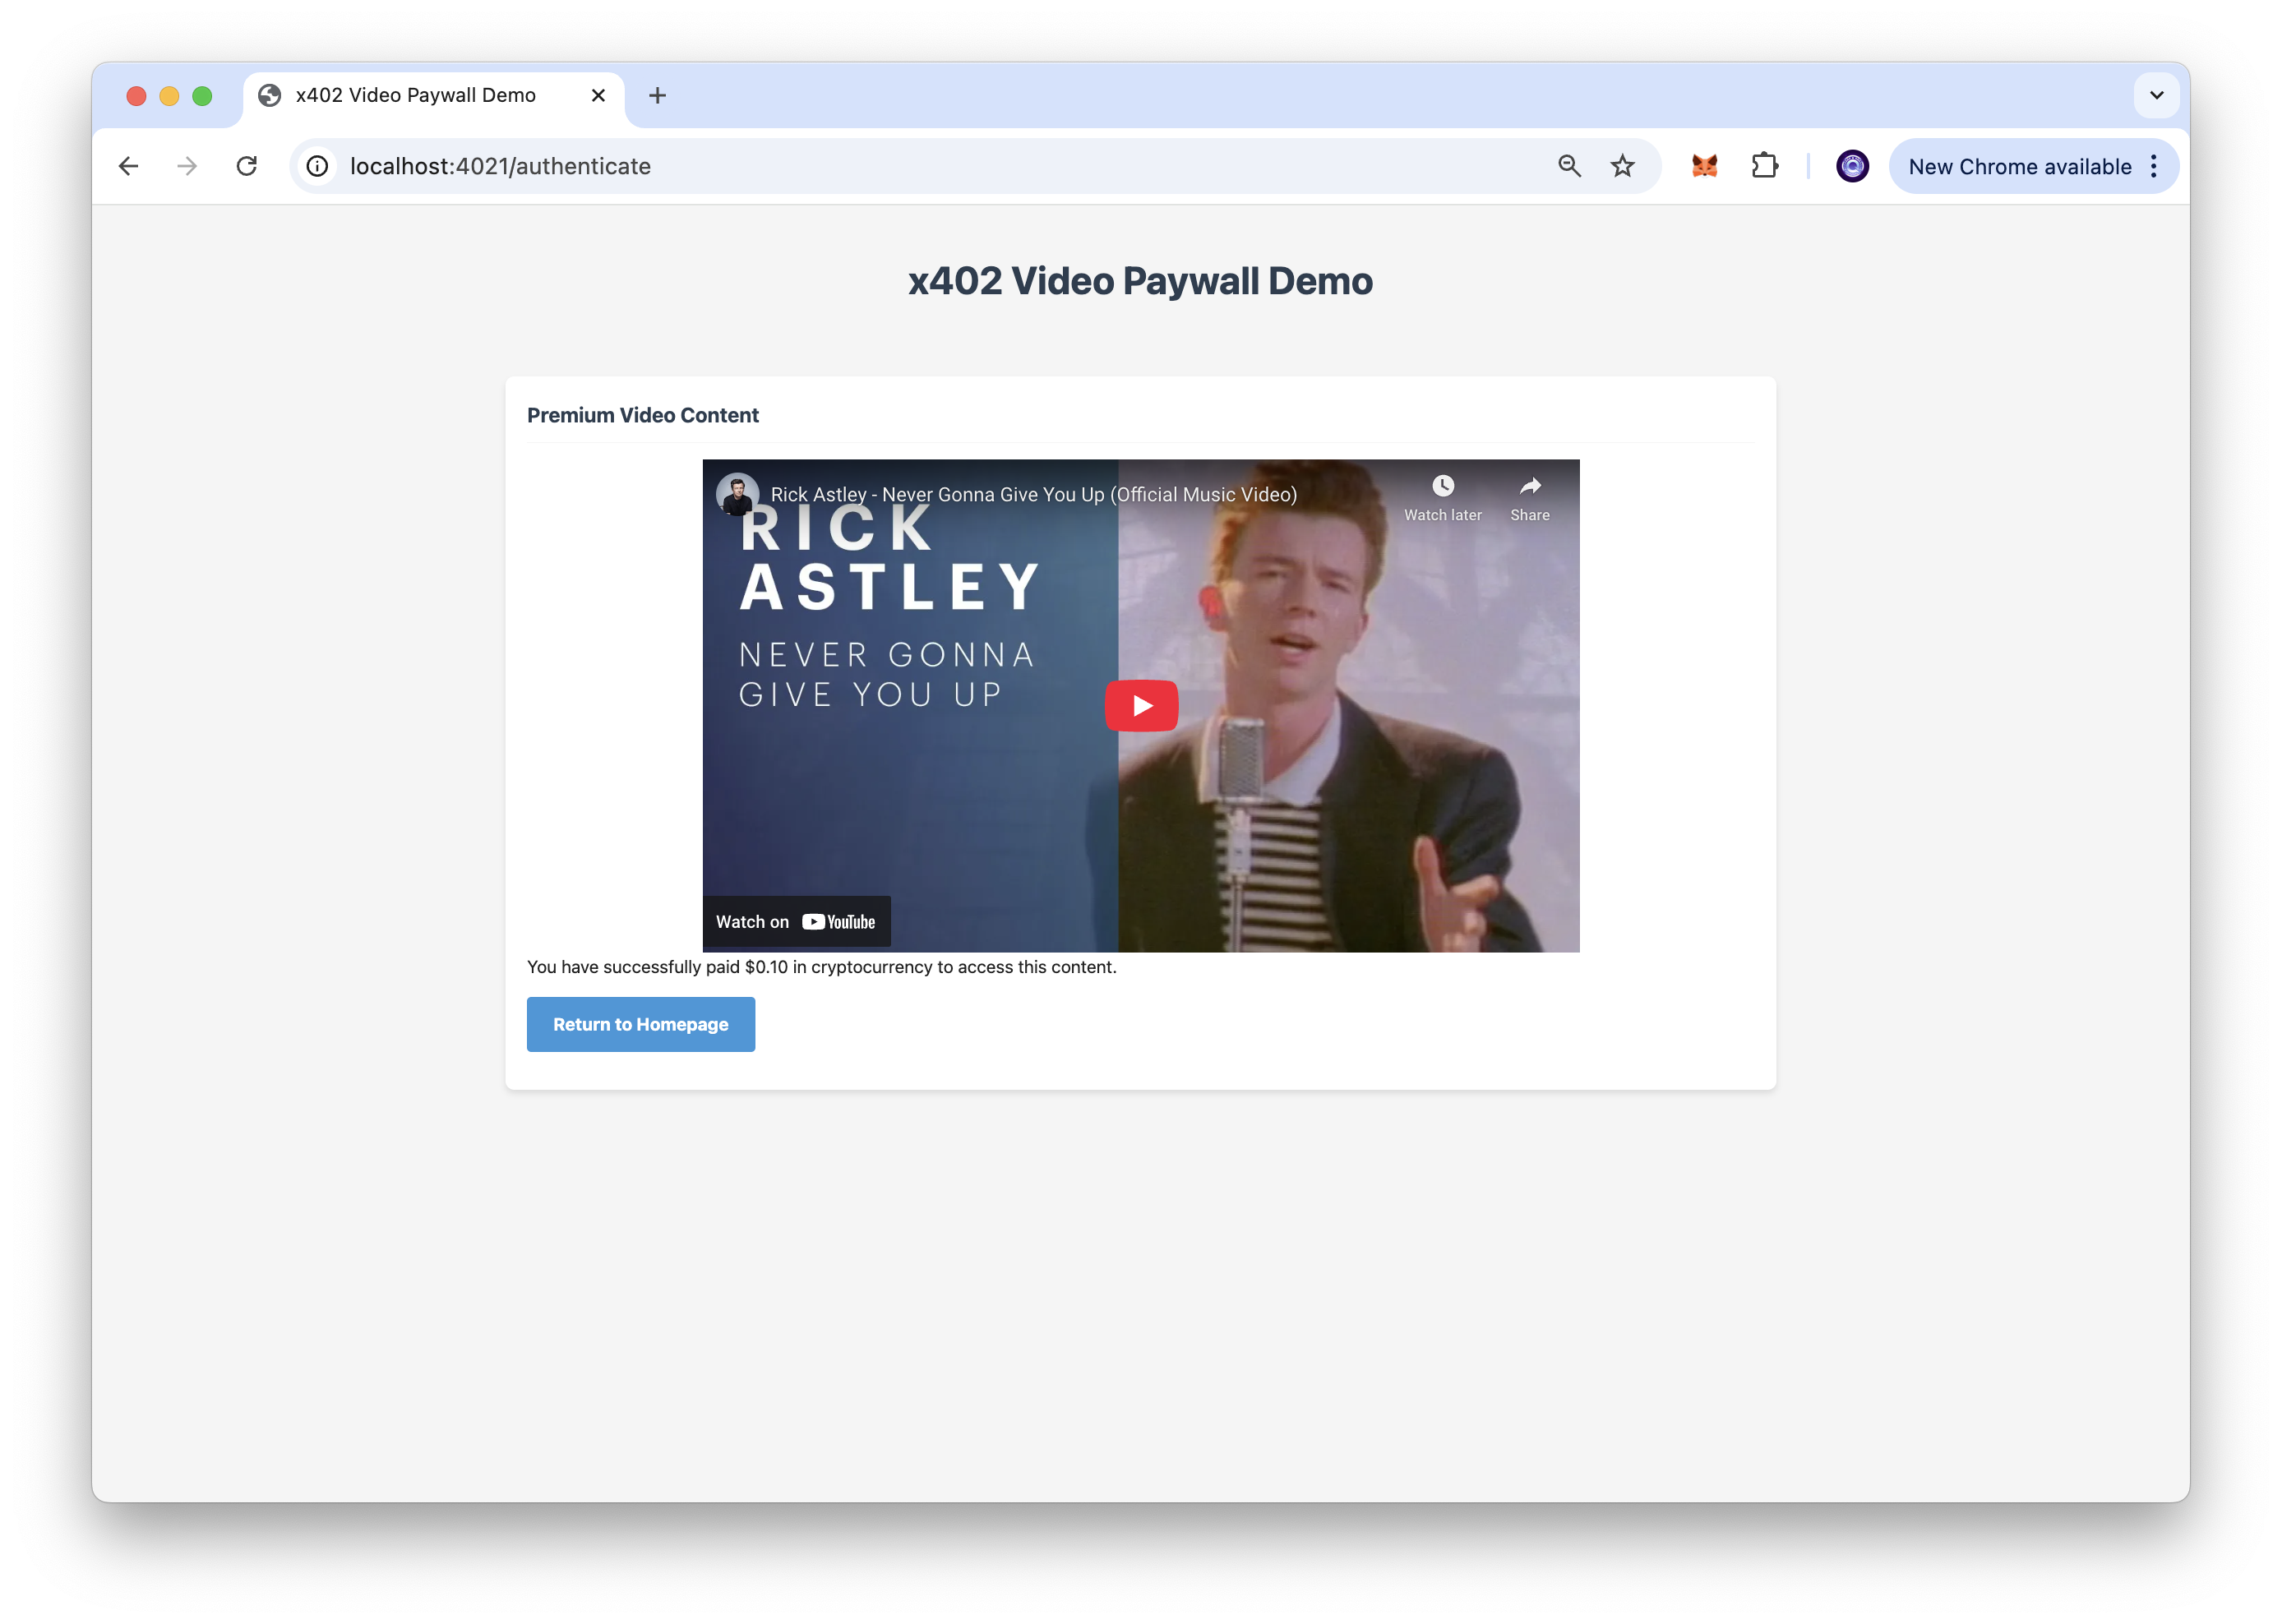
Once you sign the message in your wallet and the payment of $0.10 USDC is successful, you'll be redirected to the paywalled video page:
More Use Cases
- Content Monetization: Earn directly for individual articles, videos, or e-book chapters without subscription barriers.
- Pay-As-You-Go Services: Pay exactly for what you use—whether API calls, cloud storage, or computing power—in precise increments.
- Automated Service Payments: Let your software or smart devices handle small payments automatically for services they use.
Next Steps
To build on top of what you've just learned, try the following:
- Deploy to a live server: Move beyond the local environment to host the demo on a real server accessible to others.
- Customize payment amounts: Experiment with different price points or implement dynamic pricing based on content value.
- Implement timed access: Create time-limited access where payments unlock content for specific durations.
- Connect to Base Mainnet: Move from the Sepolia testnet to Base Mainnet for real-world implementation once you're ready.
Frequently Asked Questions
What is the x402 payment protocol?
x402 is an open protocol for internet-native payments that uses the HTTP 402 "Payment Required" status code to enable services to charge for APIs and content directly over HTTP, allowing clients to pay for resources without accounts or credential management.
How does the x402 payment flow work?
The client requests a resource, the server responds with 402 status and payment instructions, the client prepares payment and retries with an X-PAYMENT header, and the server verifies payment via a facilitator before delivering the resource.
What role do facilitators play in x402?
Facilitators simplify the payment process by verifying payment payloads and settling payments on the blockchain for servers, removing the need for servers to implement complex blockchain interactions. Coinbase Developer Platform currently hosts the primary facilitator with fee-free USDC settlement on Base mainnet.
How do I set up a protected endpoint with x402?
Use the x402-express paymentMiddleware in your Express app to define protected routes with price, network, and facilitator configuration; unprotected requests return 402 status, while paid requests grant access after verification.
What are common use cases for x402?
Content monetization for articles, videos, or e-book chapters; pay-as-you-go services for API calls, cloud storage, or computing power; and automated service payments where software handles micropayments automatically.
Can x402 be used on networks other than Base Sepolia?
Yes, x402 is chain-agnostic and can be configured to work on multiple networks including Ethereum mainnet, other EVM chains, and non-EVM networks like Solana by adjusting network settings and using compatible facilitators.
Final Thoughts
That's it! You just learned how to use x402 to implement internet-native payments in your web application. By leveraging the HTTP 402 "Payment Required" status code and the blockchain, you've created a streamlined payment system that eliminates traditional payment processing friction.
If you are stuck or have questions, drop them in our Discord. Stay up to date with the latest by following us on Twitter (@Quicknode) or our Telegram announcement channel.
We ❤️ Feedback!
Let us know if you have any feedback or requests for new topics. We'd love to hear from you.