
5 min read
Overview
MetaMask is a crypto wallet for EVM-compatible blockchains (like Ethereum and Optimism) that also allows you to interact with dApps (decentralized apps). Recently, MetaMask released a new feature called Snaps that enables developers to build new integrations with MetaMask (e.g., connecting to other Layer 1 blockchains or displaying user data in new ways). Solflare, a leading Solana wallet, has built a custom MetaMask Snap, or plug-in, that allows you to connect your MetaMask wallet to Solana dApps. In this guide, we will walk through how to add the Solflare Solana Wallet Snap to your MetaMask wallet and how to use your MetaMask wallet to interact with Solana dApps.
What You Will Do
In this guide, you will explore utilizing your MetaMask wallet for Solana dApps:
- Learn about MetaMask Snaps
- Add the Solflare Solana Wallet Snap to your MetaMask wallet
- Set up your Solana wallet
- Bridge ETH to Solana using MetaMask
- Interact with Solana dApps using your MetaMask wallet
What You Will Need
- A MetaMask wallet with a positive ETH balance (You can install the Solflare Snap if you have no ETH balance, but you will be unable to bridge funds if you do not have a balance)
- A modern web browser (e.g., Chrome, Firefox, Brave, etc.)
Let's get started!
What is a MetaMask Snap?
MetaMask Snaps are effectively extensions or plug-ins for your MetaMask wallet. They allow developers to extend the functionality of a user's wallet to create new experiences. Snaps are JavaScript programs that run in an isolated environment and have access to a limited set of user-authorized permissions. Developers wishing to build a Snap can refer to their docs here. Snaps can be used to:
- Connect to other layer 1 blockchains
- Transform and display user data in new ways
- Schedule transactions
- Securely store data
- Customize the UI
- and more!
The Solflare Solana Wallet Snap allows you to:
- Store tokens and collect NFTs on Solana
- Connect to Solana apps
- Bridge your assets seamlessly to Solana
All from your MetaMask wallet! Let's add it to your wallet!
Add the Solflare Solana Wallet Snap to Your MetaMask Wallet
MetaMask offers a directory of Snaps available for download at https://snaps.metamask.io/. Navigate there and select Solana Wallet by Solflare.
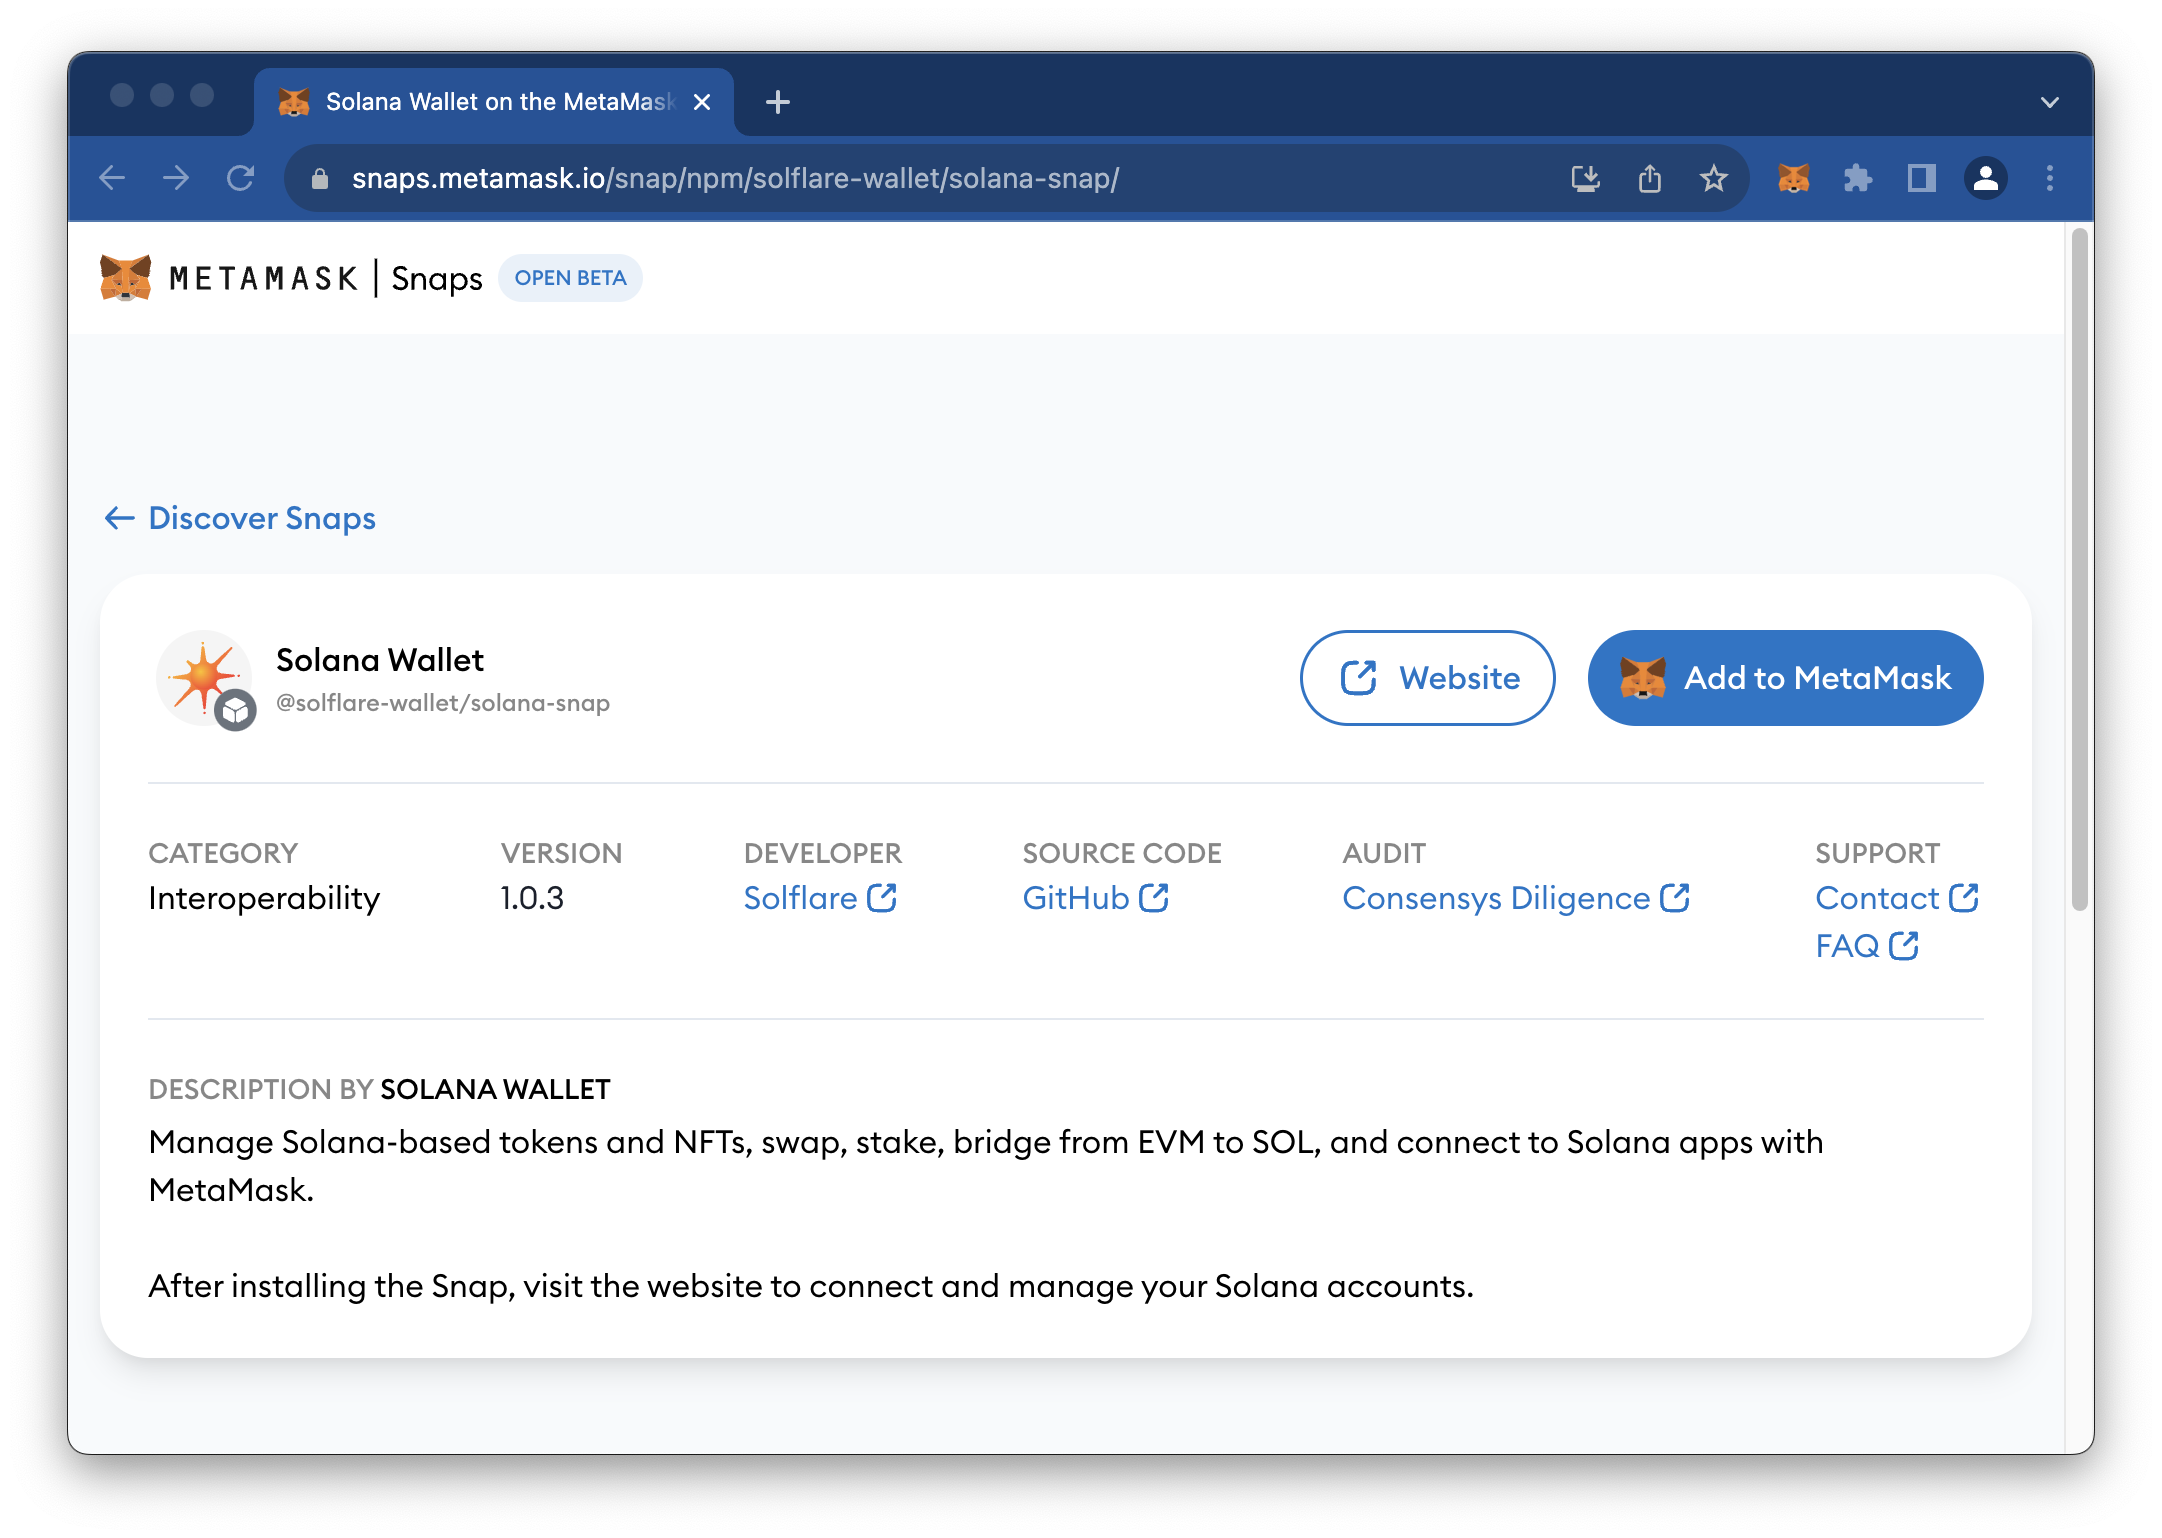
Click the "🦊 Add to MetaMask" button and follow the steps prompted in your wallet:
If the MetaMask extension is not found, but you have already installed it, try one of the following:
- Make sure your MetaMask extension is up to date. Check out the Chrome Extensions page to see if an update is available.
- If you are not logged into your MetaMask, login, then refresh the page and click the "🦊 Add to MetaMask" button again.
- If you use Phantom Wallet, you may need to disable it as your default wallet in the settings tab.
After you have made one of those changes, refresh the page and try again.
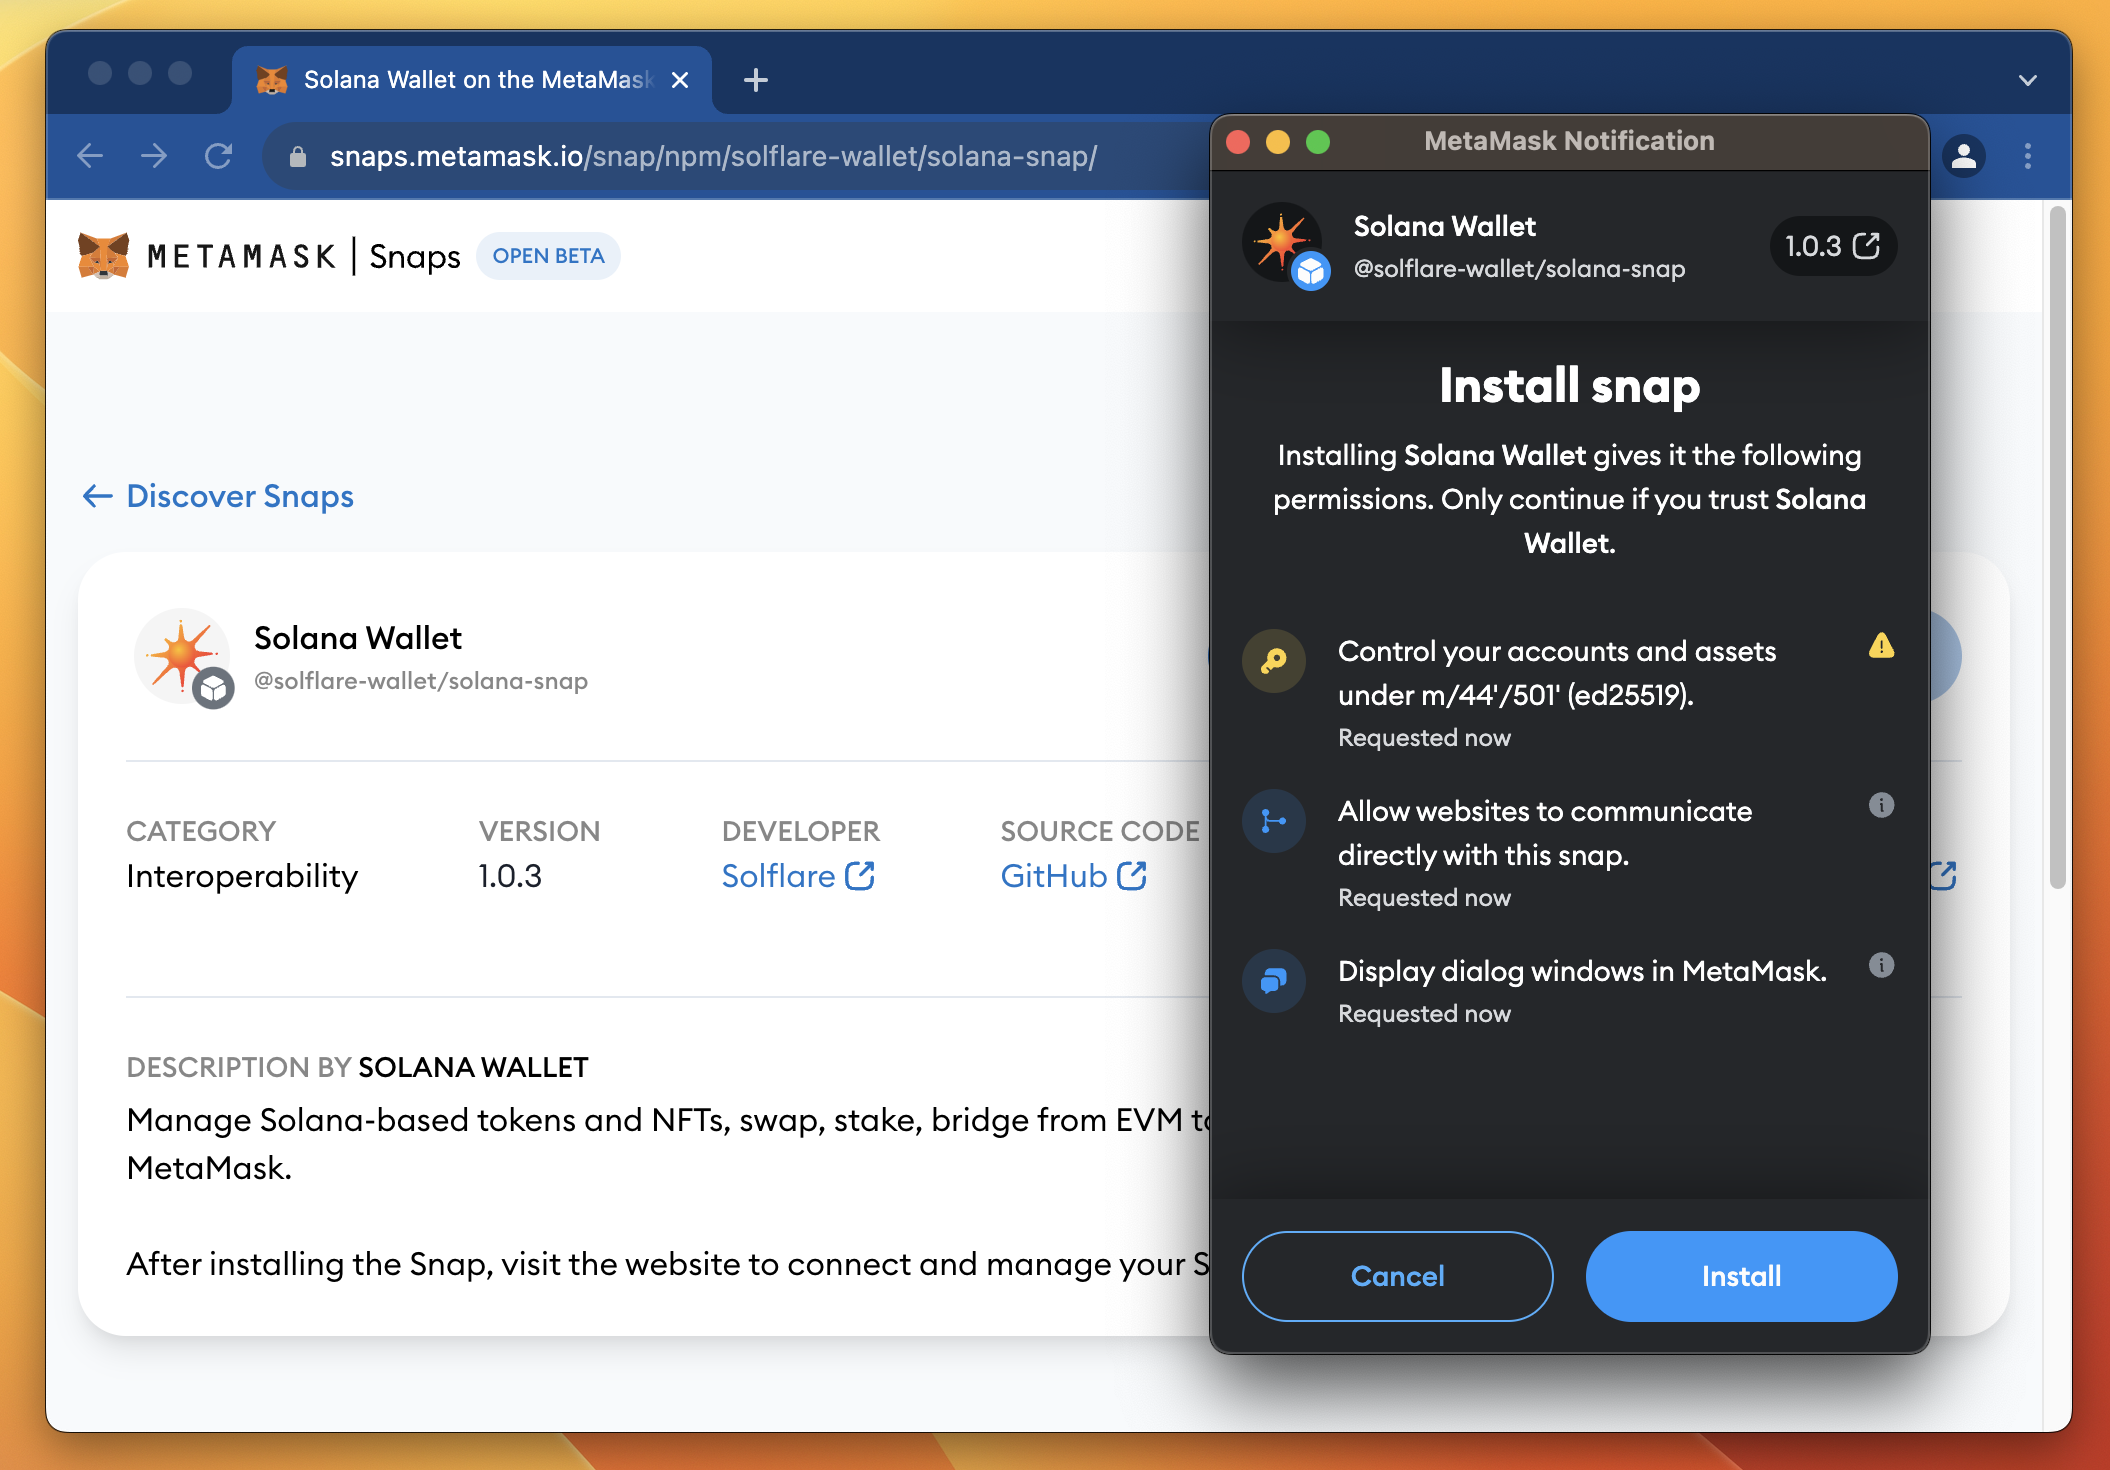
- Connect your wallet to the Snaps site:

- Authorize the Solflare Snap to utilize your seed derivation path on the ED25519 cryptographic elliptic curve (this is the curve used by Solana, different from the ECDSA curve used by Ethereum), meaning the Snap will be able to derive your Solana wallet address from your MetaMask seed.
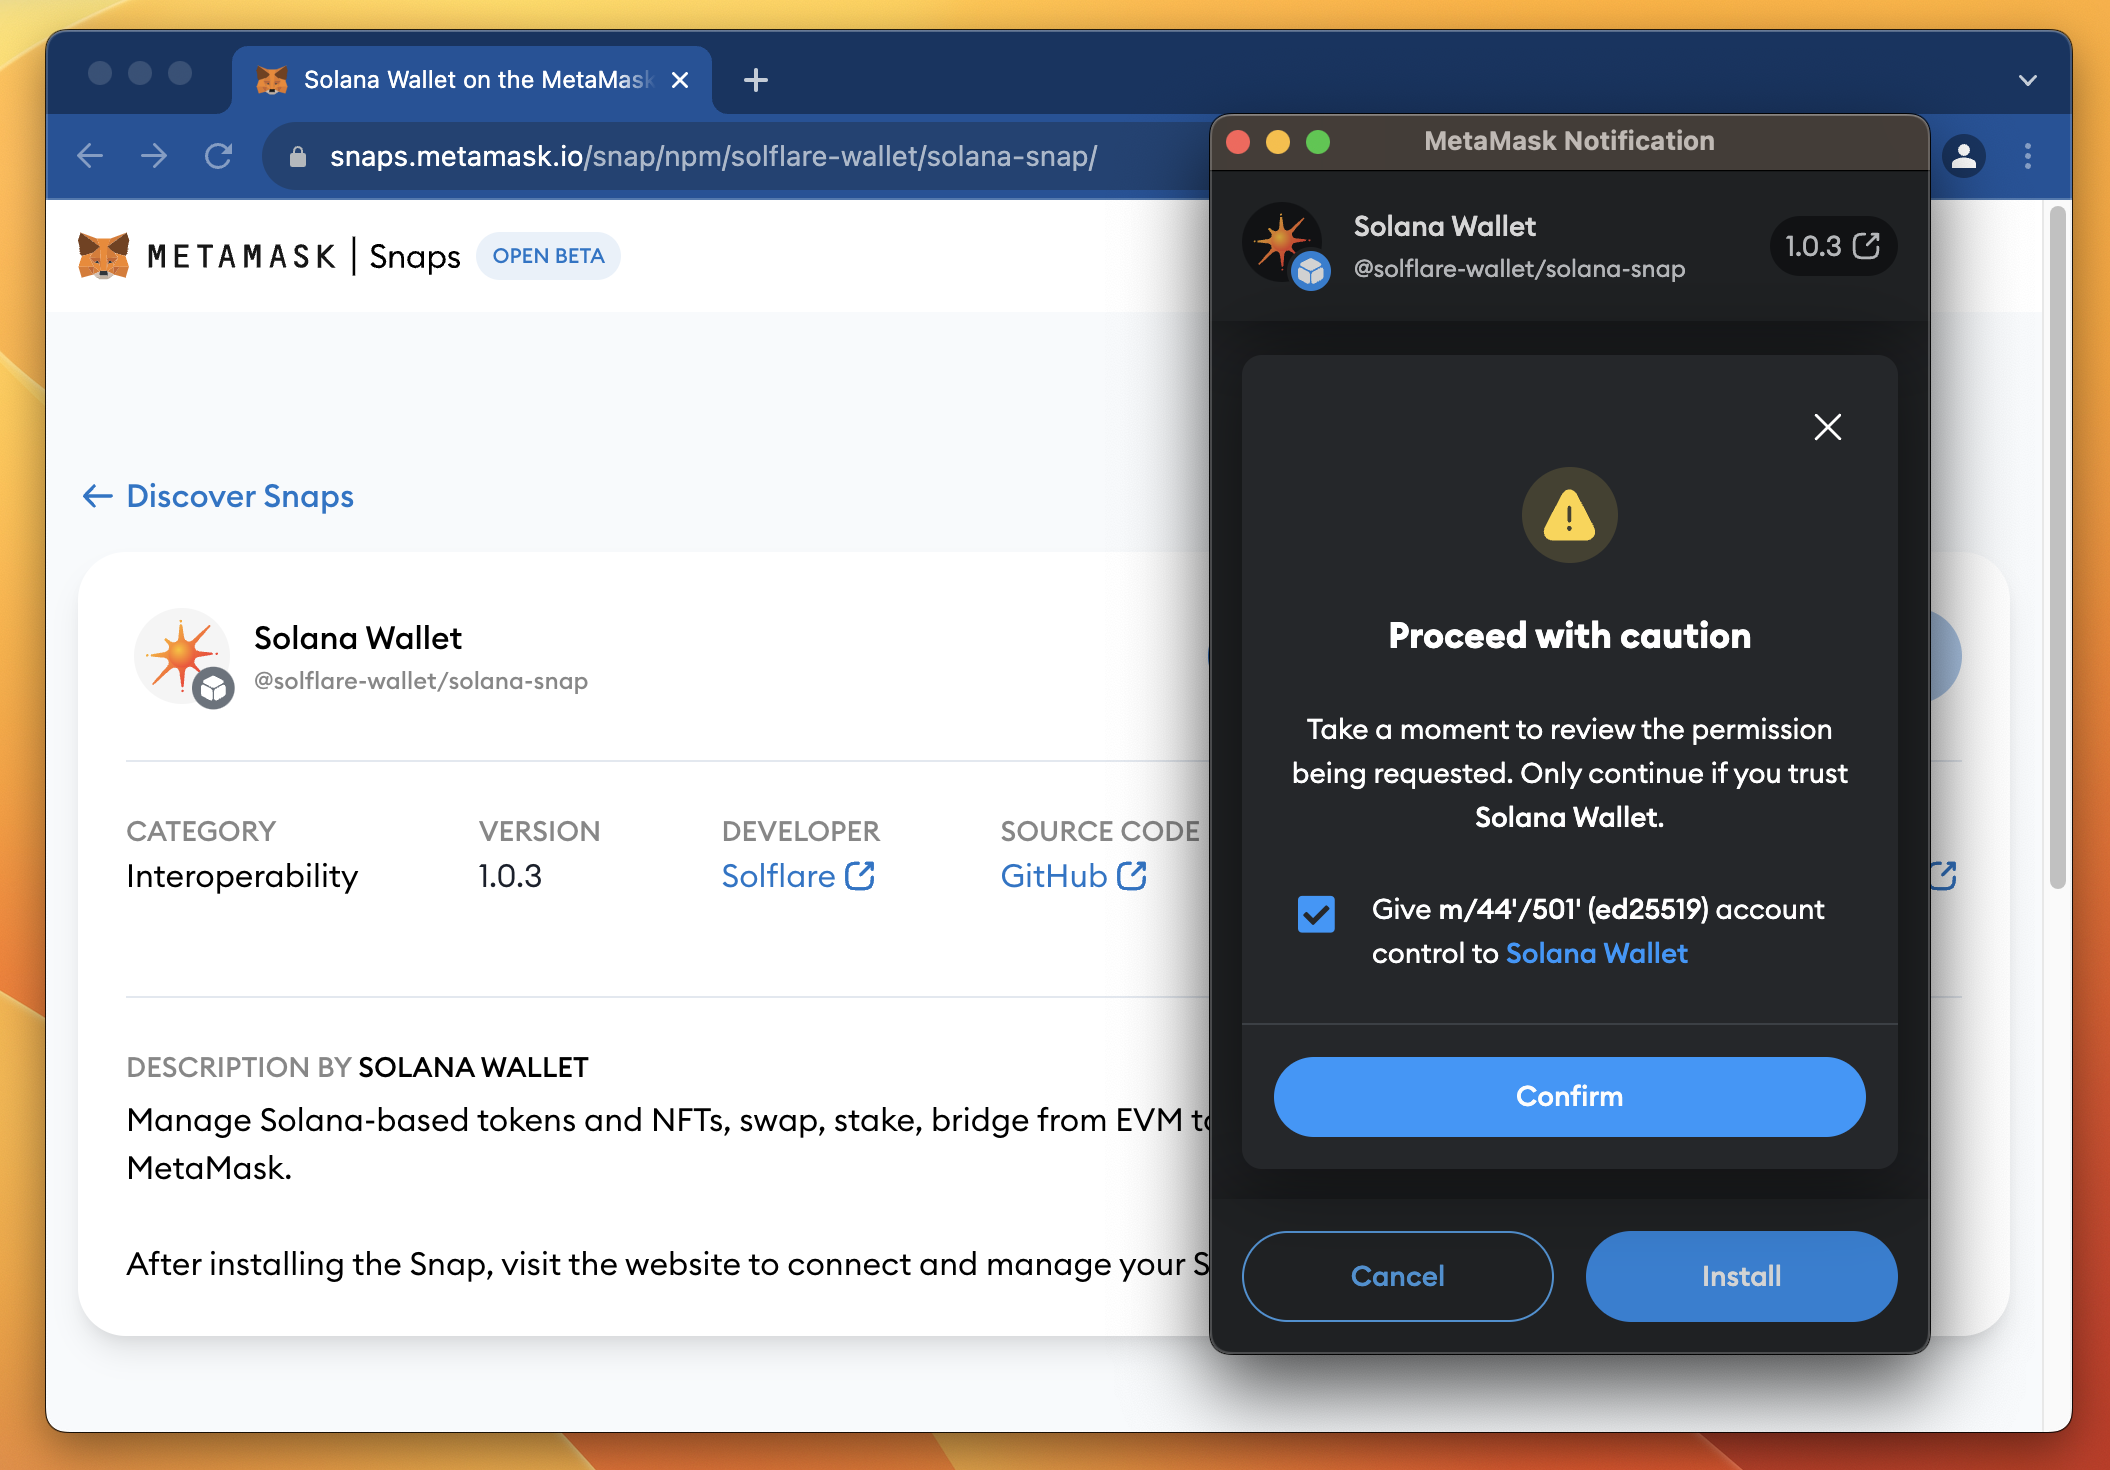
As always, practice good security hygiene and only authorize Snaps from trusted sources. MetaMask and Solflare have included audits for the Solana Snap, available here.
You will be asked to confirm the authorization again:
- Once installation is complete, click "OK" in your wallet and follow the redirect to Solflare's MetaMask Connection Page.
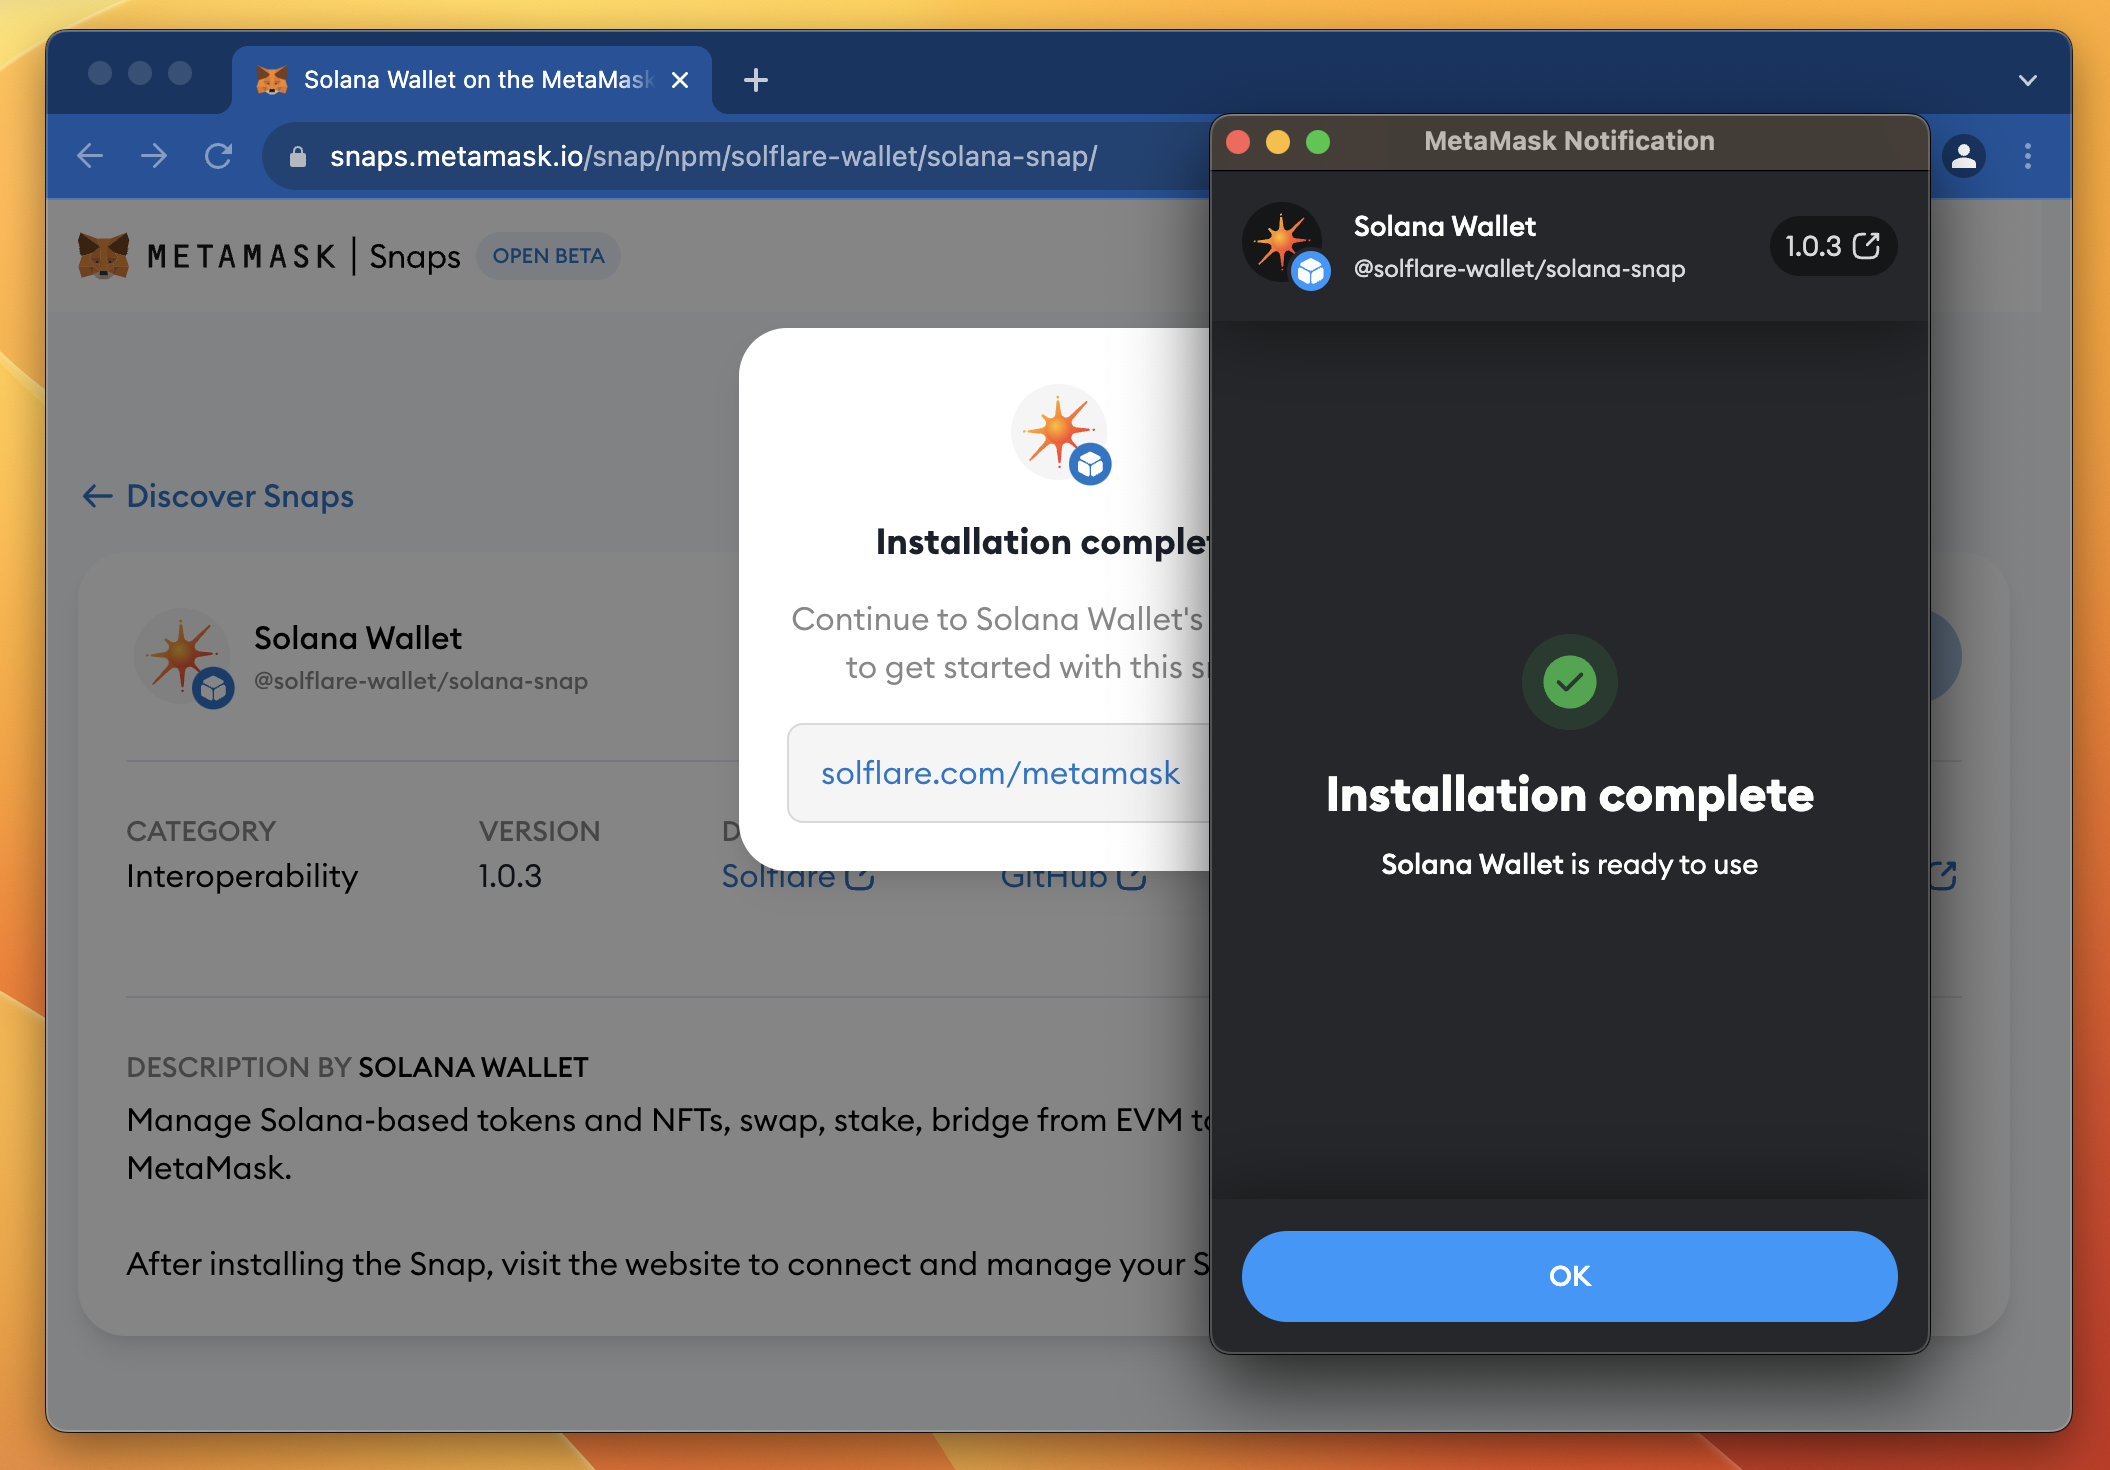
- From the Solflare MetaMask Connection Page, click "Get Started" and follow the steps to onboard your Solana wallet.
You should be prompted to Connect your Solana wallet to the Solflare site:
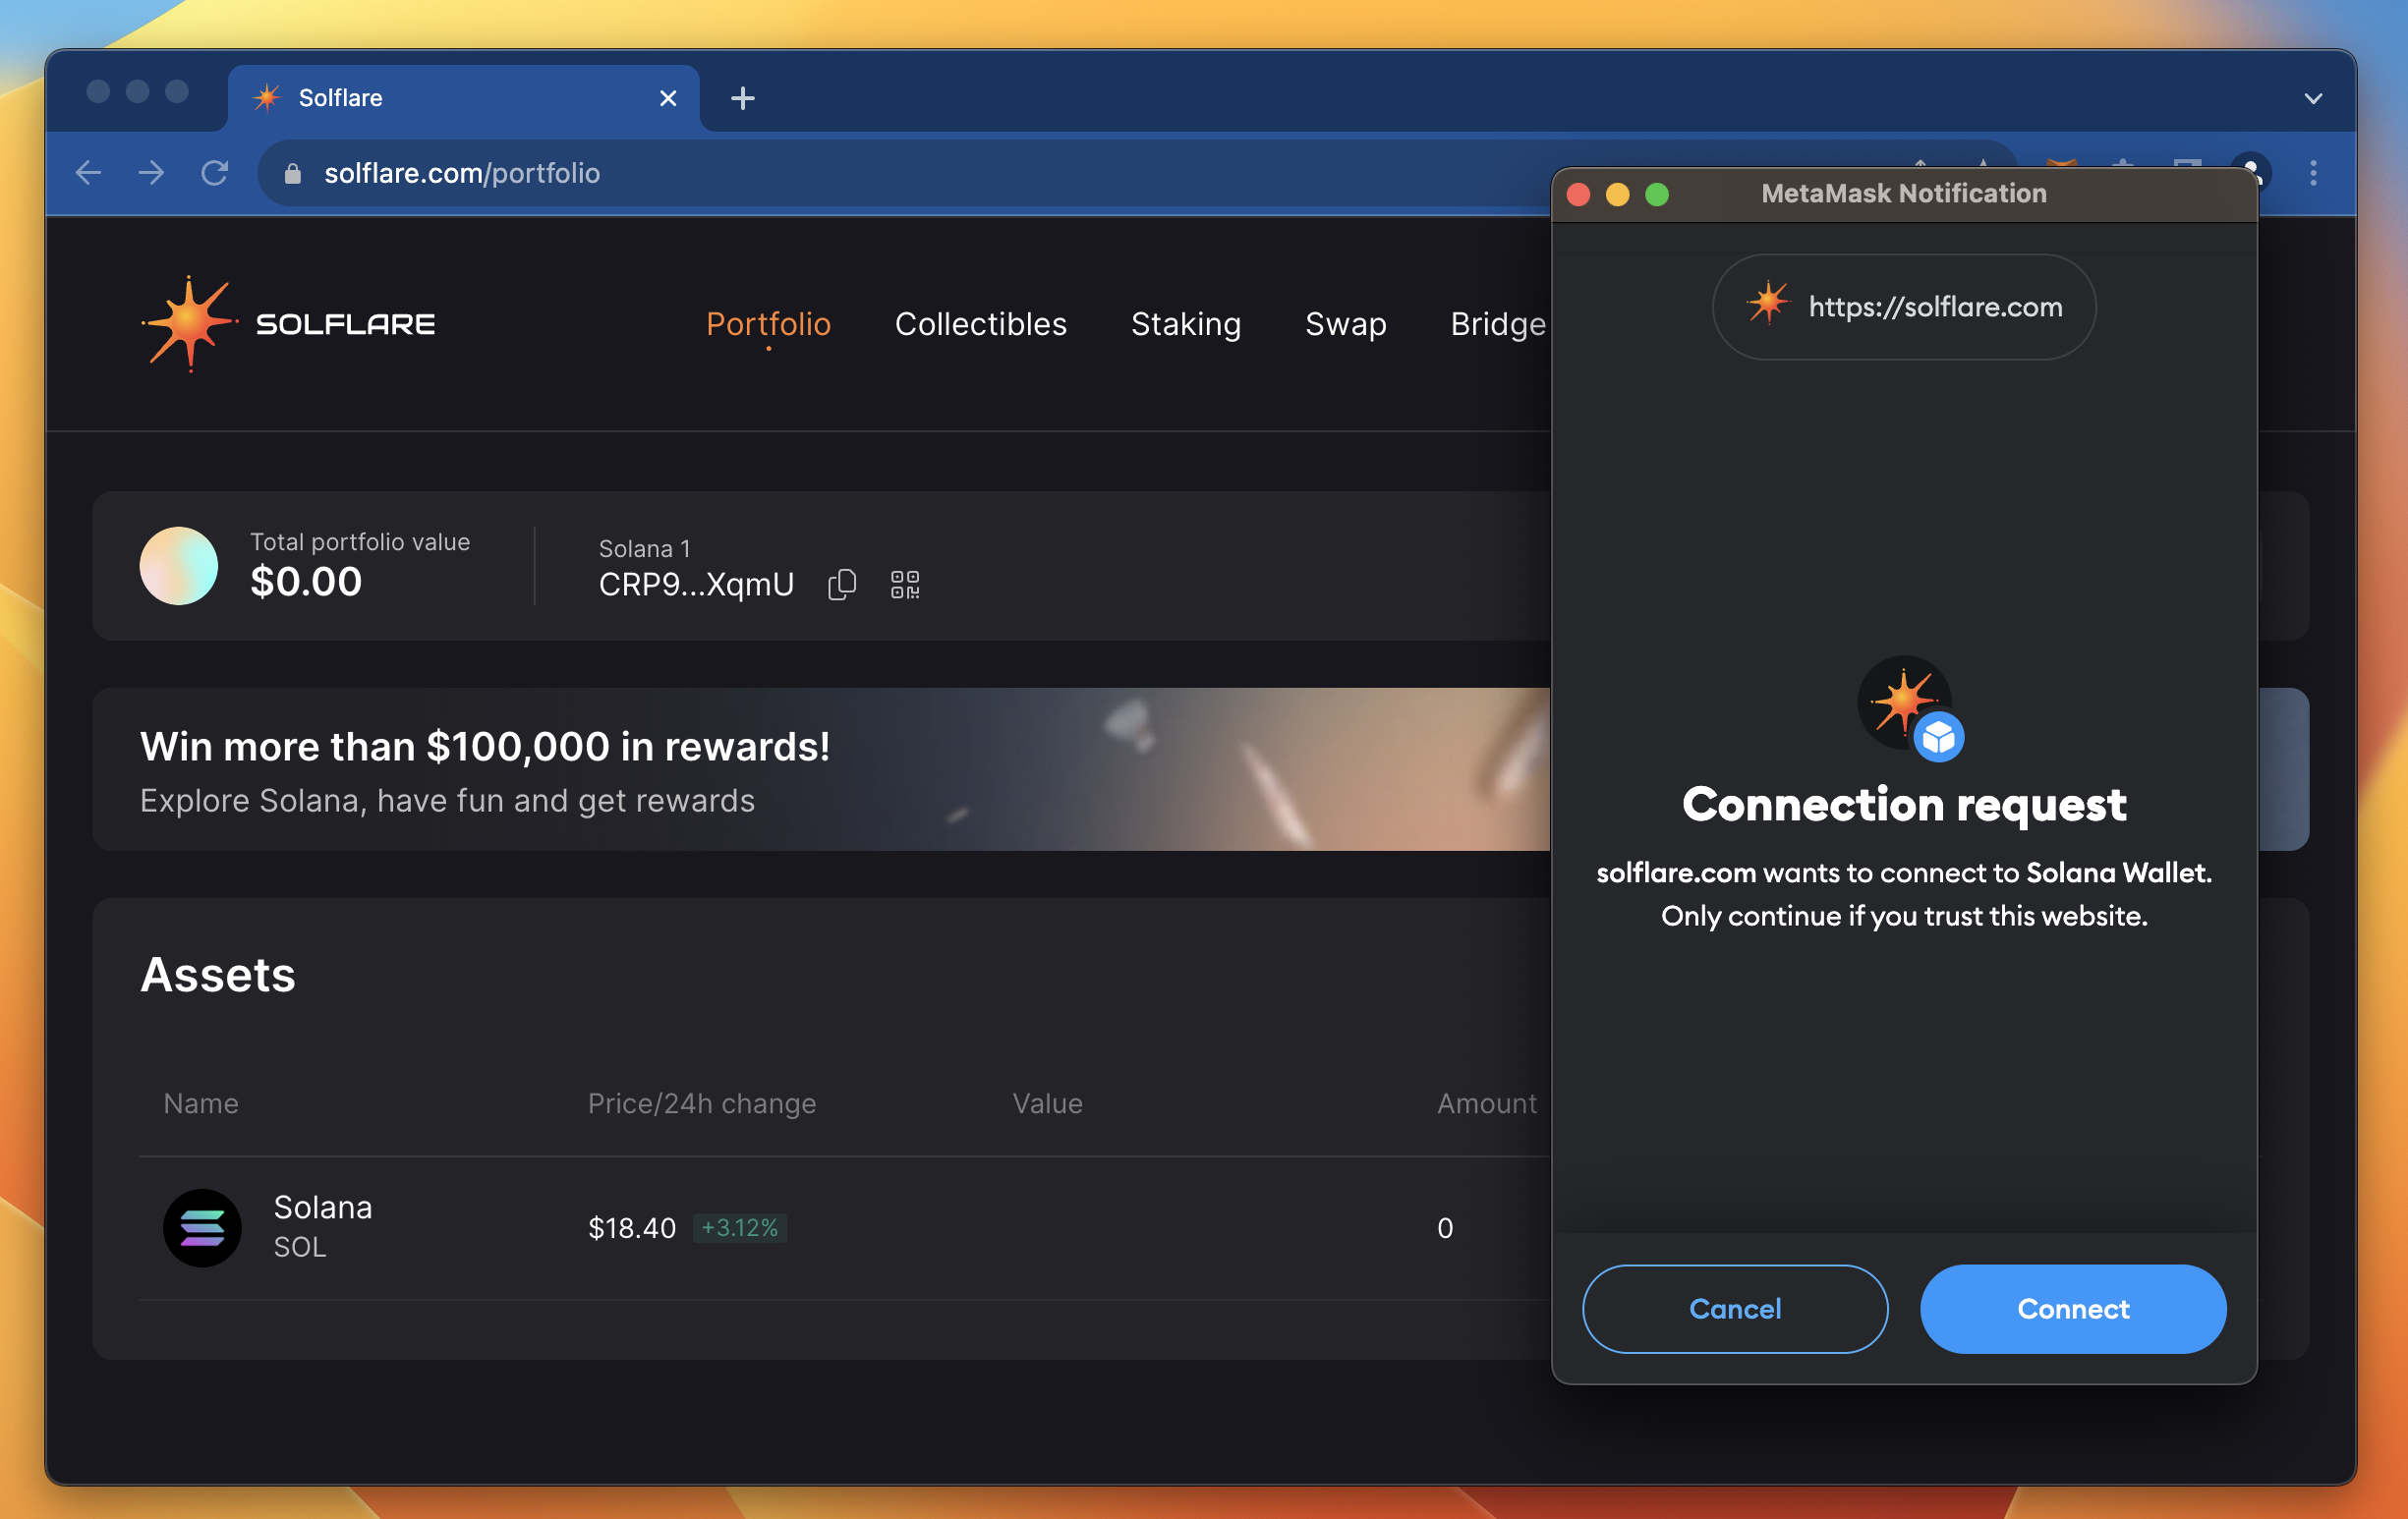
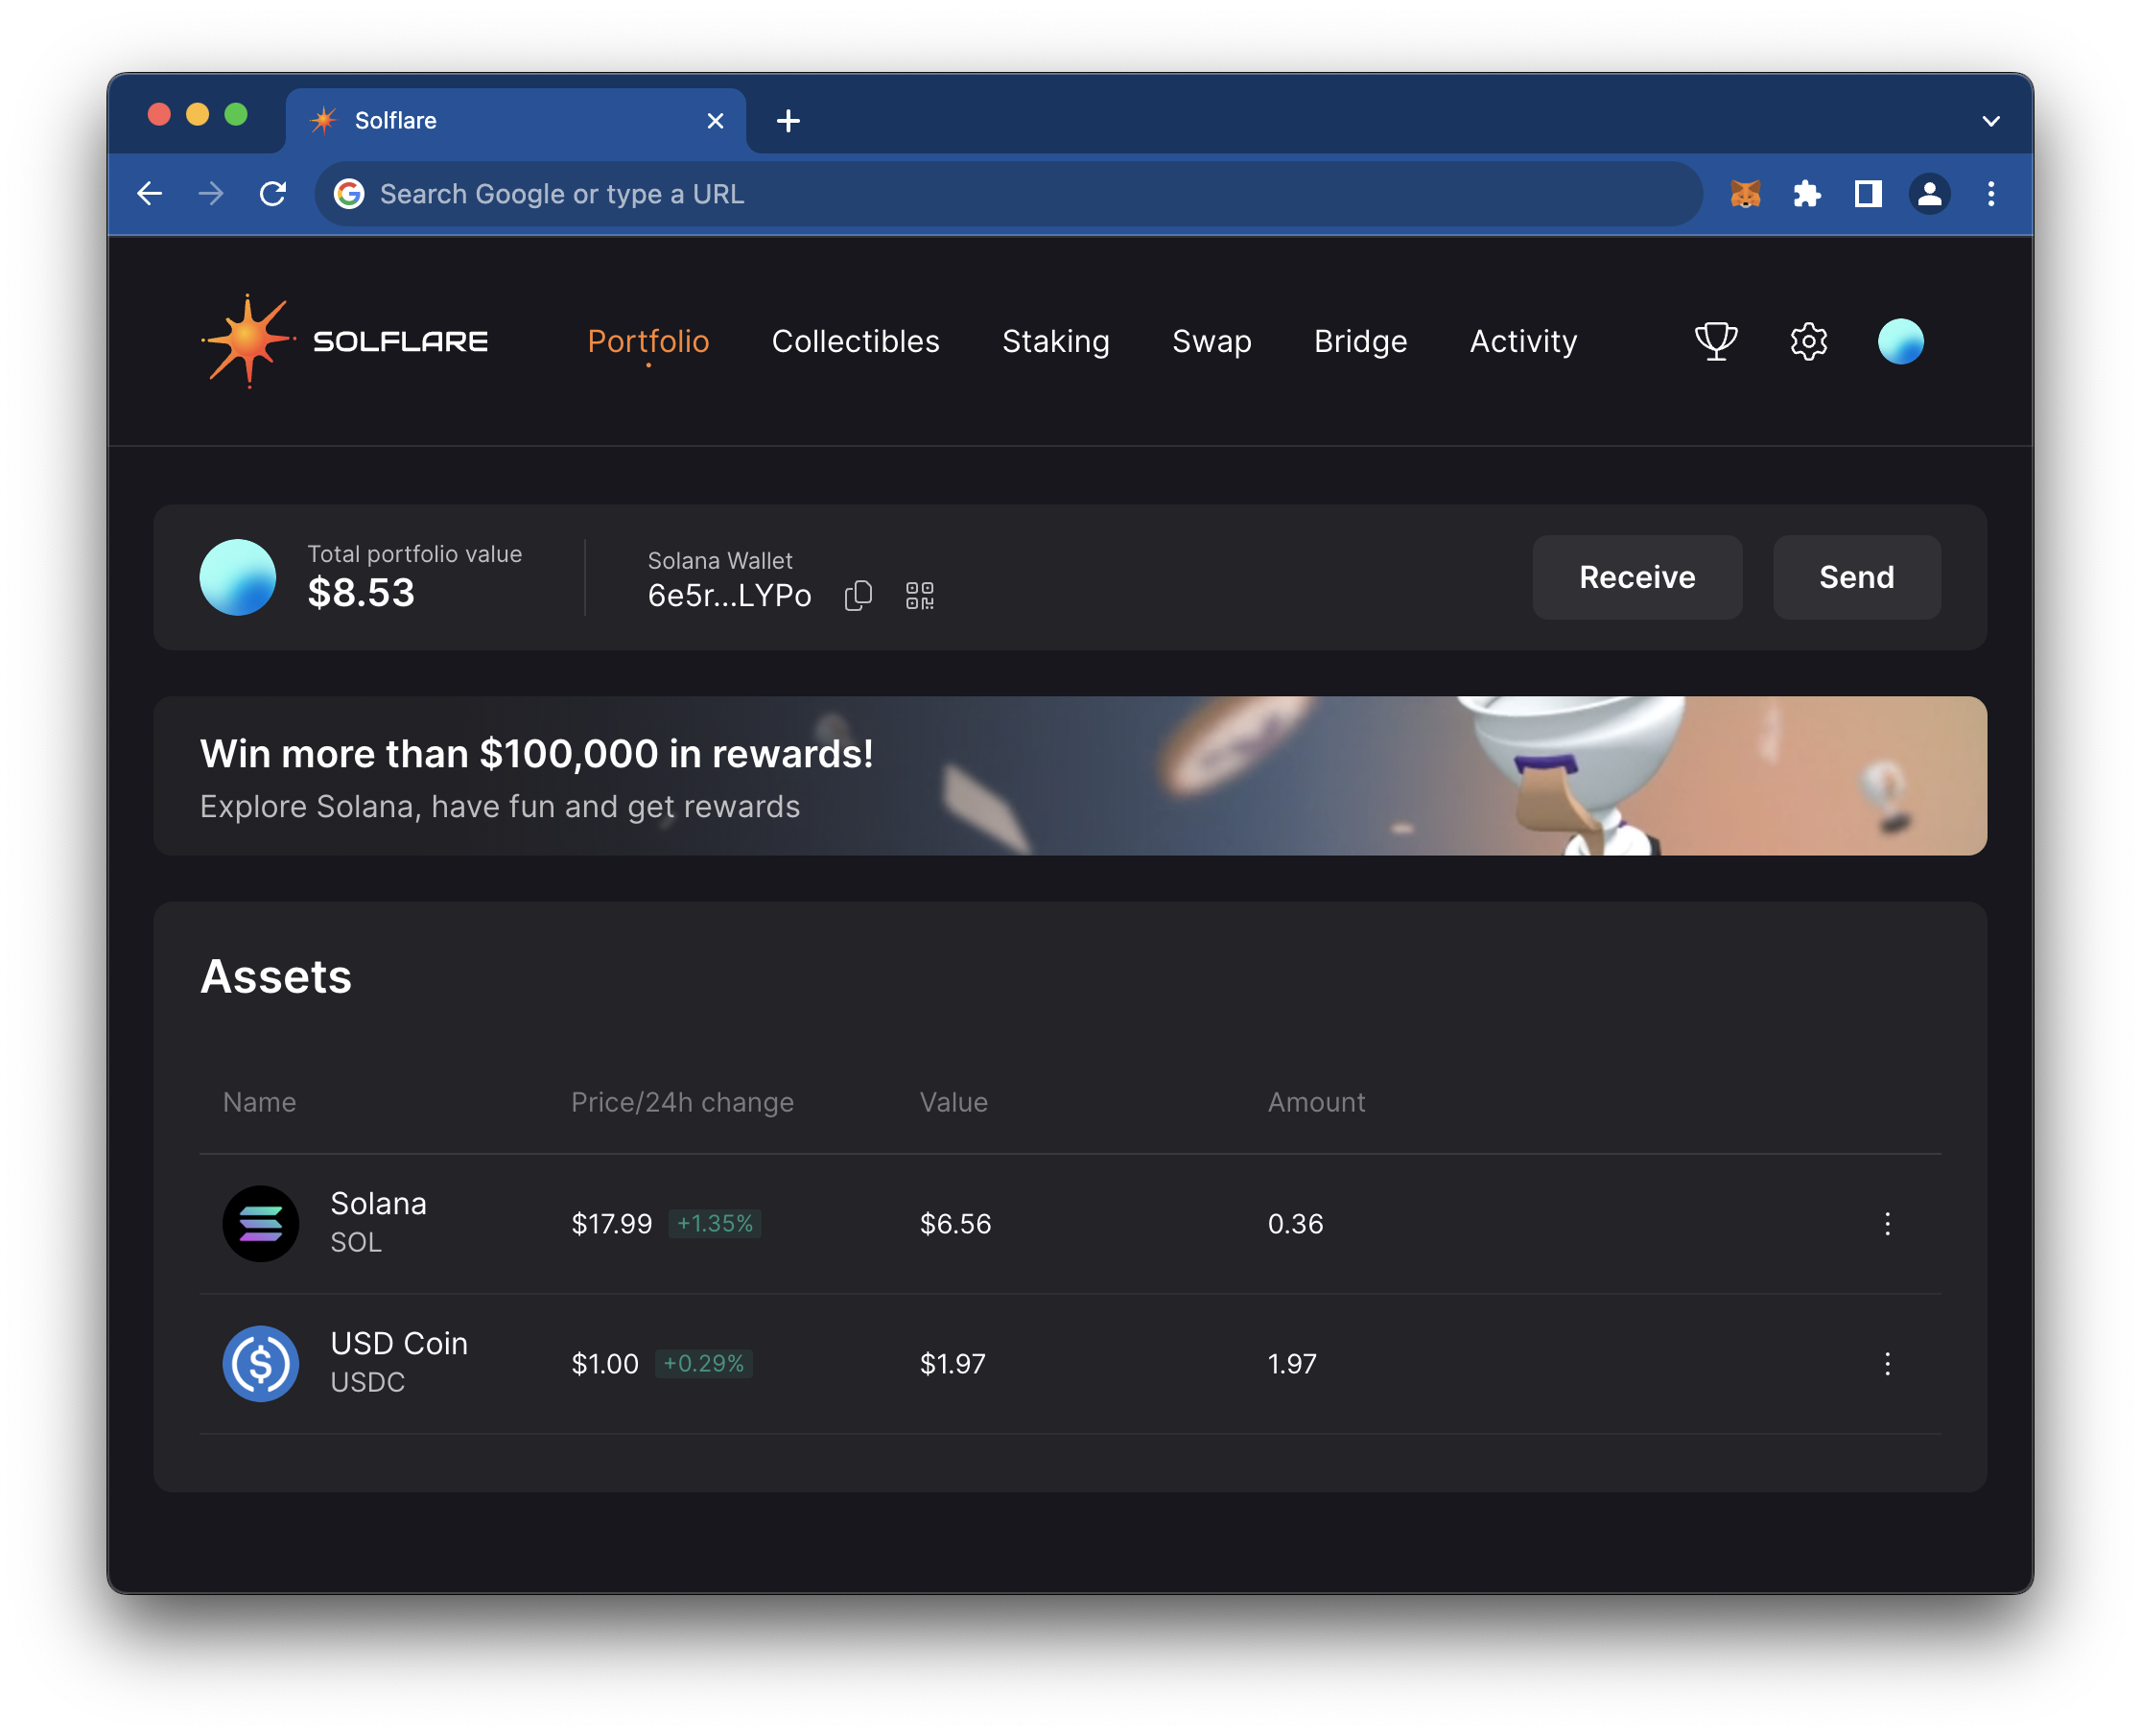
You should now be able to see your Solana wallet and token portfolio (it should be empty if you are just getting started).

Let's bridge some funds to your new Solana wallet!
Bridge ETH to Solana Using MetaMask
Note: If you already have SOL in another wallet, you can send SOL to your new wallet directly and skip this step.
Feel free to browse the Solflare wallet interface, and when you are ready, navigate to the "Bridge" tab.
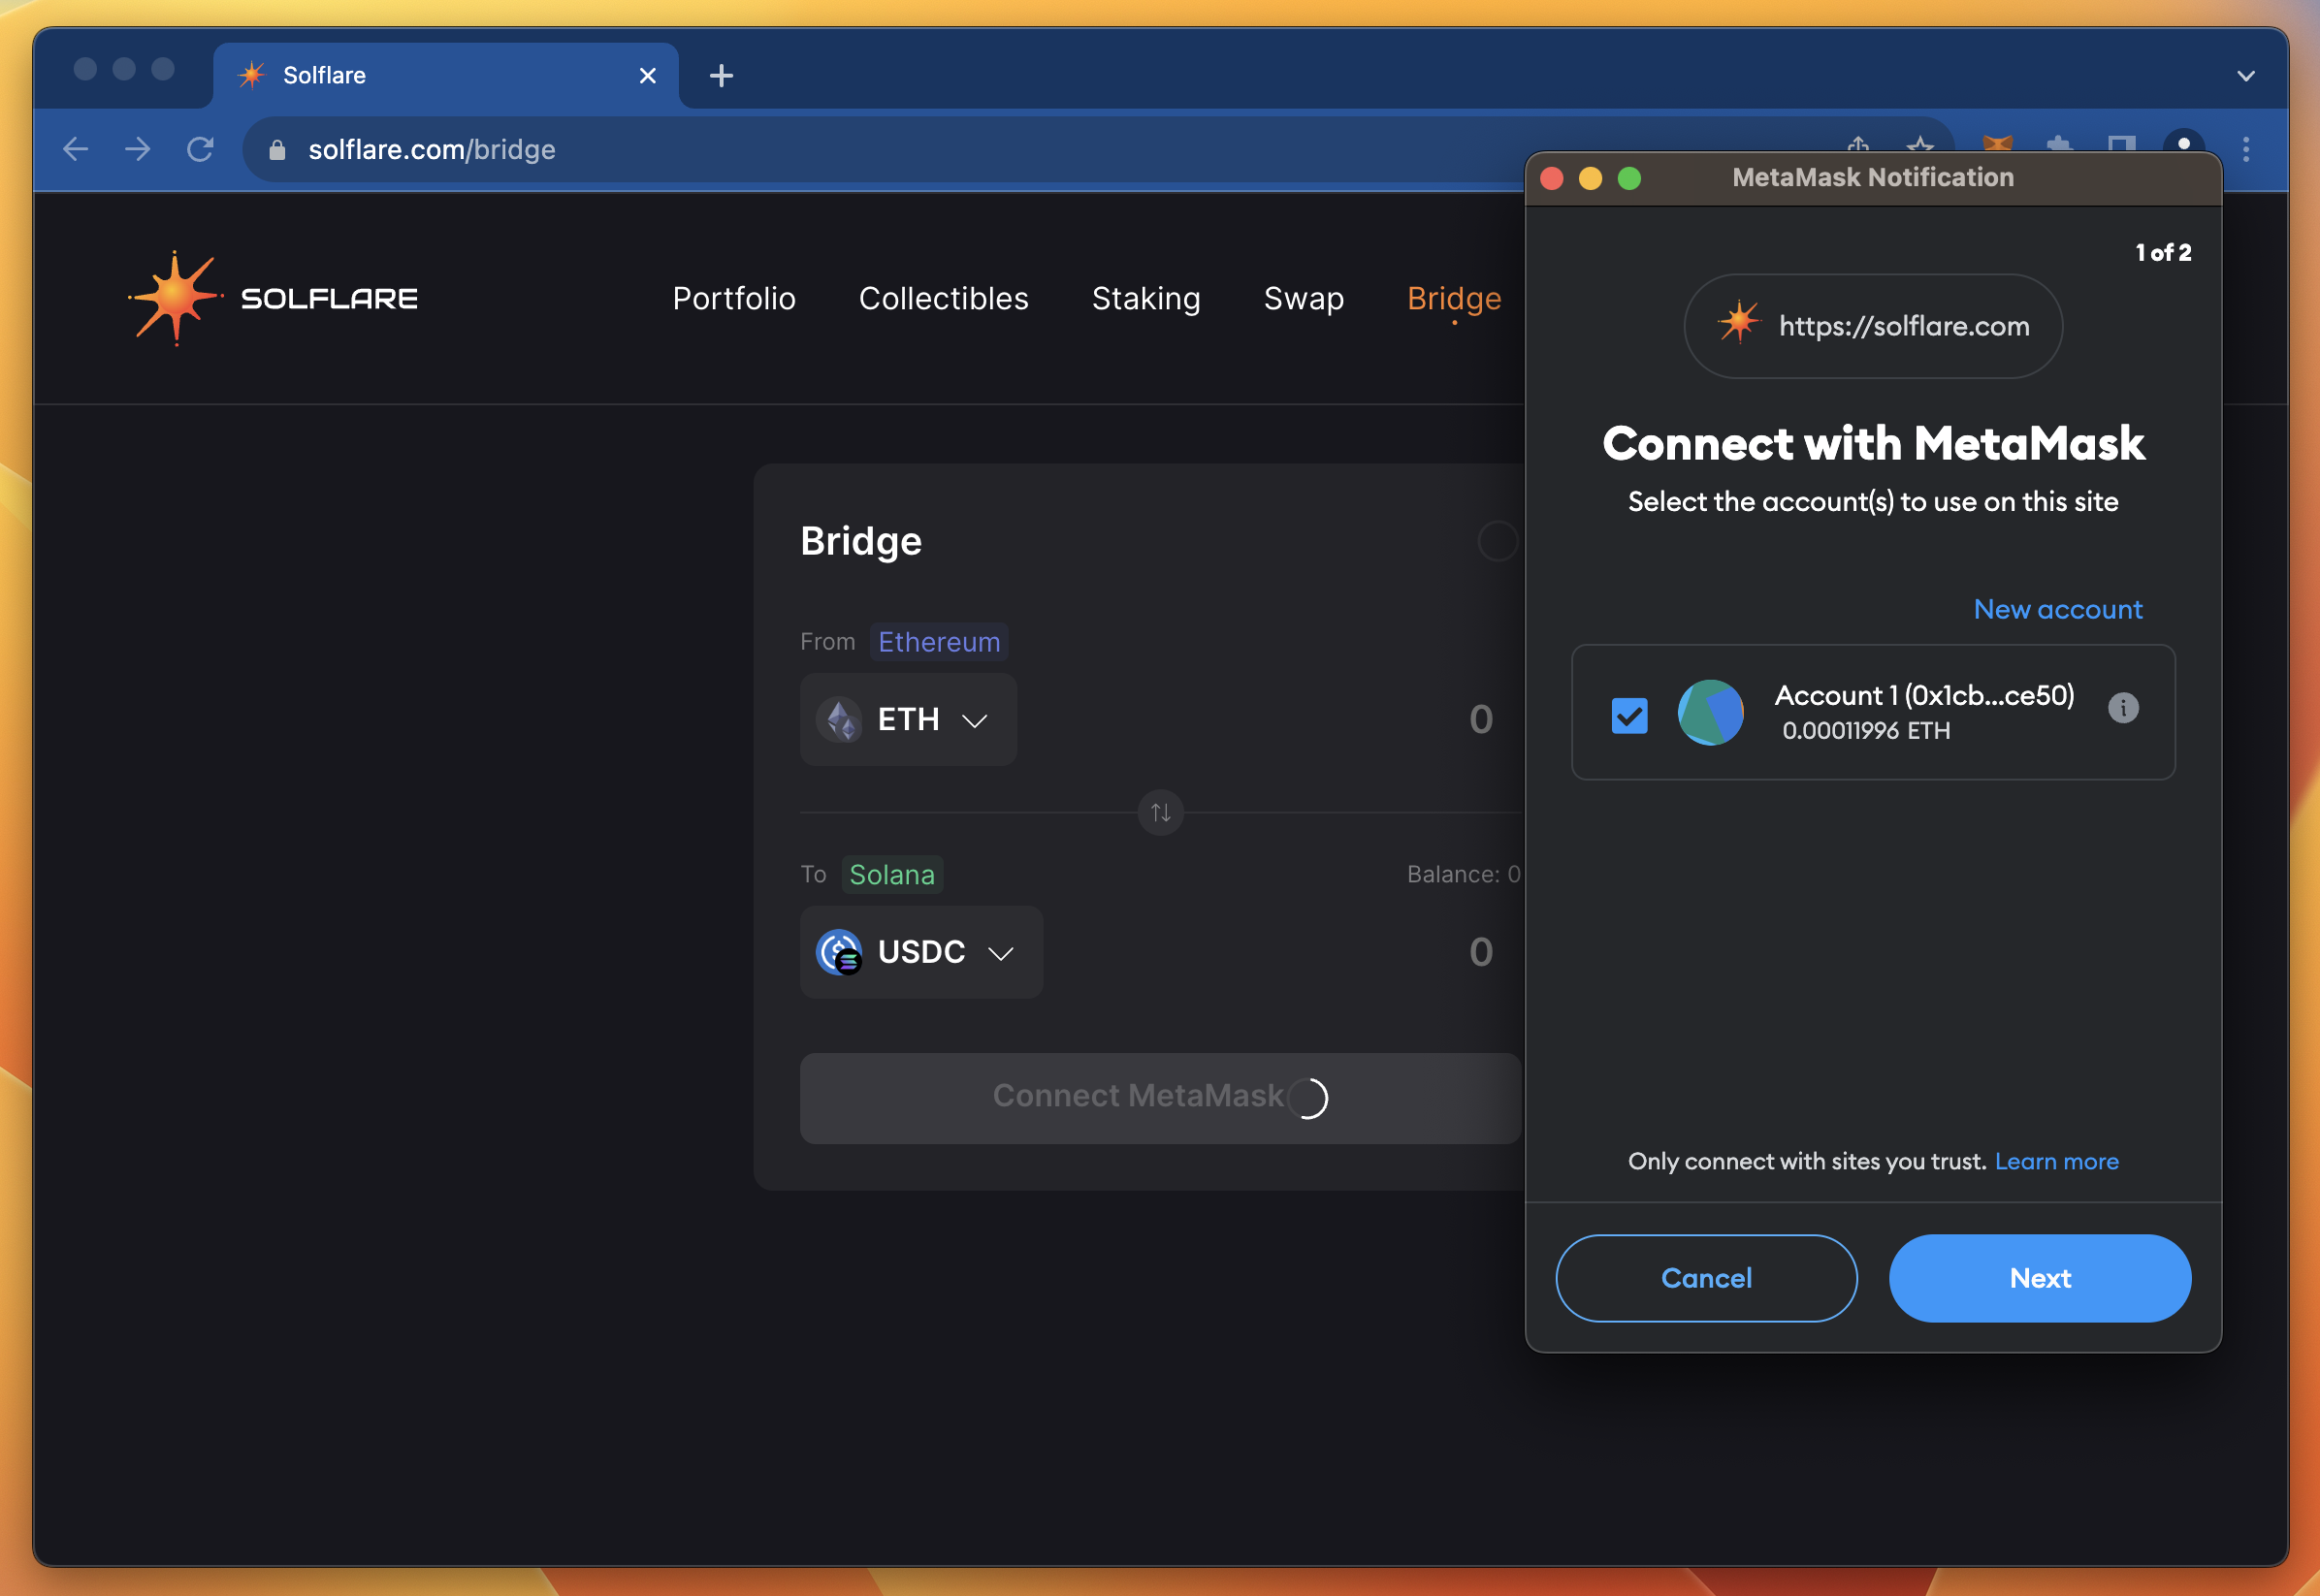
You will be prompted to Connect your wallet. 🤔 That's odd. Didn't we already connect our wallet? Well, kind of. When we connected our wallet to the Solflare site, we connected only our Solana wallet. Now, we need to connect our Ethereum wallet to the site so we can transfer funds between chains. Go ahead and connect your wallet:
You will now see your ETH balance in the "Bridge" container. Enter the amount of ETH you would like to bridge to Solana, and then select your desired token (SOL or USDC-SPL, the Solana version of USDC).
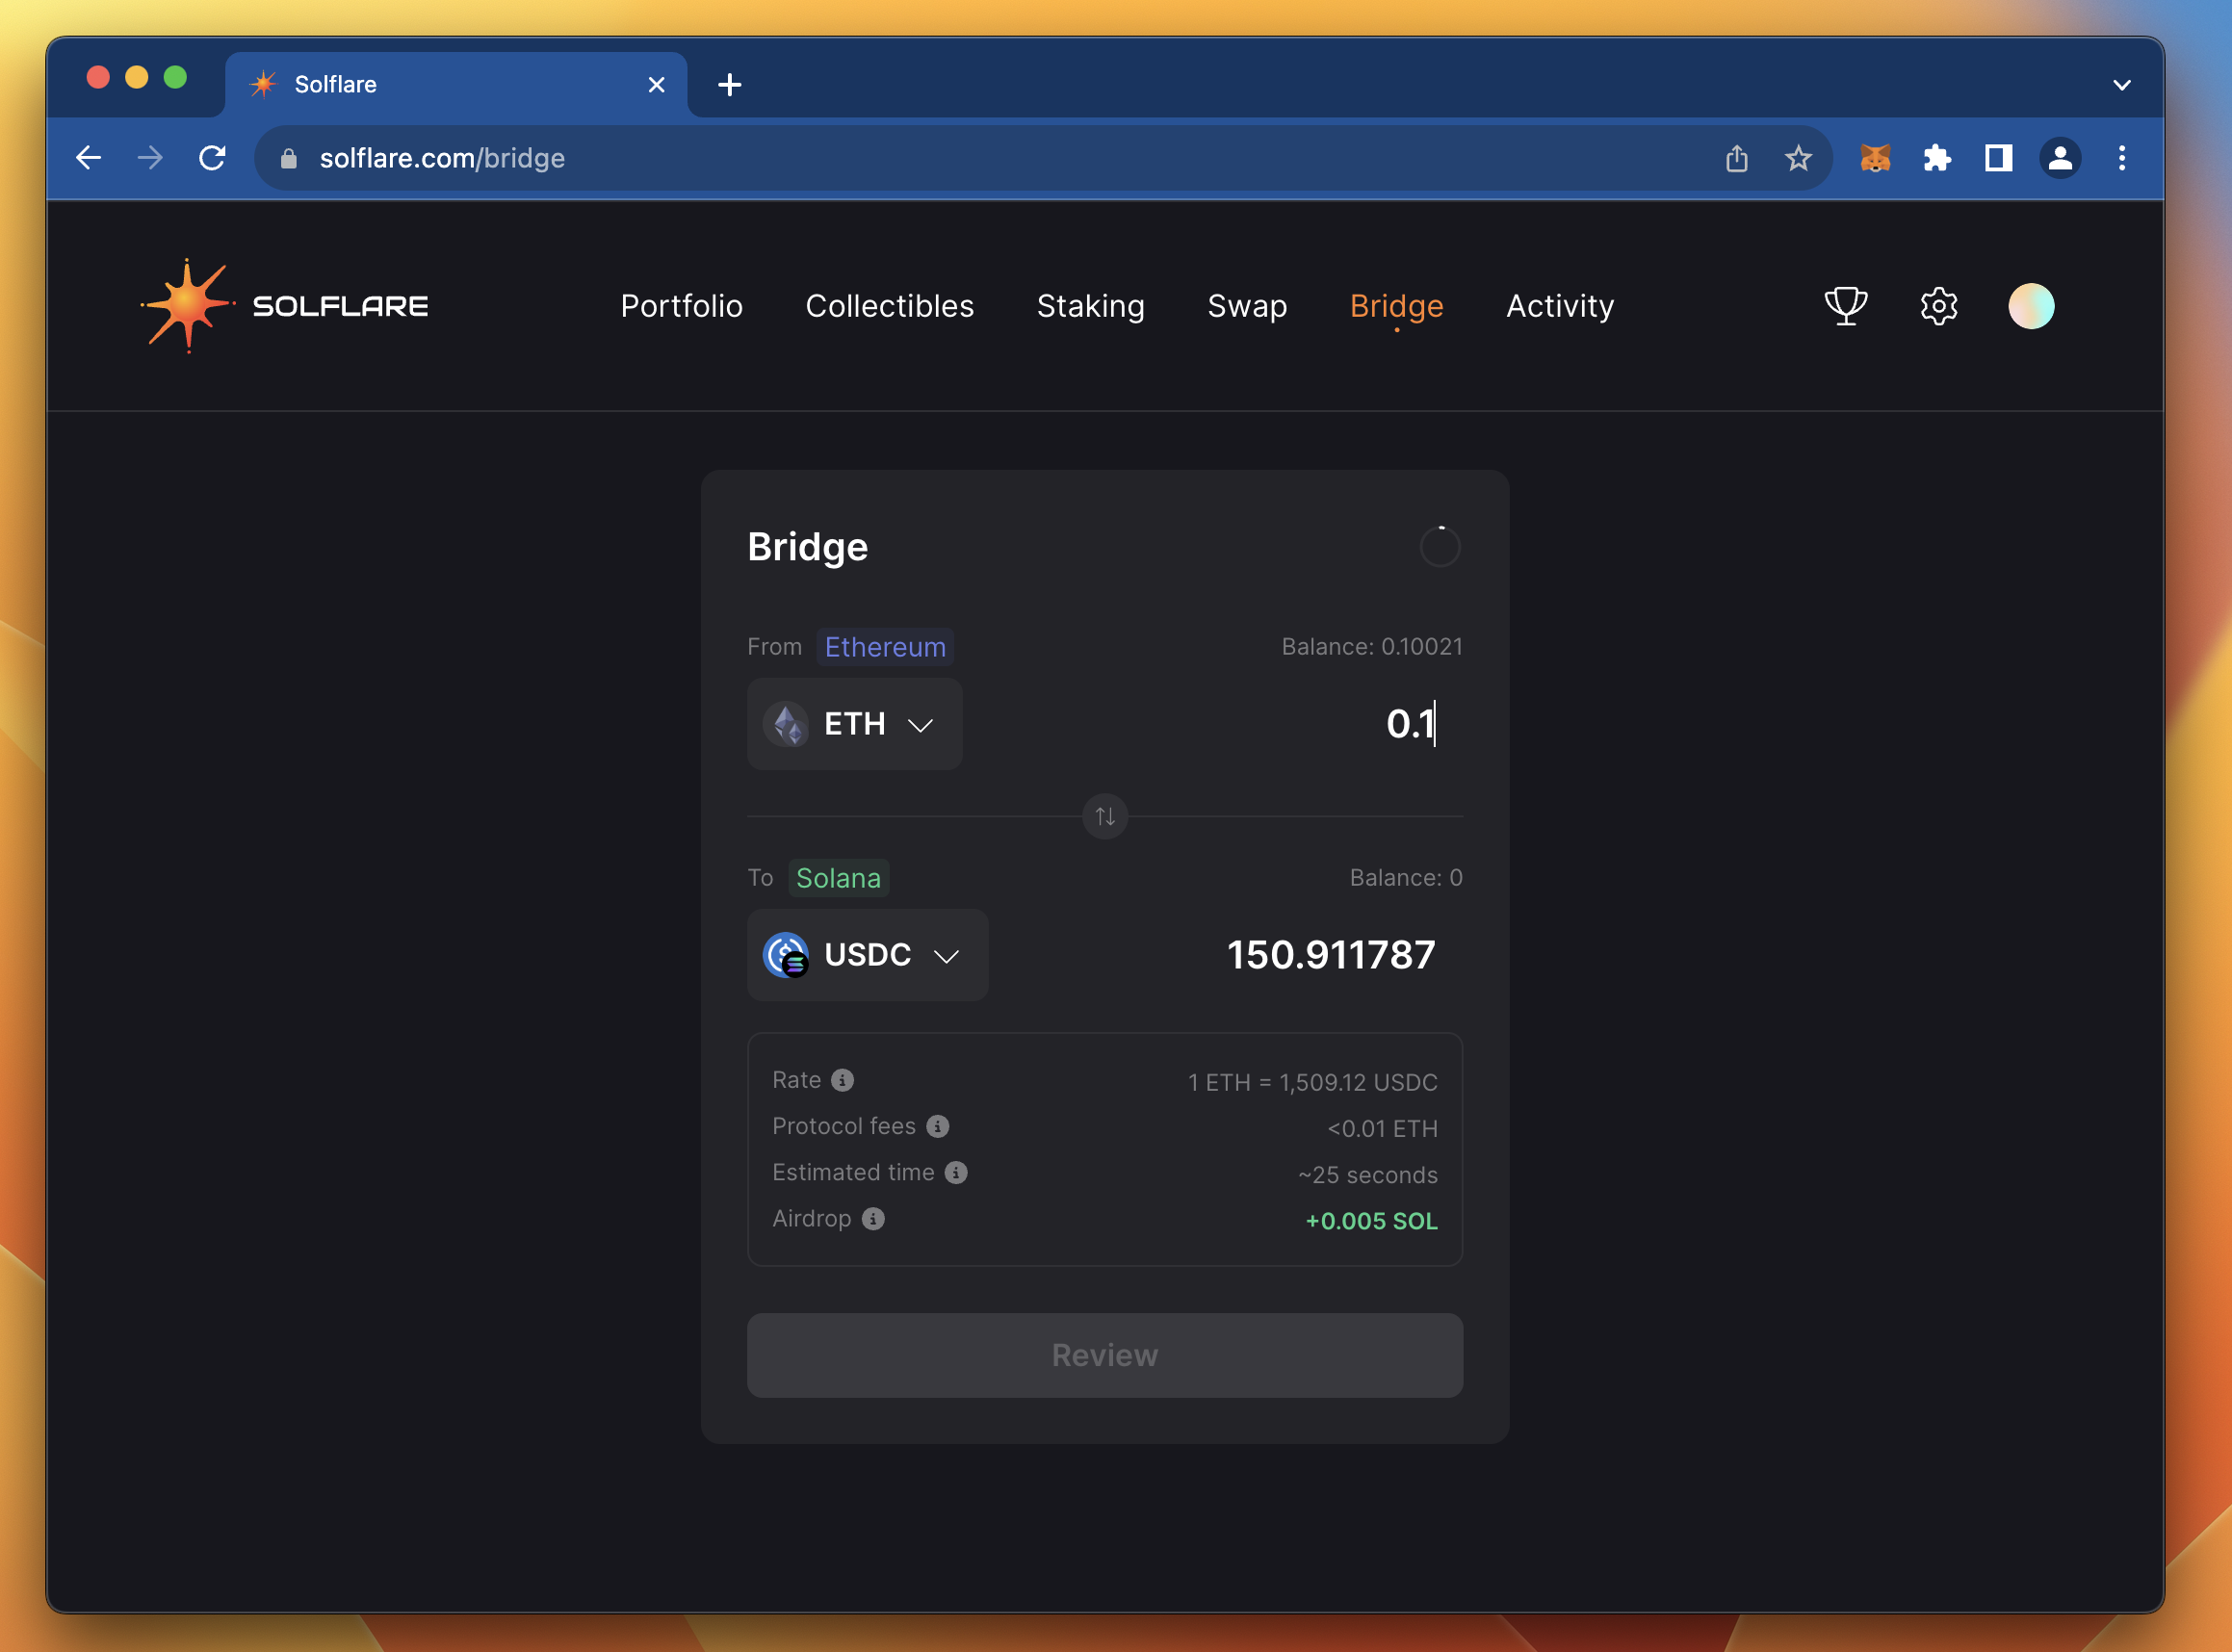
When ready, click "Review" to review the transaction details and follow the dialogue to complete the swap.
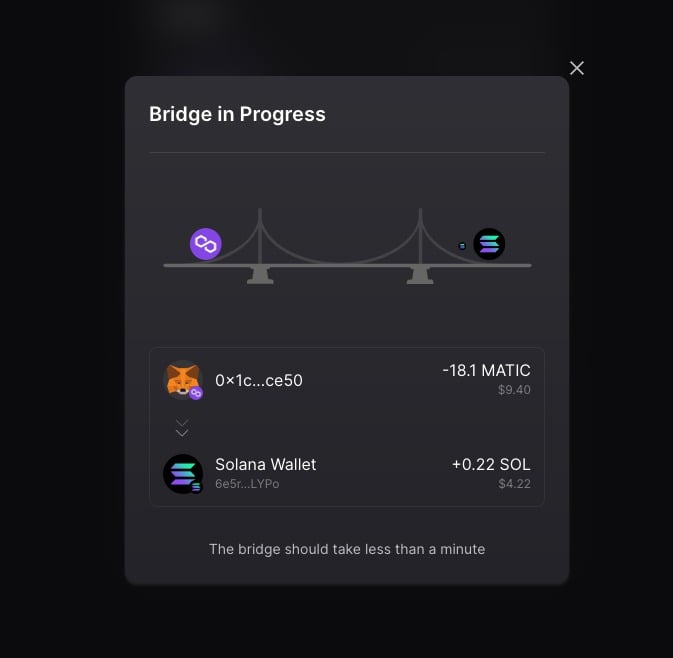
At the time of this writing, Solflare is giving you a little SOL to cover gas fees for your first transactions! You should be able to return to your Portfolio Page and see your new SOL (or USDC) balance.
Nice job! You now have a Solana wallet with a positive balance! Let's use it to interact with a Solana dApp!
Interact with Solana dApps Using MetaMask
Let's try to interact with a popular Solana dApp, Jupiter. Jupiter is a DEX and LP aggregator that allows you to swap tokens on the Solana blockchain. Unlike the previous swap we did that bridged between chains, Jupiter will allow us to test using our MetaMask wallet to swap between Solana tokens.
Navigate to Jupiter and click "Connect Wallet" in the top right corner. You will be prompted to connect your wallet. You should notice your MetaMask wallet in the list of available wallets:
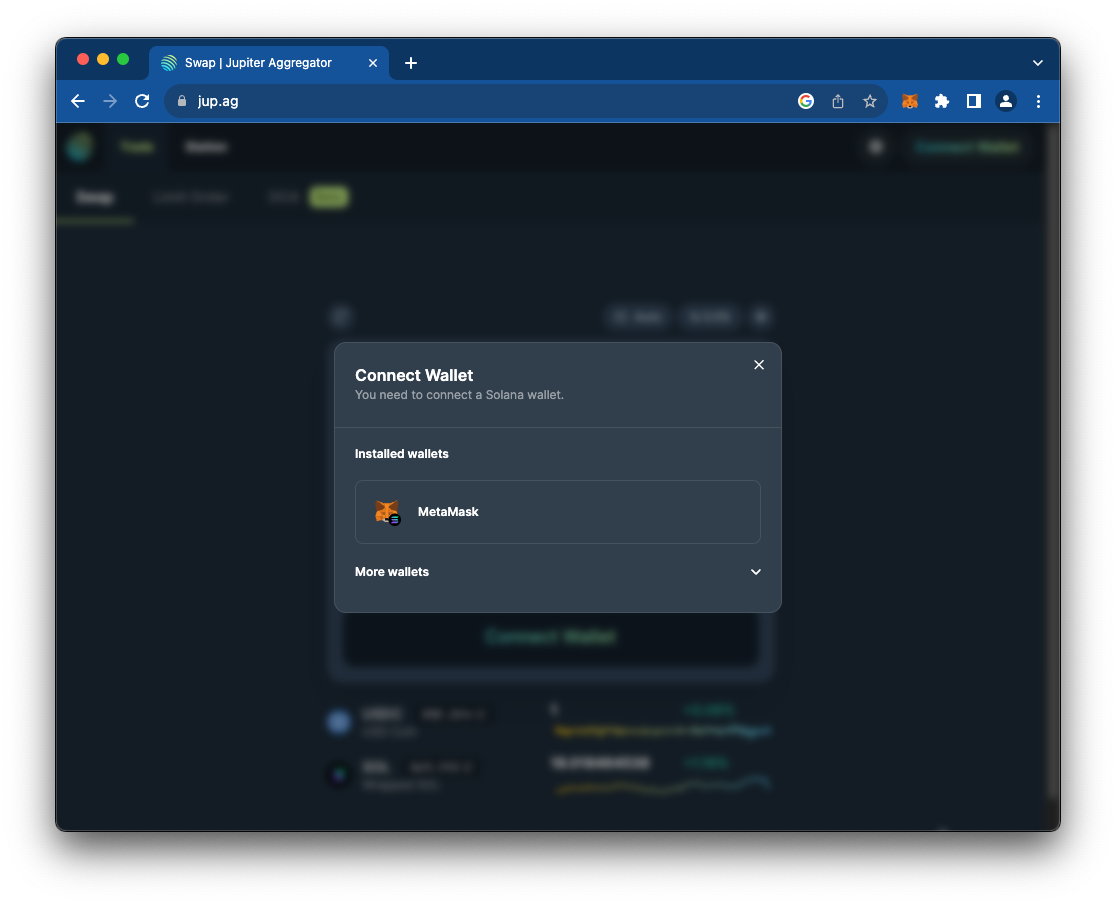
Go ahead and connect your wallet by following the on-screen prompts. The MetaMask Snap will open a pop-up window during your connection on the site:
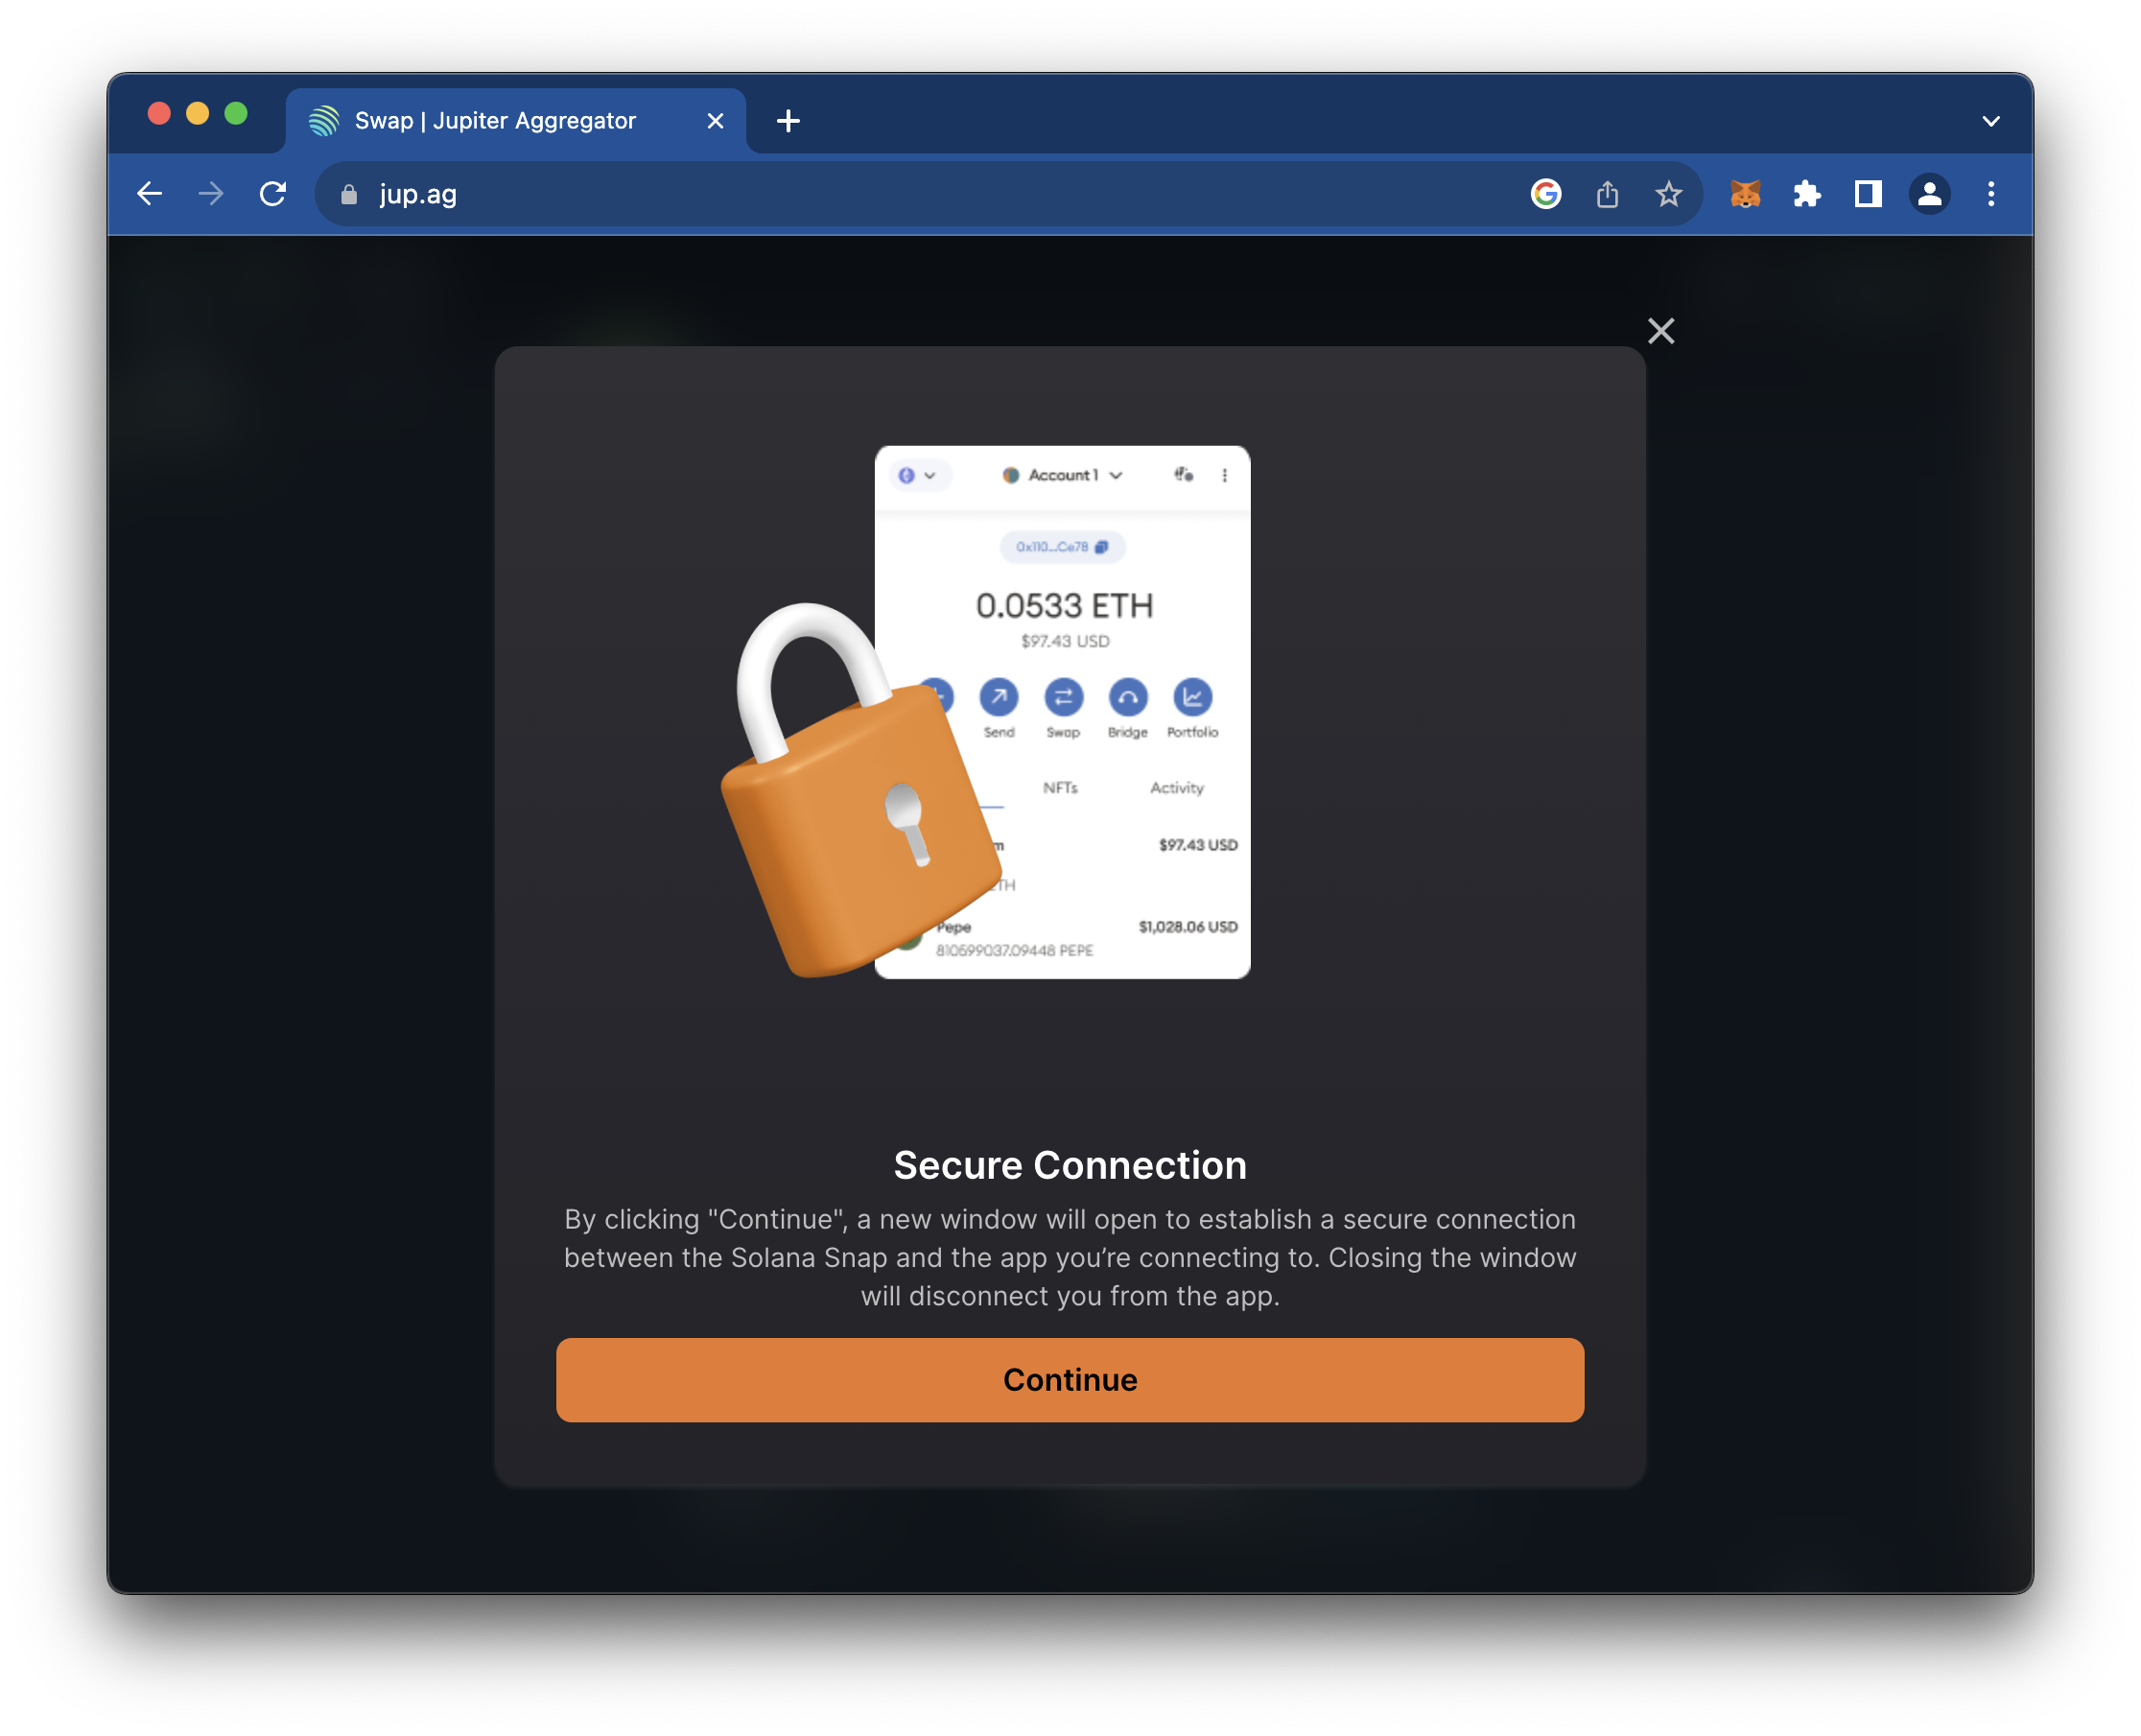
Once connected, you will notice a Solfare widget in the bottom corner of the page displaying your SOL balance.
Select a Token to which you would like to swap (e.g., USDC, BONK, mSOL) and enter the amount you want to swap. You will be prompted to confirm the transaction in your MetaMask wallet:
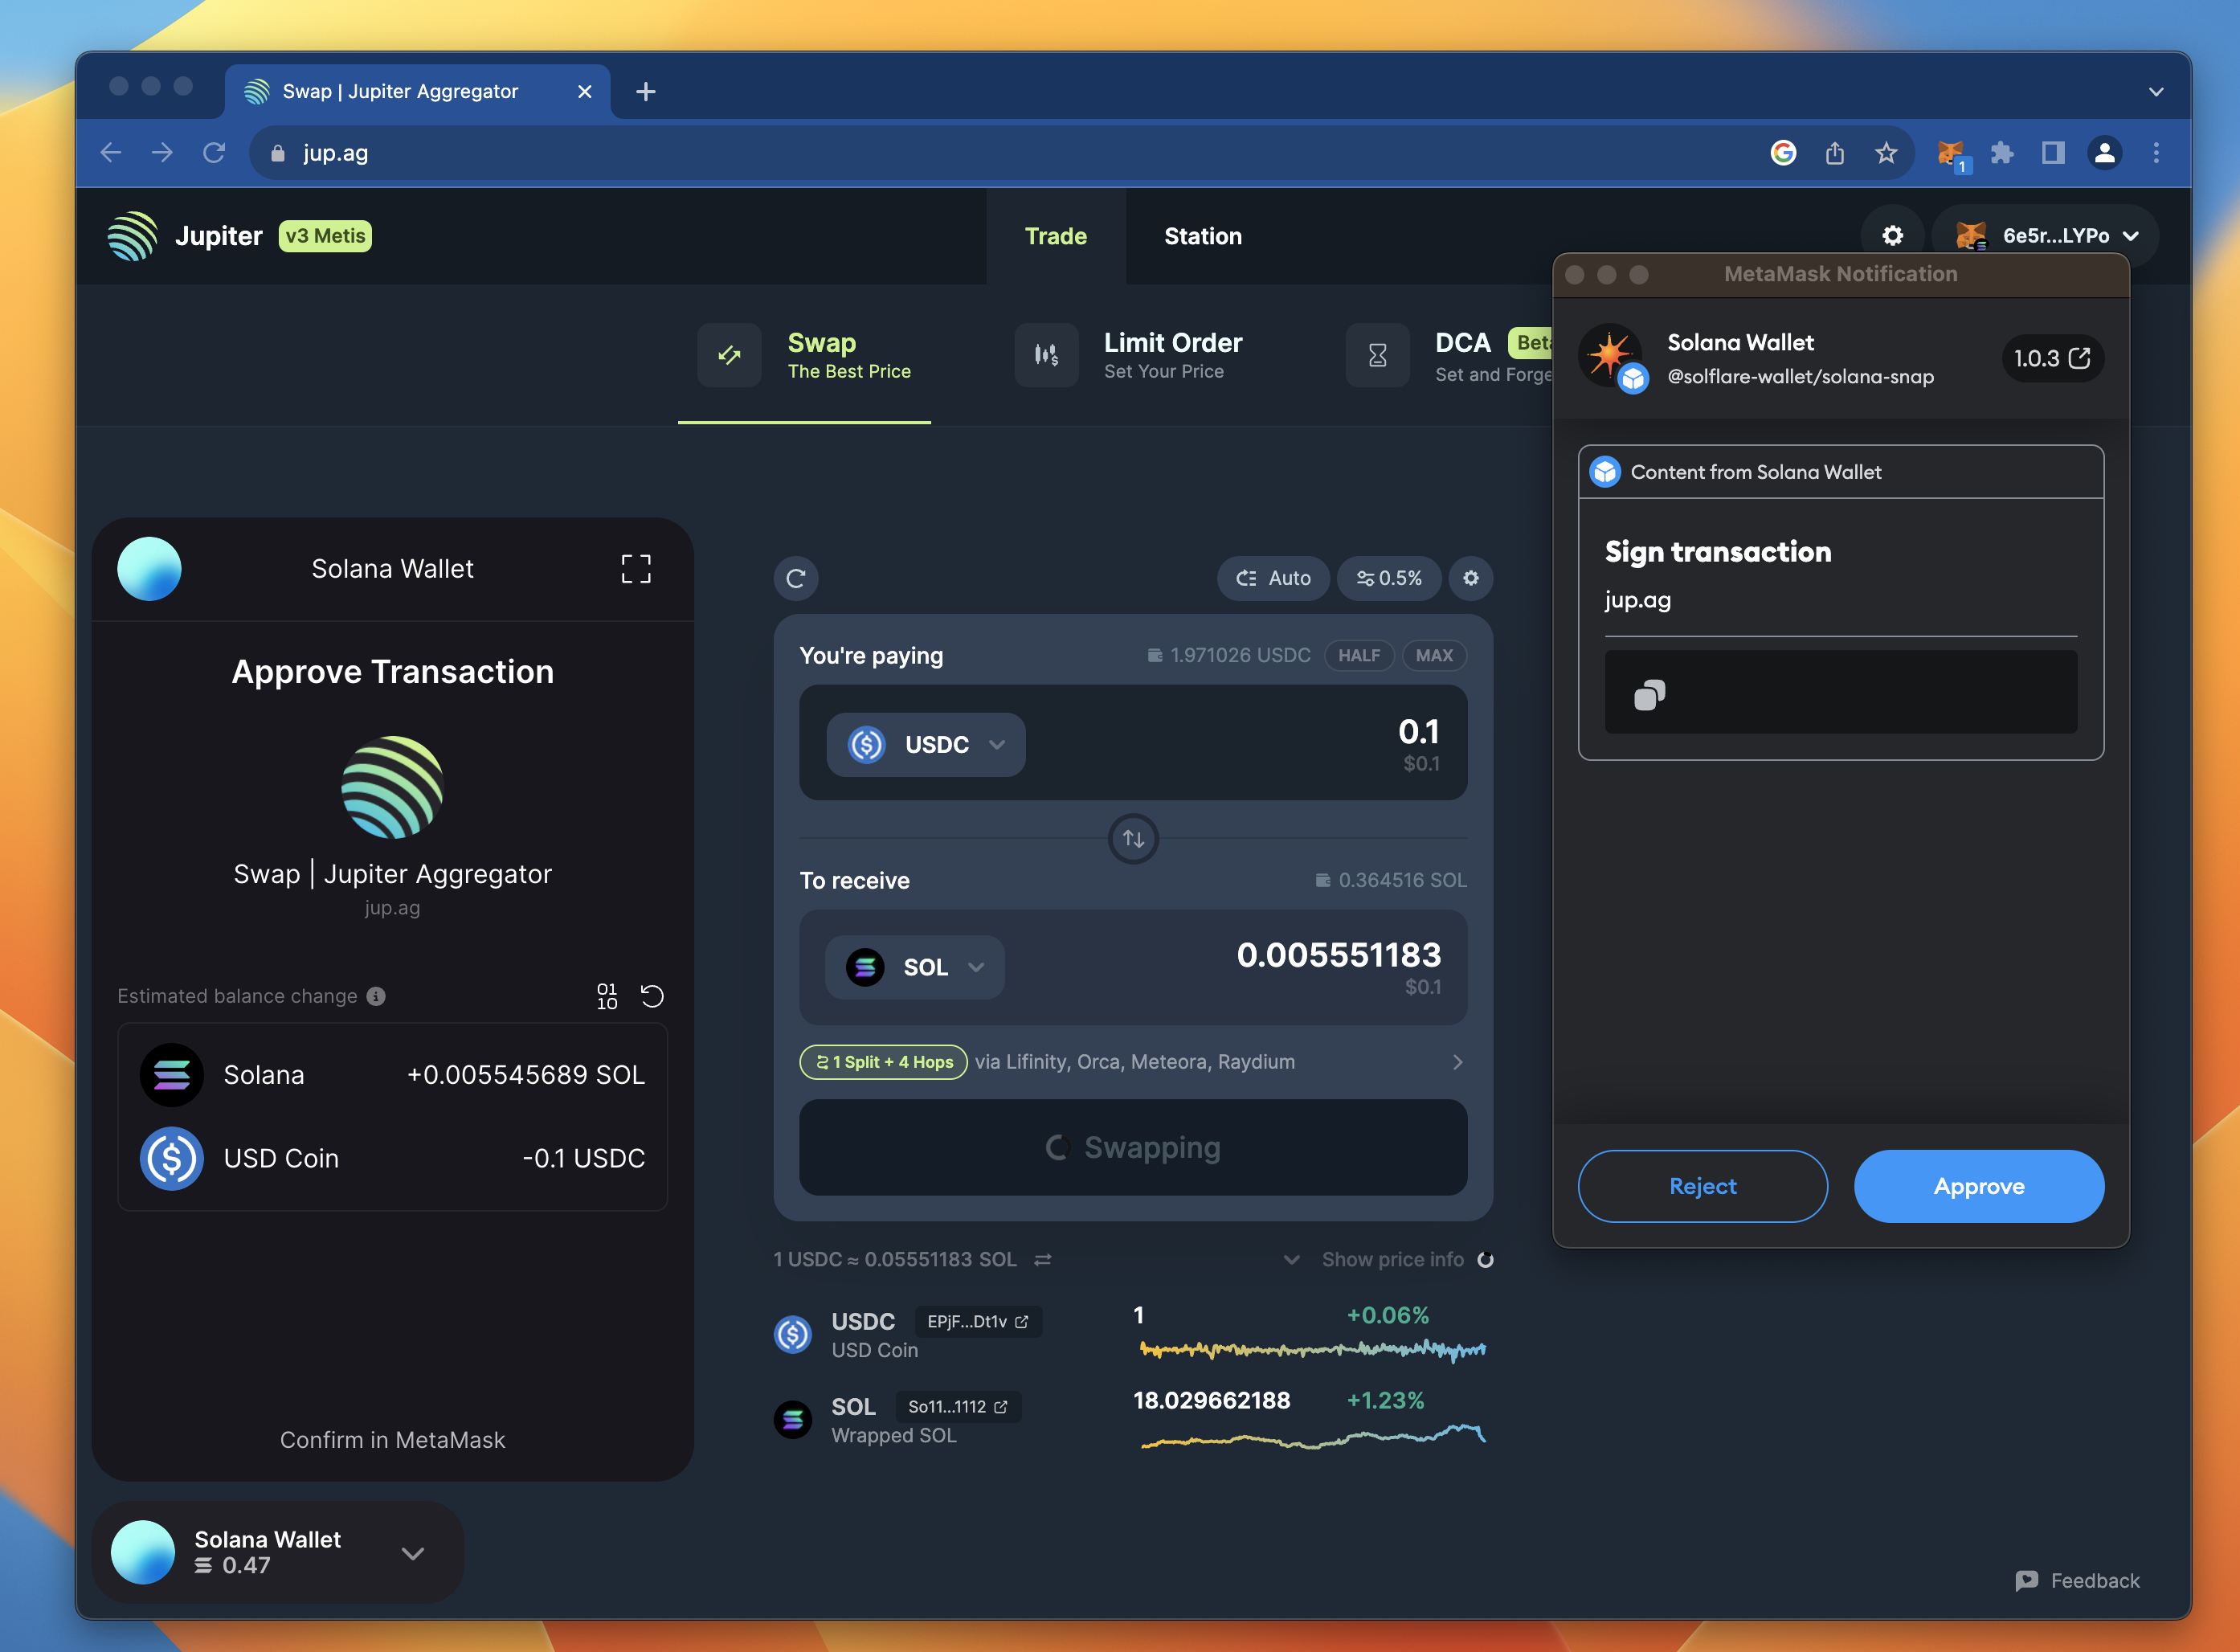
Once the transaction has succeeded, you should see a confirmation in the bottom right corner. You can click the link to access the transaction on Solana Explorer, or you may access your transaction history in the widget (or the Solflare site):

Great job!
That's a Snap!
You are now using your MetaMask wallet to manage a Solana token portfolio and to interact with Solana dApps! Welcome to low fees and fast transaction speeds! As you explore the Solana ecosystem, check out our other Solana guides to learn more about the Solana blockchain and how to build on it. If you have any questions or need further assistance, feel free to join our Discord server or provide feedback using the form below. Stay informed and connected by following us on Twitter (@Quicknode) and our Telegram announcement channel.
We ❤️ Feedback!
Let us know if you have any feedback or requests for new topics. We'd love to hear from you.