10 min read
NOTE: This guide demonstrates how to swap tokens on Uniswap V2 on the Ethereum mainnet network. Therefore, ensure you have enough ETH on mainnet to conduct a swap.
Uniswap V2 is not officially deployed on an active testnet. Therefore, users wanting to test swaps and liquidity provisioning on a testnet may want to fork the chain locally or use unofficial V2 contracts (at your discretion). To fork a chain locally, you can follow our guide: How To Fork Ethereum Mainnet with Hardhat or How To Fork Ethereum Blockchain with Foundry. You will need to ensure you use the correct RPC network URL and Uniswap contract address depending on which chain you fork.
Overview
Not all users interact via the front-end UI when trading tokens on a decentralized exchange. Some users (or entities) trade programmatically via a smart contract or server-side scripts. This guide will demonstrate how to swap tokens on Uniswap using Javascript and the Ethers.js library. Our technical demonstration will include a code walk-through and an example of a token swap from ETH to DAI on Ethereum mainnet.
What You Will Do
- Gain an understanding of the Uniswap V2 smart contracts
- Create a Quicknode Ethereum mainnet node endpoint
- Learn how to swap tokens on Uniswap V2 using Ethers.js and the Uniswap SDK
What You Will Need
- Basic understanding of smart contracts
- Node.js and Ethers.js (version 5.7) installed
- An Ethereum node endpoint (you can create one here)
- ETH on mainnet (to pay for gas fees)
- Code Editor (e.g., VSCode)
| Dependency | Version |
|---|---|
| node | 18.13.0 |
| @uniswap/sdk | ^3.0.3 |
| ethers | ^5.7.2 |
What's Uniswap?
Uniswap is one of the leading decentralized exchanges (DEX) that uses an automated market maker (AMM) design to facilitate trading. Since the inception of V1 in 2018, Uniswap has continued to push the limits in DeFi. The initial V1 version allowed swaps between ETH/ERC-20 pairs, while V2 pushed the boundaries further enabling ERC-20/ERC-20 swaps. V3 enabled more efficient liquidity, providing concentrated liquidity and custom fee tiers for pairs. The latest production version is V4, which uses a market maker design similar to V3 but instead holds all liquidity in a singleton contract (vs. creating a separate LP token contract for each pair). This singleton contract architecture reduces gas fees significantly since all swaps occur within a single contract. V4 also introduces "Hooks" which allows users to customize how liquidity pools, swaps, fees, and LP positions interact with each other.
The Uniswap protocol was initially deployed on Ethereum but is now serving many chains such as Base, Optimism, Polygon, Arbitrum, and many more.
Uniswap's V2 version is what we will be covering today. Although it's not the latest tech compared to V4, it's still relevant as many DeFi protocols use the same AMM architecture; therefore, what we build today should be operable with other DeFi projects that clone the Uniswap codebase (such as QuickSwap).
Uniswap for Developers
Uniswap has its V2 contracts categorized into two repositories, Core & Periphery. Uniswap also offers a helpful SDK for developing on and interacting with its protocol. The core contracts cover creating pairs (pools) and maintaining track of balances, while the periphery helps us interact with these core contracts. If you want an overview or want to learn how to fetch the market price of a token, check out one of our earlier guides - How to Interact with Uniswap using Javascript.
Uniswap Router
This section will explain our interaction with the Router contract a bit more. Before any swap method can successfully be called, the trader must first approve the router to N amount of tokens they wish to swap. It's common for protocols to request an infinite approval amount (to lower transaction costs); however, this is not required, and you can approve only a specific amount if needed. An approve() function looks like this:
function approve(address usr, uint wad) external returns (bool) {
    allowance[msg.sender][usr] = wad;
    emit Approval(msg.sender, usr, wad);
    return true;
}
Swapping tokens on Uniswap consists of using one of several swap methods in the Router smart contract. The methods used most often are swapExactETHForTokens and swapExactTokensForTokens. Each of these methods has different use cases.
swapExactETHForTokens
This function is used when you want to swap an exact amount of ETH for as many output tokens as possible along the route determined by the path. Note that this function wraps your ETH to WETH.
function swapExactETHForTokens(
  uint amountOutMin, // The minimum amount of output tokens that must be received for the transaction not to revert
  address[] calldata path, //An array of token addresses
  address to, // Destination address
  uint deadline // Unix timestamp after which the transaction will revert
) external payable returns (uint[] memory amounts);
swapExactTokensForTokens
This function is used when you want to swap an exact amount of input tokens for as many output tokens as possible along the route determined by the path. The first path element is the input token, and the last is the output token.
function swapTokensForExactTokens(
  uint amountOut, // Given an input asset amount, returns the maximum output amount of the other asset
  uint amountInMax, // The maximum amount of input tokens that can be required before the transaction reverts
  address[] calldata path, // An array of token addresses
  address to, // Destination address
  uint deadline // Unix timestamp after which the transaction will revert
) external returns (uint[] memory amounts); //
For an in-depth description of each of the parameters for this function, check out the Uniswap V2 Reference Glossary.
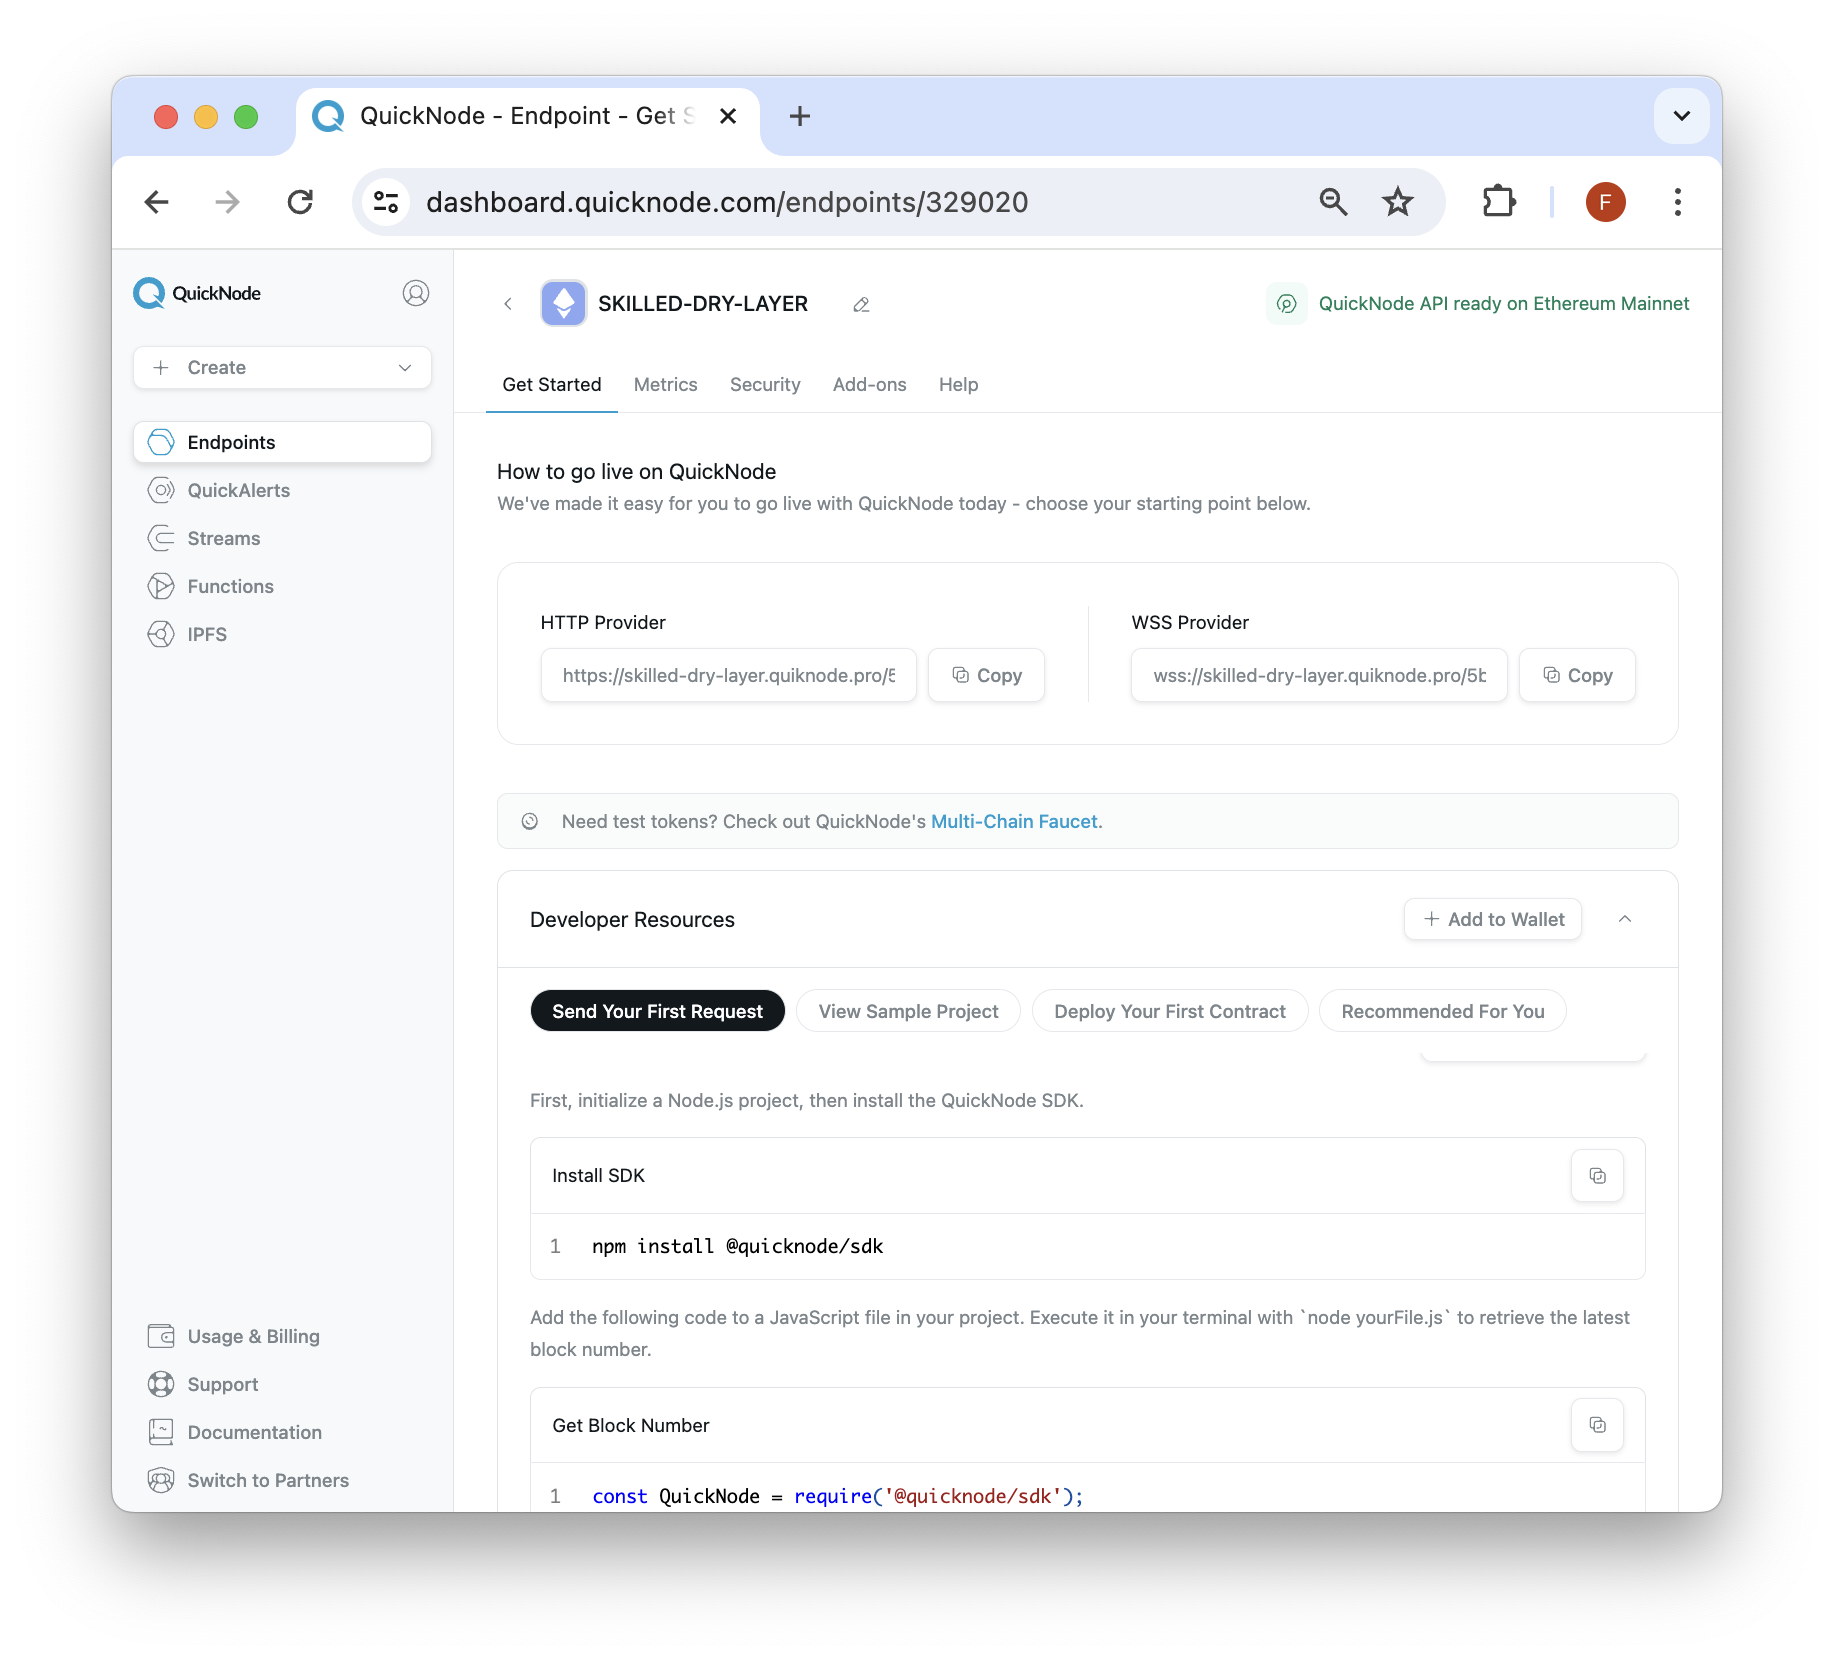
Set Up Your Quicknode Ethereum Endpoint
Now that we're familiar with Uniswap and its swapping techniques, let us walk through swapping tokens programmatically. We will first need to set up a mainnet node. While we could run our own node, here at Quicknode, we make it quick and easy to fire up blockchain nodes. You can register for an account here, as well as see pricing here. Once you boot up a node, retrieve the HTTP URL. It should look like this:
Using Ethers.js to Swap Tokens
Keep in mind, if the token you want to swap has no liquidity, a pair with liquidity must be created before you can swap.
Time to get our swap on! We will be swapping ETH for DAI in our code example. Let us start by initiating our project. Open a terminal window and run the following commands to create your project directory:
mkdir swapTokensWithEthers && cd swapTokensWithEthers && mkdir abis && npm init -y
Then, run this command to create the required files:
touch .secret && touch index.js && touch ./abis/router.json
Installed required dependencies:
npm i ethers@5 @uniswap/sdk
Before moving on to the next step, complete these three steps:
- Import your private key into the .secret file (to find out how, take a look at this guide).
- Navigate to the source code for the Router address on Etherscan and copy the ABI into your ./abis/router.json file (the ABI can be found on the Contract tab)
- Ensure your wallet has enough ETH on mainnet to pay for gas fees
Now we'll cover the code needed to swap tokens programmatically. Open the swapTokensWithEthers directory within an editor of your choice and navigate to the index.js file. Add the following code snippets in order to complete the script.
Importing Dependencies
We will first need to add the necessary dependencies for our project. We'll import the ethers library to interact with the smart contract and the Uniswap SDK to fetch and create our swap structure. Make sure you are using version 5.7 or earlier. The fs and utils libraries will be helpful when reading or modifying data.
const { ethers } = require("ethers")
const UNISWAP = require("@uniswap/sdk")
const fs = require('fs');
const { Token, WETH, Fetcher, Route, Trade, TokenAmount, TradeType, Percent} = require("@uniswap/sdk");
const { getAddress } = require("ethers/lib/utils");
Configure Infra Provider
Using our Quicknode HTTP URL and Ethers, we will instantiate a Provider object representing our communication with the blockchain.
const QUICKNODE_HTTP_ENDPOINT = "YOUR_QUICKNODE_HTTP_URL"
let provider = new ethers.providers.getDefaultProvider(QUICKNODE_HTTP_ENDPOINT)
Import Wallet
To import the account we will use for swapping tokens, use the fs module to read from the .secret file and then instantiate a Wallet object using Ethers.
const privateKey = fs.readFileSync(".secret").toString().trim()
const wallet = new ethers.Wallet(privateKey, provider)
Instantiate Router Contract
Ethers has a Contract module we can use to instantiate instances of smart contracts. To create an instance of the Router contract, we will need to input a smart contract address, ABI and a Provider object.
UNISWAP_ROUTER_ADDRESS = "0x7a250d5630B4cF539739dF2C5dAcb4c659F2488D"
UNISWAP_ROUTER_ABI = fs.readFileSync("./abis/router.json").toString()
UNISWAP_ROUTER_CONTRACT = new ethers.Contract(UNISWAP_ROUTER_ADDRESS, UNISWAP_ROUTER_ABI, provider)
Import Token Data
To import token data, we will need to create an instance of the Token class and pass in required inputs such as a chain ID, smart contract address, and decimal places. Note that the contract address and decimal figures can vary depending on the token.
const DAI = new Token(
    UNISWAP.ChainId.MAINNET,
    "0x5592EC0cfb4dbc12D3aB100b257153436a1f0FEa",
    18
);
We don't need to create a WETH instance since the SDK has a handy module we can use to return the WETH address on the Ethereum mainnet.
Swapping ETH for Tokens
Our core logic will lie in a swapTokens() function that will take both tokens as arguments and an amount to be swapped. Note the slippage amount is set to %0.50 by default. Refer to the comments throughout the function to understand what each line achieves.
async function swapTokens(token1, token2, amount, slippage = "50") {

	try {
		const pair = await Fetcher.fetchPairData(token1, token2, provider); //creating instances of a pair
		const route = await new Route([pair], token2); // a fully specified path from input token to output token
		let amountIn = ethers.utils.parseEther(amount.toString()); //helper function to convert ETH to Wei
		amountIn = amountIn.toString()

		const slippageTolerance = new Percent(slippage, "10000"); // 50 bips, or 0.50% - Slippage tolerance

		const trade = new Trade( //information necessary to create a swap transaction.
			route,
			new TokenAmount(token2, amountIn),
			TradeType.EXACT_INPUT
		);

		const amountOutMin = trade.minimumAmountOut(slippageTolerance).raw; // needs to be converted to e.g. hex
		const amountOutMinHex = ethers.BigNumber.from(amountOutMin.toString()).toHexString();
		const path = [token2.address, token1.address]; //An array of token addresses
		const to = wallet.address; // should be a checksummed recipient address
		const deadline = Math.floor(Date.now() / 1000) + 60 * 20; // 20 minutes from the current Unix time
		const value = trade.inputAmount.raw; // // needs to be converted to e.g. hex
		const valueHex = await ethers.BigNumber.from(value.toString()).toHexString(); //convert to hex string

		//Return a copy of transactionRequest, The default implementation calls checkTransaction and resolves to if it is an ENS name, adds gasPrice, nonce, gasLimit and chainId based on the related operations on Signer.
		const rawTxn = await UNISWAP_ROUTER_CONTRACT.populateTransaction.swapExactETHForTokens(amountOutMinHex, path, to, deadline, {
			value: valueHex
		})

		//Returns a Promise which resolves to the transaction.
		let sendTxn = (await wallet).sendTransaction(rawTxn)


		//Resolves to the TransactionReceipt once the transaction has been included in the chain for x confirms blocks.
		let reciept = (await sendTxn).wait()

		//Logs the information about the transaction it has been mined.
		if (reciept) {
			console.log(" - Transaction is mined - " + '\n' +
				"Transaction Hash:", (await sendTxn).hash +
				'\n' + "Block Number: " +
				(await reciept).blockNumber + '\n' +
				"Navigate to https://etherscan.io/tx/" +
				(await sendTxn).hash, "to see your transaction")
		} else {
			console.log("Error submitting transaction")
		}

	} catch (e) {
		console.log(e)
	}
}
Once we compile all the code together in our index.js file , we then need to call the function in order for our swap logic to execute. To do this, add the following line of code to the bottom of your script:
swapTokens(DAI, WETH[DAI.chainId], .00420) //first argument = token we want, second = token we have, the amount we want
Save the file and run the command below in your projects main directory to execute the swap:
node index.js
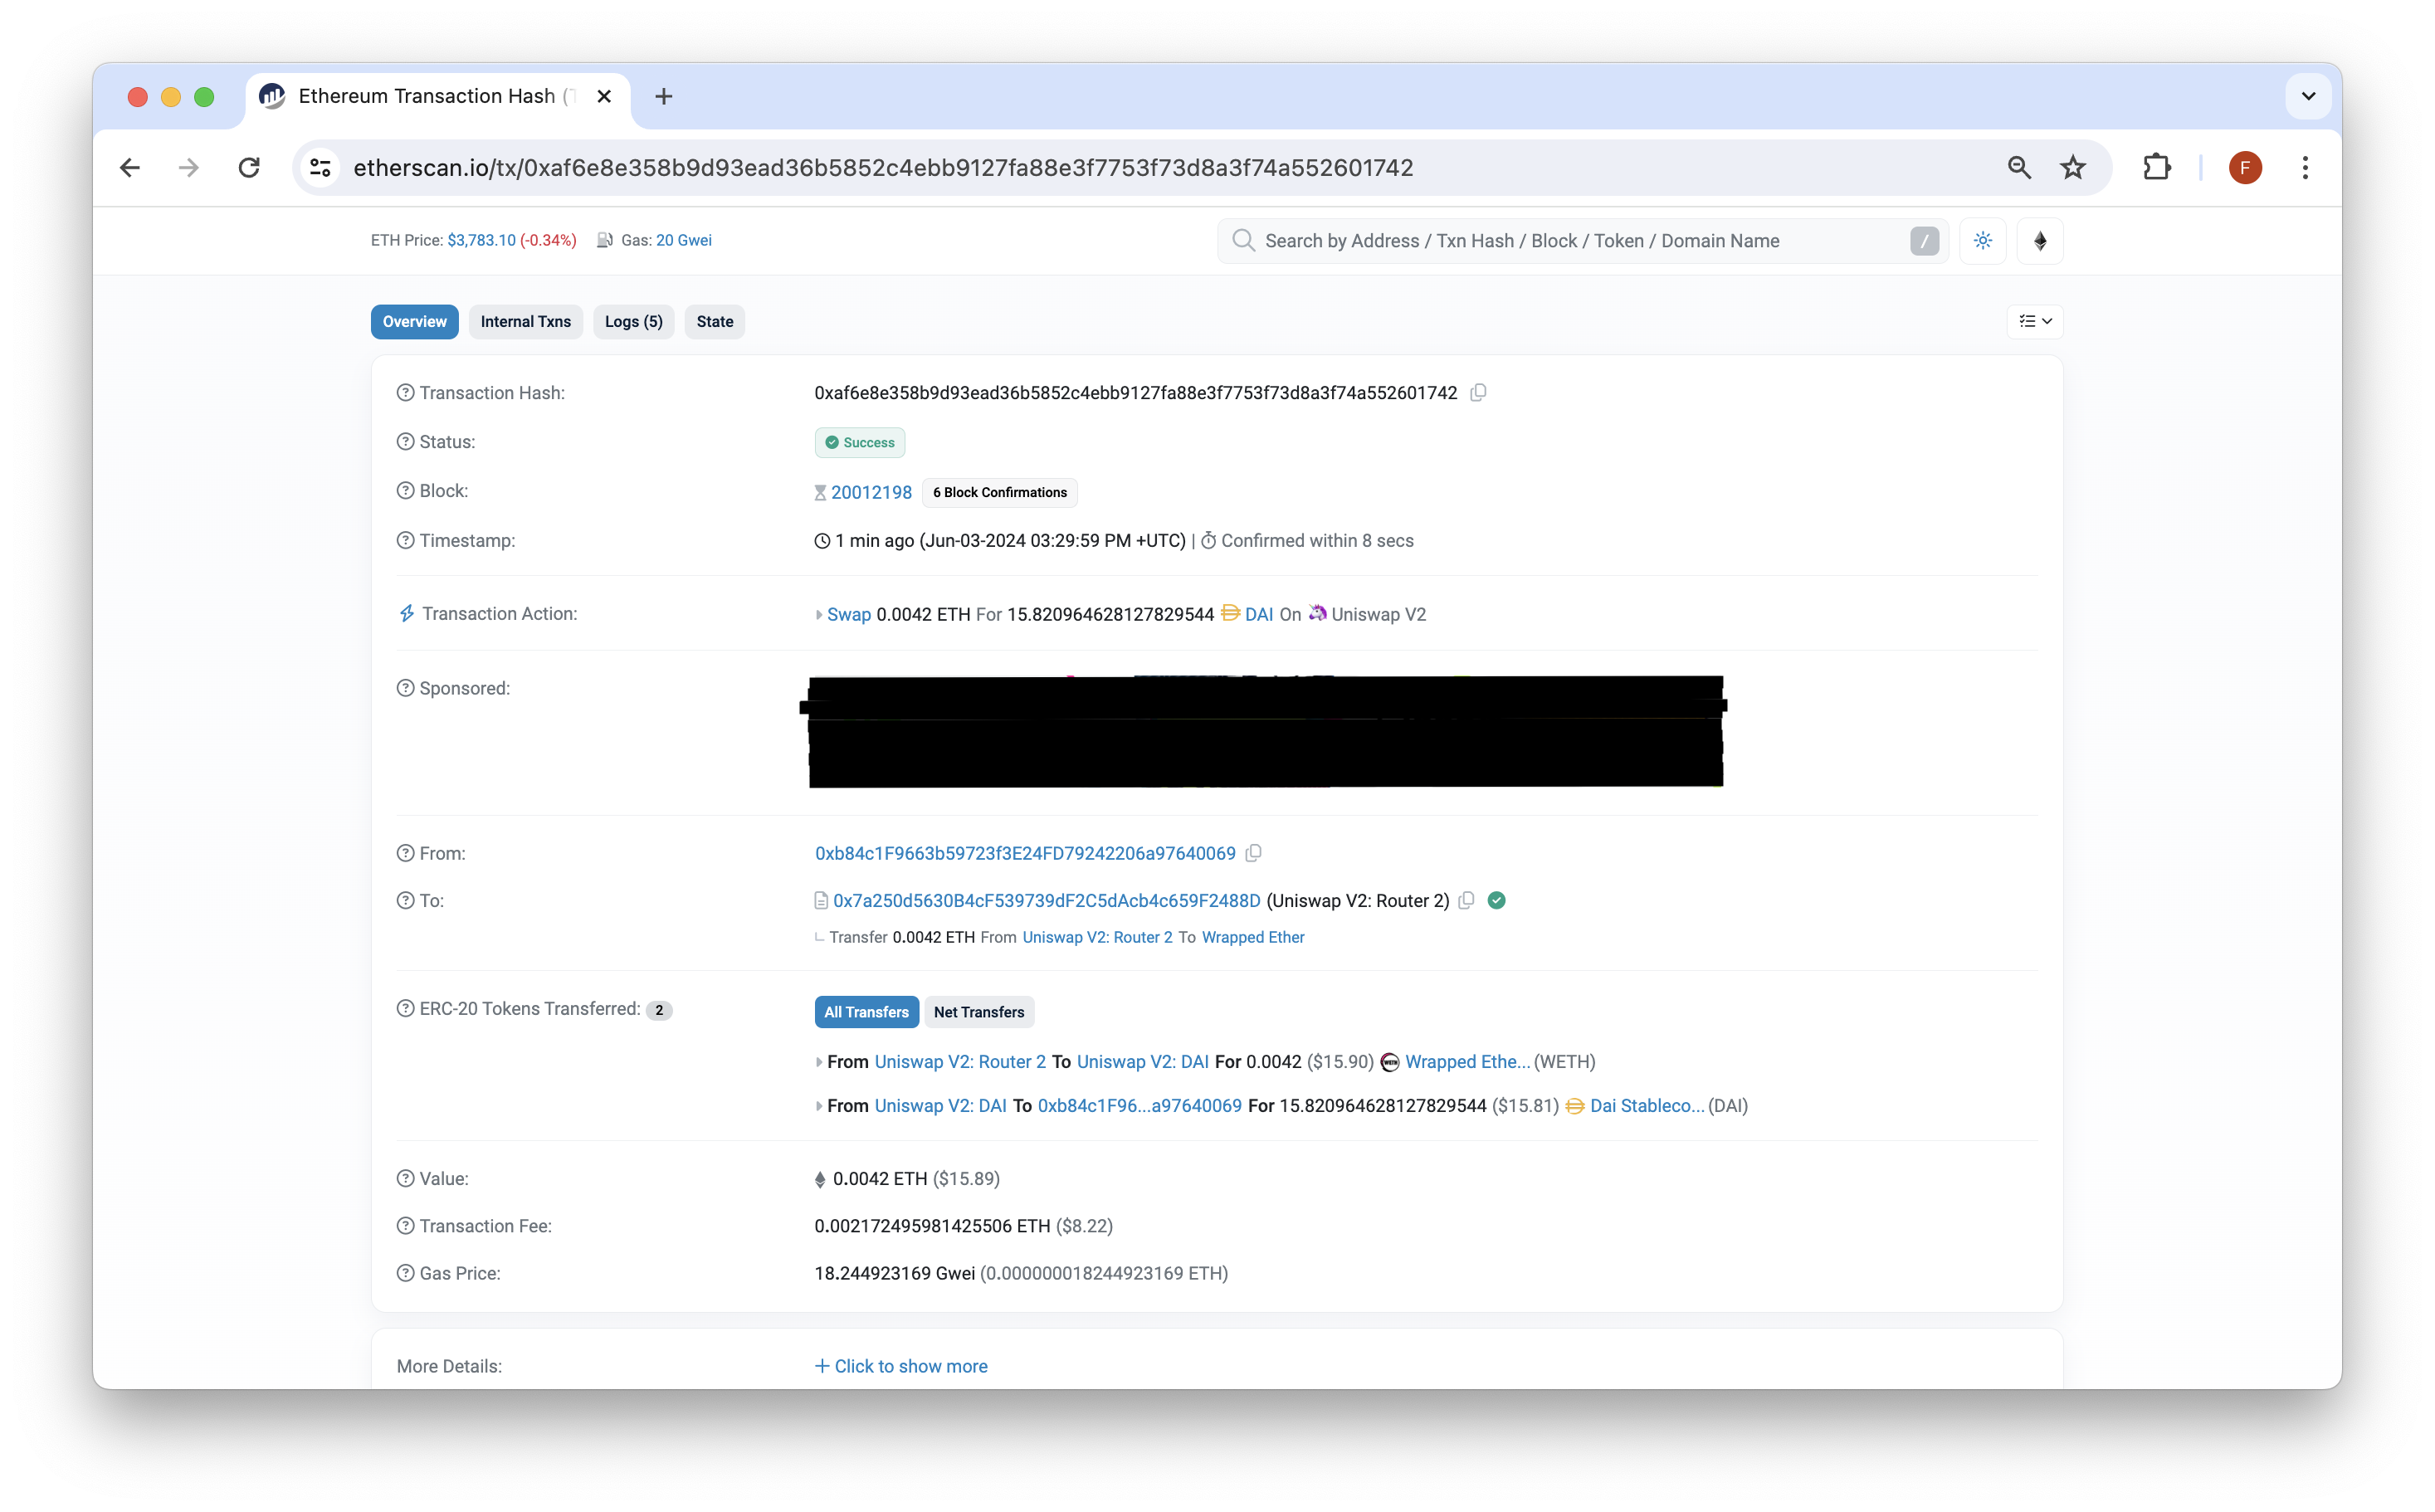
The terminal output should look like this:
swapTokensWithEthers % node index.js
 - Transaction is mined -
Transaction Hash: 0xaf6e8e358b9d93ead36b5852c4ebb9127fa88e3f7753f73d8a3f74a552601742
Block Number: 20012198
Navigate to https://etherscan.io/tx/0xaf6e8e358b9d93ead36b5852c4ebb9127fa88e3f7753f73d8a3f74a552601742 to see your transaction
We can confirm the transaction was successful by looking up the hash in a block explorer:
If you want to conduct this swap on another chain such as Optimsim or Polygon, you will need to replace the token and router address as they can have different addresses across chains. You will also need access to a node endpoint for each chain you want to swap on. Remember that each blockchain has its own native token used for paying transactions.
Conclusion
That concludes the guide for today. To recap, this guide briefly went over the mechanics of Uniswap V2 and demonstrated how to swap tokens with Javascript and the Ethers.js library. Subscribe to our newsletter for more articles and guides on Ethereum. Feel free to reach out to us via Twitter if you have any feedback. You can always chat with us on our Discord community server, featuring some of the coolest developers you'll ever meet :)
We ❤️ Feedback!
Let us know if you have any feedback or requests for new topics. We'd love to hear from you.