
9 min read
Overview
Forking the Ethereum blockchain allows developers to test contracts and interactions in a controlled environment that mirrors the live chain. This guide introduces Foundry, an increasingly popular tool for Ethereum developers, particularly useful for forking Ethereum or any EVM-compatible blockchain. We'll focus on using Foundry in tandem with Quicknode to fork the Ethereum Mainnet.
What You Will Do
- Set up an Ethereum fork using Foundry and Quicknode: Learn to create a local fork of the Ethereum Mainnet.
- Interact with a smart contract on the forked chain: Use Foundry to deploy and interact with smart contracts on the forked chain.
- Impersonate accounts and perform transactions: Learn to simulate transactions from other accounts without needing the private keys.
- Verify and test token transfers: Write and execute a test script to transfer tokens and ensure the correctness of the transaction.
What You Will Need
- Foundry installed on your system
- A free Quicknode account with an Ethereum Full Archive node
- Basic knowledge of Foundry, Solidity and smart contract development
- A text editor or an IDE (e.g., VS Code)
- CLI (Command Line Interface)
Why Fork a Blockchain?
Blockchain forking is a pivotal practice for developers, offering a playground to experiment with smart contracts without the risks associated with the live mainnet. It stands out from using a testnet for several reasons:
-
State Accuracy: Forking replicates the exact state of the mainnet at a specific block, allowing developers to interact with real-world data and contracts. This level of accuracy is crucial for testing scenarios that depend on the current state of the blockchain, which is something testnets cannot provide as they operate in isolated environments with different states.
-
Testing: Ensure your contracts work as expected under real network conditions. Forking allows for a more accurate and comprehensive testing environment than testnets, as it mirrors the live mainnet environment. This includes real token balances, deployed contracts, and network activity.
-
Debugging: Identify and fix issues in a state that reflects the live blockchain. Forking offers the unique advantage of debugging contracts in the context of their interaction with existing contracts and transactions on the mainnet, which is invaluable for identifying and solving integration issues.
-
Smart Contract Control: In a forked environment, developers gain unparalleled control over smart contract accounts using the impersonating feature, enabling actions not possible on the testnet or mainnet. For example, you can authorize mints or transfers from a token smart contract as if you were the owner. Something not possible on testnet without redeploying the token smart contract with your access control.
Compared to testnets, forking the mainnet provides a closer approximation to the production environment and allows for quicker testing as you do not need to rely on retrieving testnet coins from a faucet and non-controllable block times.
Why Choose Foundry?
Foundry stands out in the Ethereum development toolkit for its speed, simplicity, and developer-friendly features. It's a perfect tool for quickly setting up a local Ethereum environment, complete with capabilities for deploying, testing, and interacting with smart contracts. One of Foundry's prominent features is the use of Solidity even in scripts and testing.
Why Choose Quicknode for Forking?
Quicknode stands out as an optimal choice for forking Ethereum blockchain for several reasons:
-
Reliability and Speed: Quicknode provides high-performance endpoints that are essential for efficient and reliable blockchain interactions.
-
Archive Data Access: Access to Full Archive nodes is critical for forking, and Quicknode offers this out-of-the-box, enabling you to fork at any block.
-
Scalability: As your development needs grow, Quicknode's scalable infrastructure ensures your node can handle increased demand.
Development Set Up
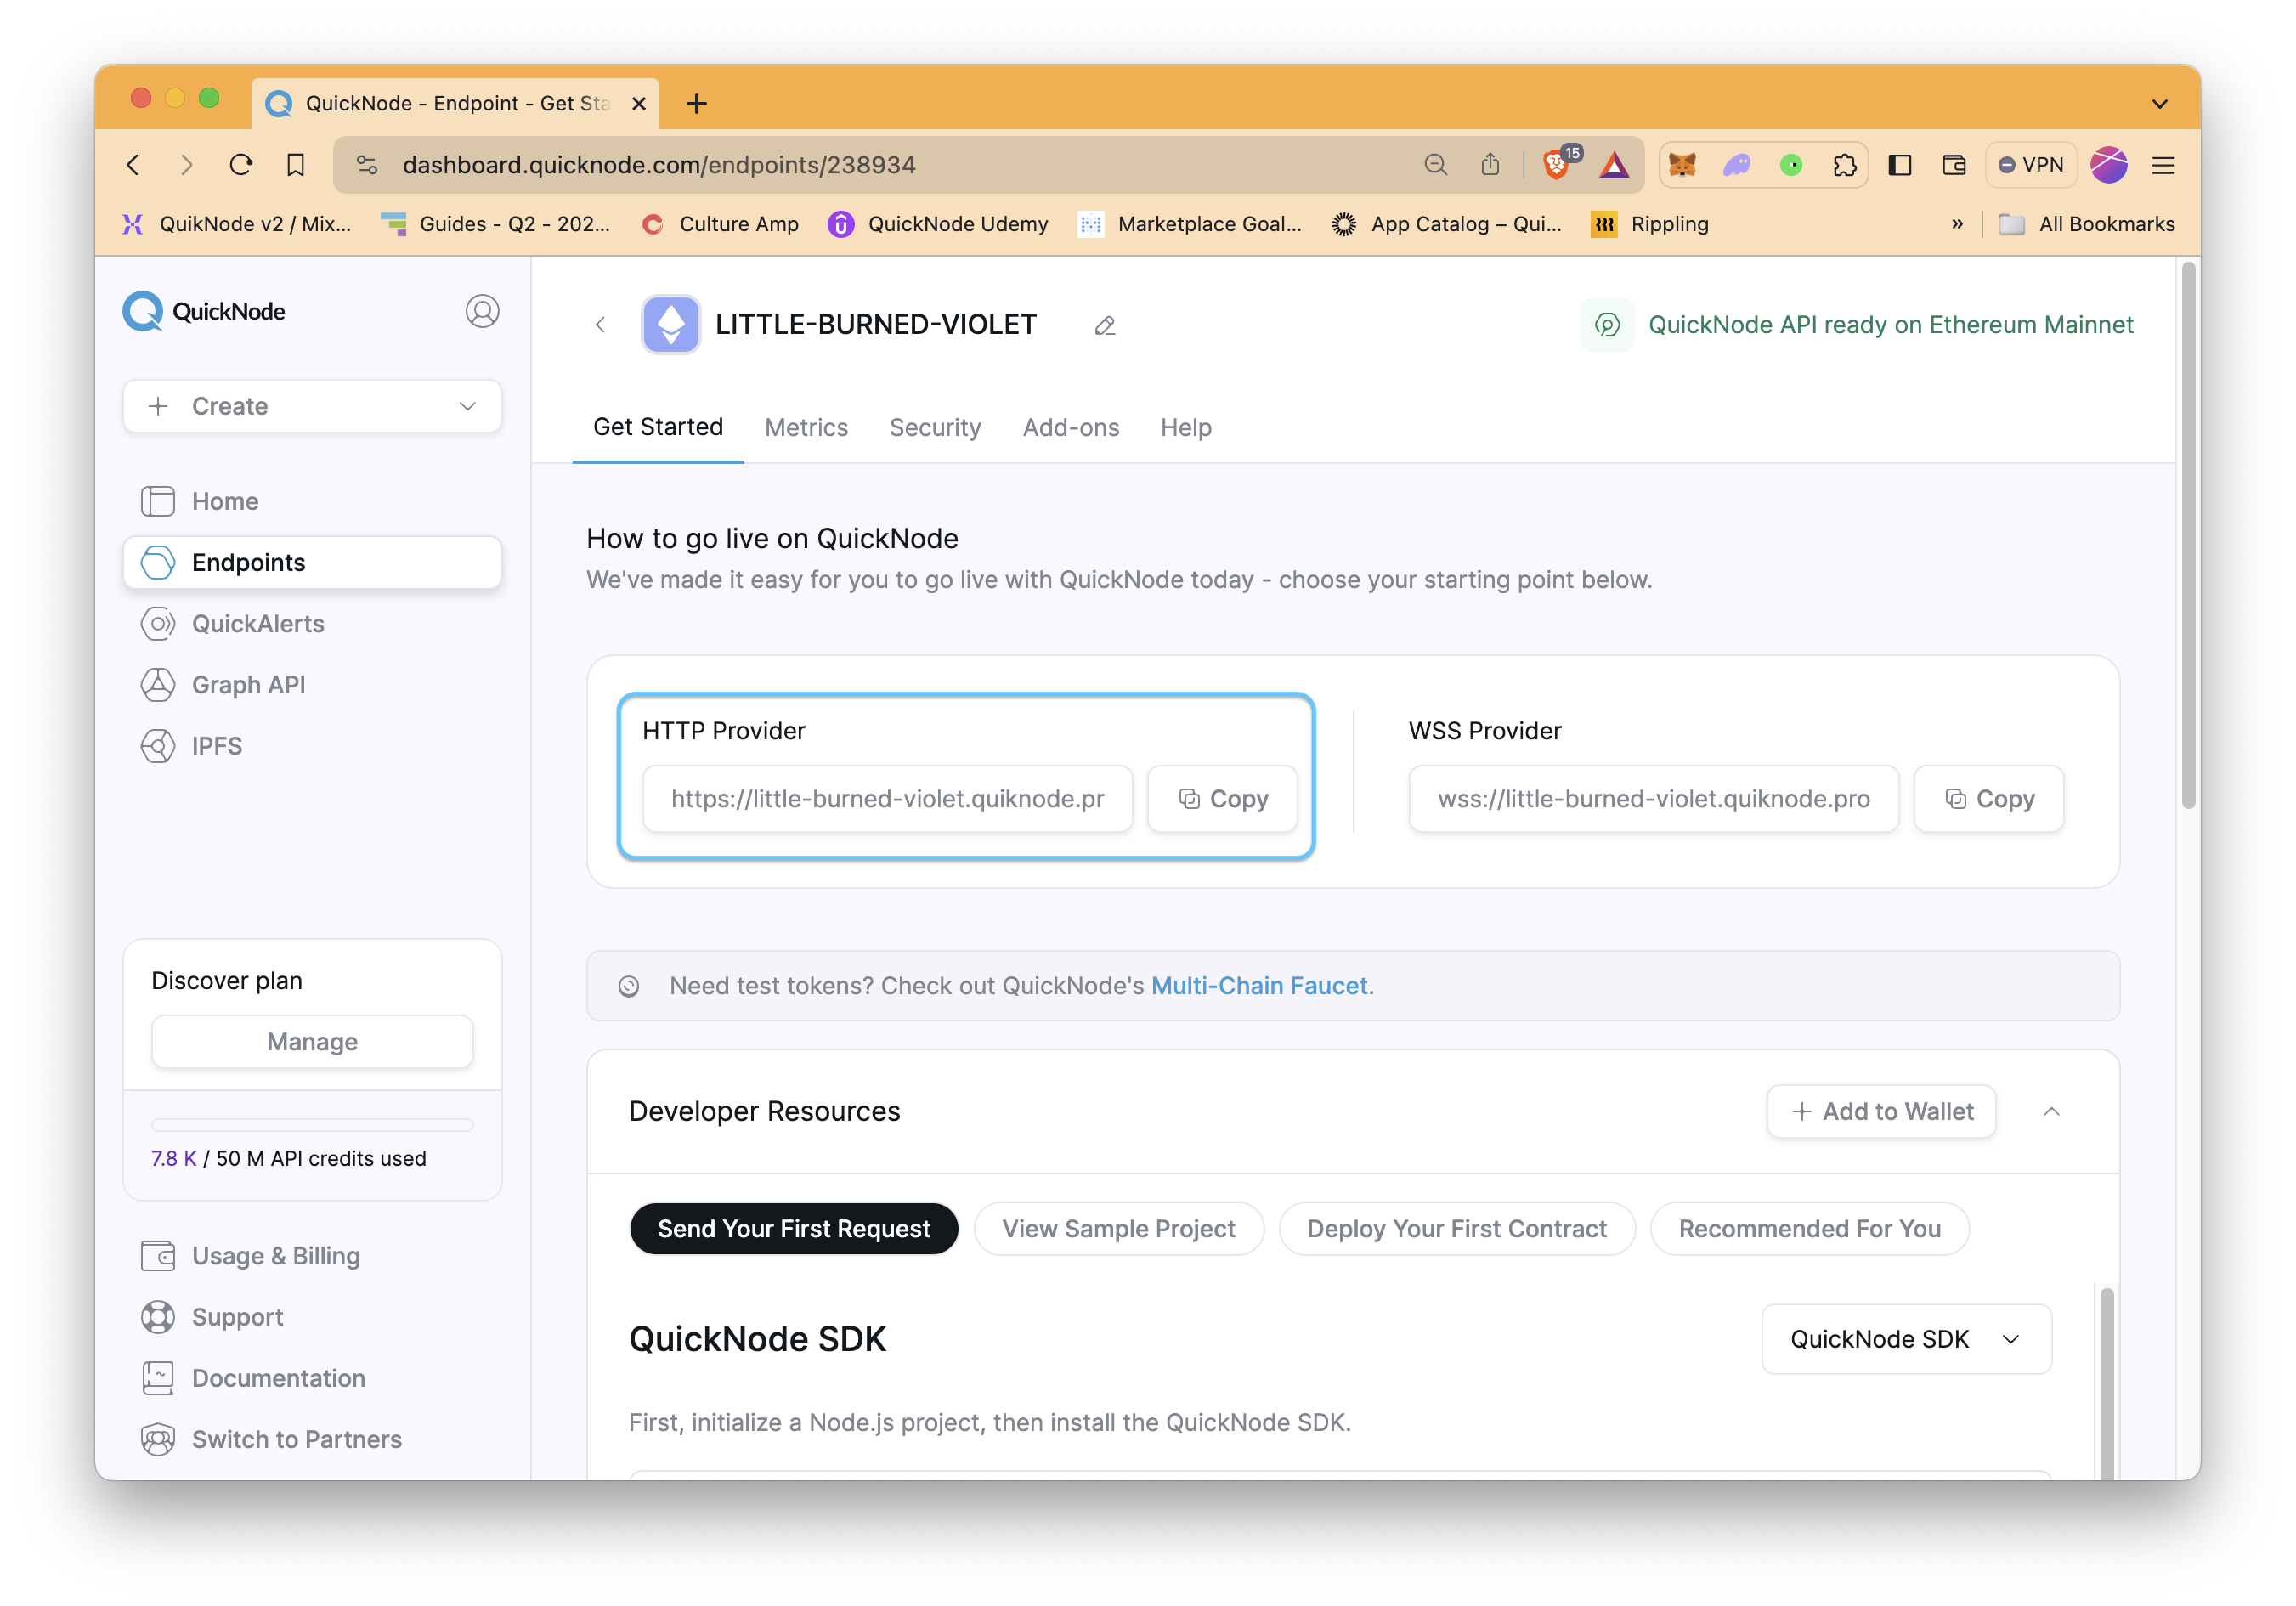
Setting Up Your Quicknode Ethereum Archive Node Endpoint
Quicknode simplifies accessing Ethereum Archive data, crucial for forking older blocks. Follow these steps to set up your Quicknode endpoint:
- Sign Up for Quicknode: If you haven't already, create an account at Quicknode.
- Create a New Node: Select Ethereum as your chain and Mainnet as your network.
- Access Archive Data: Quicknode provides out-of-the-box access to Ethereum Archive data, essential for forking at any block.
- Retrieve Your Endpoint URL: Once your endpoint is set up, copy the HTTP URL; you'll need it for configuring Foundry.
Forking the Blockchain
Let's set up Foundry and configure it to use your Quicknode endpoint:
Step 1: Install Foundry
Follow the official Foundry installation guide.
Step 2: Create a New Project
Start a new project with Foundry. This command creates a new folder, forked-blockchain, using the default template.
forge init forked-blockchain
cd forked-blockchain
Step 3: Fork the Ethereum Blockchain
Next, we can start to use the anvil command, which is the local testnet node. We will include our Quicknode endpoint URL and two options. The --fork-url tag, which will fetch the blockchain state over a remote endpoint instead of starting from an empty state. Secondly, we will also include the --fork-block-number tag, which forks the blockchain state starting from a specific block number. In this demonstration, we fork the Ethereum at the block of 19,000,000.
Replace the YOUR_QUICKNODE_ENDPOINT_URL placeholder with the actual endpoint URL that you retrieved after setting up your endpoint.
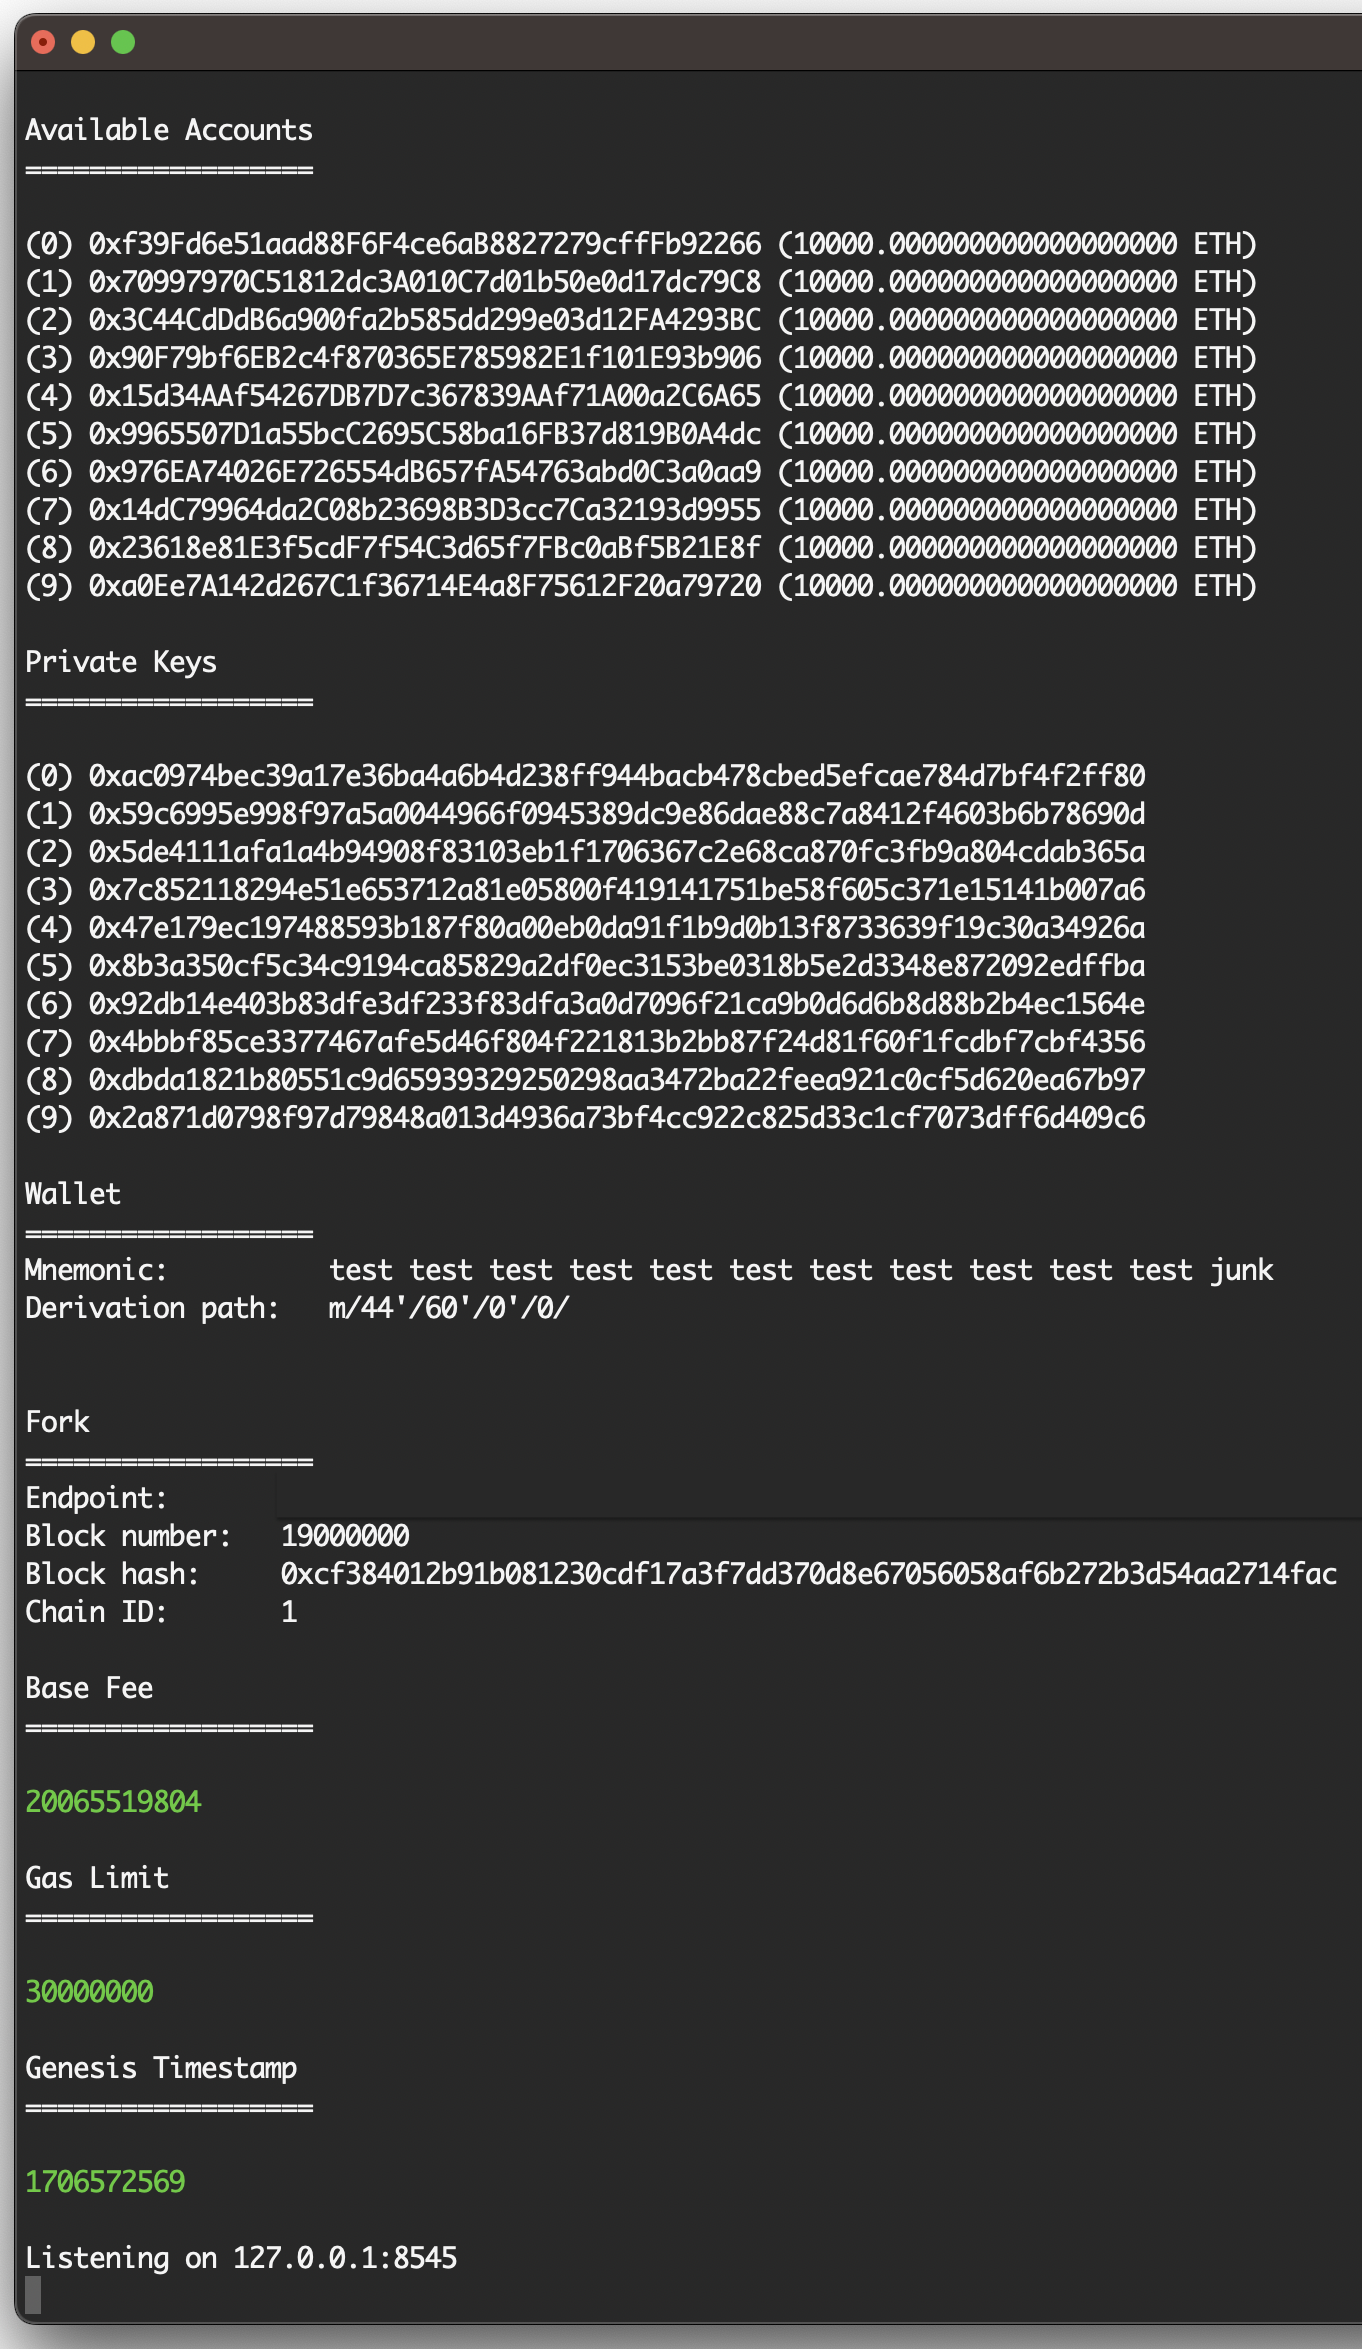
anvil --fork-url YOUR_QUICKNODE_ENDPOINT_URL --fork-block-number 19000000
The output should be similar to the one below. Foundry provides 10 accounts to be used for testing purposes with their public and private keys, as well as some information related to the forked blockchain.
Interacting with Forked Chain
With the forked chain running, you can now interact with it as if it were the main Ethereum network. We cover simple methods like getting the block number, as well as more advanced methods like interacting with smart contracts and impersonating another account.
Keep the terminal window running, and open a new terminal window in the same directory.
Getting Block Number
Let's get the block number of the forked blockchain by sending both a cURL request and a cast command of Foundry.
- cast
- cURL
Run the code below to get the block number using Foundry's cast command.
cast block-number
The result should be matched with your forked blockchain's block number, not with the actual Ethereum Mainnet.
Run the code below to get the block number sending a request.
curl --data '{"method":"eth_blockNumber","params":[],"id":1,"jsonrpc":"2.0"}' -H "Content-Type: application/json" -X POST 127.0.0.1:8545
With the forked chain's RPC server listening on 127.0.0.1:8545, it's possible to send RPC requests to interact with the chain similarly to how you would with a testnet or the main Ethereum network. This allows for a wide range of blockchain interactions, including querying block numbers, transaction details, and debugging, all within your local environment.
This capability to call RPC methods locally, just as you would on a live blockchain, offers a powerful tool for developers. From basic queries like eth_blockNumber to more complex ones like debug_traceTransaction, developers can test their applications' behavior under real-world conditions. For a list of available RPC methods and how to use them, refer to the Quicknode's Ethereum RPC documentation.
The result is in hexadecimal format. To convert it into decimal format, feel free to use a hexadecimal-to-decimal converter. The result should be matched with your forked blockchain's block number, not with the actual Ethereum Mainnet.
Interacting with Contracts and Impersonating Accounts
One of the powerful features of using Foundry in a forked environment is the ability to impersonate accounts, like whale accounts holding significant token balances. This capability is invaluable for testing scenarios that require specific account interactions without needing the actual private keys.
Let's create a Foundry test script that sends tokens from an impersonated account to another account.
In this guide, we create a test file to send 1,000,000 USDC from the Polygon ERC20 Bridge, which is one of the biggest USDC holders, to Vitalik (vitalik.eth).
Step 1: Create a Test File
Create a test file, SendToken.t.sol, under the test directory. Then, modify it as below.
This test file provides a clear example of how to interact with the USDC token contract, impersonate a whale account, transfer tokens, and verify the transaction's success on a forked Ethereum blockchain.
// SPDX-License-Identifier: MIT
pragma solidity ^0.8.13;

import {Test, console} from "forge-std/Test.sol";

// ERC-20 interface for interacting with the USDC token
interface IERC20 {
    function balanceOf(address) external view returns (uint256);
    function transfer(address, uint256) external returns (bool);
    function decimals() external view returns (uint8);
}

// TokenTransferTest is a contract that sets up and runs the test
contract TokenTransferTest is Test {
    IERC20 usdc; // Interface instance for USDC
    address whale = 0x40ec5B33f54e0E8A33A975908C5BA1c14e5BbbDf; // Polygon's ERC20 Bridge contract address on Ethereum Mainnet, used as a whale account
    address recipient = 0xd8dA6BF26964aF9D7eEd9e03E53415D37aA96045; // Vitalik's (vitalik.eth) address, used as the recipient
    address usdcAddress = 0xA0b86991c6218b36c1d19D4a2e9Eb0cE3606eB48; // USDC contract address on Ethereum Mainnet

    // setUp function runs before each test, setting up the environment
    function setUp() public {
        usdc = IERC20(usdcAddress); // Initialize the USDC contract interface

        // Impersonate the whale account for testing
        vm.startPrank(whale);
    }

    // testTokenTransfer function tests the transfer of USDC from the whale account to the recipient
    function testTokenTransfer() public {
        uint256 initialBalance = usdc.balanceOf(recipient); // Get the initial balance of the recipient
        uint8 decimals = usdc.decimals(); // Get the decimal number of USDC
        uint256 transferAmount = 1000000 * 10 ** decimals; // Set the amount of USDC to transfer (1 million tokens, with 6 decimal places)

        console.log("Recipient's initial balance: ", initialBalance); // Log the initial balance to the console

        // Perform the token transfer from the whale to the recipient
        usdc.transfer(recipient, transferAmount);

        uint256 finalBalance = usdc.balanceOf(recipient); // Get the final balance of the recipient

        console.log("Recipient's final balance: ", finalBalance); // Log the final balance to the console

        // Verify that the recipient's balance increased by the transfer amount
        assertEq(finalBalance, initialBalance + transferAmount, "Token transfer failed");

        vm.stopPrank(); // Stop impersonating the whale account
    }
}
Step 2: Test the File
Before executing the test, let's understand the tags we are including to our call with forge test:
-
--rpc-url: As the forked local blockchain keeps running in the other terminal, we use the forked local blockchain's RPC URL.
-
--match-path: It allows to run only tests in source files matching the path. Useful in the case of existing multiple test files.
-
-vv: It stands for the second level of verbosity. It enables the printing of logs for all tests.
Verbosity levels
Verbosity levels:
- 2: Print logs for all tests
- 3: Print execution traces for failing tests
- 4: Print execution traces for all tests, and setup traces for failing tests
- 5: Print execution and setup traces for all tests
Source: Foundry Documentation
Now, run the code to test the SendToken file.
forge test --rpc-url http://127.0.0.1:8545/ --match-path test/SendToken.t.sol -vv
If you prefer to have a newly created forked blockchain whenever you test, you can use
--fork-urland--fork-block-numberinstead of--rpc-urlas you did while forking the blockchain.
Step 3: Check the Result
The console output should be similar to the one below.
The successful test result means that we managed to send 1 million USDC from a whale account we were able to control in a local environment. In the test result below, the recipient's USDC balance increased from 64544.442234 to 1064544.442234.
The tokens on the forked blockchain are not real tokens and are meant to be used for development and testing purposes.
Running 1 test for test/SendToken.t.sol:TokenTransferTest
[PASS] testTokenTransfer() (gas: 41687)
Logs:
  Recipient's initial balance:  64544442234
  Recipient's final balance:  1064544442234

Test result: ok. 1 passed; 0 failed; 0 skipped; finished in 843.92µs

Ran 1 test suites: 1 tests passed, 0 failed, 0 skipped (1 total tests)
Conversely, including the --block-time 10 tag with your anvil call introduces time into testing, mimicking a block publishing on a certain time interval (e.g., 10 seconds). This is important for observing contract behaviors over time, such as vesting or token lock-ups
Conclusion
In this guide, we've explored the process of forking the Ethereum Mainnet using Foundry and Quicknode. Starting with setting up a Quicknode Ethereum Archive Node, we went through installing and configuring Foundry, forking the chain, interacting with the forked environment, and impersonating accounts.
For more information and advanced usage, refer to the Foundry documentation and the Quicknode guides.
Subscribe to our newsletter for more articles and guides on Web3 and blockchain. If you have any questions or need further assistance, feel free to join our Discord server or provide feedback using the form below. Stay up to date with the latest by following us on Twitter (@Quicknode) and our Telegram announcement channel.
We ❤️ Feedback!
Let us know if you have any feedback or requests for new topics. We'd love to hear from you.