
10 min read
Overview
Soulbound tokens are a new type of digital asset that provides a stronger level of security and control over your digital assets. In this guide, we will explore what Soulbound tokens are and how they work. After, you'll learn how to create and deploy a Soulbound token on the Sepolia test network using Hardhat.
What You Will Need
- Basic understanding of Ethereum
- Node.js installed
- Access to a non-custodial Web3 wallet (e.g. MetaMask, Coinbase Wallet, Torus)
- Testnet ETH on Sepolia (you can get some at the Multi-Chain Quicknode Faucet)
| Dependency | Version |
|---|---|
| node | v18.13.0 |
| @openzeppelin/contracts | ^4.0.0 |
| @nomicfoundation/hardhat-toolbox | ^3.0.0 |
| dotenv | ^16.3.1 |
| devDependencies: hardhat | ^2.18.1 |
What You Will Do
- Learn about Soulbound tokens
- Create a Soulbound token with Solidity and Hardhat
- Test and Deploy a Soulbound token on the Sepolia testnet
What are Soulbound Tokens?
A Soulbound token is a type of token that can only be owned and transferred by a specific address. This means that once a Soulbound token is created and assigned to an address, it cannot be transferred or owned by any other address. This provides a high level of security and control for the owner of the token, as well as for anyone who might be holding the token.
So why would you want to use Soulbound tokens? There are several reasons:
-
Security: Soulbound tokens provide higher security for your digital assets, as they can only be owned and transferred by a specific address. This makes it more difficult for unauthorized individuals to access or transfer your assets.
-
Control: By owning a Soulbound token, you have full control over your assets and can ensure that they are only transferred or owned by the address specified in the token.
-
Customization: Soulbound tokens can be customized and tailored to your specific needs, allowing you to create a unique digital asset that reflects your values and interests.
To learn more about Soulbound tokens and how they work, we recommend reading the reference article at https://vitalik.ca/General/2022/01/26/soulbound.html. In this article, you'll find a detailed explanation of the concept behind Soulbound tokens and how they are implemented in the Ethereum ecosystem.
In the next section, you'll learn how to deploy a Soulbound token on the Sepolia testnet using Hardhat.
Developer Set Up
Accessing Ethereum Sepolia with Quicknode
You'll need an API endpoint to communicate with the Sepolia testnet. You're welcome to use public nodes or deploy and manage your own infrastructure; however, if you'd like 8x faster response times, you can leave the heavy lifting to us. Sign up for an account here.
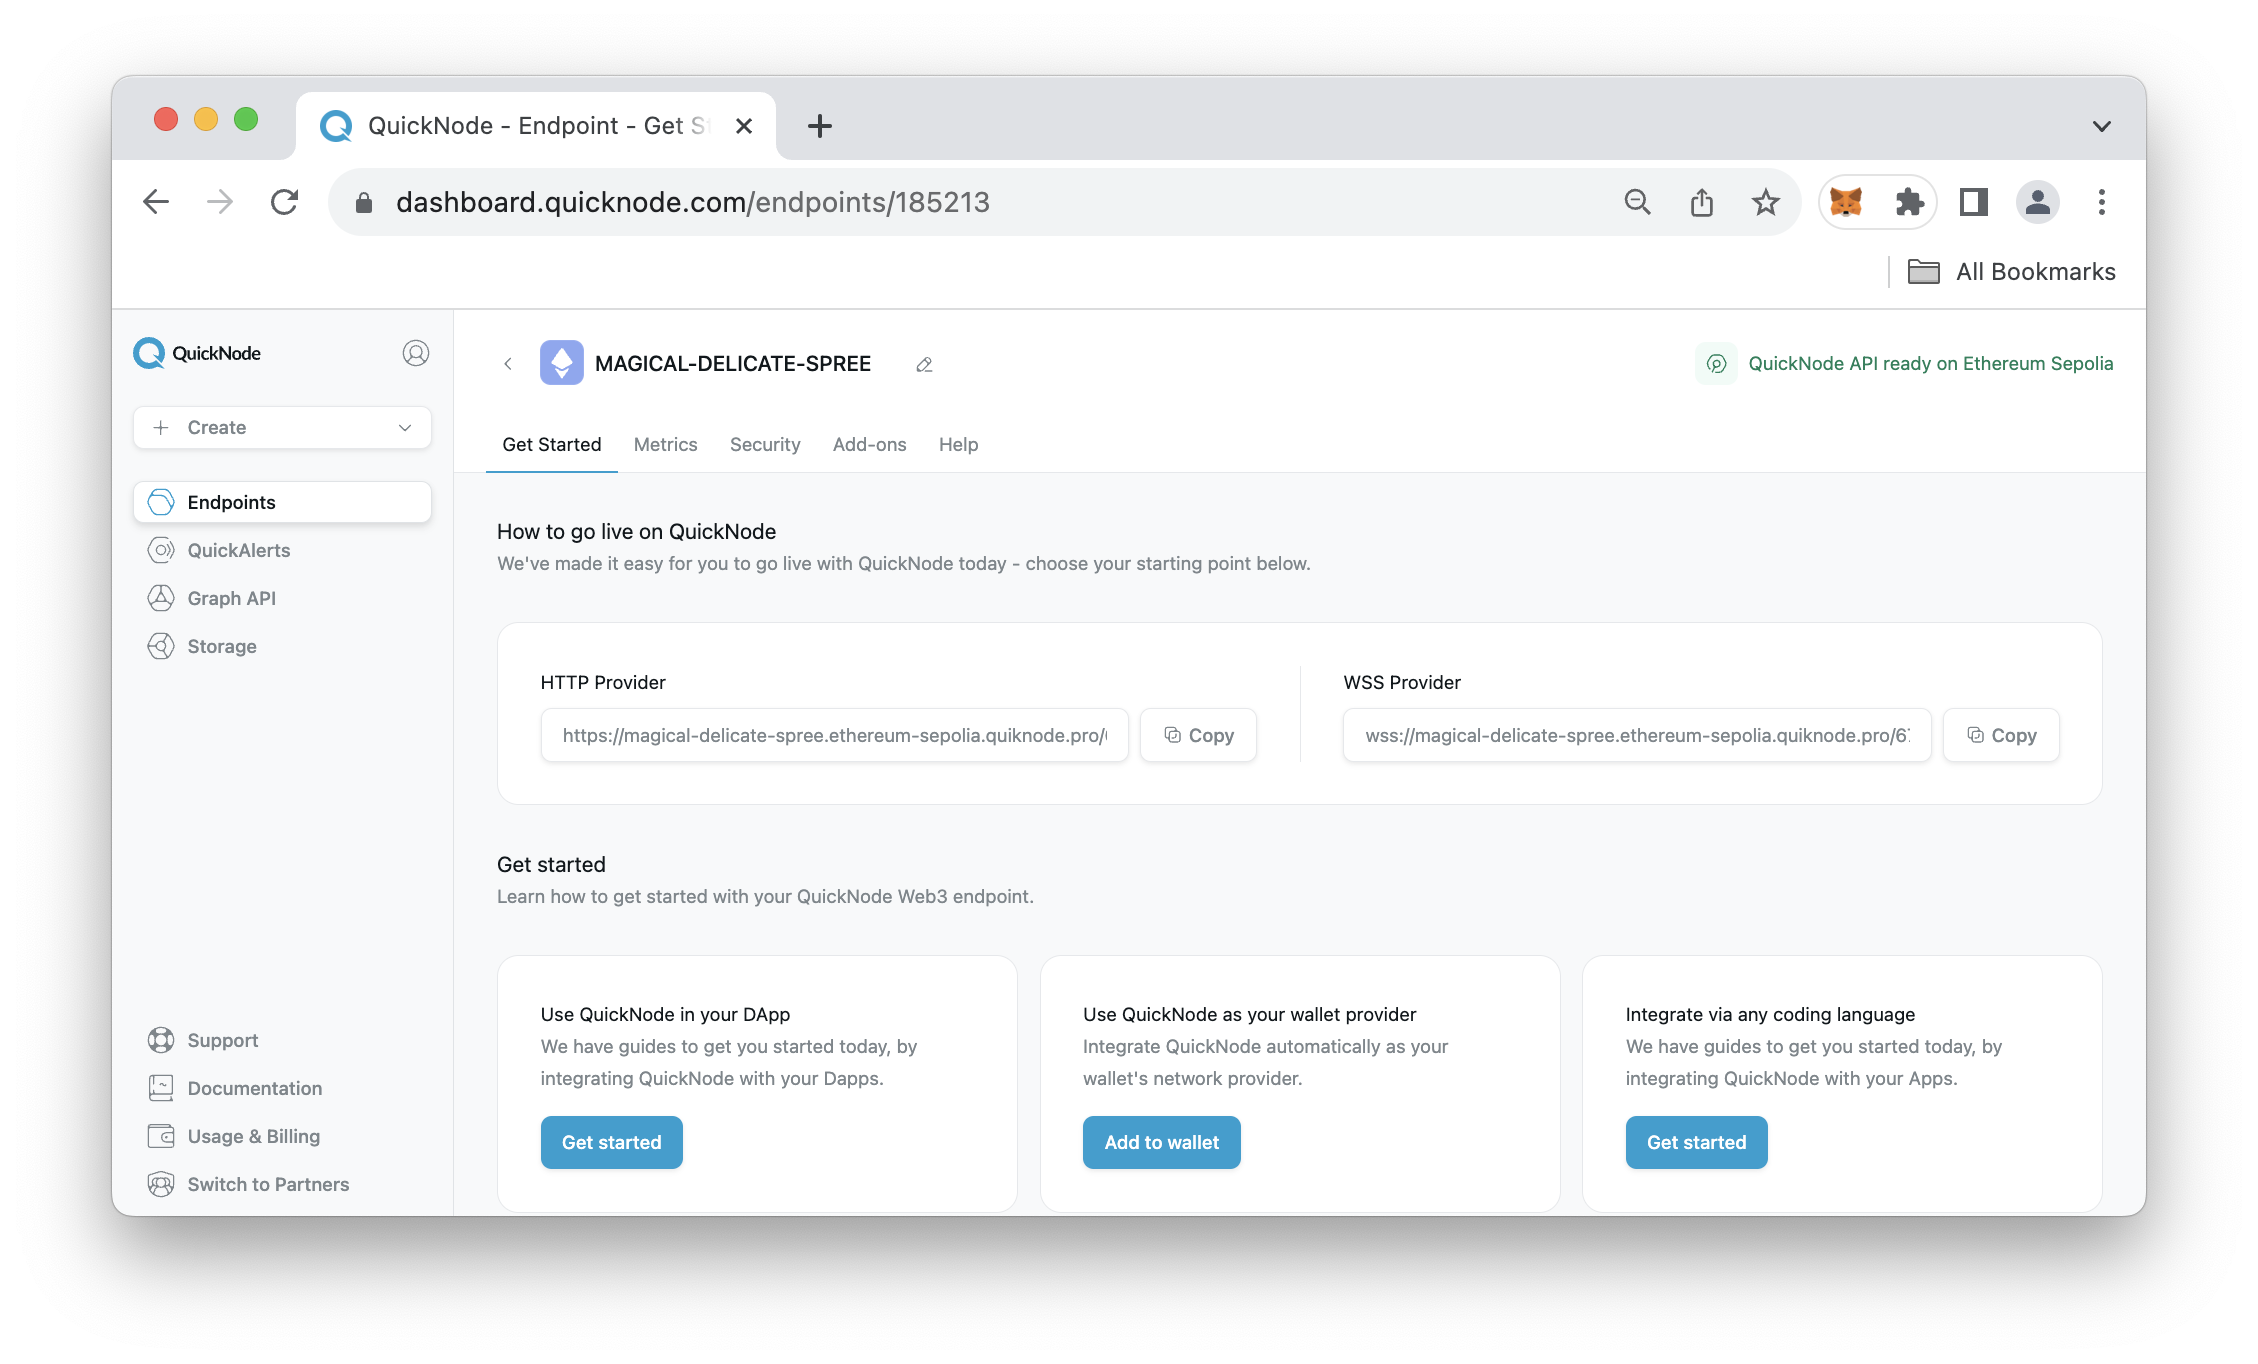
Once signed in, click Create Endpoint, select the Ethereum chain, and Sepolia test network.
Once your endpoint is created, keep the HTTP Provider URL handy as you'll need it when setting up the hardhat.config.js file.
Non-custodial Web3 Wallet Set Up
You'll need access to a private key in order to deploy the Soulbound token implemented in this guide. There are several options you can use, such as MetaMask, Coinbase Wallet, and Torus. Note this is not an exhaustive list, and there are many more great non-custodial Web3 wallets available.
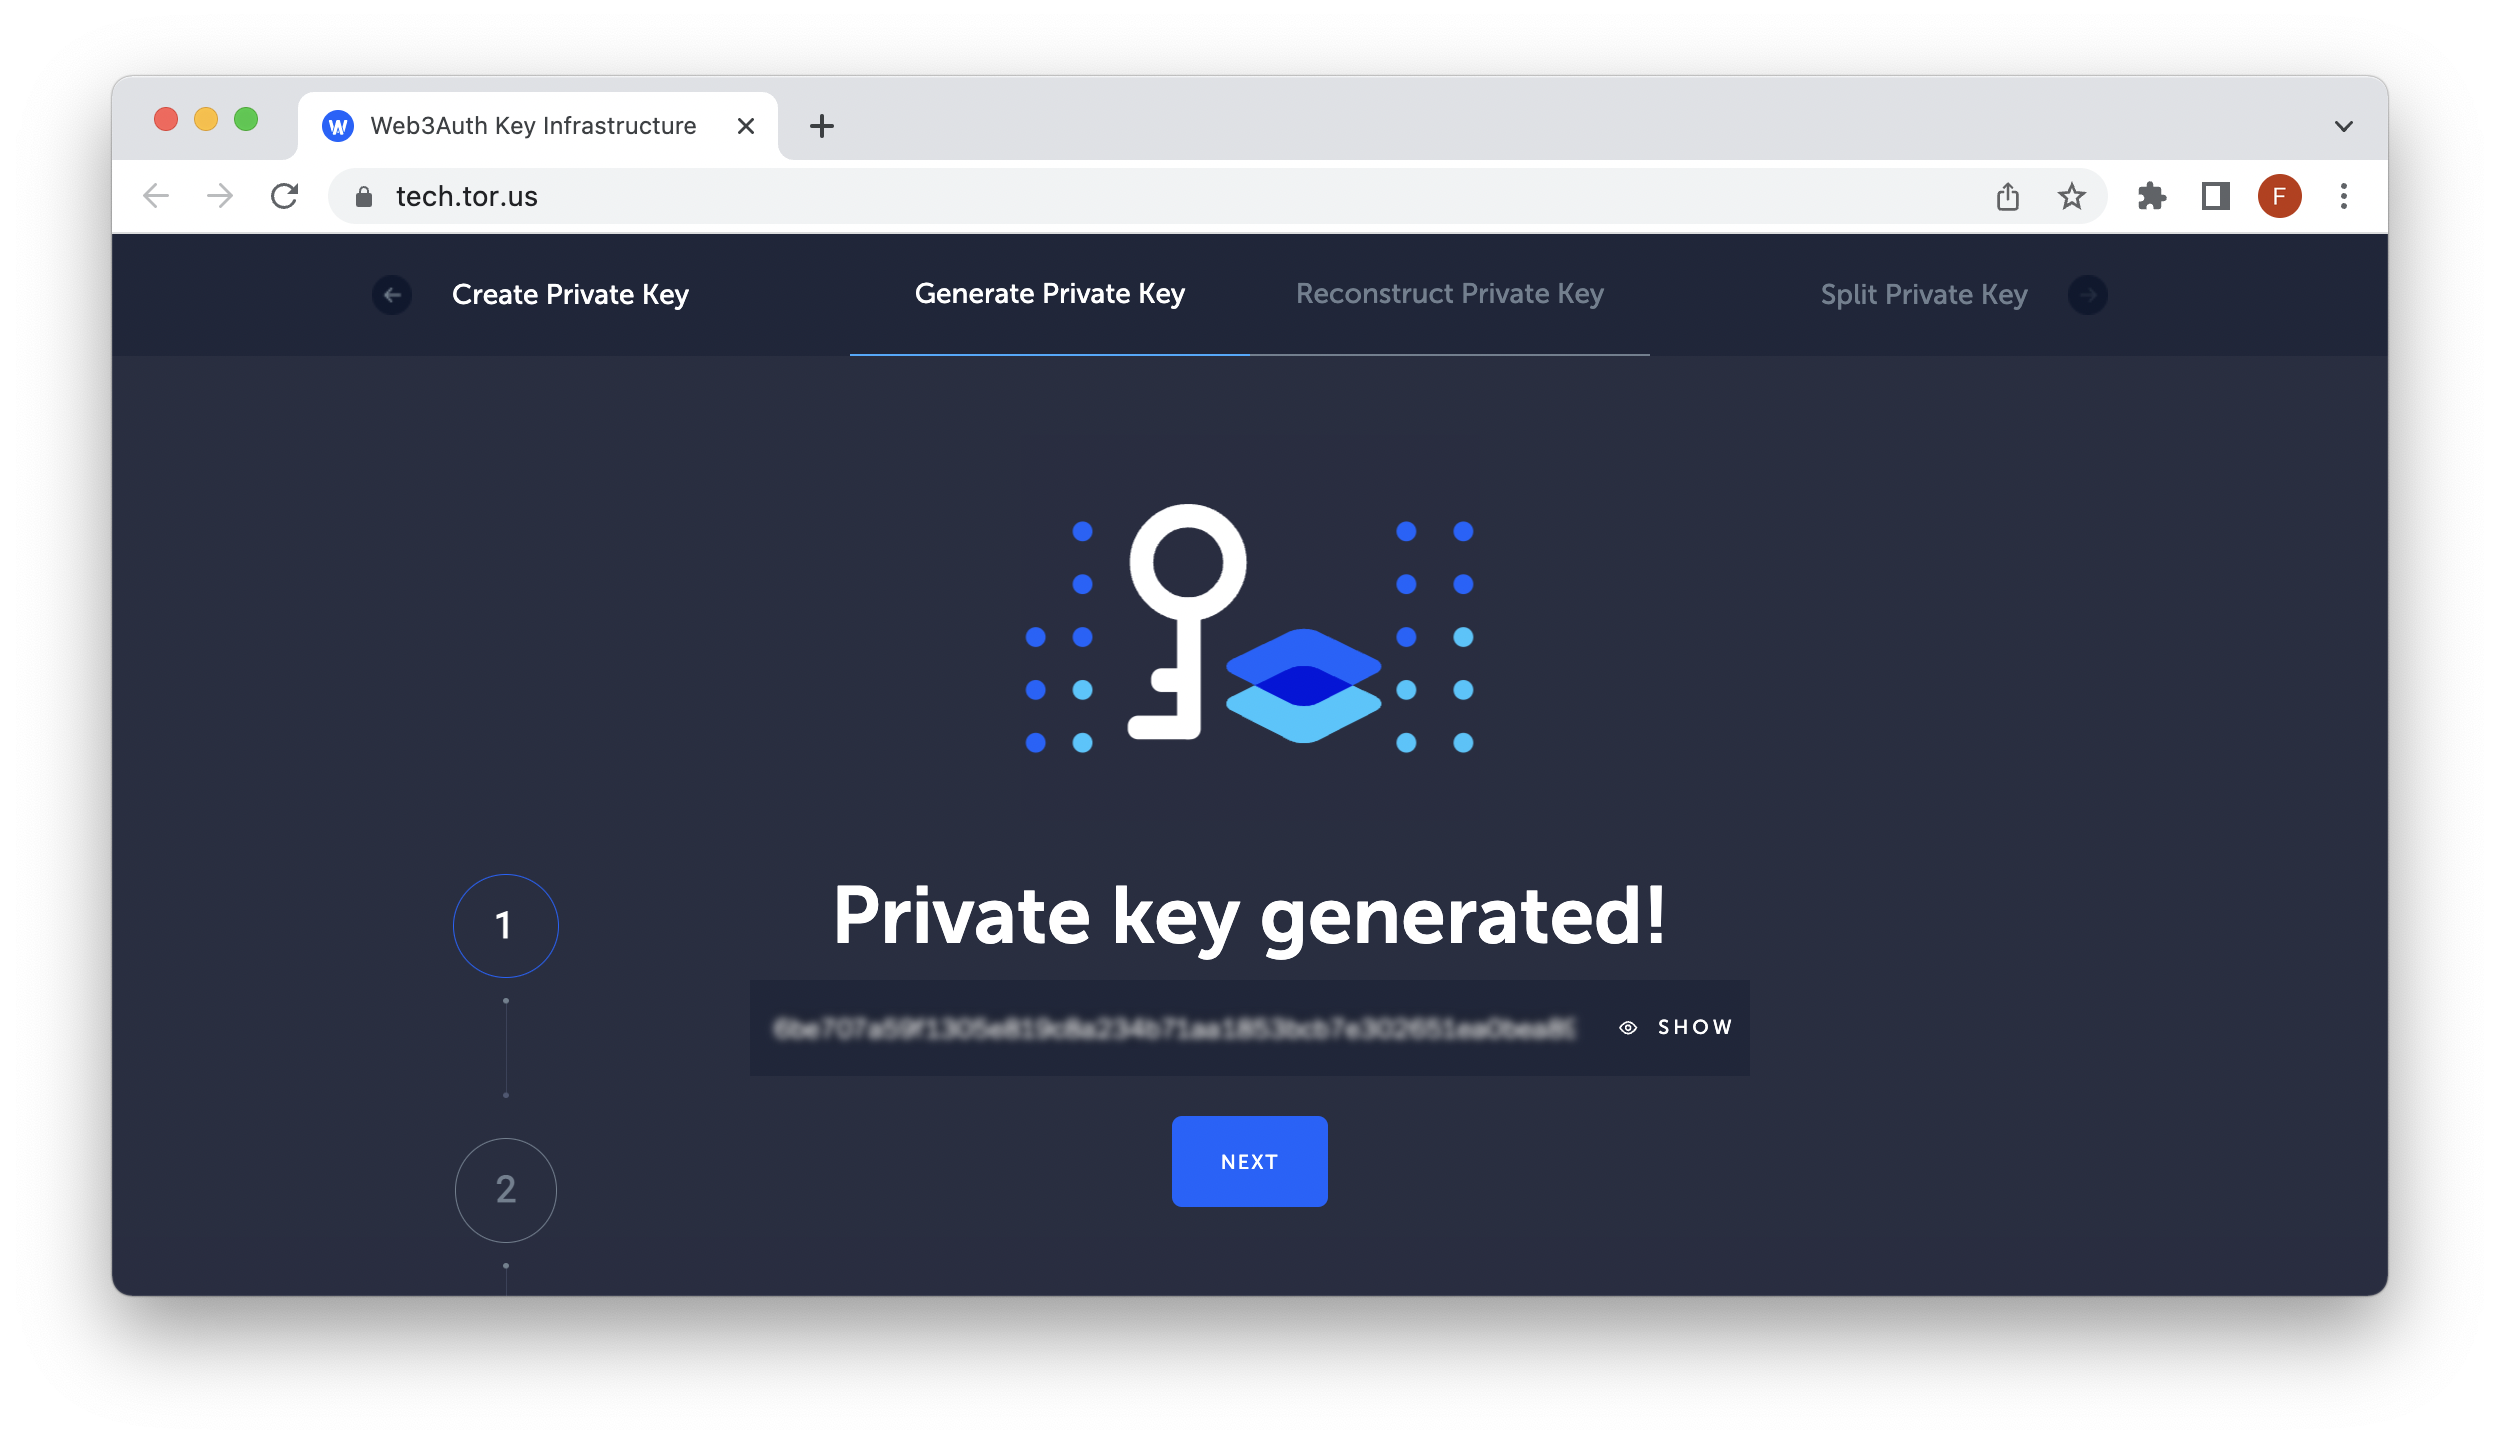
To quickly get development started, we'll generate an Ethereum account with Torus, which supports multiple chains and networks (including Sepolia!).
To get started, go to Torus and follow the instructions to generate a private key.
Before proceeding with the next section, make sure you have enough funds on your Sepolia testnet address to pay for the contract deployment. You can receive test ETH via the Multi-Chain Quicknode Faucet. Note that the faucet requires a 0.001 ETH on mainnet in order to request funds.
Project Set Up
First, make sure you have Node.js, version 18 or later installed on your machine. You can check your version of Node.js with the following command
mkdir soulbound-tokens && cd soulbound-tokens
Then, initialize a default npm project:
npm init -y
After, we will install Hardhat as recommended via dev dependency:
npm install --save-dev hardhat
Install other dependencies:
npm install dotenv @nomicfoundation/hardhat-toolbox @openzeppelin/contracts@4.0.0
Finally, we'll create a Hardhat project by running the following terminal command:
npx hardhat init
When prompted on which project template to choose, pick the last option: Create an empty hardhat.config.js
Optional Step
You can also create a .env file to store your credentials. If you decide not to create this file, your private key and RPC URL will be hardcoded in the hardhat.config.js file.
With your .env file (created in your project's root directory), use the following environment variables:
RPC_URL=<FILLME>
PRIVATE_KEY=<FILLME>
Remember to save the file!
Now, open the project in a code editor of your choice (I prefer VSCode) and open the hardhat.config.js file to include the following code:
require("@nomicfoundation/hardhat-toolbox");
require("dotenv").config();

module.exports = {
  solidity: "0.8.4",
  networks: {
    sepolia: {
      url: process.env.RPC_URL,
      accounts: [process.env.PRIVATE_KEY]
    }
  }
};
This file contains various options and parameters for running Hardhat tasks and scripts. It also includes the environment variables we're importing from the .env file.
Creating the Soulbound Token
Next, we'll create the Soulbound token smart contract. Create a folder called contracts to be the directory for your smart contract(s) and include a Solidity file called soulbound.sol:
mkdir contracts && echo > contracts/soulbound.sol
Then open the soulbound.sol file and paste the following code:
// SPDX-License-Identifier: MIT
pragma solidity ^0.8.4;

import "@openzeppelin/contracts/token/ERC721/ERC721.sol";
import "@openzeppelin/contracts/token/ERC721/extensions/ERC721URIStorage.sol";
import "@openzeppelin/contracts/access/Ownable.sol";

contract Soulbound is ERC721, ERC721URIStorage, Ownable {

    uint256 private _tokenIdCounter;

    constructor() ERC721("SoulBound", "SBT") {}

    function _beforeTokenTransfer(address from, address to, uint256 tokenId)
        internal
        override
    {
        require(from == address(0), "Token not transferable");
        super._beforeTokenTransfer(from, to, tokenId);
    }

    function safeMint(address to) public onlyOwner {
        _tokenIdCounter += 1;
        _safeMint(to, _tokenIdCounter);
    }

    // The following functions are overrides required by Solidity.

    function _burn(uint256 tokenId) internal override(ERC721, ERC721URIStorage) {
        super._burn(tokenId);
    }

    function tokenURI(uint256 tokenId)
        public
        view
        override(ERC721, ERC721URIStorage)
        returns (string memory)
    {
        return super.tokenURI(tokenId);
    }
}
Note that the core piece of non-transferability of a Soulbound token comes from the _beforeTokenTransfer function above. It is an internal function that overrides a function with the same name from a base contract. The function ensures that tokens can only be created (minted) but not transferred to another address.
Now, we'll need to compile the contract. Compiling a smart contract involves transforming the high-level language code of a contract (such as Solidity) into machine-readable bytecode that can be executed on the Ethereum Virtual Machine (EVM).
To compile the contract, run:
npx hardhat compile
You should see output similar to:
Compiled 13 Solidity files successfully
Testing the Soulbound Token
Smart contract testing is an important aspect of blockchain development as it ensures the reliability and security of the smart contracts that are deployed on the blockchain network. By thoroughly testing smart contracts, developers can identify and fix bugs, security vulnerabilities, and other issues that may arise before they cause problems in a live deployment. This helps to prevent potential financial losses and other negative consequences.
The main goal of our tests will be to ensure that the Soulbound token we mint to a specific wallet is non-transferable. With that being said, let's write some tests!
In your soulbound-token directory, create a folder called test with a file called soulbound-test.js:
mkdir test && echo > test/soulbound-test.js
Open the soulbound-test.js file and input the following JavaScript code:
const { expect } = require("chai");

describe("Soulbound Token Test", function () {
    let owner;

    beforeEach(async function () {
        // Retrieve the default account from ethers
        [owner] = await ethers.getSigners();

        // A helper to get the contracts instance and deploy it locally
        const Soulbound = await ethers.getContractFactory("Soulbound");
        soulbound = await Soulbound.deploy();

        // Mint token ID 1 to owner address
        await soulbound.safeMint(owner.address);

    });

    it("check the owner is correct", async () => {
        // Check that owner address owns the token ID 0
        const value = await soulbound.ownerOf(1);
        expect(value).to.equal(owner.address);
    });

    it("should revert when trying to transfer via safeTransferFrom", async () => {

        // Note that the approve function call will fail regardless
        const approve = await soulbound.approve("0x000000000000000000000000000000000000dEaD", 1)

        await expect(soulbound['safeTransferFrom(address,address,uint256)'](
            owner.address,
            "0x95222290DD7278Aa3Ddd389Cc1E1d165CC4BAfe5",
            1 // token id
        )).to.be.reverted;

    });

    it("should revert when trying to transfer via transferFrom", async () => {

        // Note that the approve function call will fail regardless
        const approve = await soulbound.approve("0x000000000000000000000000000000000000dEaD", 1)

        await expect(soulbound['transferFrom(address,address,uint256)'](
            owner.address,
            "0x95222290DD7278Aa3Ddd389Cc1E1d165CC4BAfe5",
            1 // token id
        )).to.be.reverted;

    });
});
Take a few minutes to go over the test code.
Once you are ready to run the test file, run the following terminal command in your projects root directory:
npx hardhat test
If you had multiple test files, you can specify the test with the location of the file:
npx hardhat test test/soulbound-test.js
After the test runs, you should see the following output:
  Soulbound Token Test
    ✔ check the owner is correct
    ✔ should revert when trying to transfer via safeTransferFrom
    ✔ should revert when trying to transfer via transferFrom


  3 passing (1s)
If you get all the checkmarks, congrats! You're ready to deploy to the Sepolia test network.
Deploying the Soulbound Token
With our Soulbound token compiled and tested, we can deploy it onto a remote test network.
First, in your soulbound-token directory, create a folder called scripts, with a file called deploy.js:
mkdir scripts && echo > scripts/deploy.js
Open the file and include the following deployment code:
// Import the Hardhat library
const hre = require("hardhat");

// Define an async function to handle deployment
async function deploy() {
    // Obtain the Soulbound contract
    const Soulbound = await hre.ethers.getContractFactory("Soulbound");
    // Deploy the Soulbound contract
    const soulbound = await Soulbound.deploy();

    // wait for the transaction to mine
    await soulbound.waitForDeployment()

    // Log the deployed contract's address
    console.log("Soulbound token deployed at:", soulbound.target);
}

deploy()
    .then(() => console.log("Deployment complete"))
    .catch((error) => console.error("Error deploying contract:", error));
The script above will deploy the Soulbound token and log the contract address or any errors that arise during deployment. Take a moment to read the code comments to see what the logic includes.
Once you have enough test ETH in your wallet to deploy the contract, run the following command:
npx hardhat run --network sepolia scripts/deploy.js
You'll see an output with the Soulbound token contract address and the message "Deployment complete.":

Now, go to Etherscan for Sepolia and confirm that your Soulbound token is deployed.
Before we wrap up this guide, some ideas you can build off of from what you learned in this guide are:
- Mint a Soulbound token whenever an ERC-721 gets burned
- Create a front-end that whitelists Soulbound token owners to access member-only content
Final Thoughts
There you have it! You know now what Soulbound tokens are and how to create and deploy them using Hardhat.
What are you building on Ethereum? Share your ideas with us on Discord or Twitter. If you have any feedback or questions on this guide, we’d love to hear from you!
We ❤️ Feedback!
Let us know if you have any feedback or requests for new topics. We'd love to hear from you.