
9 min read
Overview
Blockchain technology continues to evolve, offering new tools and techniques to developers. Among this growth, Ethereum introduces CREATE2, a feature that can enhance the way smart contracts are approached. This guide dives deep into the complexity of CREATE2, explaining and showcasing its practical use-cases.
By the end of this guide, you'll have a strong grasp of how to leverage this feature and add it to your arsenal of Ethereum developer knowledge.
What You Will Need
- Basic understanding of Ethereum and Smart Contracts
- Node.js installed
- Hardhat installed
- A MetaMask wallet
- Testnet ETH on Sepolia testnet (you can get some here)
- A web-based browser (e.g. Chrome)
| Dependency | Version |
|---|---|
| Node.js | 18.18.0 |
| npm | 7≥ |
| @nomicfoundation/hardhat-toolbox | ^3.0.0 |
| @openzeppelin/contracts | ^4.9.3 |
| dotenv | ^16.3.1 |
What You Will Do
- Learn about CREATE2
- Delve into different use cases
- Implement CREATE2 to predict smart contract addresses
What is CREATE2?
Currently, whenever a smart contract is deployed, it receives a random address that can not be predetermined before deployment. CREATE2, more technically known as Skinny CREATE2, is an Opcode that allows developers to predetermine a smart contract address before it has been deployed. It was introduced as part of Ethereum's Constantinople upgrade.
Note, that we'd like to mention that it technically is possible to predetermine an address using a nonce method. This has some drawbacks, such as tracking the nonce (to make sure you pass in a valid value) and having to generate N private keys, and the vulnerability of funding an address that was not the one you were going to deploy, but we won't be covering this method in this guide.
CREATE2's core components consist of a constant value, the deployer address, salt (an arbitrary value), and bytecode (compiled solidity code). This looks like:
address = hash(0xFF, sender, salt, bytecode)
Note that CREATE2 is still vulnerable to front-running. To combat this, developers can use their wallet address (i.e., msg.sender) as N part of the salt so that it is unique and not forgable.
Let's keep digging down the rabbit hole.
Additionally, some use cases CREATE2 enables are:
- Allow off-chain transactions between parties. They only deploy contracts on-chain if disputes arise, saving costs and improving efficiency.
- Smart contracts are set up but only deployed (and paid for) when needed, enabling efficient resource use.
- Services like pre-configuring smart contracts for users without deploying them. Smart contracts are only deployed when the user becomes active, reducing initial costs.
- Enable predictable complex operations in DeFi by ensuring certain contracts will be deployed in future transactions.
Now that we have a base understanding of CREATE2 and it's use-cases. Let's move on to developer environment setup and then coding!
Developer Setup
Creating a Quicknode Endpoint
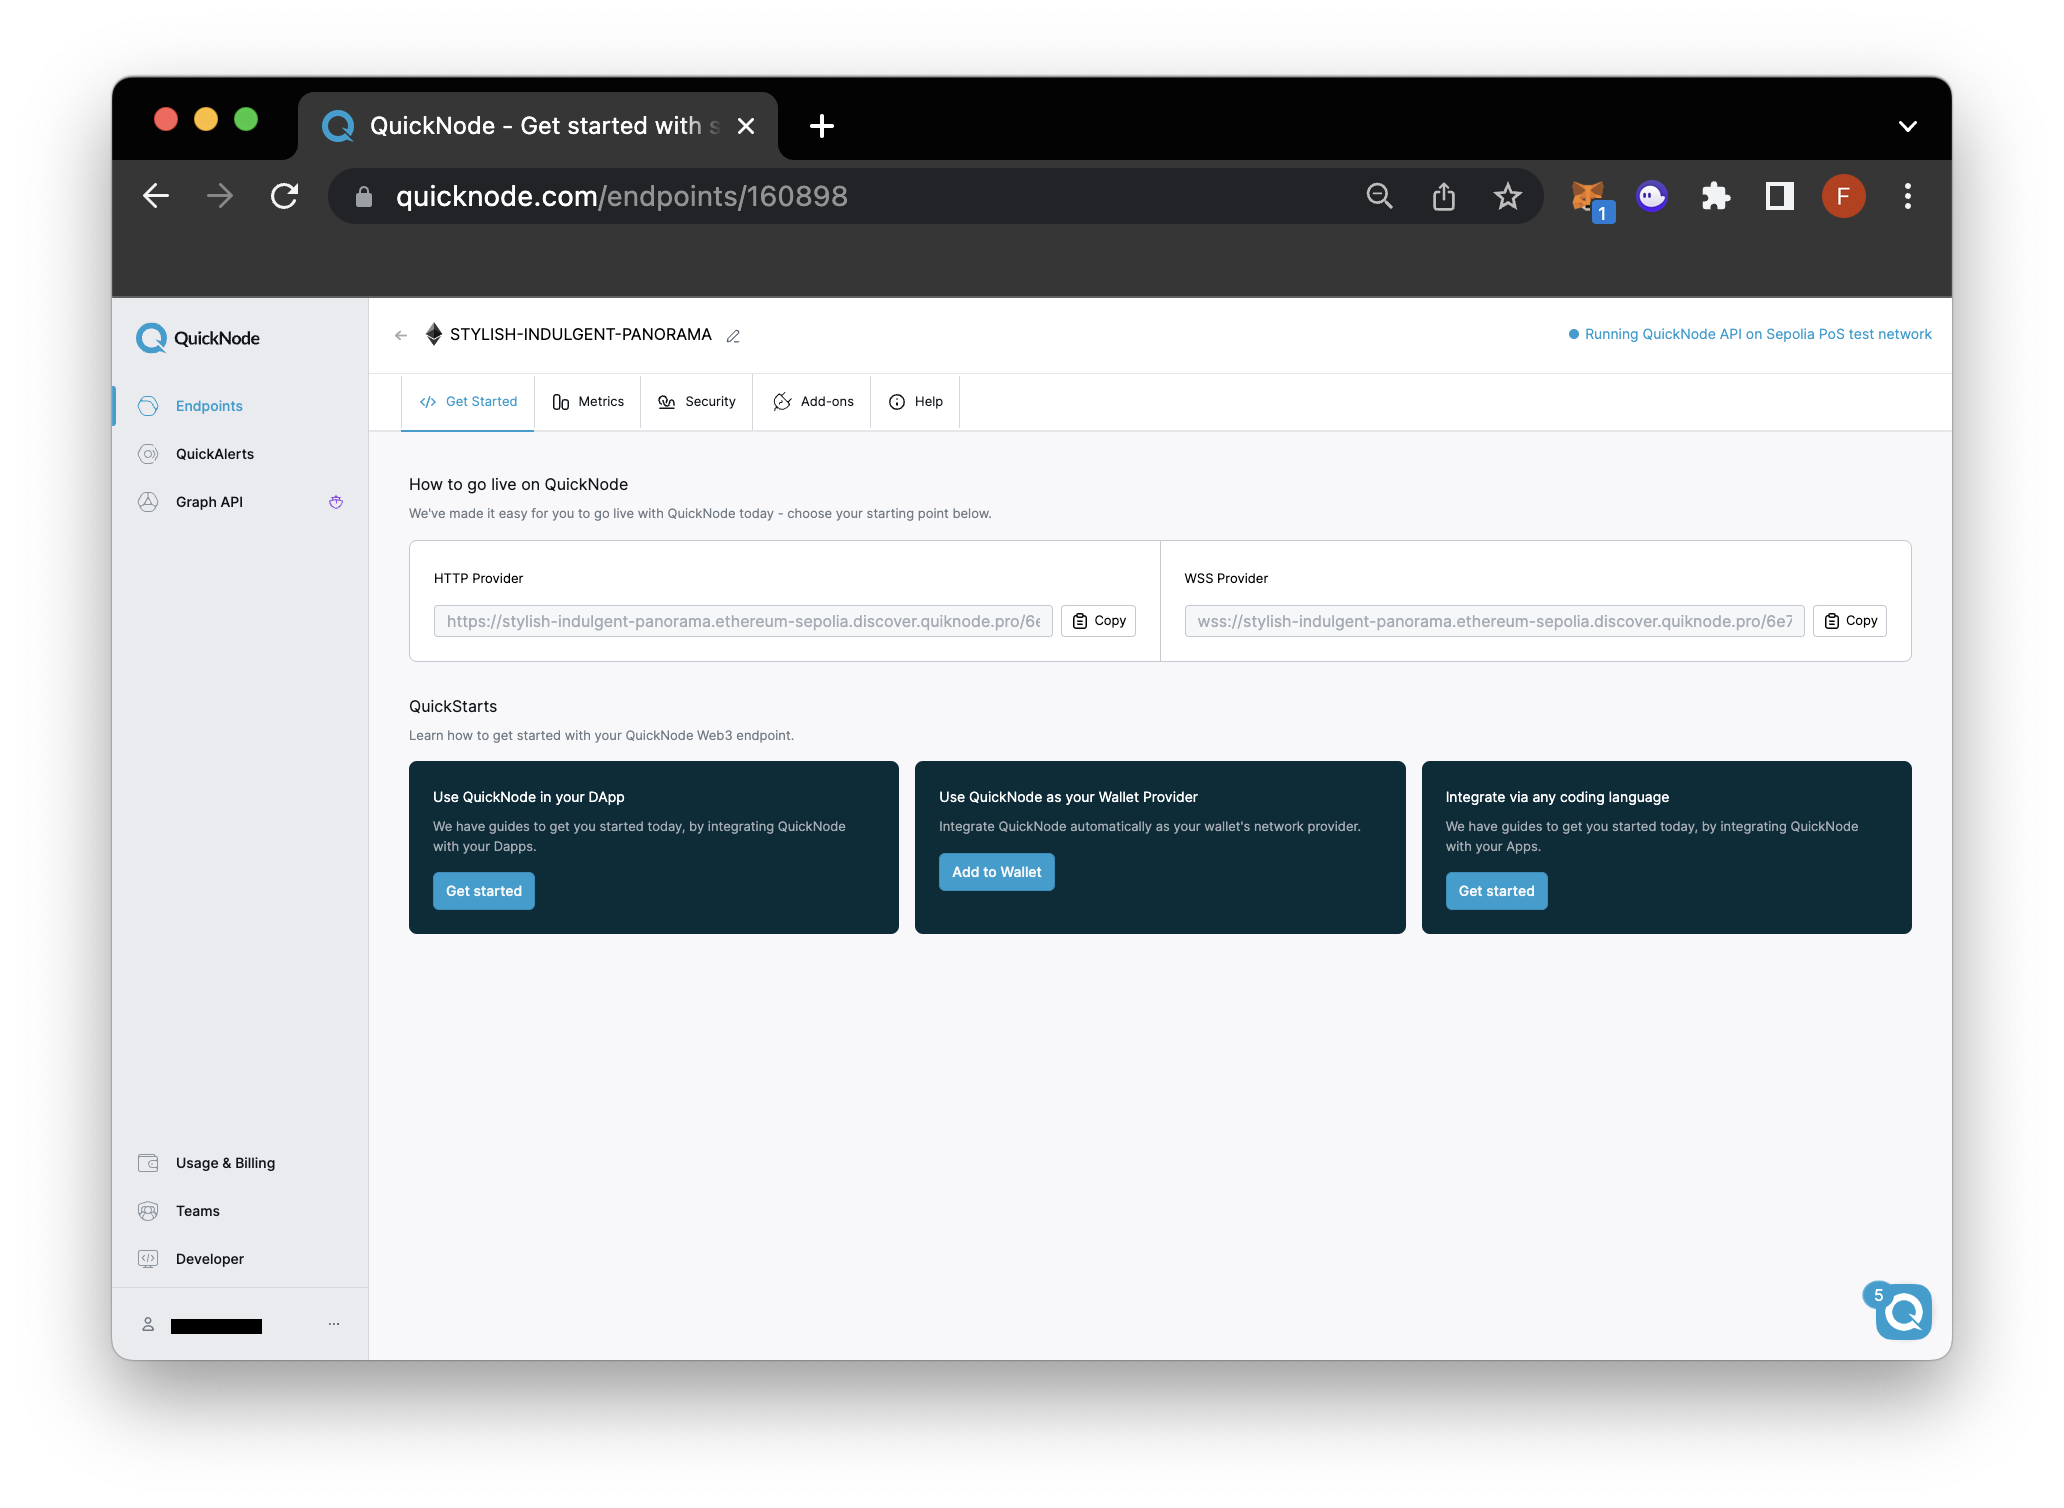
In order to communicate with the Ethereum network, we'll need access to an RPC endpoint. Instead of running our own node and managing its infrastructure, we'll leave the heavy lifting to Quicknode. Quicknode provides up to 8x faster response times. You can create an account here.
Once logged in, select Create an Endpoint and select the Ethereum Sepolia Testnet blockchain. Once created, copy the HTTP Provider URL and keep it handy as you'll need it in the following sections.
Hardhat Setup 👷
Open up your terminal window and run the following commands to create a project folder, initialize Hardhat, and create the necessary files/folders.
mkdir create2-hardhat
cd create2-hardhat
npx hardhat
Select the Empty hardhat.config.js option and proceed with running the following command to create the required files:
mkdir contracts
mkdir scripts
echo > contracts/ArtFactory.sol && echo > contracts/ArtworkToken.sol
echo > scripts/deployFactory.js && echo > scripts/deployArtToken.js
echo > .env
Then, let us install dependencies:
npm install @openzeppelin/contracts @nomicfoundation/hardhat-toolbox dotenv
We'll be using the dotenv library in case you want to push your project to Github later on. Remember if you do, you'll also need to include it in your .gitignore.
Open up hardhat.config.js file and input the following configuration:
/** @type import('hardhat/config').HardhatUserConfig */
require("@nomicfoundation/hardhat-toolbox");
require("dotenv").config()
module.exports = {
  defaultNetwork: "sepolia",
  solidity: "0.8.19",
  networks: {
    hardhat: {
    },
    sepolia: {
      url: process.env.RPC_URL,
      accounts: [process.env.PRIVATE_KEY]
    }
  }
};
Lastly, open up the .env file and input the following placeholders and fill it in with your private credentials.
RPC_URL=YOUR_QUICKNODE_ENDPOINT
PRIVATE_KEY=YOUR_PRIVATE_KEY
Remember to save the file, then continue to the next section!
Create Smart Contract with CREATE2
Now, with our developer environment setup, let's set up the logic within our contracts & scripts folders. Note that we won't show you how to deploy a smart contract, but you can see a quick example here.
Let's open up the ArtFactory.sol file and input the following code:
//SPDX-License-Identifier: MIT
pragma solidity ^0.8.15;

import "@openzeppelin/contracts/utils/Create2.sol";
import "./ArtworkToken.sol";

contract ArtworkTokenFactory {
    address public latestTokenAddress;
    mapping(bytes32 => address) public deployedArtworks;

    modifier isArtworkNotDeployed(bytes32 _salt) {
        require(deployedArtworks[_salt] == address(0), "Artwork token already deployed for this salt");
        _;
    }

    function deployToken(bytes32 _salt, uint8 _artworkID)
        external
        isArtworkNotDeployed(_salt)
        returns (address)
    {
        latestTokenAddress = Create2.deploy(
            0,
            _salt,
            abi.encodePacked(type(ArtworkToken).creationCode, abi.encode(_artworkID))
        );

        deployedArtworks[_salt] = latestTokenAddress;
        return latestTokenAddress;
    }

    function computeTokenAddress(bytes32 _salt, uint8 _artworkID)
        public
        view
        returns (address)
    {
        return Create2.computeAddress(
            _salt,
            keccak256(abi.encodePacked(type(ArtworkToken).creationCode, abi.encode(_artworkID)))
        );
    }
}
Let's recap the code.
Utilizing OpenZeppelin's Create2 utility, the code above allows for predicting token addresses even before they're deployed, ensuring each artwork token has a distinct address. Users can deploy a new artwork token using a unique identifier and a specific salt. The smart contract also maintains a record of all deployed artworks, ensuring that duplicate tokens aren't created using the same salt.
Then, open up ArtworkToken.sol and input the following code:
//SPDX-License-Identifier: MIT
pragma solidity ^0.8.15;

contract ArtworkToken {
    uint8 public immutable artworkID;

    constructor(uint8 _artworkID) {
        artworkID = _artworkID;
    }
}
Let's recap the code.
In the contract above, each token is characterized by an immutable artworkID, which is assigned when the token is created. This ID serves as a distinct identifier for every piece of digital art represented by the token.
Now, we'll fill in the logic for each script. Open up deployFactory.js within the scripts folder and input the following code:
const hre = require('hardhat');
const { ethers } = require('ethers');
require('dotenv').config();

const provider = new ethers.JsonRpcProvider(process.env.RPC_URL);
const signer = new ethers.Wallet(process.env.PRIVATE_KEY, provider);

async function deployArtworkTokenFactory() {
    try {
        const ArtworkTokenFactory = await hre.ethers.getContractFactory('ArtworkTokenFactory', signer);

        console.log('Deploying ArtworkTokenFactory...');
        const factory = await ArtworkTokenFactory.deploy();
        await factory.waitForDeployment();

        console.log('ArtworkTokenFactory deployed to:', factory.target);
        return factory.target;
    } catch (err) {
        console.error('Error in deployArtworkTokenFactory:', err);
    }
}

async function main() {
    await deployArtworkTokenFactory();
}

main().catch(err => console.error('Error in main function:', err));
Next, we'll create the logic for the deployArtToken.js script. Open the file and input the following code:
const hre = require('hardhat');
const { ethers } = require('ethers');
require('dotenv').config();

const provider = new ethers.JsonRpcProvider(process.env.RPC_URL)
const signer = new ethers.Wallet(process.env.PRIVATE_KEY, provider)

const artFactoryContractAddress = 'YOUR_ART_FACTORY_ADDRESS';
const deployerAddress = signer.address;
const deployerBytes = ethers.getBytes(deployerAddress).slice(0, 20);
const randomString = "wen"; // This value must change on every ArtworkToken deployment
const randomBytes = ethers.toUtf8Bytes(randomString);
const concatenatedBytes = ethers.concat([deployerBytes, randomBytes]);

// Generating the salt by hashing the concatenated bytes
const salt = ethers.keccak256(concatenatedBytes);
const artworkID = 42;  // Example ID for the artwork

async function deployArtworkToken() {
    try {
        const ArtworkTokenFactory = await hre.ethers.getContractAt('ArtworkTokenFactory', artFactoryContractAddress, signer);
        // Compute expected address before deployment
        const expectedAddress = await ArtworkTokenFactory.computeTokenAddress(salt, artworkID);
        console.log('Expected ArtworkToken address:', expectedAddress);

        // Deploying ArtworkToken using ArtworkTokenFactory
        const txn = await ArtworkTokenFactory.deployToken(salt, artworkID);
        await txn.wait()
        const tokenAddress = await ArtworkTokenFactory.latestTokenAddress()
        console.log('Deployed ArtworkToken address:', tokenAddress);
        if (expectedAddress == tokenAddress) {
            console.log("Expected and deployed address match, CREATE2 functionality verified!");
        } else {
            console.error("Mismatch in expected and deployed addresses!");
        }

    } catch (err) {
        console.error('Error in deployArtworkToken:', err);
    }
}

async function main() {
    await deployArtworkToken();
}

main().catch(err => console.error('Error in main function:', err));
Remember to save both files! In the next section we'll deploy and test the smart contracts on Sepolia testnet.
Deploy the Smart Contract
It's time to see CREATE2 in action. Within your project's main directory (e.g., create2-hardhat), run the following command to first deploy the factory contract.
npx hardhat run --network sepolia scripts/deployFactory.js
You'll see an output similar to the following:
Deploying ArtworkTokenFactory...
ArtworkTokenFactory deployed to: 0x0bD0eD146A59e32B8840D264E61DD7df0a3E6e84
Then, copy the ArtworkTokenFactory address outputted in the terminal above and assign it to the artFactoryContractAddress variable in the other script (e.g., deployArtToken.js).
Execute the script below to deploy the ArtToken while predicting its contract address before deployment and verifying it after it has been deployed.
npx hardhat run --network sepolia scripts/deployArtToken.js
You'll see an output similar to the following:
Expected ArtworkToken address: 0xa212ae6E8b57CA67a4b55686E208b9aDC5F3023C
Deployed ArtworkToken address: 0xa212ae6E8b57CA67a4b55686E208b9aDC5F3023C
Expected and deployed address match, CREATE2 functionality verified!
Note: If you try to re-run the script above without changing the
randomStringvalue, the transaction will revert (assuming this salt was already used to create a contract). You can test it to see it in action.
We can see that the predicted address before the deployment matches the one deployed to the blockchain. Great job! In the next section, we'll test your knowledge by giving you a short quiz! Good luck!
Test Your Knowledge
Try attempting the short quiz below!
Wrap Up
You have now been blue-pilled on CREATE2! Leveraging this Opcode adds a new layer of predictability to smart contract development. Keep exploring and applying your new knowledge in real-world projects.
If you have any questions, feel free to use our dedicated channel on Discord or provide feedback using the form below. Stay up to date with the latest by following us on Twitter and our Telegram announcement channel.
We ❤️ Feedback!
Let us know if you have any feedback or requests for new topics. We'd love to hear from you.