11 min read
The Quicknode NFT API is no longer supported on Solana. Please refer to our Digital Asset Standard (DAS) API as an up-to-date alternative.
A sample application using the DAS API can be found here.
Overview
Hello readers! In this tutorial we will be building out a small application that allows you to get all of the NFTs of a particular Solana wallet, and display all of the information from them on the web page. To build this out we are going to use the Remix JS framework to serve the webpage, and the Quicknode NFT-API offering for Solana to query for the NFT information.
Prerequisites:
- Node.js installed
- A text editor
- familiarity with React
Configuring the App
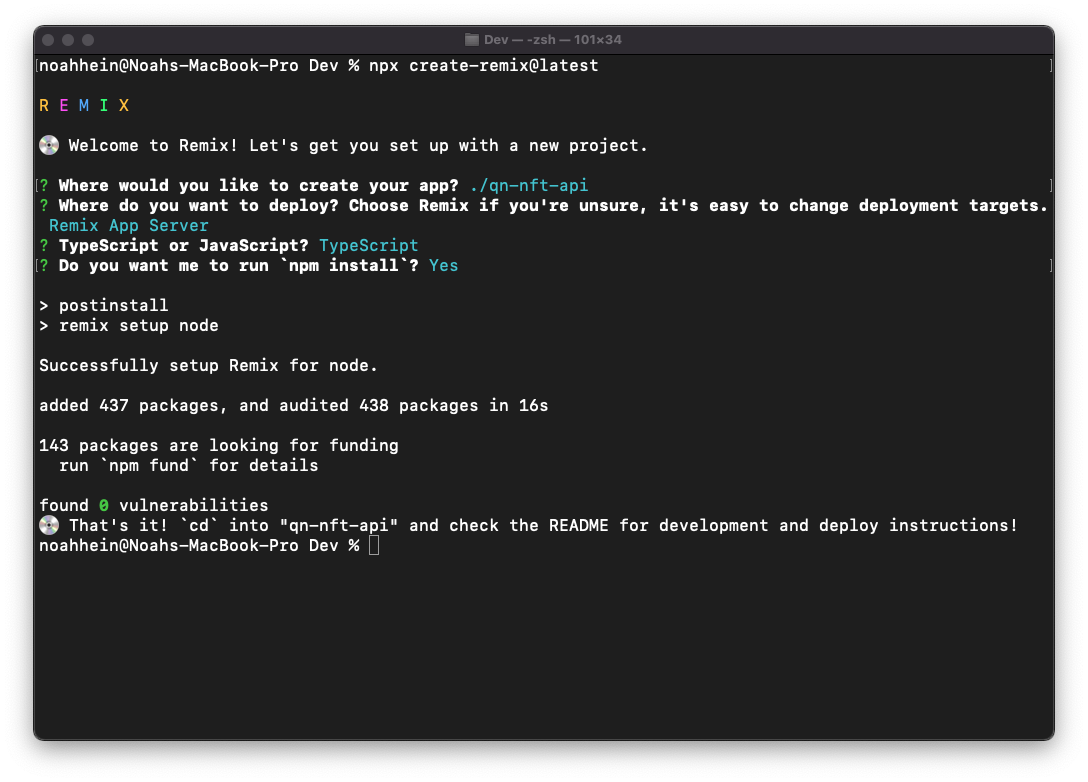
The first thing we will need to do is get the remix-app up and running. To do so you can run the following command:
npx create-remix@latest
It will ask you a series of questions upon running the command:
- Where would you like to create your app? I am choosing ./qn-nft-api, but you can name it whatever you would like.
- What type of app do you want to create? Just the basics
- Where do you want to deploy? Remix App Server
- TypeScript or JavaScript? TypeScript
- Do you want me to run 'npm install'? y
If you answered the questions as I just outlined it should look like this.
After getting the app installed, open up your code editor wherever you placed the app. We will be using Tailwind to do a light bit of styling to the app, so we should get that setup next. To begin we can run the command:
npm install --save-dev concurrently tailwindcss
The "concurrently" bit will save us from the headache of having to manage multiple terminals.
npx tailwindcss init
This will create a file called tailwind.config.js. Update the file to look like the code below.
module.exports = {
  mode: "jit",
  purge: ["./app/**/*.{ts,tsx}"],
  content: [],
  theme: {
    extend: {},
  },
  plugins: [],
};
With that out of the way, we need to update our scripts. Head over to package.json and locate the portion of your file that looks like this:
 "scripts": {
    "build": "remix build",
    "dev": "remix dev",
    "postinstall": "remix setup node",
    "start": "remix-serve build"
  },
And update it to look like this:
 "scripts": {
    "build": "npm run build:css && remix build",
    "build:css": "tailwindcss -o ./app/tailwind.css",
    "dev": "concurrently \"npm run dev:css\" \"remix dev\"",
    "dev:css": "tailwindcss -o ./app/tailwind.css --watch",
    "postinstall": "remix setup node",
    "start": "remix-serve build"
  },
This will ensure that as our Remix app builds, our tailwind styling will update alongside it.
Now to import our styles we will need to go to app/root.tsx so that our styles get picked up globally. At the top of the file you will insert this line right under all of the other imports.
// app/root.tsx
import tailwindCSS from "./tailwind.css";
That will import all of the styles that tailwind needs to work its magic. Now we need to hook it up the "Remix way". Remix uses links to manage its styling. If you would like to learn more about it you can check out that link, but you don't need an in-depth knowledge of it to continue on.
The next thing we will need to do is export our styles in the root so the rest of the application will pick them up. To do so you can put this function below anywhere in your root.tsx folder.
// app/root.tsx
export const links: LinksFunction = () => {
  return [{ rel: "stylesheet", href: tailwindCSS }];
};
And with that you now have tailwind working in your Remix application!
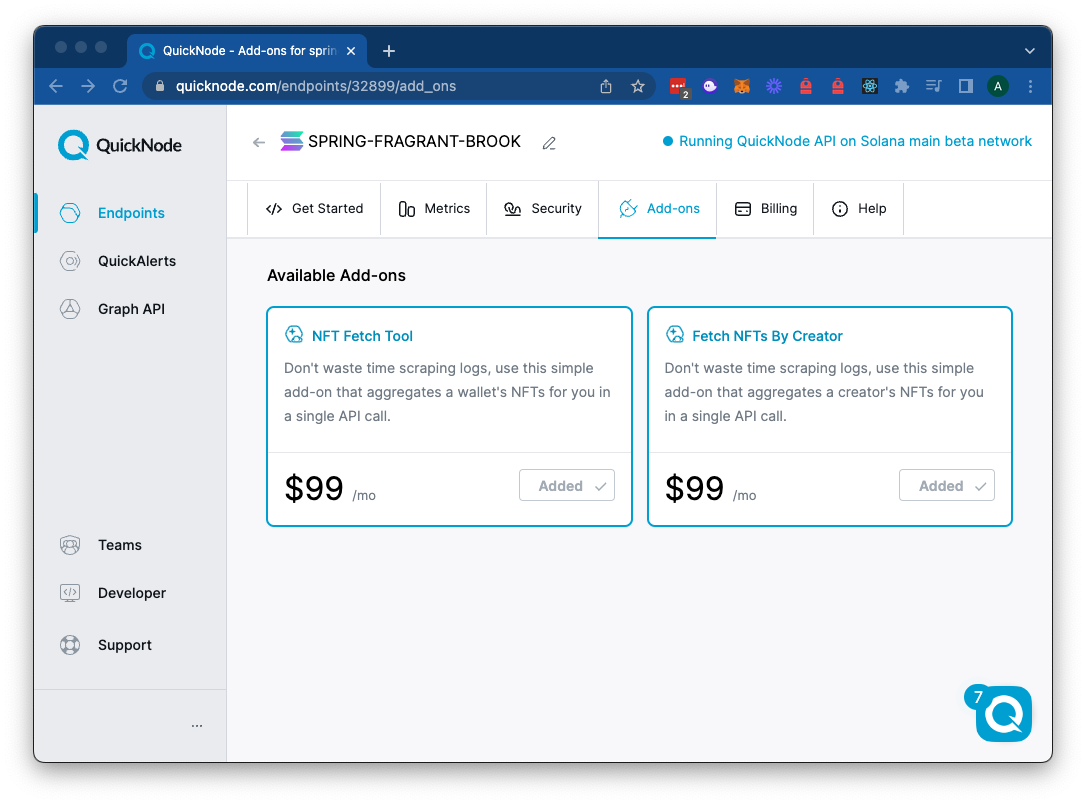
The next step in configuring our application is getting a Quicknode endpoint with the NFT-add-on enabled.
You will need to sign up for a new endpoint, choose SOL, and pick this add on:
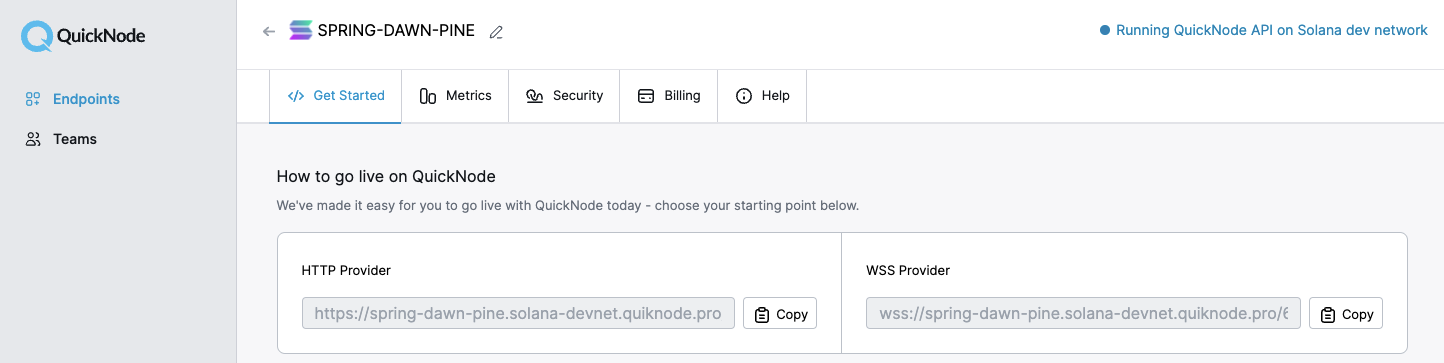
You need the HTTPS endpoint for this tutorial. It should look something like this:
With that done, we can move onto building the app.
Building the Gallery
With all of our styling at our fingertips, and a supercharged Solana node, we are ready to start building. Luckily for us the NFT-API makes this much easier than it otherwise would be.
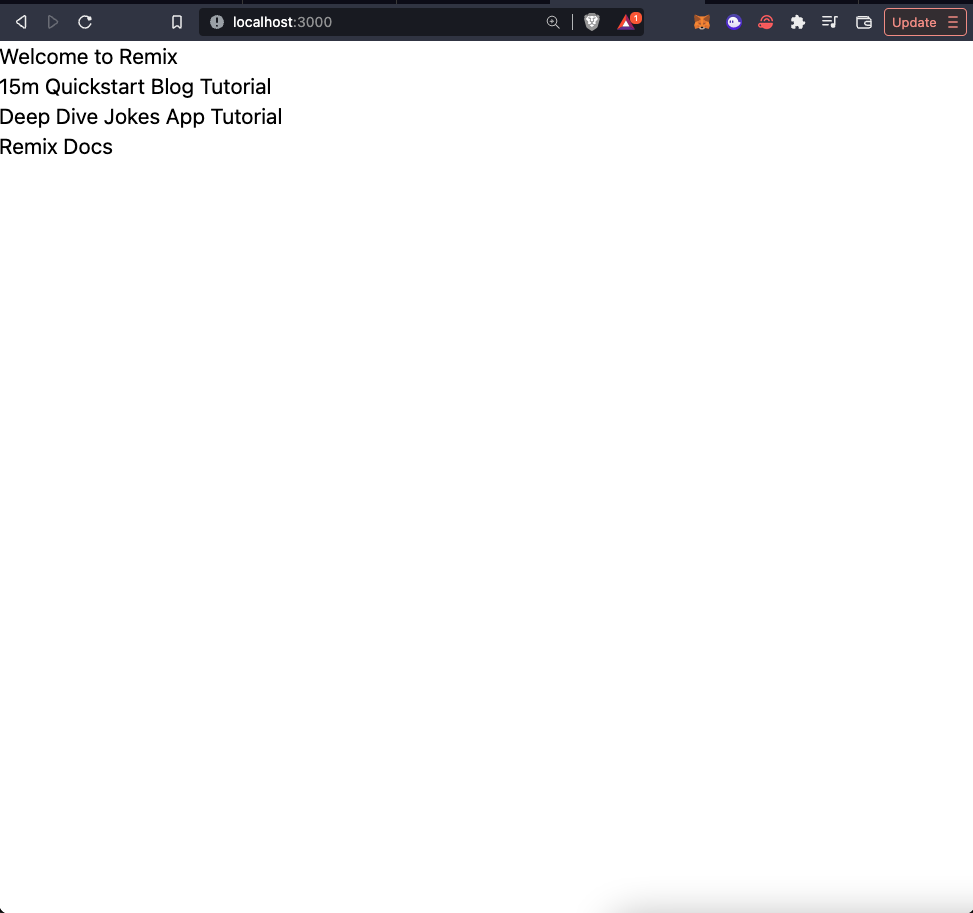
We're going to boot up our development server by running the following command:
npm run dev
NOTE: Be sure to keep this running!
If you go to localhost:3000 you should see the following web page.
Now go back to your code editor. We are going to create a new route. To do so open up app/routes and create another file in there named **nft.tsx
**
In that file you can add this bit of code below.
export default function NFT() {
  return <h1>gm</h1>;
}
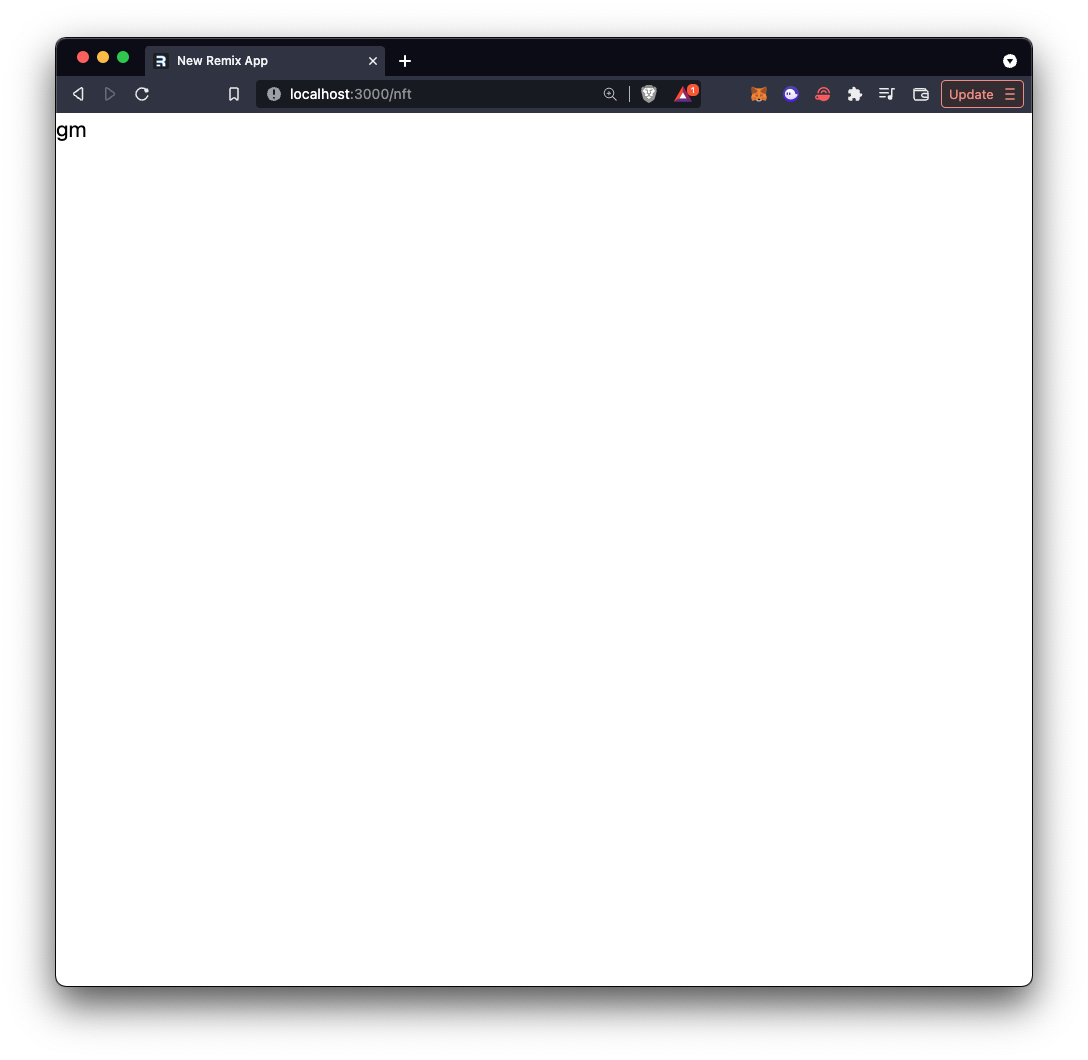
Save the file, and go to localhost:3000/nft
You will be greeted with the following:
Great, now that we have the route working, we can move on to the gallery bit. I am tasking you, the reader, with grabbing an address that has some NFTs you would like to take a look at. In this tutorial I will be using a test wallet with a few NFTs in it:
"DcTmx4VLcf5euAB17nynax7g55xuB3XKBDyz1pudMcjW"
Feel free to use this one if you can not find a different one, but I really encourage you to make this project your own!
We need to connect to the Solana network using our Quicknode endpoint, and send it a post request for all of the NFT data. To do so we are going to create a new loader function.
Loaders are Remix's way of fetching data to display on the client. It sits in the same file as your client-side HTML, but is fully ran on the server, so it is safe to perform sensitive operations in here. They then expose a hook for you to grab this data on your client. We are going to use this loader function to grab all of our NFT data. This is what our loader will look like.
// nft.tsx
export const loader: LoaderFunction = async () => {
  const wallet = "DcTmx4VLcf5euAB17nynax7g55xuB3XKBDyz1pudMcjW";
  const body = {
    method: "qn_fetchNFTs",
    params: [wallet, []],
  };
  const options = {
    method: "POST",
    body: JSON.stringify(body),
  };

  const res = await fetch(
    "<YOUR_QUICKNODE_URL_HERE>",
    options
  );
  return res;
};
// ..........Rest of code
You will have TypeScript yelling at you about now, so you will want to add the following import statement to the very top of nft.tsx.
import { LoaderFunction } from "@remix-run/node";
import { useLoaderData } from "@remix-run/react";
We will be using the useLoaderData import a bit later in the tutorial, so do not worry about that for now.
You will want to replace the wallet variable to be whichever wallet you want to query for information. You will also need to replace <YOUR\_QUICKNODE\_URL> with your HTTP endpoint you got from Quicknode.
Remix polyfills the Fetch API to work on the node runtime, so that is how we are able to use the fetch syntax on our server.
To break down the function above, we are getting our wallet, and passing it to the qn_fetchNFTs method, which is then sent as a post request to the Quicknode endpoint. All of the information that is returned from that request, we return to the client for consumption. To get the exact values that are returned you can take a look at our docs for Solana's fetchNFTs.
And with just one request, we are going to have all the information we need to build our web page. We will need to replace the "gm" that we are returning with a card-style format to display all of our NFT information. We will also be using the useLoaderData() hook that we imported earlier.
// nft.tsx
export default function NFT() {
  const data = useLoaderData();
  return (
    <div className="p-4">
      <h1>gm! {data.result.owner} Here are your NFTs</h1>
      <ul>
        {data.result.assets.map((nft: any) => (
          <li key={nft.tokenAddress}>
            <div className="max-w-sm  m-2 rounded overflow-hidden shadow-lg">
              <img
                className="w-full"
                src={nft.imageUrl}
                alt={nft.description}
              />
              <div className="px-6 py-4">
                <div className="font-bold text-xl mb-2">{nft.name}</div>
                <p className="text-gray-700 text-base">{nft.description}</p>
              </div>
              <div className="px-6 pt-4 pb-2">
                {nft.traits.map((trait: any) => (
                  <span className="inline-block bg-gray-200 rounded-full px-3 py-1 text-sm font-semibold text-gray-700 mr-2 mb-2">
                    {trait["trait_type"]}: {trait.value}
                  </span>
                ))}
              </div>
            </div>
          </li>
        ))}
      </ul>
    </div>
  )
}
A quick breakdown of what's happening here. At the beginning of this function we have the variable data that is using the useLoaderData() hook to get us all of the information that we obtained from the server. We display the wallet that owns all of the NFTs up top. We loop through the results of the data to generate card-style displays for all of the NFTs that were returned from our query.
If you have put in a valid Solana wallet address, you will see a result that looks similar to the pictures below.
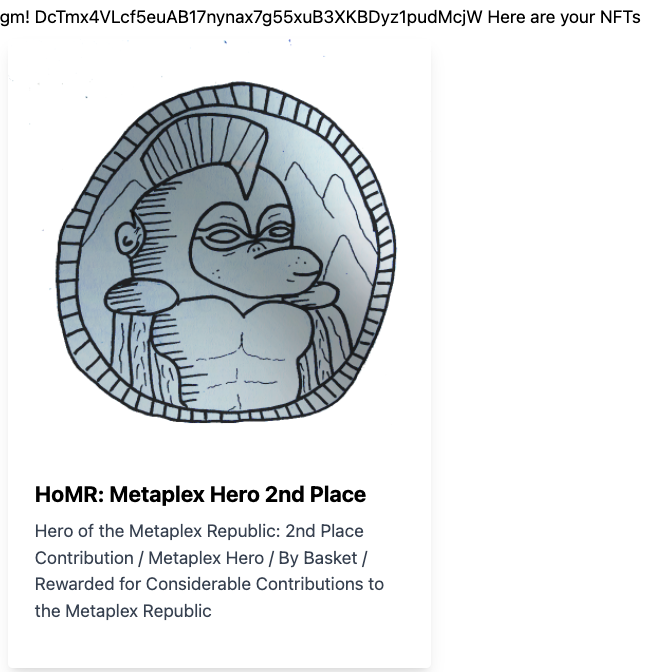
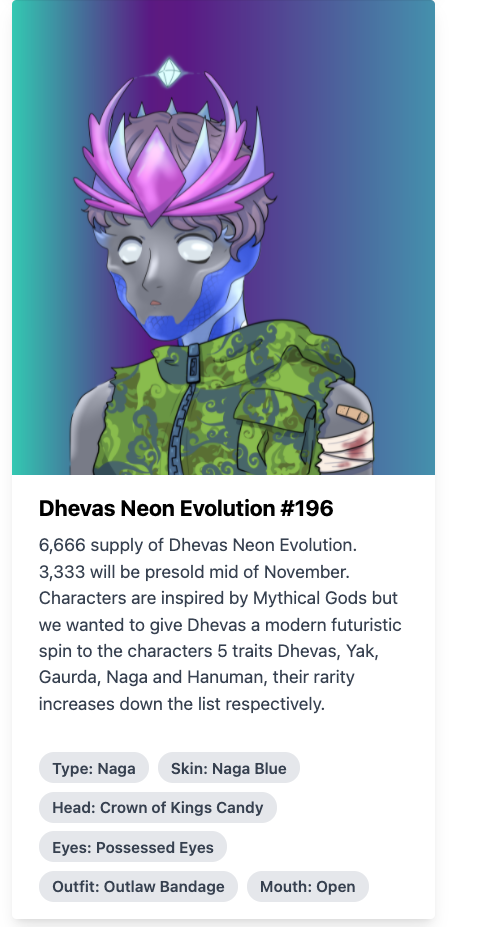

And with that you have successfully created an NFT gallery with only one request!
Here is one last snippet of code, and it will be the entire file that you should have. Feel free to use this as a reference point if you get lost at any point!
import { LoaderFunction } from "@remix-run/node";
import { useLoaderData } from "@remix-run/react";

export const loader: LoaderFunction = async () => {
  const wallet = "DcTmx4VLcf5euAB17nynax7g55xuB3XKBDyz1pudMcjW";
  const body = {
    method: "qn_fetchNFTs",
    params: [wallet, []],
  };
  const options = {
    method: "POST",
    body: JSON.stringify(body),
  };

  const res = await fetch(
    "<YOUR_QUICKNODE_URL_HERE>",
    options
  );
  return res;
};

export default function NFT() {
  const data = useLoaderData();
  return (
    <div className="p-4">
      <h1>gm! {data.result.owner} Here are your NFTs</h1>
      <ul>
        {data.result.assets.map((nft: any) => (
          <li key={nft.tokenAddress}>
            <div className="max-w-sm  m-2 rounded overflow-hidden shadow-lg">
              <img
                className="w-full"
                src={nft.imageUrl}
                alt={nft.description}
              />
              <div className="px-6 py-4">
                <div className="font-bold text-xl mb-2">{nft.name}</div>
                <p className="text-gray-700 text-base">{nft.description}</p>
              </div>
              <div className="px-6 pt-4 pb-2">
                {nft.traits.map((trait: any) => (
                  <span className="inline-block bg-gray-200 rounded-full px-3 py-1 text-sm font-semibold text-gray-700 mr-2 mb-2">
                    {trait["trait_type"]}: {trait.value}
                  </span>
                ))}
              </div>
            </div>
          </li>
        ))}
      </ul>
    </div>
  );
}
Conclusion
Congrats on making it to the end! In this tutorial you learned how to use Quicknode's NFT-API to query the blockchain for NFT information. You also learned how to set up an app that fetches real data using Remix. I would really encourage you to play around with all of the different keys that are in the assets object you see in the code. In the docs linked above you have all of the information you could ever need on the NFT tool, and all of the values that it returns.
Subscribe to our newsletter for more articles and guides on Ethereum. If you have any feedback, feel free to reach out to us via Twitter. You can always chat with us on our Discord community server, featuring some of the coolest developers you'll ever meet :)
We ❤️ Feedback!
Let us know if you have any feedback or requests for new topics. We'd love to hear from you.