
10 min read
Overview
If you have looked closely at your NFT's metadata, you may have noticed that the metadata URI and image are not actually stored on Solana. Instead, they are usually stored in a 3rd party storage service (e.g., Arweave, Shadow, or IPFS), and the URI is stored on Solana. This is largely due to storage limitations and costs for storing extensive data in the chain's state. However, with the recent growth around Bitcoin Ordinals and BRC-20 tokens, several Solana standards have emerged to store data on-chain. Inscriptions are Solana accounts that store image byte data (or other data) on-chain. This allows for verifiable mutability, interaction within programs, dynamic data, and more.
In this guide, we will discuss the Metaplex inscription standard, how to create them, and how to fetch data from them.
What You Will Do
Write a script to inscribe data on-chain using Metaplex and fetch the data from Solana's devnet.
What You Will Need
- Experience with Solana NFTs (Guide: Solana NFT Metadata Deep Dive)
- Nodejs (version 16.15 or higher) installed
- Typescript experience and ts-node installed
- A Solana paper wallet with Devnet SOL.
Dependencies Used in this Guide
| Dependency | Version |
|---|---|
| @metaplex-foundation/umi | ^0.8.10 |
| @metaplex-foundation/umi-bundle-defaults | ^0.8.10 |
| @metaplex-foundation/mpl-inscription | ^0.8.0 |
| @solana/web3.js | ^1.87.6 |
Let's get started!
Create a New Project
mkdir inscriptions-demo && cd inscriptions-demo && echo > app.ts
Install Solana Web3 dependencies:
yarn init -y
yarn add @metaplex-foundation/umi @metaplex-foundation/umi-bundle-defaults @metaplex-foundation/mpl-inscription @solana/web3.js@1
or
npm init -y
npm install --save @metaplex-foundation/umi @metaplex-foundation/umi-bundle-defaults @metaplex-foundation/mpl-inscription @solana/web3.js@1
Create a tsconfig.json with .json importing enabled:
tsc -init --resolveJsonModule true
Connect to a Solana Cluster with Your Quicknode Endpoint
To build on Solana, you'll need an API endpoint to connect with the network. You're welcome to use public nodes or deploy and manage your own infrastructure; however, if you'd like 8x faster response times, you can leave the heavy lifting to us.
See why over 50% of projects on Solana choose Quicknode and start your free trial here. We're going to use a Solana Devnet endpoint.
Copy the HTTP Provider link: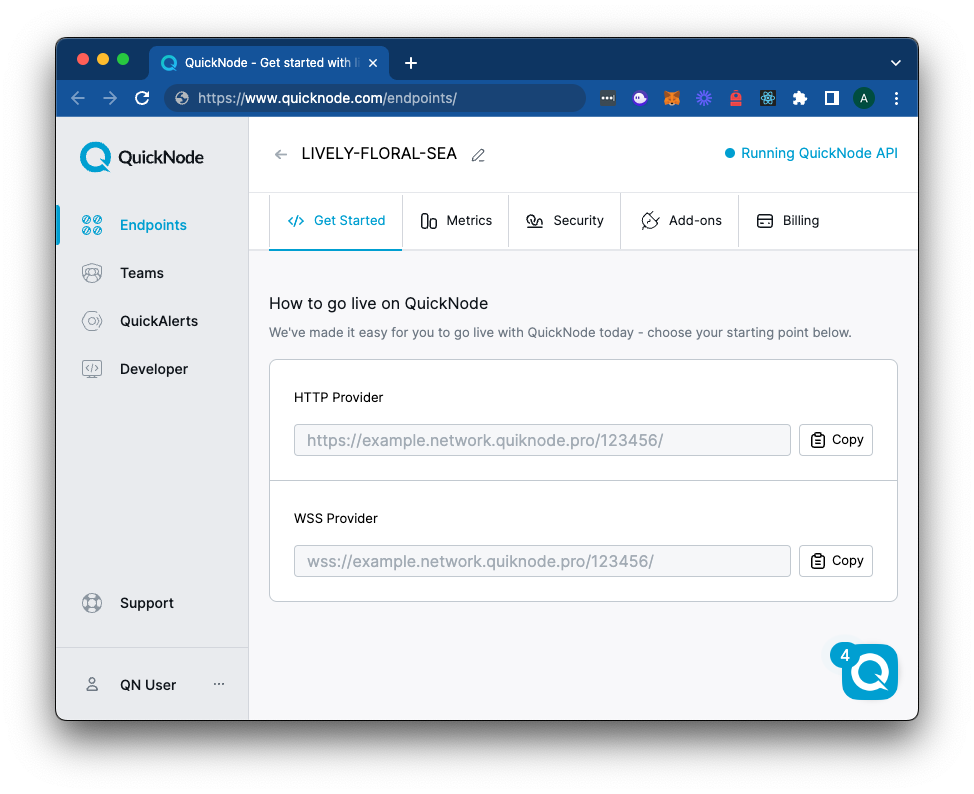
Create a Keypair
You will need a paper wallet with Devnet SOL to mint the inscription. If you don't have one, you can create one with the following command:
You can paste the generated secret and AUTHORITY in your app.ts file. This is for testing purposes only--you should never commit your secret key to a public repository.
You can get Devnet SOL from the Quicknode Multi-Chain Faucet.
Import Dependencies
Open app.ts in a code editor of choice, and on line 1, import the following:
import { createUmi } from '@metaplex-foundation/umi-bundle-defaults';
import { Keypair } from "@solana/web3.js";
import { fetchInscriptionMetadata, findInscriptionMetadataPda, findInscriptionShardPda, initialize, mplInscription, writeData, fetchInscription } from '@metaplex-foundation/mpl-inscription';
import { createSignerFromKeypair, generateSigner, signerIdentity } from '@metaplex-foundation/umi';
import { fromWeb3JsKeypair } from "@metaplex-foundation/umi-web3js-adapters";

const secret = [...] // REPLACE THIS WITH YOUR SECRET KEY;
const AUTHORITY = Keypair.fromSecretKey(new Uint8Array(secret));
These imports will allow us to create an instance of Umi, establish a connection to Solana's Devnet, and mint an inscription.
Define Constants
Add your Quicknode endpoint and define an AUTHORITY keypair. Below your imports, add the following:
const ENDPOINT = 'https://example.solana-devnet.quiknode.pro/123465/'; // 👈 Replace this with your Quicknode endpoint
const AUTHORITY = Keypair.fromSecretKey(new Uint8Array(secret));
Create your Script
Let's start by outlining the function we will use to create our inscription. Add the following to app.ts:
async function inscribe(endpoint: string, authority: Keypair) {
    // 1. Create Instance of UMI
    console.log('1. Create Instance of UMI');

    // 2. Fetch Necessary Account Keys
    console.log('2. Fetching necessary account keys');

    // 3. Create Inscription
    console.log('3. Creating inscription');

    // 4. Fetch Inscription Metadata
    console.log('4. Fetching inscription metadata');

    // 5. Fetch Inscription
    console.log('5. Fetching inscription');
}

inscribe(ENDPOINT, AUTHORITY);
Our function doesn't do anything yet, but we will fill it in as we go. You should be able to make sure everything is working by running the following command:
ts-node app.ts
Our logs should be printed to the console:
inscription % ts-node guide.ts
1. Create Instance of UMI
2. Fetching necessary account keys
3. Creating inscription
4. Fetching inscription metadata
5. Fetching inscription
Let's fill in the function.
Create Instance of UMI
Let's start by creating an instance of UMI, which will connect us to Solana's devnet and allow us to use the Metaplex inscription program. Add the following to app.ts:
    // 1. Create Instance of UMI
    console.log('1. Create Instance of UMI');
    const umi = createUmi(endpoint).use(mplInscription());
    umi.use(signerIdentity(createSignerFromKeypair(umi, fromWeb3JsKeypair(authority))));
We are creating an instance of UMI with our Quicknode endpoint and adding the Metaplex inscription program. Finally, we are adding our authority keypair to UMI as our signer. This will allow us to sign transactions and fund account rent for our inscription.
Fetch Necessary Account Keys
To create our inscription, we will need to pass a few accounts to the API:
- an inscription account that will store our inscription data (randomly generated)
- an inscription shard account that uses a sharded counter to prevent resource contention and track global inscription rankings based on their minting order (seeded on string literals: "Inscription" and "Shard", the program ID, and a random shard integer up to 32) ref
- an inscription metadata account that will store our inscription metadata (seeded on a string literal: "Inscription", the program ID, and the inscription account) ref
Add the following to your inscribe function:
    // 2. Fetch Necessary Account Keys
    console.log('2. Fetching necessary account keys');
    const inscriptionAccount = generateSigner(umi);
    const inscriptionShardAccount = findInscriptionShardPda(umi, { shardNumber: Math.floor(Math.random() * 32) });
    const inscriptionMetadataAccount = await findInscriptionMetadataPda(umi, {
        inscriptionAccount: inscriptionAccount.publicKey,
    });
We are generating a random keypair for our inscription account and using the inscription account to fetch the inscription metadata PDA. We also use the findInscriptionMetadataPda to find the PDA for the inscription shard account seeded by our random shard number.
Create Inscription
We are going to create and send a transaction to the network to create our inscription. The transaction will include two instructions:
initializewhich will create the inscription account, create the inscription metadata account, write our inscription metadata, and update the inscription shard counter (instruction source)writeDatawhich will write our inscription data to the inscription account (instruction source)
Add the following to your inscribe function:
    // 3. Create Inscription
    console.log('3. Creating inscription');
    const tx = await initialize(umi, {
        inscriptionAccount,
        inscriptionMetadataAccount,
        inscriptionShardAccount,
    }).add(
        writeData(umi, {
            inscriptionAccount: inscriptionAccount.publicKey,
            inscriptionMetadataAccount,
            value: Buffer.from(
                'Quicknode Inscriptions Guide' // 👈 Replace this with your inscription data
            ),
            associatedTag: null,
            offset: 0,
        })
    ).sendAndConfirm(umi, {confirm: {commitment: 'finalized'}});
The initialize instruction takes our Umi instance and all three accounts we defined in step 2.
The writeData instruction does not require the shard account since it will be updated in the initialize step (for tracking inscription ranks). The writeData instruction does require WriteDataInstructionArgs, which includes:
value: the inscription data (as a Uint8Array). In this case, we are writing the string "Quicknode Inscriptions Guide", but it could be an image, JSON, or any other data.associatedTag: an optional associated tag that can be used to associate multiple inscriptions with a single inscription metadata (e.g., image and JSON) (see next section regarding theinitializeAssociatedInscriptioninstruction).offset: the offset to write the data to. Since we are writing all of our data at once, we can set the offset to 0, but if you wish to append data to an existing inscription, you can set the offset to the length of the existing data.
We then send and confirm the transaction. We wait for the transaction to be finalized so that we can fetch the inscription metadata and inscription data immediately after.
Fetch Inscription Metadata
Now that our inscribed message should be stored on-chain let's verify that our inscription metadata and data are correct. First, let's look at the metadata. Add the following to your inscribe function:
    // 4. Fetch Inscription Metadata
    console.log('4. Fetching inscription metadata');
    const inscriptionMetadata = await fetchInscriptionMetadata(umi, inscriptionMetadataAccount);
    console.log("   Inscription", inscriptionAccount.publicKey.toString());
    console.log("   Inscription Metadata", inscriptionMetadataAccount[0].toString());
    console.log("   Inscription number: ", inscriptionMetadata.inscriptionRank.toString());
We simply use the fetchInscriptionMetadata function to get and decode our inscription metadata. We then parse the returned data to display our inscription account address, inscription metadata account address, and inscription rank.
Fetch Inscription Data
Now, the exciting part. Let's get our inscription data. Add the following to your inscribe function:
    // 5. Fetch Inscription
    console.log('5. Fetching inscription');
    const inscription = await fetchInscription(umi, inscriptionAccount.publicKey);
    const text = Buffer.from(inscription).toString('utf8');
    console.log("   Inscription Data:",text);
Similarly, we use a function from the Metaplex inscription API, fetchInscription, to fetch and decode our inscription data. We then convert the data to a string and log it to the console.
Run the Script
Double-check your work and ensure you do not see any errors in your code editor. Correct any errors, and then you can create your first inscription!
In your terminal, run your script:
ts-node app.ts
You should see the following output:
inscription % ts-node guide.ts
1. Establishing connection to cluster
2. Airdropping devnet SOL if needed
3. Fetching necessary account keys
4. Creating inscription
5. Fetching inscription metadata
   Inscription DgHhQJ93pQ6srkY6gB2mnixZFBQ8d5EzQ22yS562kNu9
   Inscription Metadata 6nJngcmYNpPxohcgswRcY4xu8XNDWWEcrcr2BmcHGevv,255
   Inscription number:  5161
6. Fetching inscription
   Inscription Data: Quicknode Inscriptions Guide
Nice job! You have inscribed some data to the Solana Devnet using the Metaplex Inscription standard.
Further Exploring
The Inscription program has several additional instructions worth exploring.
Inscribe an Existing NFT
If you want to inscribe an existing NFT with data, you can use the initializeFromMint instruction. This instruction will create an inscription account, create the inscription metadata account, write our inscription metadata, and update the shard counter. This can only be performed by the token_metadata.update_authority. A few notable differences from the initialize instruction:
- Unlike
initialize, theinitializeFromMintinstruction requires theinscriptionAccountto be a PDA seeded with the mint account ref. - The instruction requires passing the
mintAccountandtokenMetadataAccount.
    // 3. Create Inscription
    console.log('3. Creating inscription');
    const tx = await initializeFromMint(umi, {
        mintInscriptionAccount: inscriptionAccount,
        metadataAccount: inscriptionMetadataAccount,
        mintAccount: mint.publicKey,
        tokenMetadataAccount, // The metadata account from token metadata
        inscriptionShardAccount, // For concurrency
    }).add(
        writeData(umi, {
            inscriptionAccount,
            metadataAccount: inscriptionMetadataAccount,
            value: Buffer.from(
                JSON.stringify(metadata) // your NFT's metadata to be inscribed
            ),
            associatedTag: null,
            offset: 0,
        })
    ).sendAndConfirm(umi, {confirm: {commitment: 'finalized'}});
Associate Multiple Inscriptions
The inscription program allows you to write data to multiple inscription accounts and associate them with a single inscription metadata account. This can be useful if you want to store multiple pieces of data for a single NFT (e.g., image and json).
  // ... (first initialize the inscription and inscription metadata accounts, as we did previously using .initialize())

  const associatedInscriptionAccount = findAssociatedInscriptionPda(umi, {
    associated_tag: 'image',
    inscriptionMetadataAccount,
  });

  // Create an Associated Inscription account.
  await initializeAssociatedInscription(umi, {
    inscriptionAccount: inscriptionAccount.publicKey,
    associationTag: 'image',
  }).sendAndConfirm(umi);

  // Write the image data to the Associated Inscription account
  await writeData(umi, {
    inscriptionAccount: associatedInscriptionAccount,
    inscriptionMetadataAccount,
    value: imageBuffer,
    associatedTag: 'image',
    offset: i,
  }).sendAndConfirm(umi)
Clear Data
You can remove all data from an inscription account if you would like. This can only be performed by one of the authorities defined in the inscription metadata. Note: this cannot be used if the inscription has been engraved (future functionality). Clearing the data removes all existing data and resizes it to 0.
await clearData(umi, {
  inscriptionAccount: inscriptionAccount.publicKey,
  inscriptionMetadataAccount,
  associatedTag: null, //use the same tag here as you used on creation
})
Changing Authority
The API includes two functions for updating the authority of an inscription metadata account: addAuthority and removeAuthority. Both must be signed by an existing authority and require a inscriptionMetadataAccount. The addAuthority function requires you to pass a newAuthority to add. The removeAuthority function allows an optional authority to be removed--if it is not passed, the signing authority will be removed from the inscription metadata account.
Example:
await addAuthority(umi, {
  inscriptionMetadataAccount,
  newAuthority: authority.publicKey,
}).sendAndConfirm(umi)

await removeAuthority(umi, {
  inscriptionMetadataAccount,
}).sendAndConfirm(umi)
Close
You can close an inscription account (akin to burning a token). This will close the account and return the rent to the authority.
await close(umi, {
  inscriptionAccount: inscriptionAccount.publicKey,
  inscriptionMetadataAccount,
})
Wrap Up
You are all set to start inscribing data on Solana! You can use the Metaplex Inscription API to create inscriptions, fetch data from inscriptions, and more. What are you building? Hop into Discord and let us know! Stuck? Drop a question in our Discord. Follow us on Twitter for news and updates.
We ❤️ Feedback!
Let us know if you have any feedback or requests for new topics. We'd love to hear from you.