
11 min read
Overview
Program-derived Accounts are a unique Solana tool that allows programs to own and sign for state changes on those accounts. This ownership model is crucial for various applications, from decentralized finance (DeFi) to non-fungible tokens (NFTs), as it allows for more sophisticated and secure handling of assets and data. Typically, PDAs are created by and owned by that program (e.g., a token program creating a token account). However, there are some cases where having a PDA owned by the System Program is useful. In particular, if you are paying rent exemption for a new account or interacting with another program expecting a System Program account to participate in a transaction (e.g., a CPI that transfers SOL to a system account). See an example in this Marinande Claim function:
    #[account(
        mut,
        address = ticket_account.beneficiary @ MarinadeError::WrongBeneficiary
    )]
    pub transfer_sol_to: SystemAccount<'info>,
In the account context above, the Anchor constraint SystemAccount will restrict interactions to only accounts owned by the System Program. This guide will show you how to create a PDA owned by the System Program in your Anchor project.
What You Will Do
Write an Anchor program and tests that:
- Creates a PDA owned by the System Program
- "Initialize" the PDA
- Withdraw SOL from the PDA
What You Will Need
- Experience with Solana and Anchor (Guide: Intro to Anchor)
- Understanding of PDAs (Guide: Intro to PDAs)
- A modern browser (Chrome, Firefox, Safari, Edge)
- Solana CLI latest version installed
Dependencies Used in this Guide
| Dependency | Version |
|---|---|
| anchor-lang | 0.29.0 |
| anchor-spl | 0.29.0 |
| solana-program | 1.16.24 |
| spl-token | 4.0.0 |
| solana-cli | 1.17.14 |
Initiate Your Project
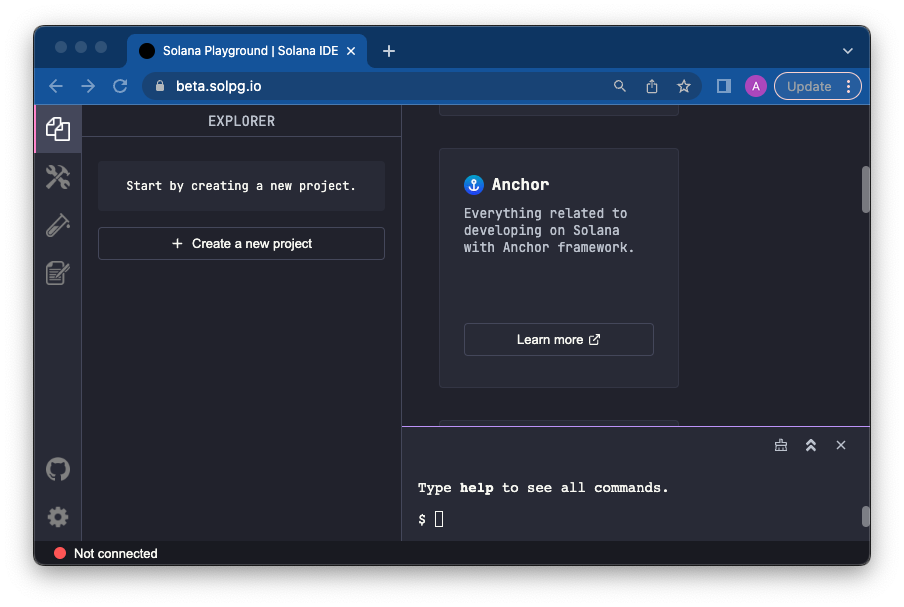
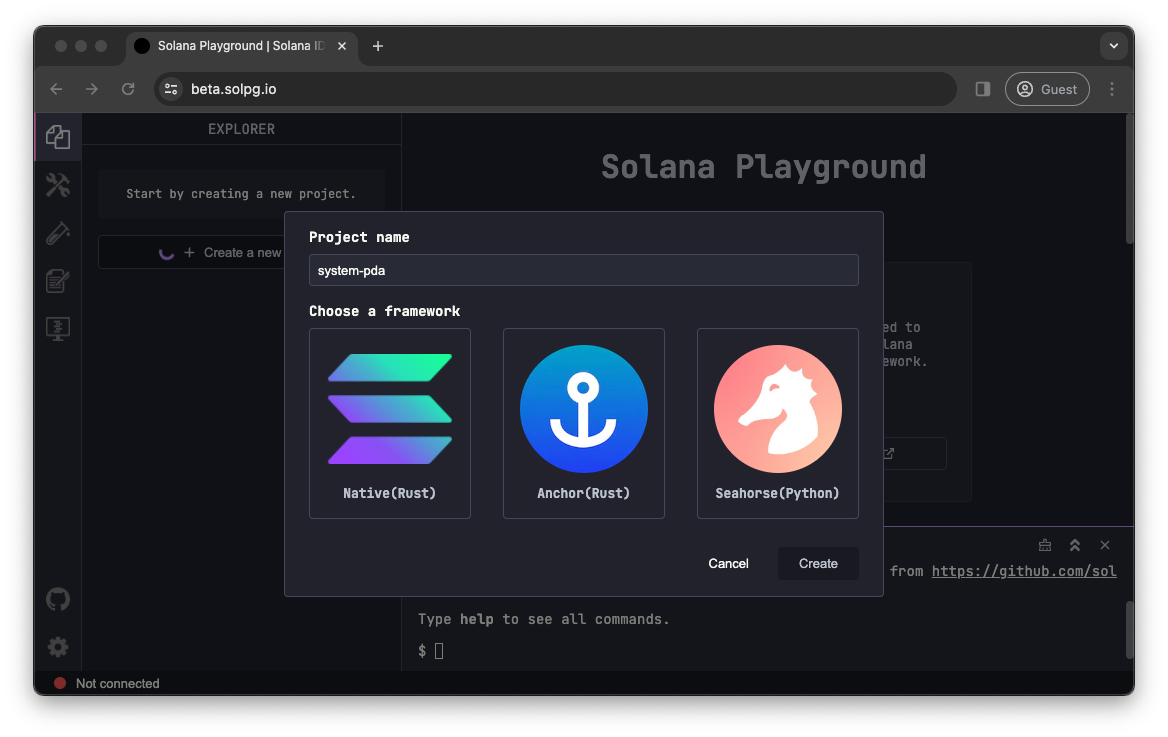
Create a new project in Solana Playground by going to https://beta.solpg.io/. Solana Playground is a browser-based Solana code editor that allows us to get up and running quickly with this project. You're welcome to follow along in your code editor, but this guide will be tailored to Solana Playground's required steps. First, click "Create a new project":
Enter a project name, "system-pda," and select "Anchor (Rust)":
Create and Connect a Wallet
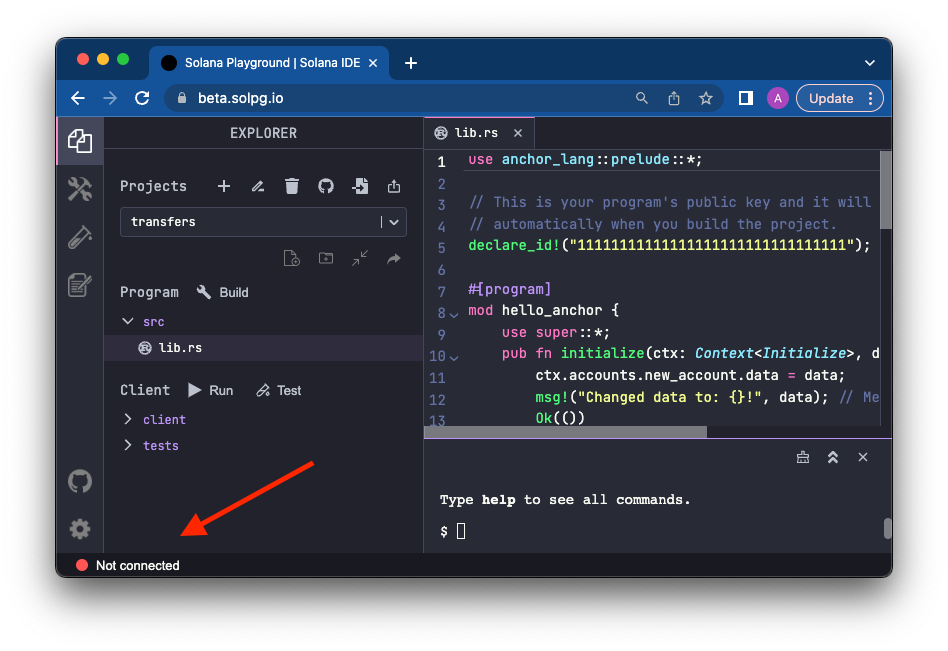
Since this project is just for demonstration purposes, we can use a "throw-away" wallet. Solana Playground makes it easy to create one. You should see a red dot "Not connected" in the bottom left corner of the browser window. Click it:
Solana Playground will generate a wallet for you (or you can import your own). Feel free to save it for later use, and click continue when you're ready. A new wallet will be initiated and connected to Solana devnet.
You are ready to go! Let's build!
Create the Program
Let's start by opening lib.rs and deleting the starter code. Once you have a blank slate, we can start building our program. First, let's import some dependencies and frame out our program. Add the following to the top of the file:
use anchor_lang::prelude::*;
use anchor_lang::system_program::{transfer, Transfer};

declare_id!("11111111111111111111111111111111");

#[program]
mod sys_pda_example {
    use super::*;
    pub fn transfer_to_pda(ctx: Context<Example>, fund_lamports: u64) -> Result<()> {
        // Add code here
        Ok(())
    }
    pub fn transfer_from_pda(ctx: Context<Example>, return_lamports: u64) -> Result<()> {
        // Add code here
        Ok(())
    }
}

#[derive(Accounts)]
pub struct Example<'info> {
    #[account(
        mut,
        seeds = [b"vault".as_ref()],
        bump
    )]
    pub pda: SystemAccount<'info>,
    #[account(mut)]
    pub signer: Signer<'info>,
    pub system_program: Program<'info, System>,
}
All we are doing here is framing out our program. We have imports from the Anchor prelude and the system program. We also have a declare_id! macro that will define our program ID after we build our program. We define two instructions in our sys_pda_example program: transfer_to_pda and transfer_from_pda. These will be used to "initiate" and transfer funds from our PDA. Both instructions will use the same Example, account context. The Example context is defined to have three accounts: pda (a SystemAccount), signer, and system_program. The pda account is the PDA we will create, the signer account is the account that will sign the transactions and pay the transaction fees, and the system_program account is the account that will own the PDA and allow us to transfer SOL.
"Initializing" a System PDA
You may have noticed throughout this guide that we have referred to the initialization of a system PDA in quotes. We also named our first function transfer_to_pda instead of initialize_pda. This is because we are not actually initializing the PDA but rather just transferring funds to it. All accounts are System Accounts by default, and by transferring SOL to an account that we have derived from seed, we are effectively "initializing" it. We just need to ensure we are transferring enough funds to cover rent for a 0-byte account.
Update your transfer_to_pda function to transfer funds to our PDA by adding the following code:
    pub fn transfer_to_pda(ctx: Context<Example>, fund_lamports: u64) -> Result<()> {
        let pda = &mut ctx.accounts.pda;
        let signer = &mut ctx.accounts.signer;
        let system_program = &ctx.accounts.system_program;

        let pda_balance_before = pda.get_lamports();

        transfer(
            CpiContext::new(
                system_program.to_account_info(),
                Transfer {
                    from: signer.to_account_info(),
                    to: pda.to_account_info(),
                },
            ),
            fund_lamports,
        )?;

        let pda_balance_after = pda.get_lamports();

        require_eq!(pda_balance_after, pda_balance_before + fund_lamports);

        Ok(())
    }
This function is effectively doing two things:
- Making a Cross-Program Invocation (CPI) to the System Program to transfer funds from the
signeraccount to thepdaaccount. - Checking that the funds were transferred successfully by comparing our post-balance and expected balance.
Note: As we discussed before, this is not really an initialize function. This function could get called any time and transfer SOL to the PDA.
Transferring Funds from a System PDA
Now that we have SOL in a SystemAccount PDA, we need to know how to transfer those funds. Since it is a PDA, we will have to use a CPI with signer seeds. Let's build that out now.
Update your transfer_from_pda function to transfer funds from our PDA by adding the following code:
    pub fn transfer_from_pda(ctx: Context<Example>, return_lamports: u64) -> Result<()> {
        let pda = &mut ctx.accounts.pda;
        let signer = &mut ctx.accounts.signer;
        let system_program = &ctx.accounts.system_program;

        let pda_balance_before = pda.get_lamports();

        let bump = &[ctx.bumps.pda];
        let seeds: &[&[u8]] = &[b"vault".as_ref(), bump];
        let signer_seeds = &[&seeds[..]];

        transfer(
            CpiContext::new(
                system_program.to_account_info(),
                Transfer {
                    from: pda.to_account_info(),
                    to: signer.to_account_info(),
                },
            ).with_signer(signer_seeds),
            return_lamports,
        )?;

        let pda_balance_after = pda.get_lamports();

        require_eq!(pda_balance_after, pda_balance_before - return_lamports);

        Ok(())
    }
This instruction is almost exactly the same as our previous one, with one significant difference. We must now provide a signer_seeds array to the CpiContext to sign the transaction. This array is a list of seeds that will be used to derive the PDA address. In this case, we are using the same seed as before, "vault," and the bump that was generated when we created the PDA.
Build
Before writing our tests, go ahead and build your program to check for errors. You can do this by clicking the "Build" button in the top left corner of the Solana Playground window in the 🛠️ menu or entering build in the playground terminal. If you have any errors, you will see them in the console below. The console should provide some clear guidance to correct any issues or typos. Once you have fixed them, let's write our tests.
Test
Feel free to take a stab at writing your own tests. Since this is not the focus of this guide, we have written them for you. Replace all the existing code in the anchor.test.ts file with the following code:
describe("Test", () => {
  const [pda] = web3.PublicKey.findProgramAddressSync(
    [Buffer.from("vault")],
    pg.PROGRAM_ID
  );

  it("Transfers funds to PDA", async () => {
    const lamports = web3.LAMPORTS_PER_SOL;
    const data = new BN(lamports);
    const initialBalance = await pg.connection.getBalance(pda);

    try {
      const tx = await pg.program.methods
        .transferToPda(data)
        .accounts({
          pda,
          signer: pg.wallet.publicKey,
        })
        .transaction();
      const txHash = await web3.sendAndConfirmTransaction(pg.connection, tx, [pg.wallet.keypair]);

      const balance = await pg.connection.getBalance(pda);
      assert.strictEqual(
        balance,
        initialBalance + lamports,
        "Incorrect balance"
      );
    } catch (error) {
      assert.fail(`Error in transaction: ${error}`);
    }
  });
  it("Transfers funds from PDA", async () => {
    const lamports = 0.5 * web3.LAMPORTS_PER_SOL;
    const data = new BN(lamports);
    const initialBalance = await pg.connection.getBalance(pda);
    try {
      const tx = await pg.program.methods
        .transferFromPda(data)
        .accounts({
          pda,
          signer: pg.wallet.publicKey,
        })
        .transaction();
      const txHash = await web3.sendAndConfirmTransaction(pg.connection, tx, [pg.wallet.keypair]);

      const balance = await pg.connection.getBalance(pda);

      assert.strictEqual(
        balance,
        initialBalance - lamports,
        "Incorrect balance"
      );
    } catch (error) {
      assert.fail(`Error in transaction: ${error}`);
    }
  });
});
This file does three things:
- Defining the PDA address. Note that we are using our Program's ID. Even though the System Program will own the account, our program ID is required to derive the account and ultimately sign the transaction.
- Testing that we can transfer funds to the PDA.
- Testing that we can transfer funds from the PDA.
Our tests rely on a pre and post-balance check of the pda account to ensure funds have been credited or debited as expected.
Run Tests
Open a new terminal window and initiate a local validator by running:
solana-test-validator
Once the validator is running, you must ensure that your Solana Playground is connected to localhost. You can do this by clicking the "⚙️" in the bottom left corner of the browser window and selecting "Localhost" from the Endpoint dropdown menu. Your browser should now be connected to your local validator.
Airdrop some localnet SOL to your wallet by entering the following command in the playground terminal:
solana airdrop 100
Once confirmed, type deploy in your playground terminal or click the "Deploy" button in the Tools "🛠️" Menu. After a minute or so, your program should be deployed to the cluster.
Finally, run your tests by entering test in your playground terminal or clicking the "Test" button in the main explorer screen. You should see two passing tests:
Running tests...
  anchor.test.ts:
  Test
    ✔ Transfers funds to PDA (552ms)
    ✔ Transfers funds from PDA (546ms)
  2 passing (1s)
Feel free to browse the transactions in Solana Explorer (make sure to select custom/local cluster) to see the executed transactions and to browse the newly created PDA.
Congratulations! You have successfully created a PDA owned by the System Program and transferred funds to and from it.
Wrap up
You now have a working program that manages a PDA owned by the System Program from your program. This can help you as you interact with other programs via CPI or pay rent exemption for a new account from your program.
If you're stuck, have questions, or just want to talk about what you're building, drop us a line on Discord or Twitter!
We ❤️ Feedback!
Let us know if you have any feedback or requests for new topics. We'd love to hear from you.