6 min read
Overview
If you are building on Ethereum, you may run into scenarios where you need to fetch transaction history for a given address. Unfortunately, the current design for Ethereum lacks an easy way to retrieve this data. For this reason, we are dedicating this guide to explaining the different ways in which you can retrieve transaction history on Ethereum. We will demonstrate one of these ways with Python. Take a look at the prerequisites for what you'll need to follow along:
What You Will Need
- Basic understanding of Ethereum transactions
- Python 3+
- Web3py
- Command Line Interface (CLI)
Methods to Retrieve Transactions for a Given Address
To retrieve transactions for a given address, we can do any of the following:
-
Iterate through each block: Since there is no specific RPC method we can call to obtain a list of transaction data for a given address, we will need to iterate through the blocks of the blockchain ourselves and record each instance where we detect a transaction related to our address. This method can be time-consuming and can consume a lot of RPC calls if you need to start from the beginning of the blockchain (genesis block). Additionally, we should request this data from an Archive node (which contains all the historical data of the blockchain since the genesis block).
-
Use an indexing service: APIs such as the Etherscan API allow you to fetch transactions for a given address. However, these come with limitations as you will need to make different requests for different types of transactions you are looking for (e.g., external vs. internal transactions).
-
Use an open-sourced Indexer: This repository has set up an indexing database for users to be able to query this type of transaction data. Although it takes a bit longer to set up, it will be easier to analyze and manage once you have the data.
Access an Ethereum Node with QuickNode
If we're interested in getting all blocks from genesis, we'll need to communicate with an Archive node. At the current time of this writing, the full state of the Ethereum blockchain takes around 10,000 GB of storage (~11TB). Luckily, we don't need to manage this infrastructure ourselves, and we can use QuickNode to boot up an Archive node.
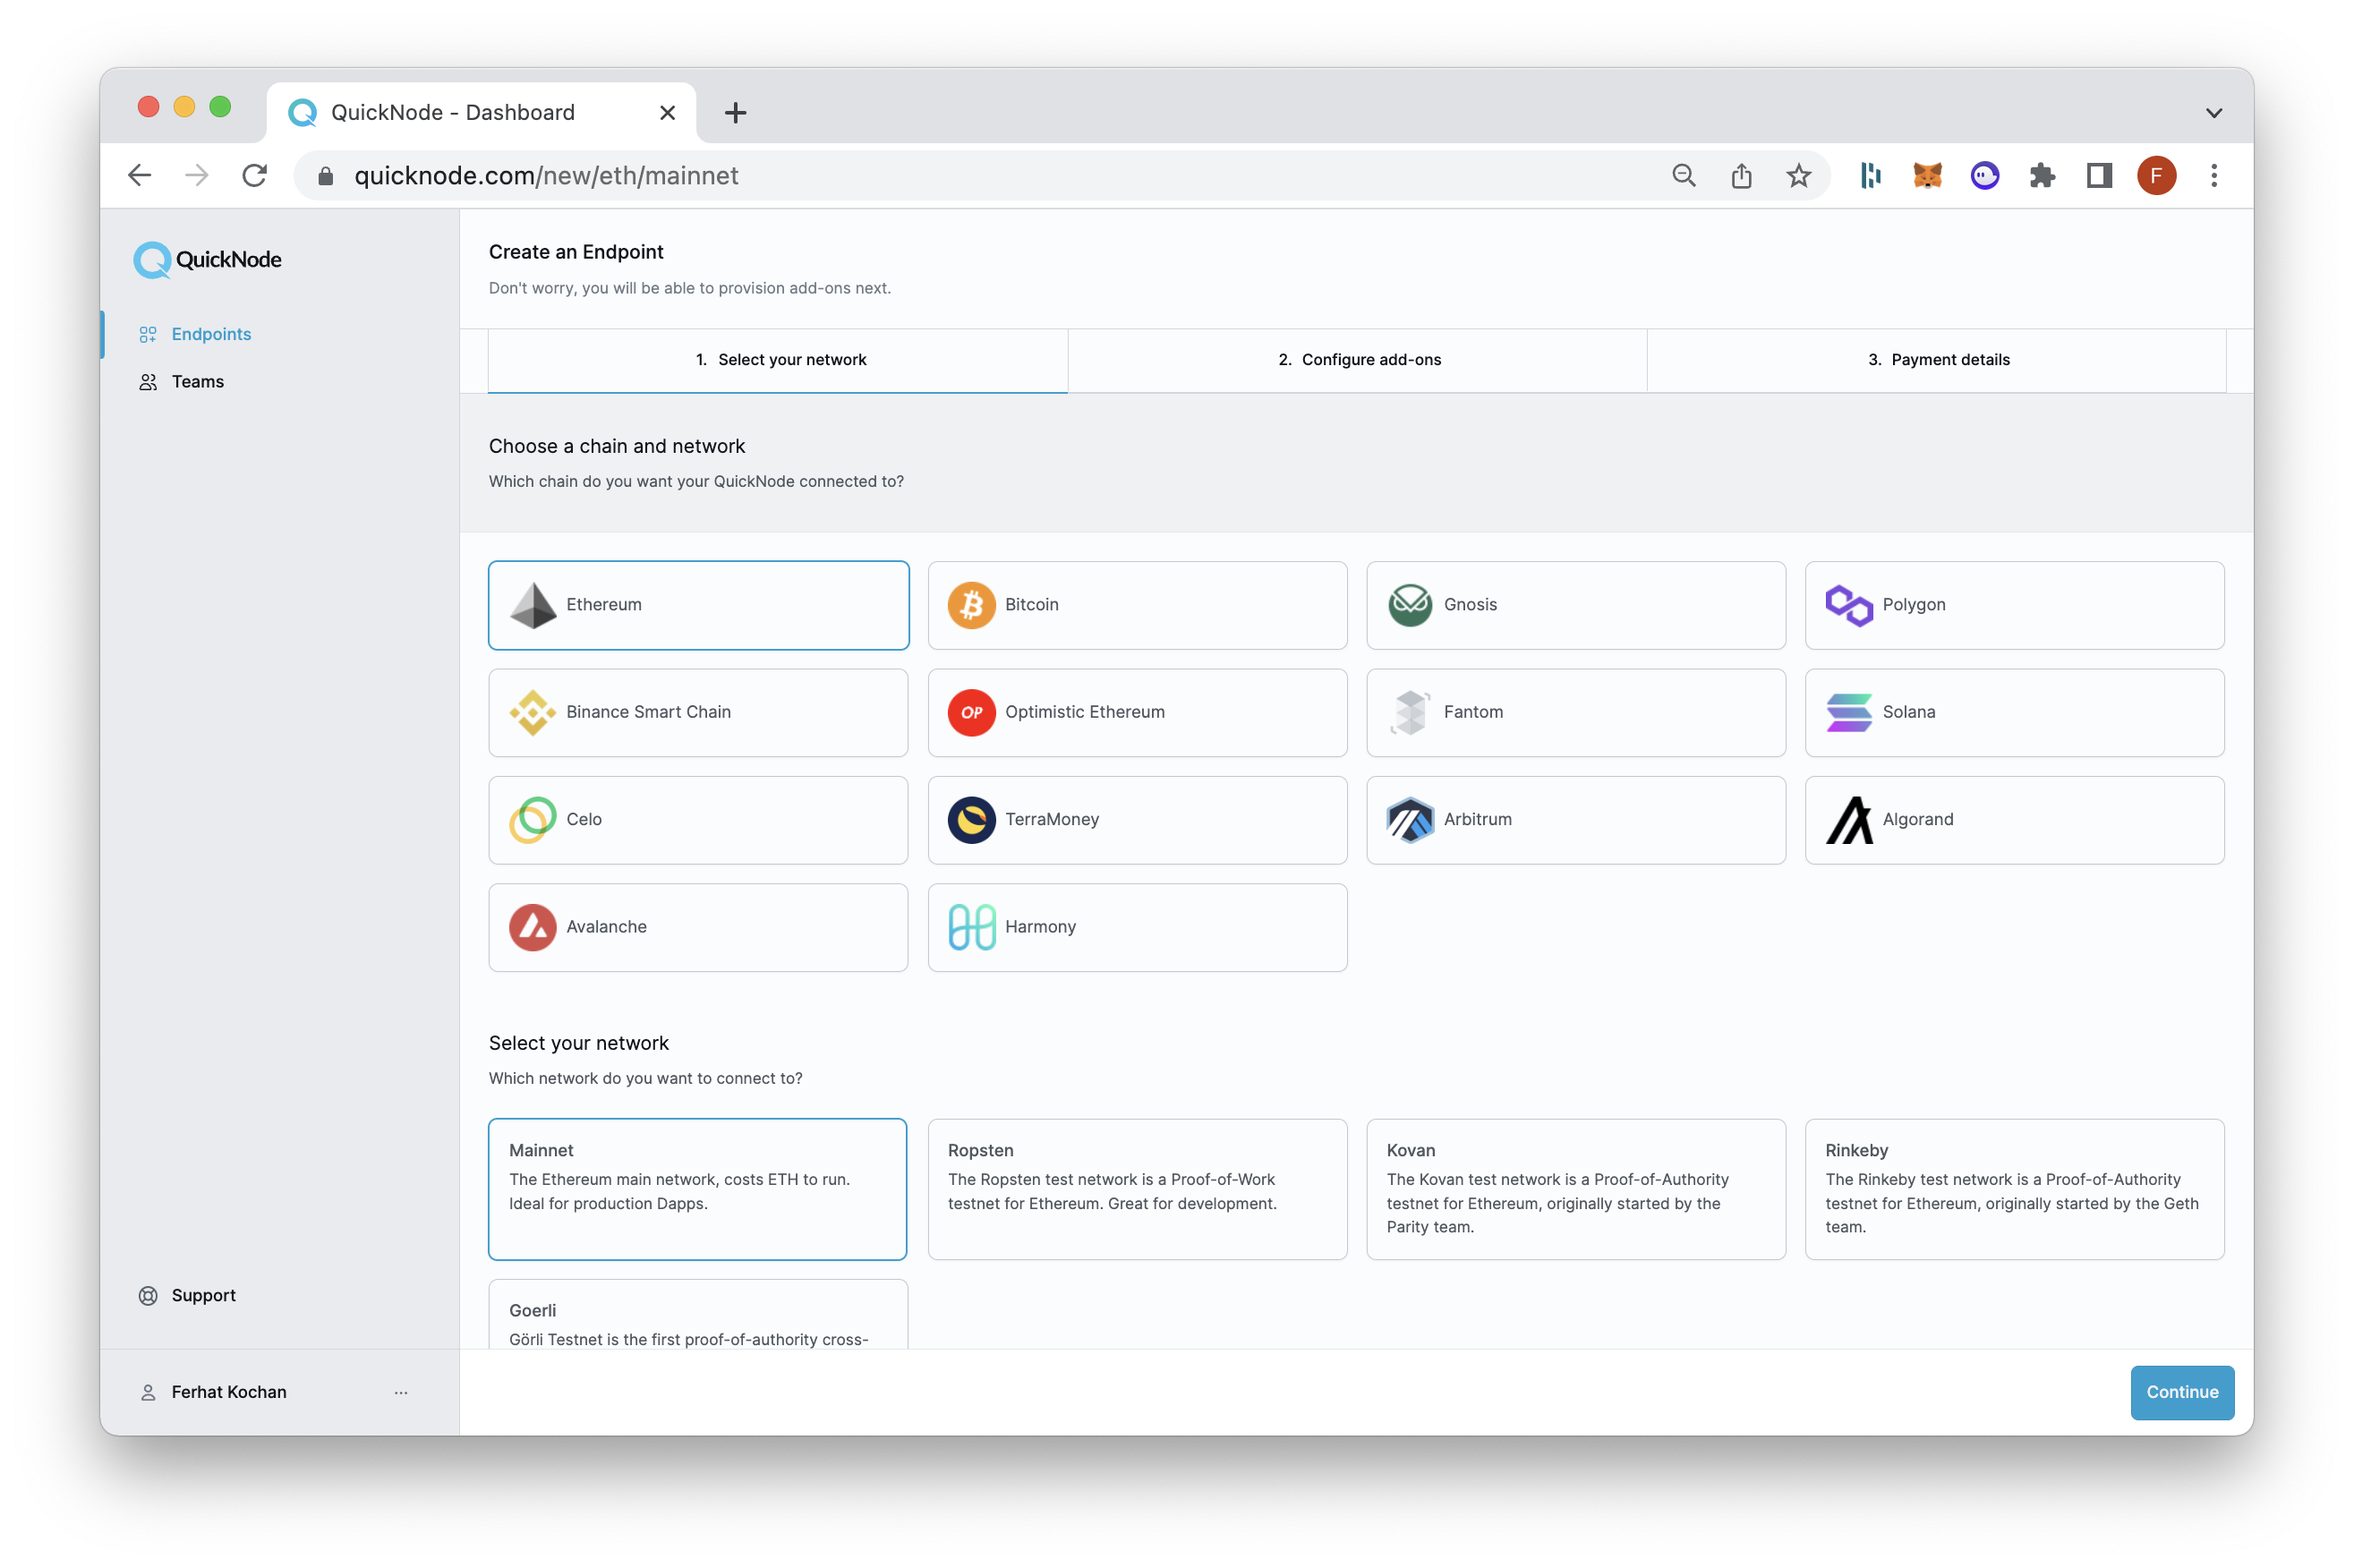
To access an Ethereum node, navigate to the endpoints page and click the Create an Endpoint button. Then, select the chain of your choice. For this example, we are using the Ethereum Mainnet, but you can also use other EVM-related chains (i.e., Fantom, Polygon, Avalanche, Optimism).
If you're looking to get transaction data from the very beginning of the Ethereum chain, select the Archive node add-on:
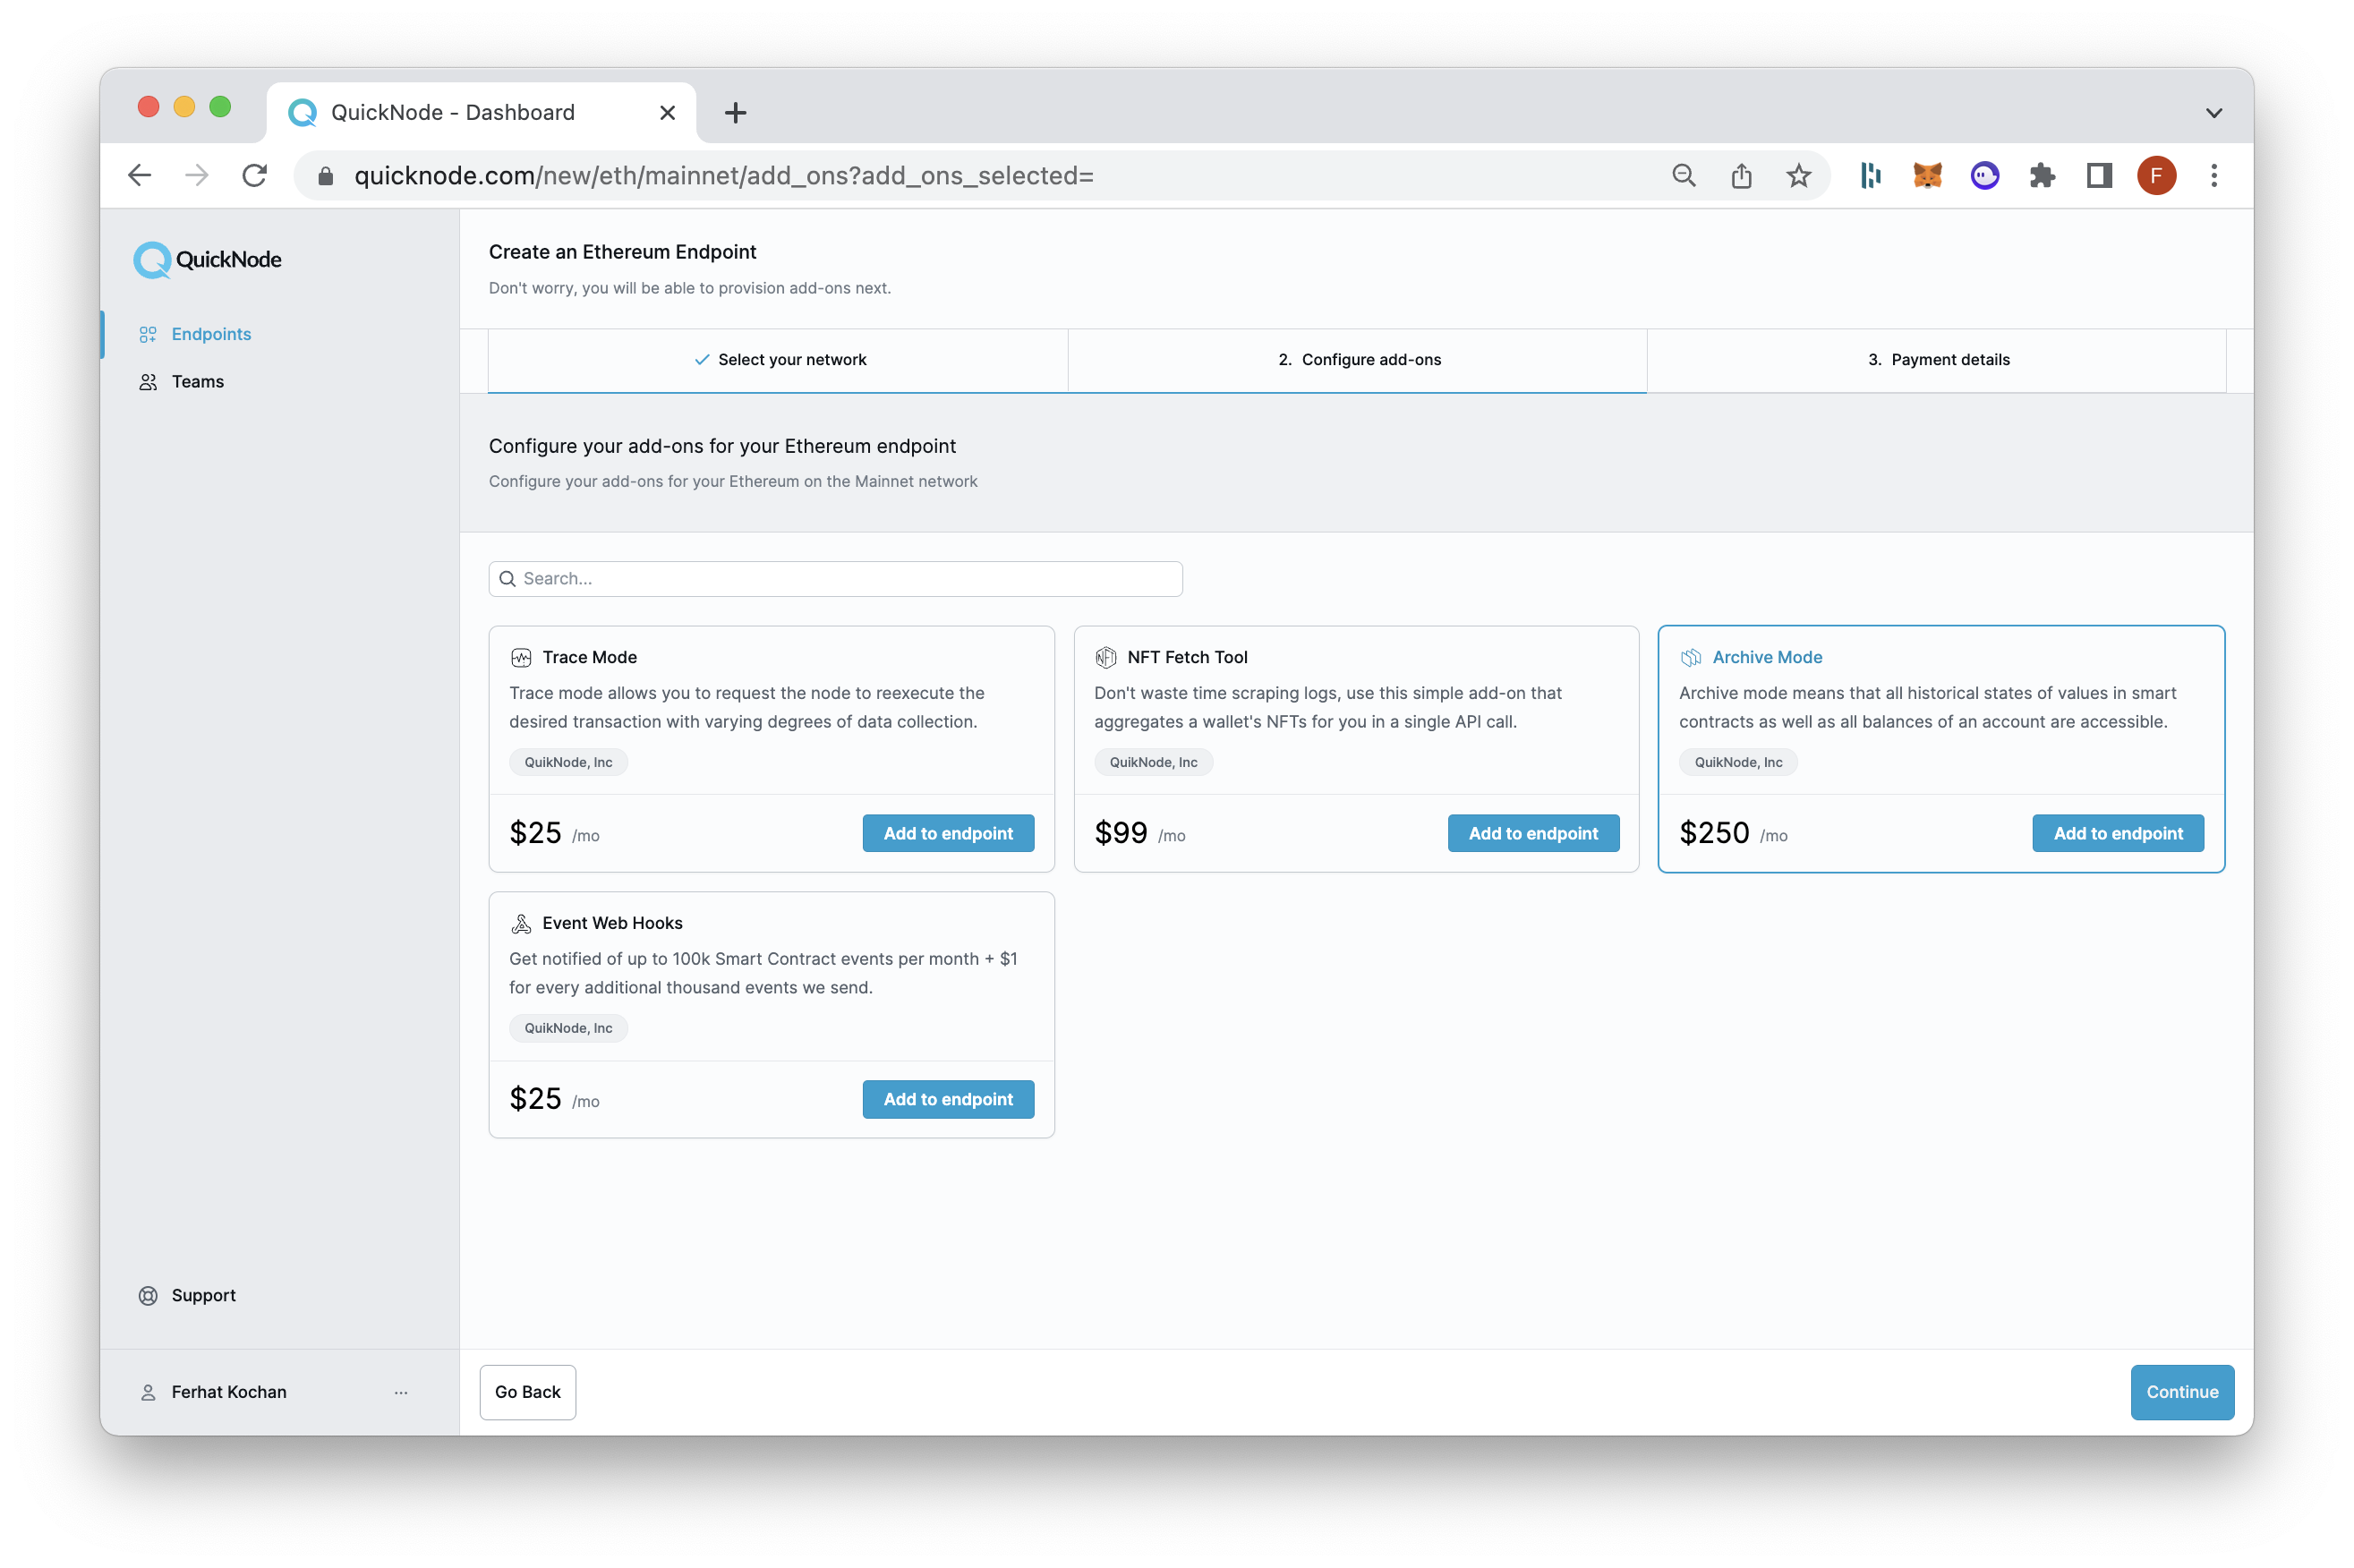
Note: If you're looking to include transactions where your address was included in a trace call, QuickNode provides a quick and easy way to enable this functionality on your blockchain node via the Trace Mode add-on.
Once your node is ready, copy the HTTP URL as you will need it in the following section.
Fetching Transaction History using Web3.py
Now that we have our Archive node ready, we will move on to creating the Python script. Open your terminal and run the following commands to create a project directory:
mkdir eth-transactions-web3py && cd eth-transactions-web3py && echo > transaction_finder.py
Next, we will install the required dependencies:
python3 -m pip install web3
For simplicity, this demonstration will only be searching from the current block and the trailing 100 blocks. Additionally, we'll only check if the to address matches the one set in our blockchain_address variable. In your transaction_finder.py file, add the following code:
# import dependencies
import pickle
from web3 import Web3, HTTPProvider

# instantiate a web3 remote provider
w3 = Web3(HTTPProvider('YOUR_QUICKNODE_HTTP_ENDPOINT'))

# request the latest block number
ending_blocknumber = w3.eth.blockNumber

# latest block number minus 100 blocks
starting_blocknumber = ending_blocknumber - 100

# filter through blocks and look for transactions involving this address
blockchain_address = "INPUT_A_VALID_ETHEREUM_ADDRESS"

# create an empty dictionary we will add transaction data to
tx_dictionary = {}

def getTransactions(start, end, address):
    '''This function takes three inputs, a starting block number, ending block number
    and an Ethereum address. The function loops over the transactions in each block and
    checks if the address in the to field matches the one we set in the blockchain_address.
    Additionally, it will write the found transactions to a pickle file for quickly serializing and de-serializing
    a Python object.'''
    print(f"Started filtering through block number {start} to {end} for transactions involving the address - {address}...")
    for x in range(start, end):
        block = w3.eth.getBlock(x, True)
        for transaction in block.transactions:
            if transaction['to'] == address or transaction['from'] == address:
                with open("transactions.pkl", "wb") as f:
                    hashStr = transaction['hash'].hex()
                    tx_dictionary[hashStr] = transaction
                    pickle.dump(tx_dictionary, f)
                f.close()
    print(f"Finished searching blocks {start} through {end} and found {len(tx_dictionary)} transactions")


getTransactions(starting_blocknumber, ending_blocknumber, blockchain_address)
You can now access Logs for your RPC endpoints, helping you troubleshoot issues more effectively. If you encounter an issue with your RPC calls, simply check the logs in your QuickNode dashboard to identify and resolve problems quickly. Learn more about log history limits on our pricing page.
Note that the code above stores the transaction data in a pickle file. The advantage of storing the data in pickle format is that it can serialize any Python object without handling additional code. Plus, we can then easily read, analyze and clean up the results without making another request to the blockchain for the same information.
Remember to add your RPC URL to the w3 variable and also update the blockchain_address to the address you're searching historical transactions for. When you're finished with that, save the file and run the script by running the command python3 transaction_finder.py:
python3 transaction_finder.py
Note that this script does not have the ability to filter through logs or internal transactions.
**
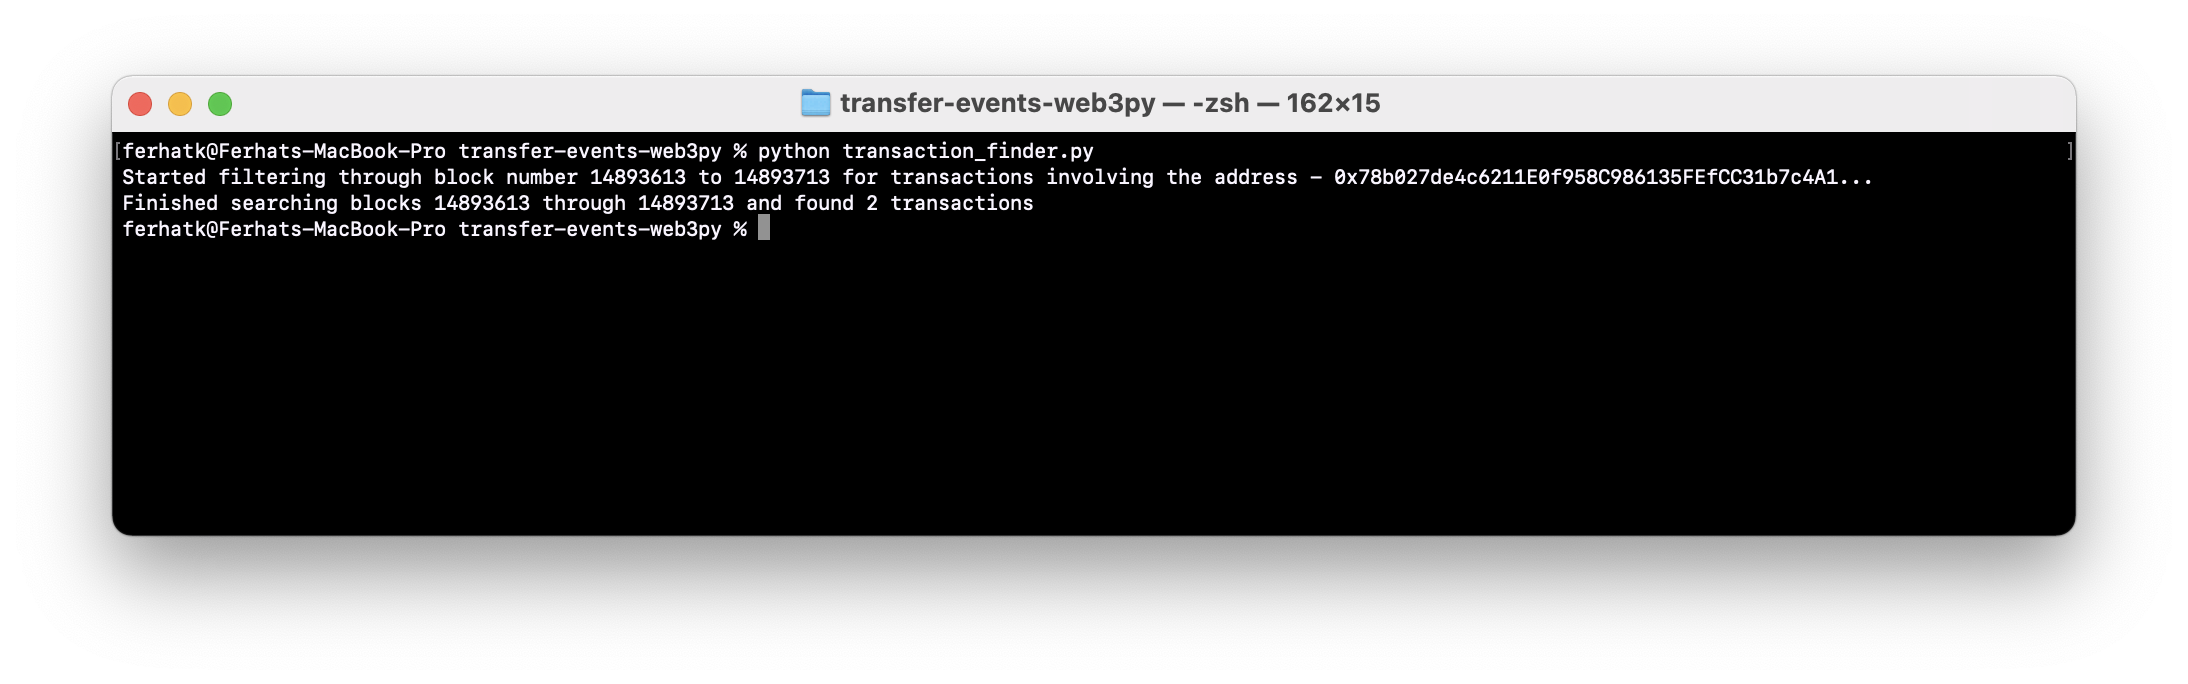
**If the output in your terminal is similar to the screenshot above, congrats! 🎉
To read the transactions.pkl file's contents, you can create another file called transaction_reader.py:
echo > transaction_reader.py
Add the following code snippet:
import pickle

data = pickle.load( open("transactions.pkl", "rb" ))
print(data)
Run the script:
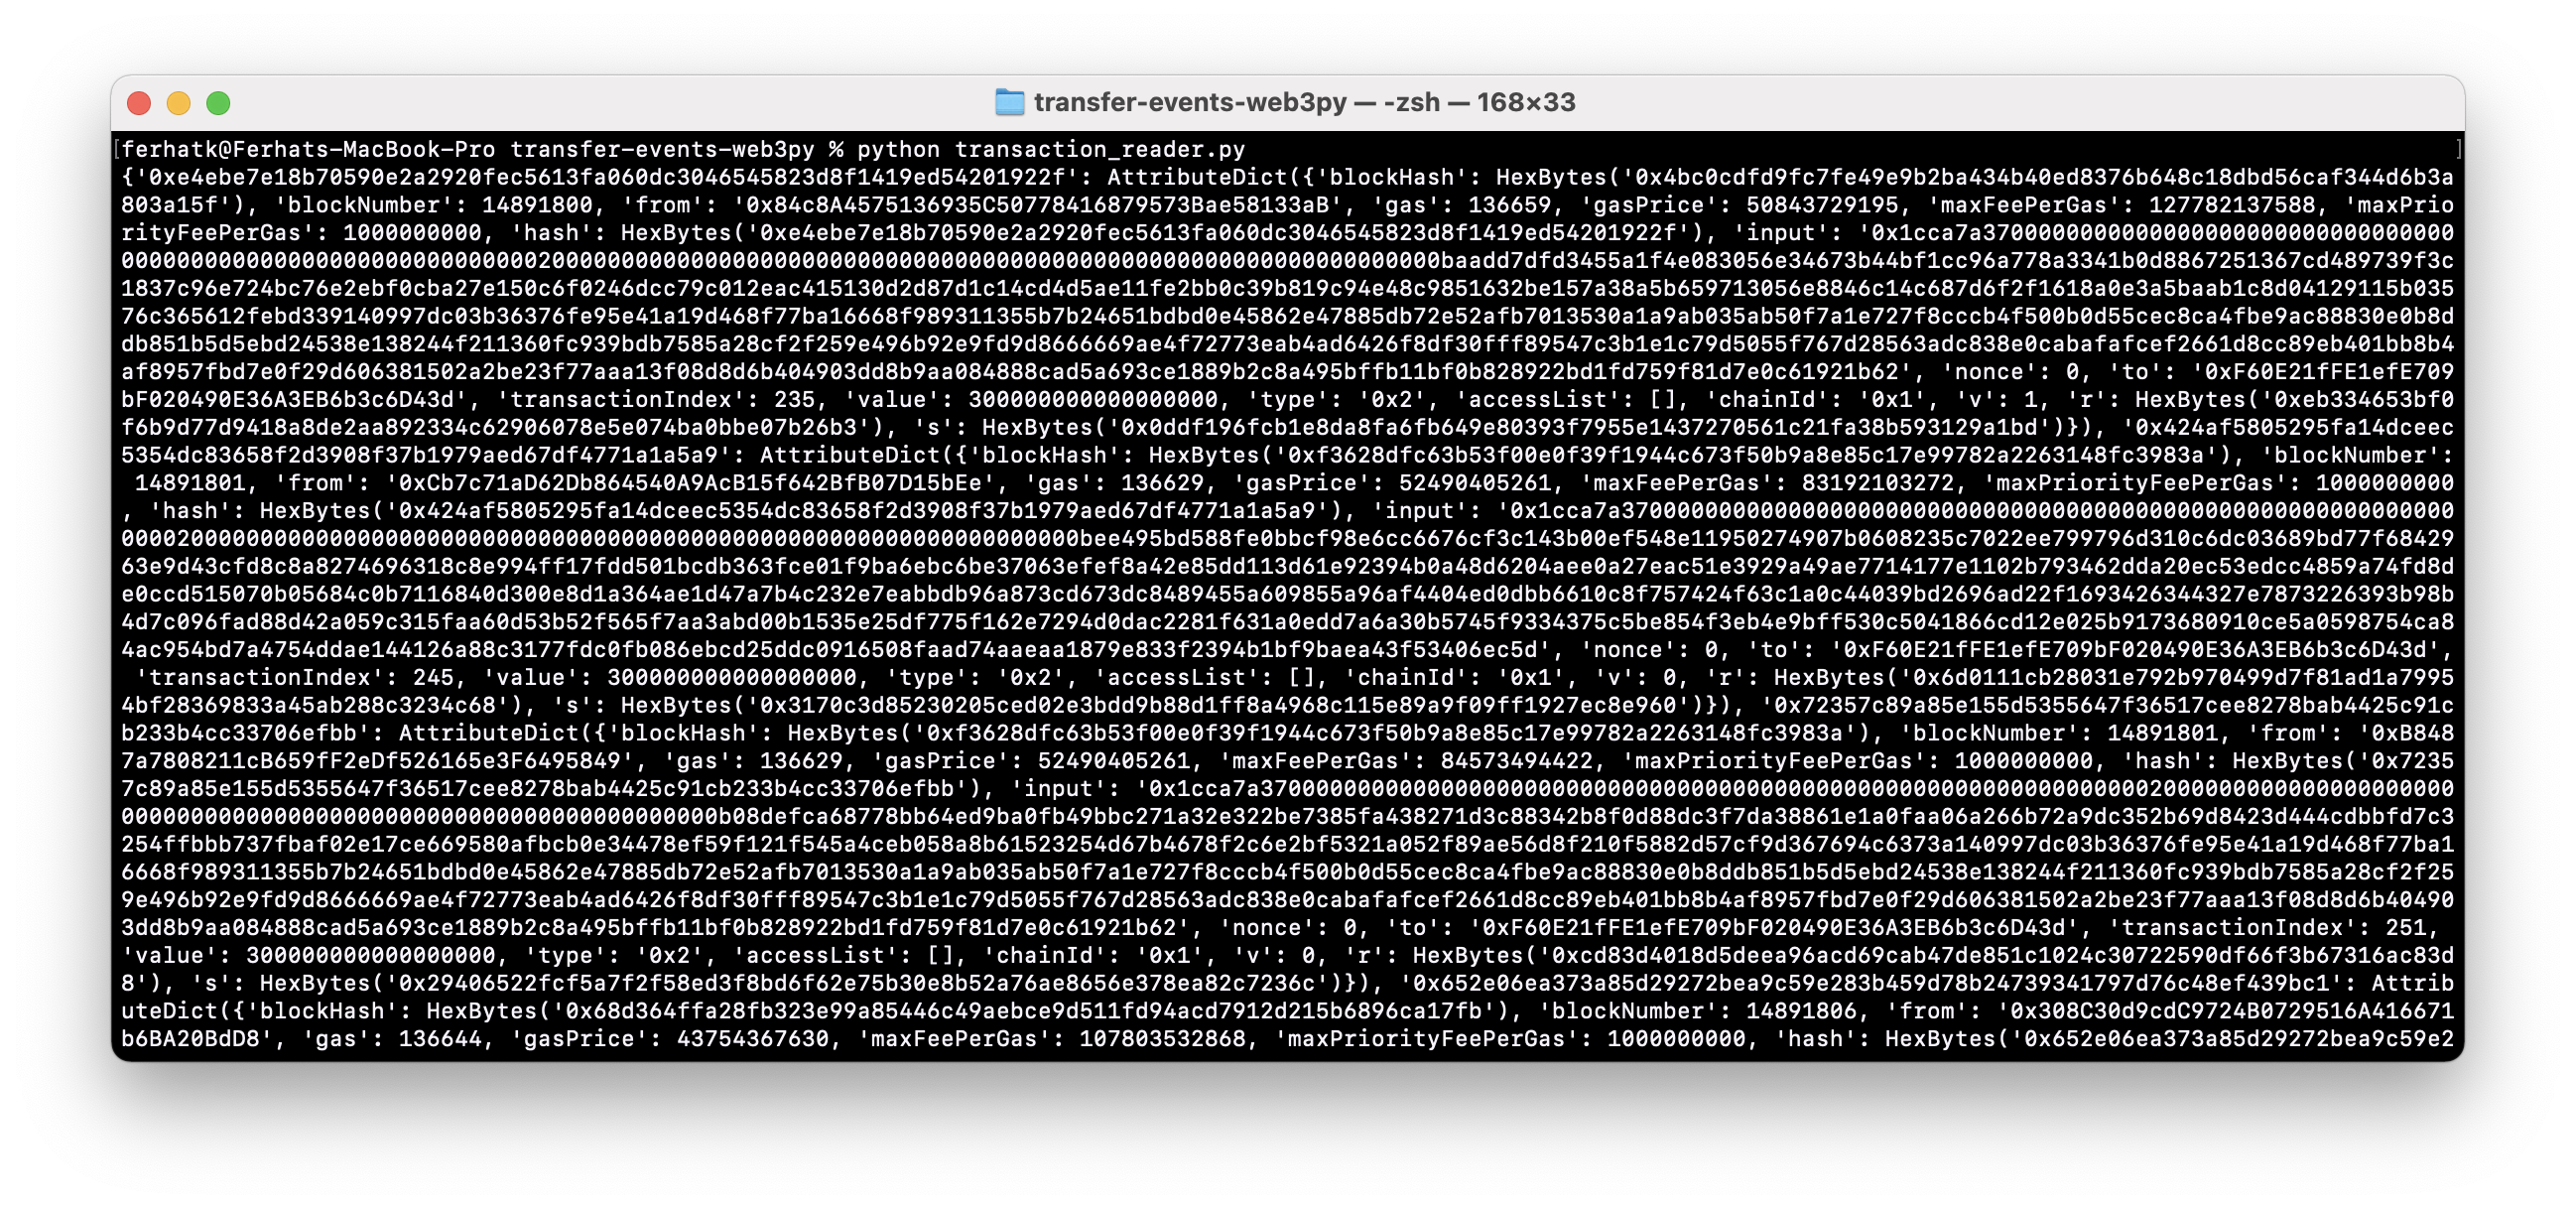
python3 transaction_reader.py
When running the transaction_reader.py script, you should get something similar to the screenshot below, where the key is the transaction hash, and the value contains the transaction details.
Important things to note: The script above only detects transactions with your address in the to or from field. There are scenarios where a transaction can trigger smaller actions that will still modify the internal state of the EVM. The data related to these actions are logged internally within the transaction and are classified as a trace.
If you're looking for transactions related to NFTs, you can use our NFT API to pull transaction history and key collection information about NFTs without having to sort through individual smart contracts.
Conclusion
There you have it! We just demonstrated how to fetch transactions for a given address on Ethereum! If you find this useful, check out some of our guides here. Subscribe to our newsletter for more articles and guides. Feel free to reach out to us via Twitter if you have any feedback. You can always chat with us on our Discord community server, featuring some of the coolest developers you'll ever meet 😊