
7 min read
Overview
Every transaction on Ethereum, whether initiated from an externally owned account (EOA) (e.g., your MetaMask wallet) or a smart contract address contains a nonce. Without properly managing this value, transactions can fail, hence why you might run into an issue like Error: nonce too low (see a full list of error codes here).
In this guide, we'll teach you all you need to know about nonces on Ethereum and how to programmatically manage this value using Ethers.js (JavaScript).
Let's get started!
What You Will Do
- Recap Ethereum transactions at a high level (applicable to other EVM-based chains)
- Gain a foundational understanding of nonces within Ethereum transactions
- Master how to properly manage your Ethereum addresses' nonce using Ethers.js
What You Will Need
- Node.js installed
- An Ethereum Address (e.g., MetaMask, Coinbase Wallet, etc.) with access to your private key
- A Quicknode Account (sign up here for free)
- ETH on Sepolia testnet (retrieve ETH here)
| Dependency | Version |
|---|---|
| node.js | 18.13.0 |
| ethers.js | 6.9.2 |
Transactions on Ethereum
Before diving into Nonces on Ethereum, let's quickly recap transactions and what they are composed of.
Transactions on Ethereum, whether generated from an EOA or smart contract address contain a set of mandatory fields such as:
from: The sender addressto: The recipient addressgasLimit: The maximum amount of gas that can be consumed by the transactionmaxPriorityFeePerGas: This represents the highest amount of gas fee offered as a tip to the validator for each unit of gas consumed.maxFeePerGas: This is the upper limit of the fee per gas unit that one is prepared to pay for the transaction, encompassing both the baseFeePerGas and the maxPriorityFeePerGas.chainId: a unique identifier representing the blockchain you are interacting withnonce: You'll learn about this in the next sectionvalue: The amount of ETH sent along with your transactionsignature(v,r,s): This refers to the transaction's signature values
Note that some Web3 SDKs will pre-fill some of these values, making it easier for developers.
Whenever you generate a transaction payload on Ethereum (or other EVM-based chains), your transaction signature is unique as it is composed of the fields above. This is important for several reasons, which we'll cover in the next section.
If you would like to learn how to generate transactions on Ethereum, check out the following guides: How to Send Transactions with EIP-1559 and Legacy Methods using Python & How to Send a Transaction Using Ethers.js.
What is a Nonce?
A nonce is a number contained within your transaction payload that keeps track of the number of transactions your address has sent. This value makes sure that transactions sent from your wallet are executed in order and cannot be replayed. For example, if an Ethereum address sends two transactions (at the same time), one transaction with a nonce of 1, and the other 2, the transaction with a nonce value of 1 will need to be mined before the latter. This nonce value also prevents transactions from being replayed. For instance, if you sent a valid transaction and it gets mined, you cannot send a transaction with the same nonce value to the network. This safeguard prevents valid transactions from being repeatedly re-used in an attempt to drain funds from an address. Any attempt to re-send a transaction with a previously used nonce will be rejected by a node.
It's also important to note that in the case your transaction has been sent but not executed, you can still replace (e.g., override) the transaction by submitting a transaction with the same nonce AND a higher gas fee. The same works for canceling a transaction, you would resend a transaction with the same nonce and empty payload and value.
Additionally, note that if an address sends multiple transactions at the same time, not all will be in a pending state in the Mempool. Only the current nonce will be in a pending state, while others will be queued (you can learn more about the Ethereum mempool in this guide: Pending and Queued Transactions Explained).
You can view the nonce of a confirmed transaction by viewing details on a block explorer such as Etherscan. Go to a transaction, expand the "More Details" section, and you'll see the nonce value:

Now that we know more about nonces and how they affect Ethereum transactions, let's show you how to properly manage them. However, before we do, let's first set up communication with the Ethereum blockchain and make sure we have enough test funds to simulate transactions.
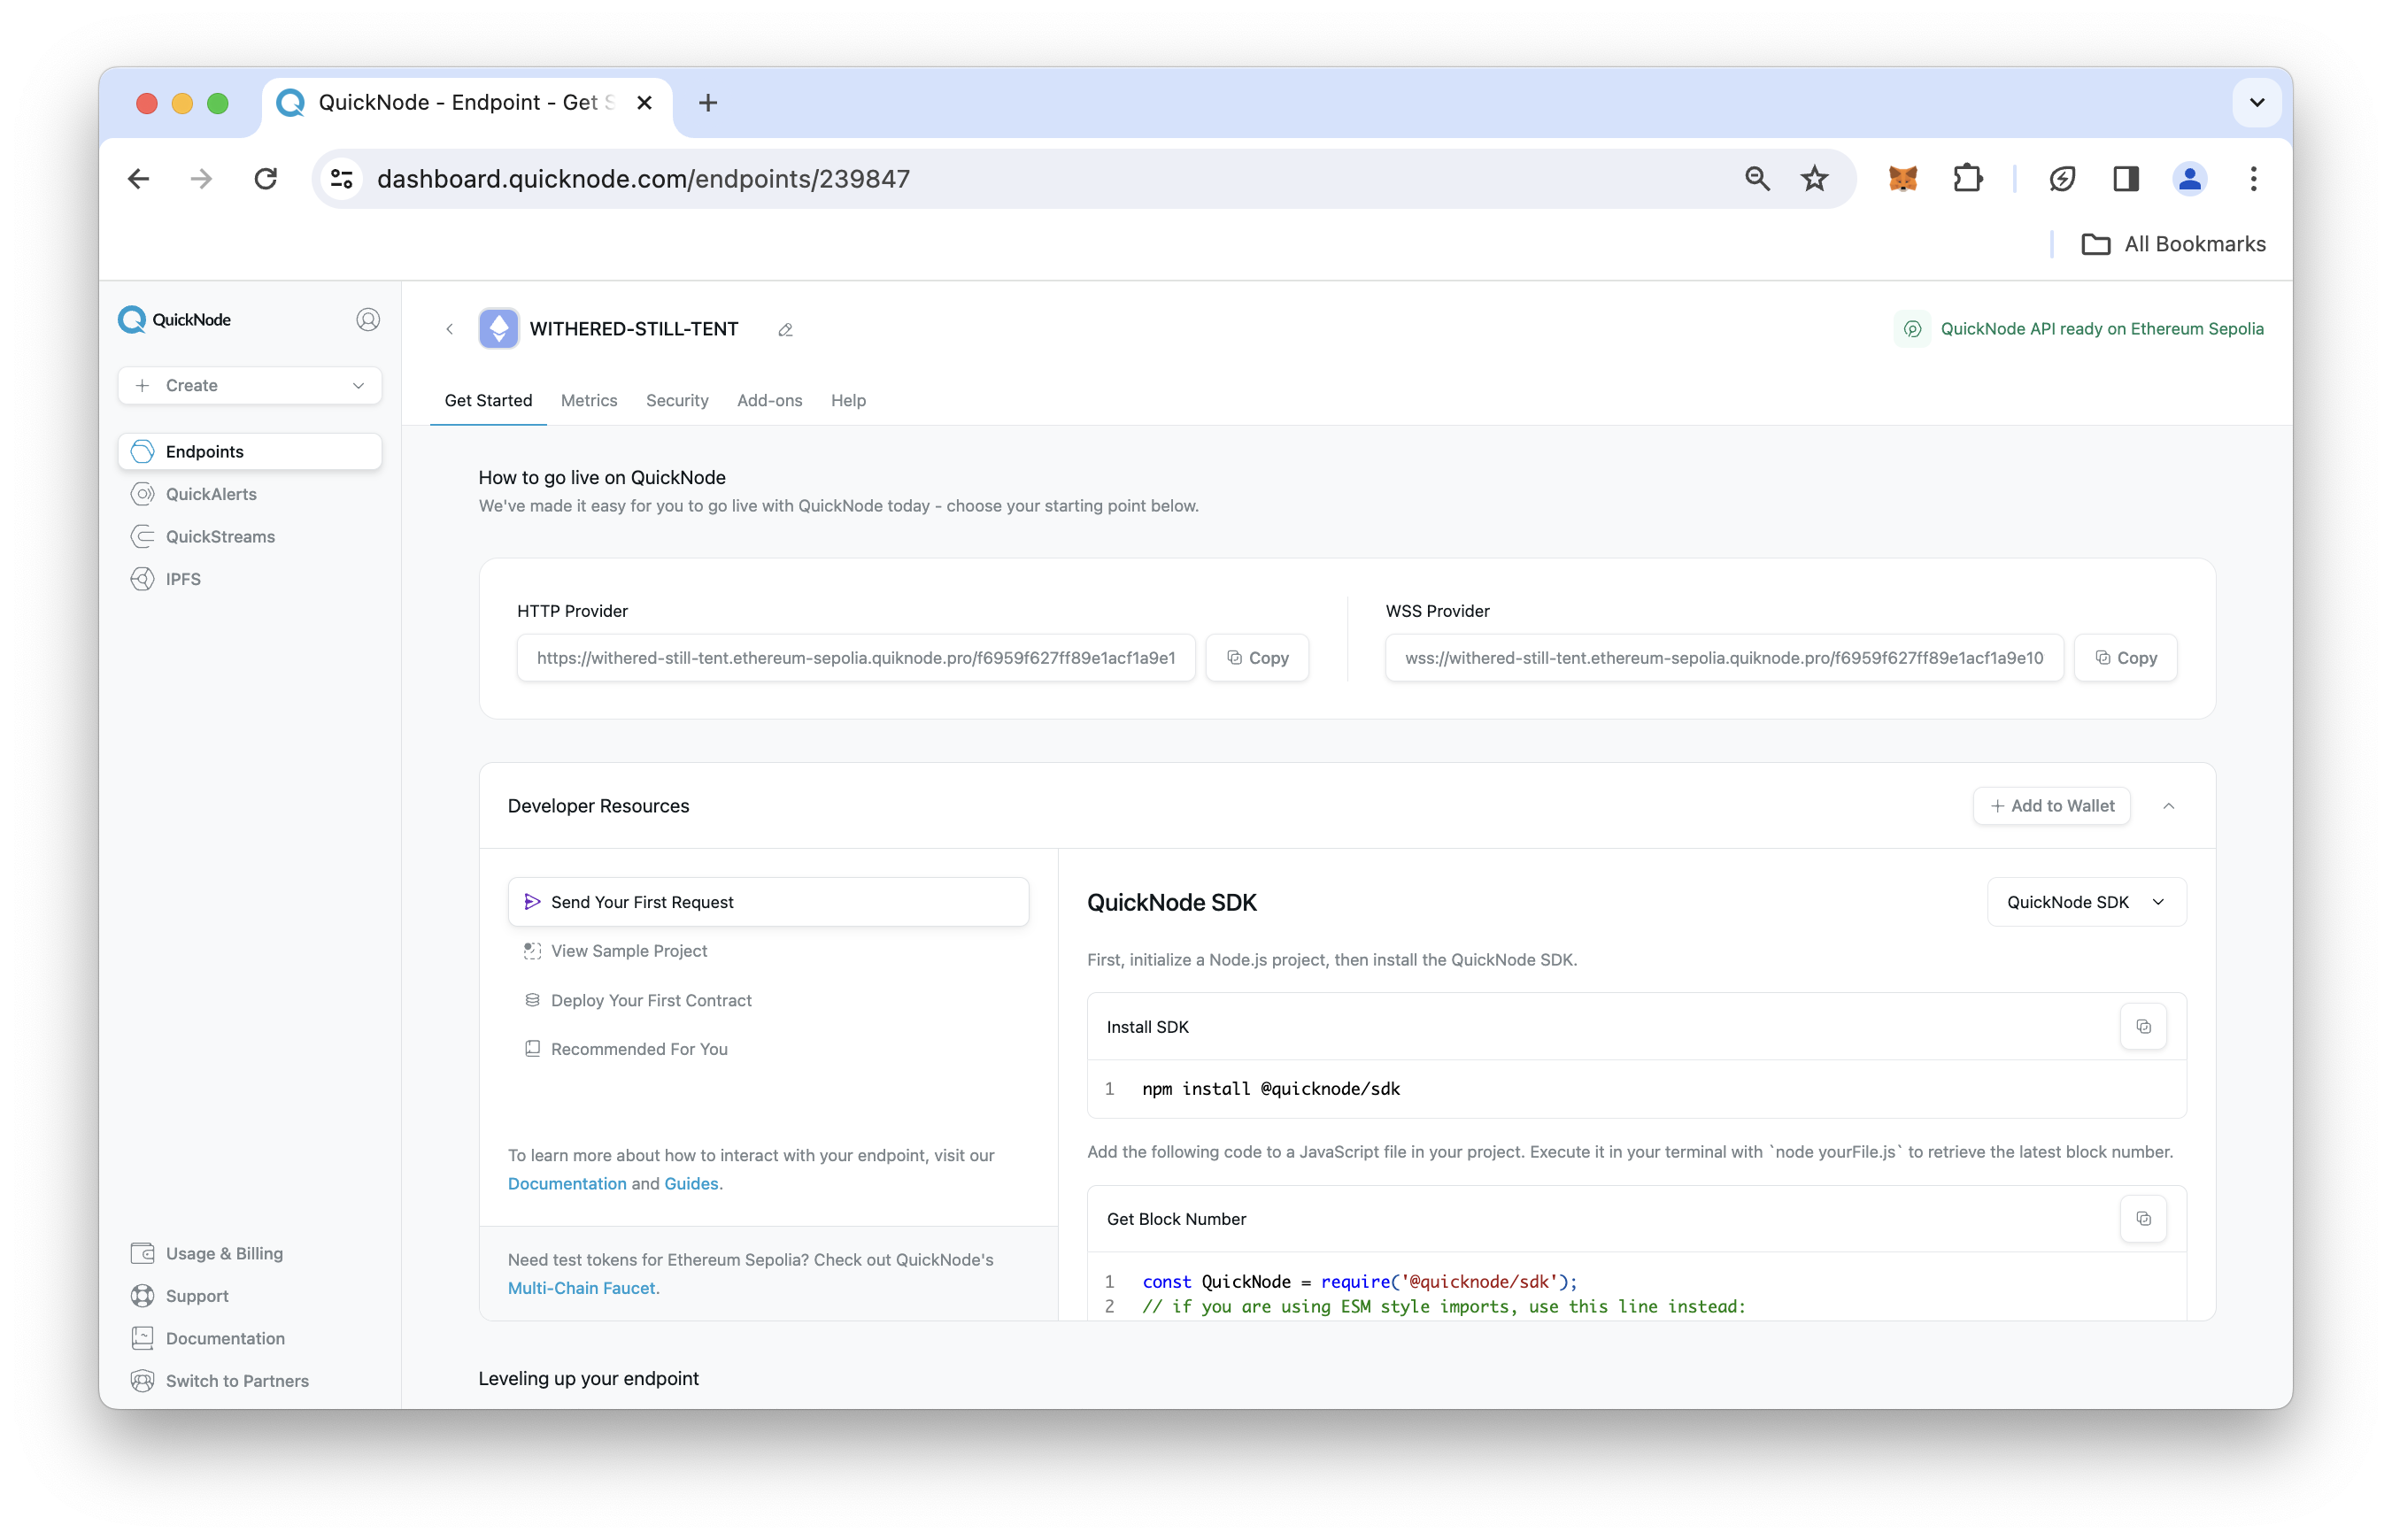
Project Prerequisite: Create a Quicknode Node Endpoint
To communicate with Ethereum, you'll need access to a node. You're welcome to use public nodes or deploy and manage your own infrastructure; however, if you'd like 8x faster response times, you can leave the heavy lifting to us. Sign up for an account here.
For demonstration and testing nonce management in this guide, we'll conduct our transactions on a testnet such as Ethereum Sepolia.
Once logged into Quicknode, click the Create an endpoint button, then select the Ethereum chain and Sepolia network.
After creating your endpoint, copy the HTTP Provider URL link and keep it handy, as you'll need it in the following sections.
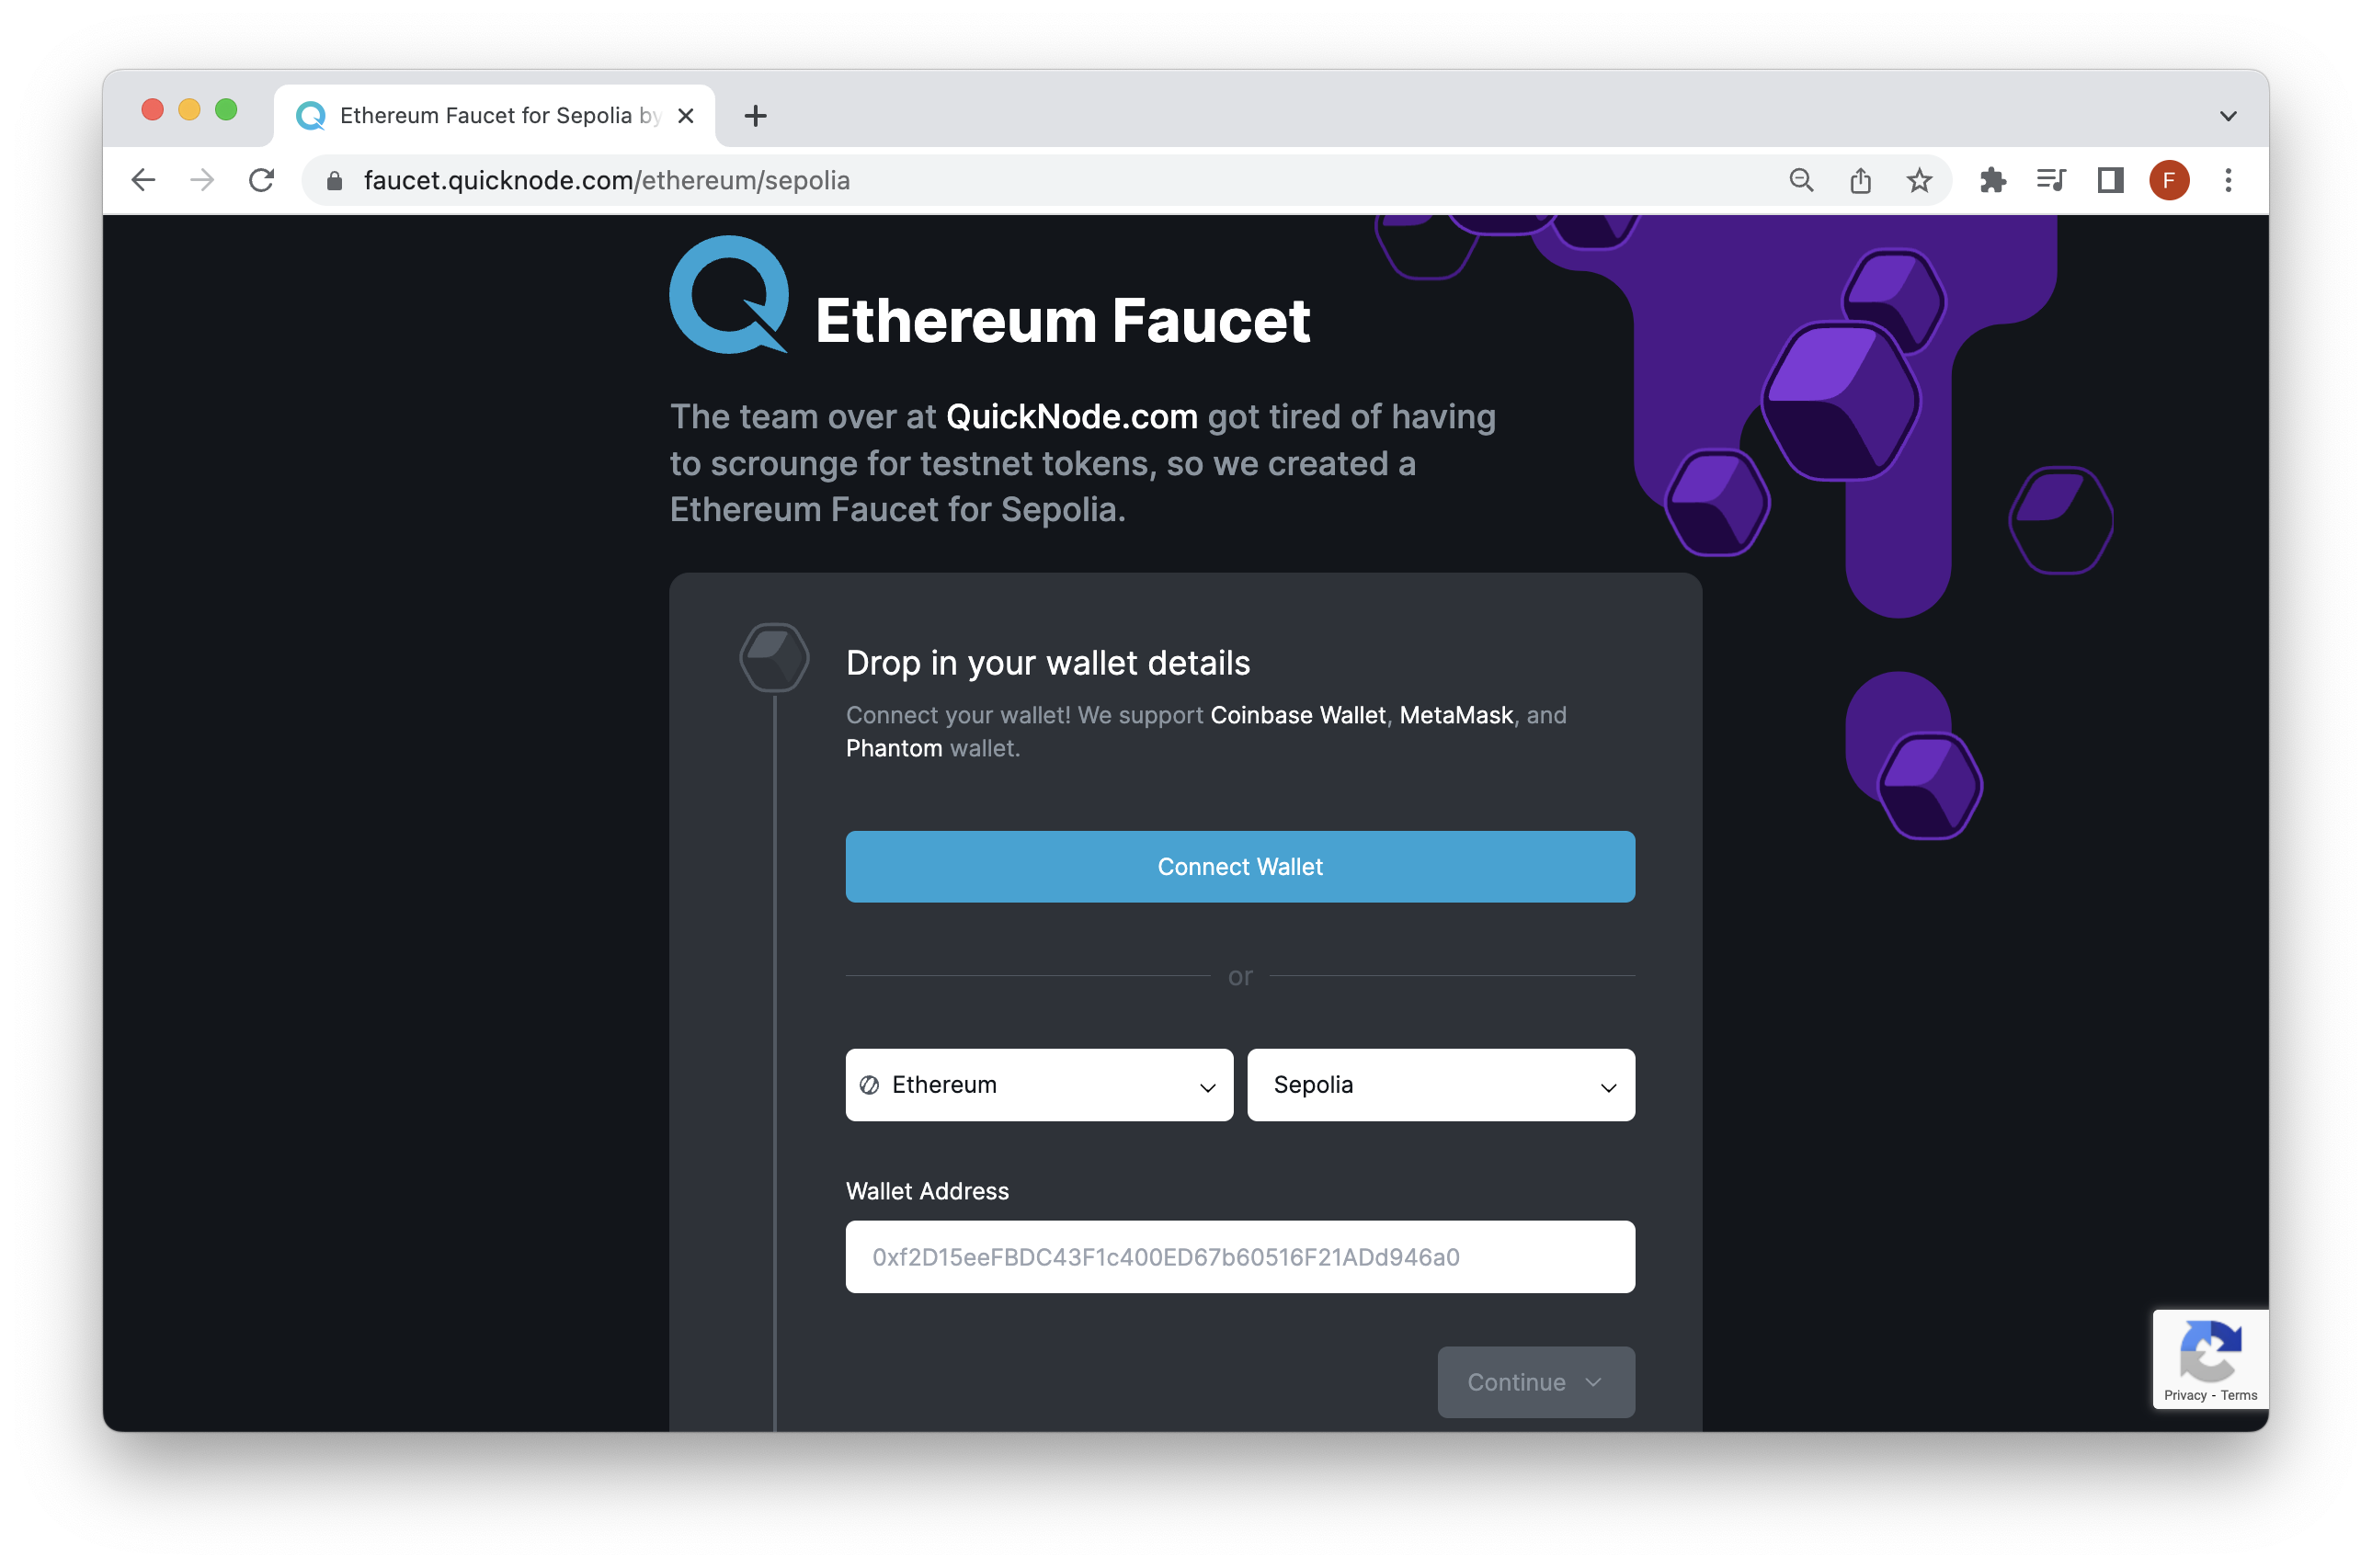
Project Prerequisite: Fund Your Wallet
To conduct transactions on Ethereum Sepolia, we'll need some test Ether to send value and pay for gas fees. If you need some, the Multi-Chain Quicknode Faucet makes it easy to obtain test ETH!
Navigate to the Multi-Chain Quicknode Faucet and connect your wallet (e.g., MetaMask, Coinbase Wallet) or paste in your wallet address to retrieve test ETH. Note that there is a mainnet balance requirement of 0.001 ETH on Ethereum Mainnet to use the EVM faucets. You can also tweet or log in with your Quicknode account to get a bonus!
How to Manage a Nonce in Ethereum Transactions
For the coding demonstration, we'll show you how to send five transactions concurrently, incrementing the nonce in each transaction.
Open your terminal window and create npm project with the necessary files and dependencies by running the commands:
mkdir ethereum-nonce-manager && cd ethereum-nonce-manager && npm init -y && echo > index.js && echo > .env && npm i ethers dotenv
Open the .env file and input the names of the following variable and their respective values. The HTTP_PROVIDER_URL refers to your Quicknode endpoint URL and the PRIVATE_KEY refers to your wallet's private key (to sign transactions).
HTTP_PROVIDER_URL=
PRIVATE_KEY=
After, save the file. Then, open the index.js file and include the following code:
require("dotenv").config();
const ethers = require('ethers');

(async () => {
    const provider = new ethers.JsonRpcProvider(process.env.HTTP_PROVIDER_URL);
    const signer = new ethers.Wallet(process.env.PRIVATE_KEY, provider);

    // Get the current nonce for the first transaction
    let nonce = await provider.getTransactionCount(signer.address);

    // Prepare an array to hold promises for each transaction
    const transactionPromises = [];

    for (let i = 0; i < 5; i++) {
        const payload = {
            from: signer.address,
            to: 'RECEIVER_ADDRESS',
            value: ethers.parseUnits('0.001', 'ether'),
            nonce: nonce + i, // Increment the nonce for each transaction
        };

        console.log("Transaction Payload Generated. Sending transaction with a nonce of:", nonce + i);

        transactionPromises.push(signer.sendTransaction(payload));
    }

    // Wait for all transactions to be sent
    const transactions = await Promise.all(transactionPromises);

    // Wait for all transactions to be mined
    for (const tx of transactions) {
        const receipt = await tx.wait();
        console.log("Transaction Mined: ", tx.hash);
    }
})();
Before we execute the code, let's fill in the placeholder values - RECEIVER_ADDRESS. Then, execute the transactions by running the command:
node index.js
You'll see an output similiar to the one below:
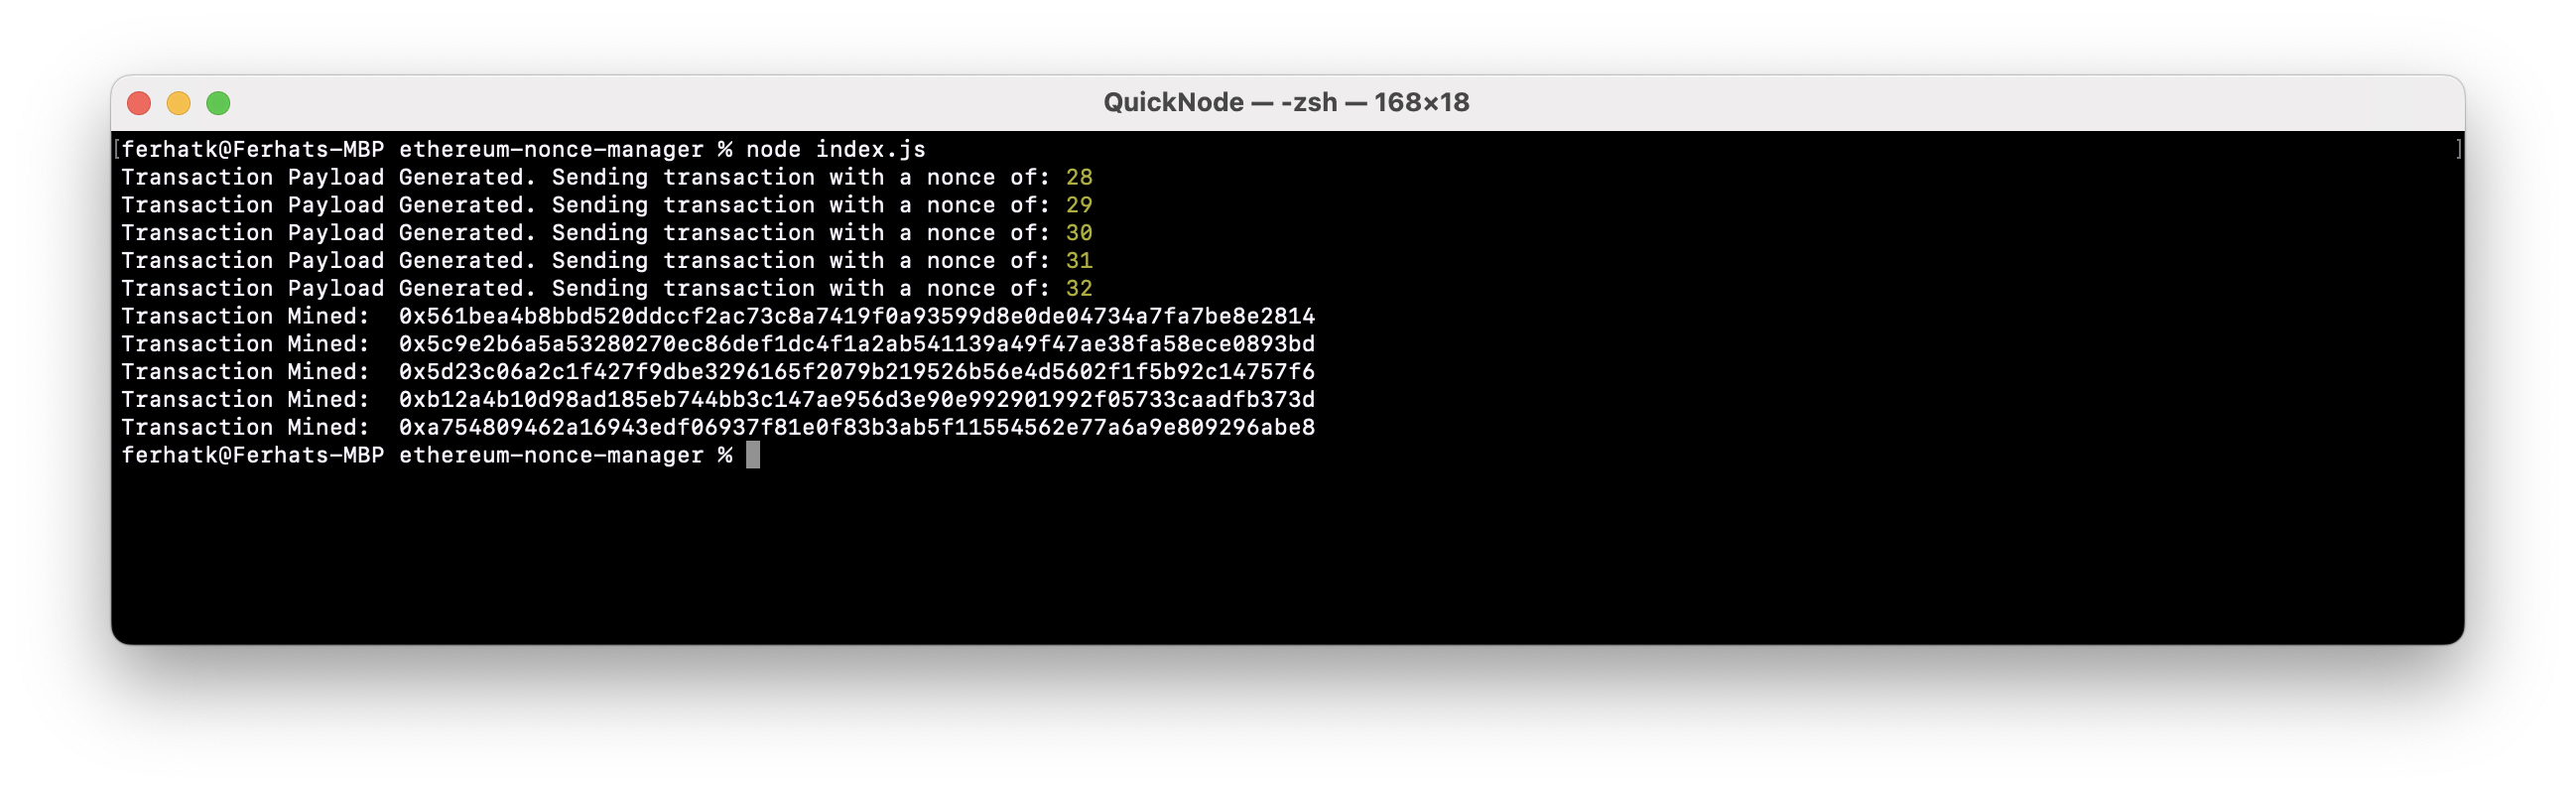
As you see, each transaction has a unique nonce value, tracking the number of transactions your address has sent. If you need just the code for a single transaction, here is the separate code snippet. All you need to do is replace the same placeholder values.
require("dotenv").config();
const ethers = require('ethers');

(async () => {
    const provider = new ethers.JsonRpcProvider(process.env.HTTP_PROVIDER_URL);
    const signer = new ethers.Wallet(process.env.PRIVATE_KEY, provider);
    const nonce = await provider.getTransactionCount(signer.address)
    const payload = {
        from: signer.address,
        to: 'RECEIVER_ADDRESS',
        value: ethers.parseUnits('0.001', 'ether'),
        nonce: nonce,
    }
    console.log("Transaction Payload Generated. Sending transaction with a nonce of:", nonce)
    const tx = await signer.sendTransaction({payload});
    const receipt = await tx.wait()
    console.log("Transaction Mined: ", tx.hash)
})();
Well done! You've reached the end of this guide!
Final Thoughts
That's it! You now know how what a nonce is and how to manage it within your Ethereum transactions! If you have any questions or need further assistance, feel free to join our Discord server or provide feedback using the form below. Stay up to date with the latest by following us on Twitter (@Quicknode) and Telegram announcement channel.
We ❤️ Feedback!
Let us know if you have any feedback or requests for new topics. We'd love to hear from you.