12 min read
Overview
ERC-20 tokens are a popular type of token on the Ethereum blockchain, but one issue with their usage is the need for multiple transactions when approving token transfers. This is where EIP-2612 comes in. EIP-2612 proposes a standardized way for users to grant permission to others to spend their tokens in a single transaction, simplifying the process of approving token transfers. In this guide, we will walk through how to use EIP-2612 to make ERC-20 permit approvals.
What You Will Need
- Basic understanding of smart contracts and programming concepts
- Access to an Ethereum endpoint (you can get one for free here!)
- Ethers.js (version 5.7) installed
What You Will Do
- Discuss what EIP-2612 is and its benefits
- Set up a development environment using Hardhat
- Deploy an ERC-20 contract with Permit functionality
- Call the permit function on the ERC-20 contract to approve token spend without gas
What is EIP-2612
EIP-2612 is an Ethereum Improvement Proposal that proposes a new standard for permit approvals for ERC-20 tokens. It introduces the concept of "permit" functions, which allow users to grant permission to others to spend their tokens in a single transaction.
Benefits of EIP-2612
The main benefits of EIP-2612 are:
- Simplified user experience: Users only need to approve token transfers once instead of for each transfer.
- Improved security: Permit approvals are more secure than traditional approvals because they include an expiration time and a unique nonce.
- Reduced gas costs: Permit approvals require fewer transactions, resulting in lower gas costs for users.
Setting up your development environment
Setup a Web3 Wallet & Retrieve Testnet Tokens
You can use any type of non-custodial wallet (e.g., Phantom, MetaMask, Torus) for this tutorial, as long as you have access to two private keys.
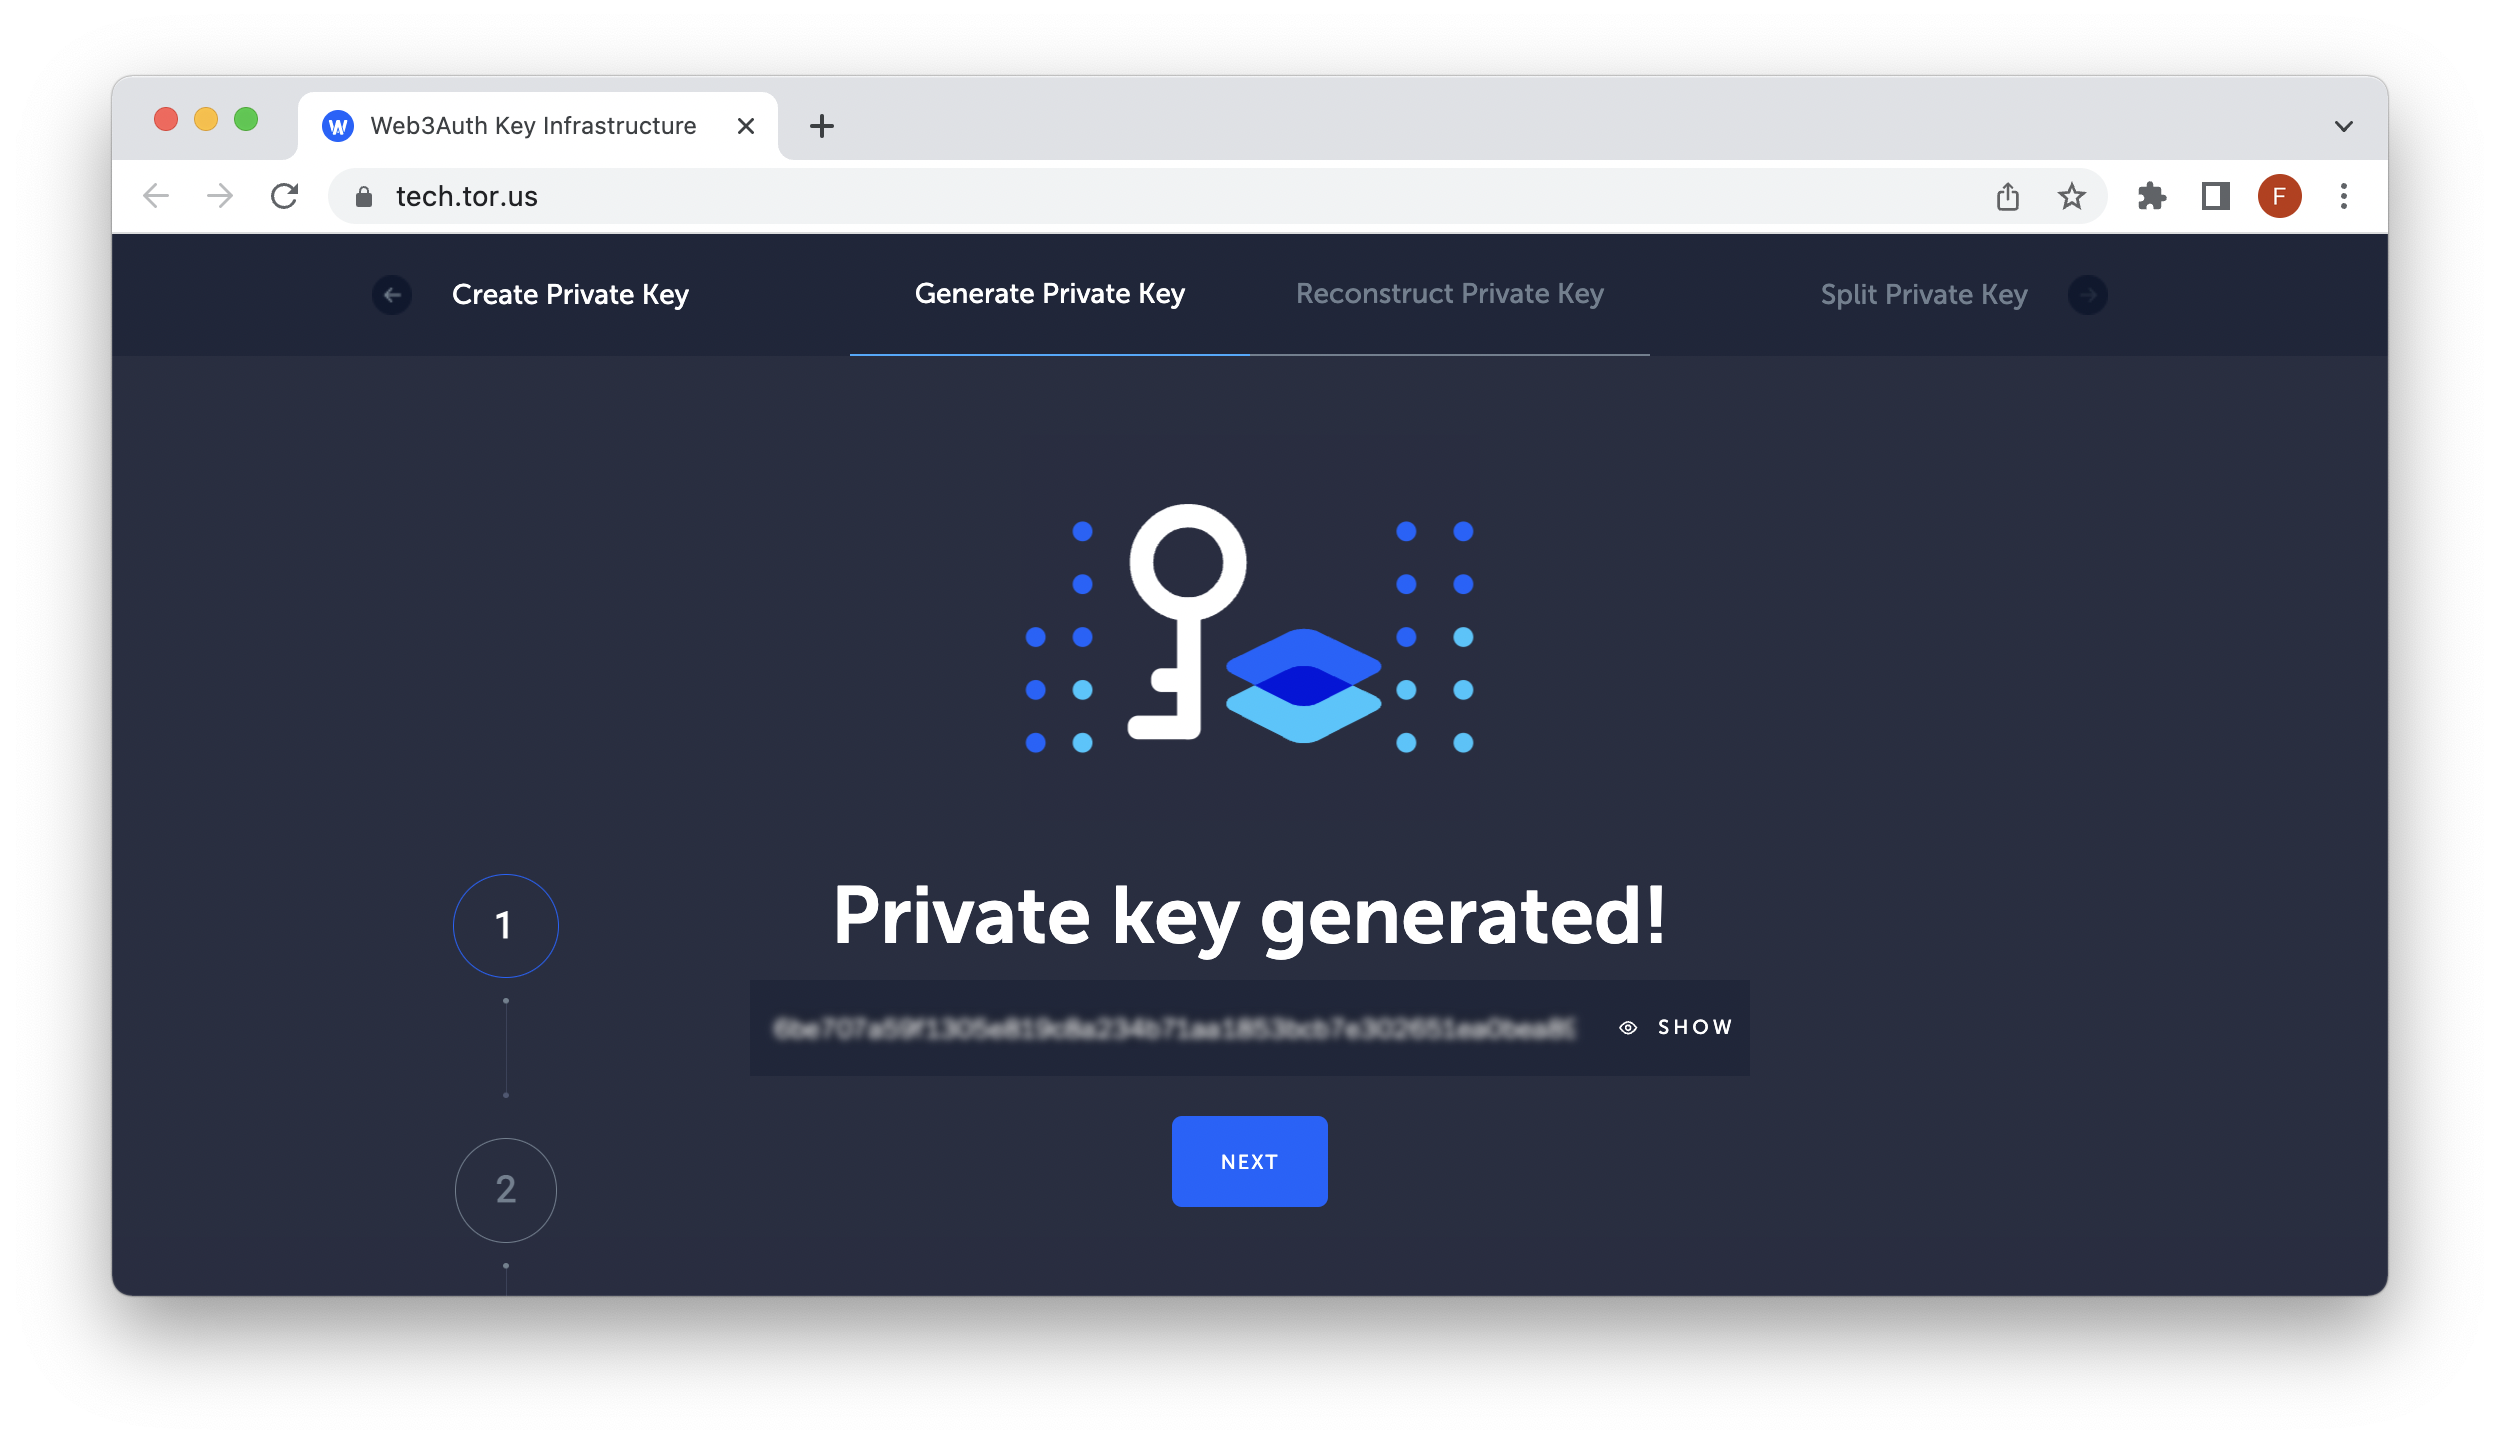
For quick development purposes, we'll use a Torus wallet in this tutorial. Torus is a non-custodial wallet that supports multiple chains and networks, including Ethereum, Polygon, Arbitrum, Avalanche, etc. To get started, go to Torus and follow the instructions to generate a private key.
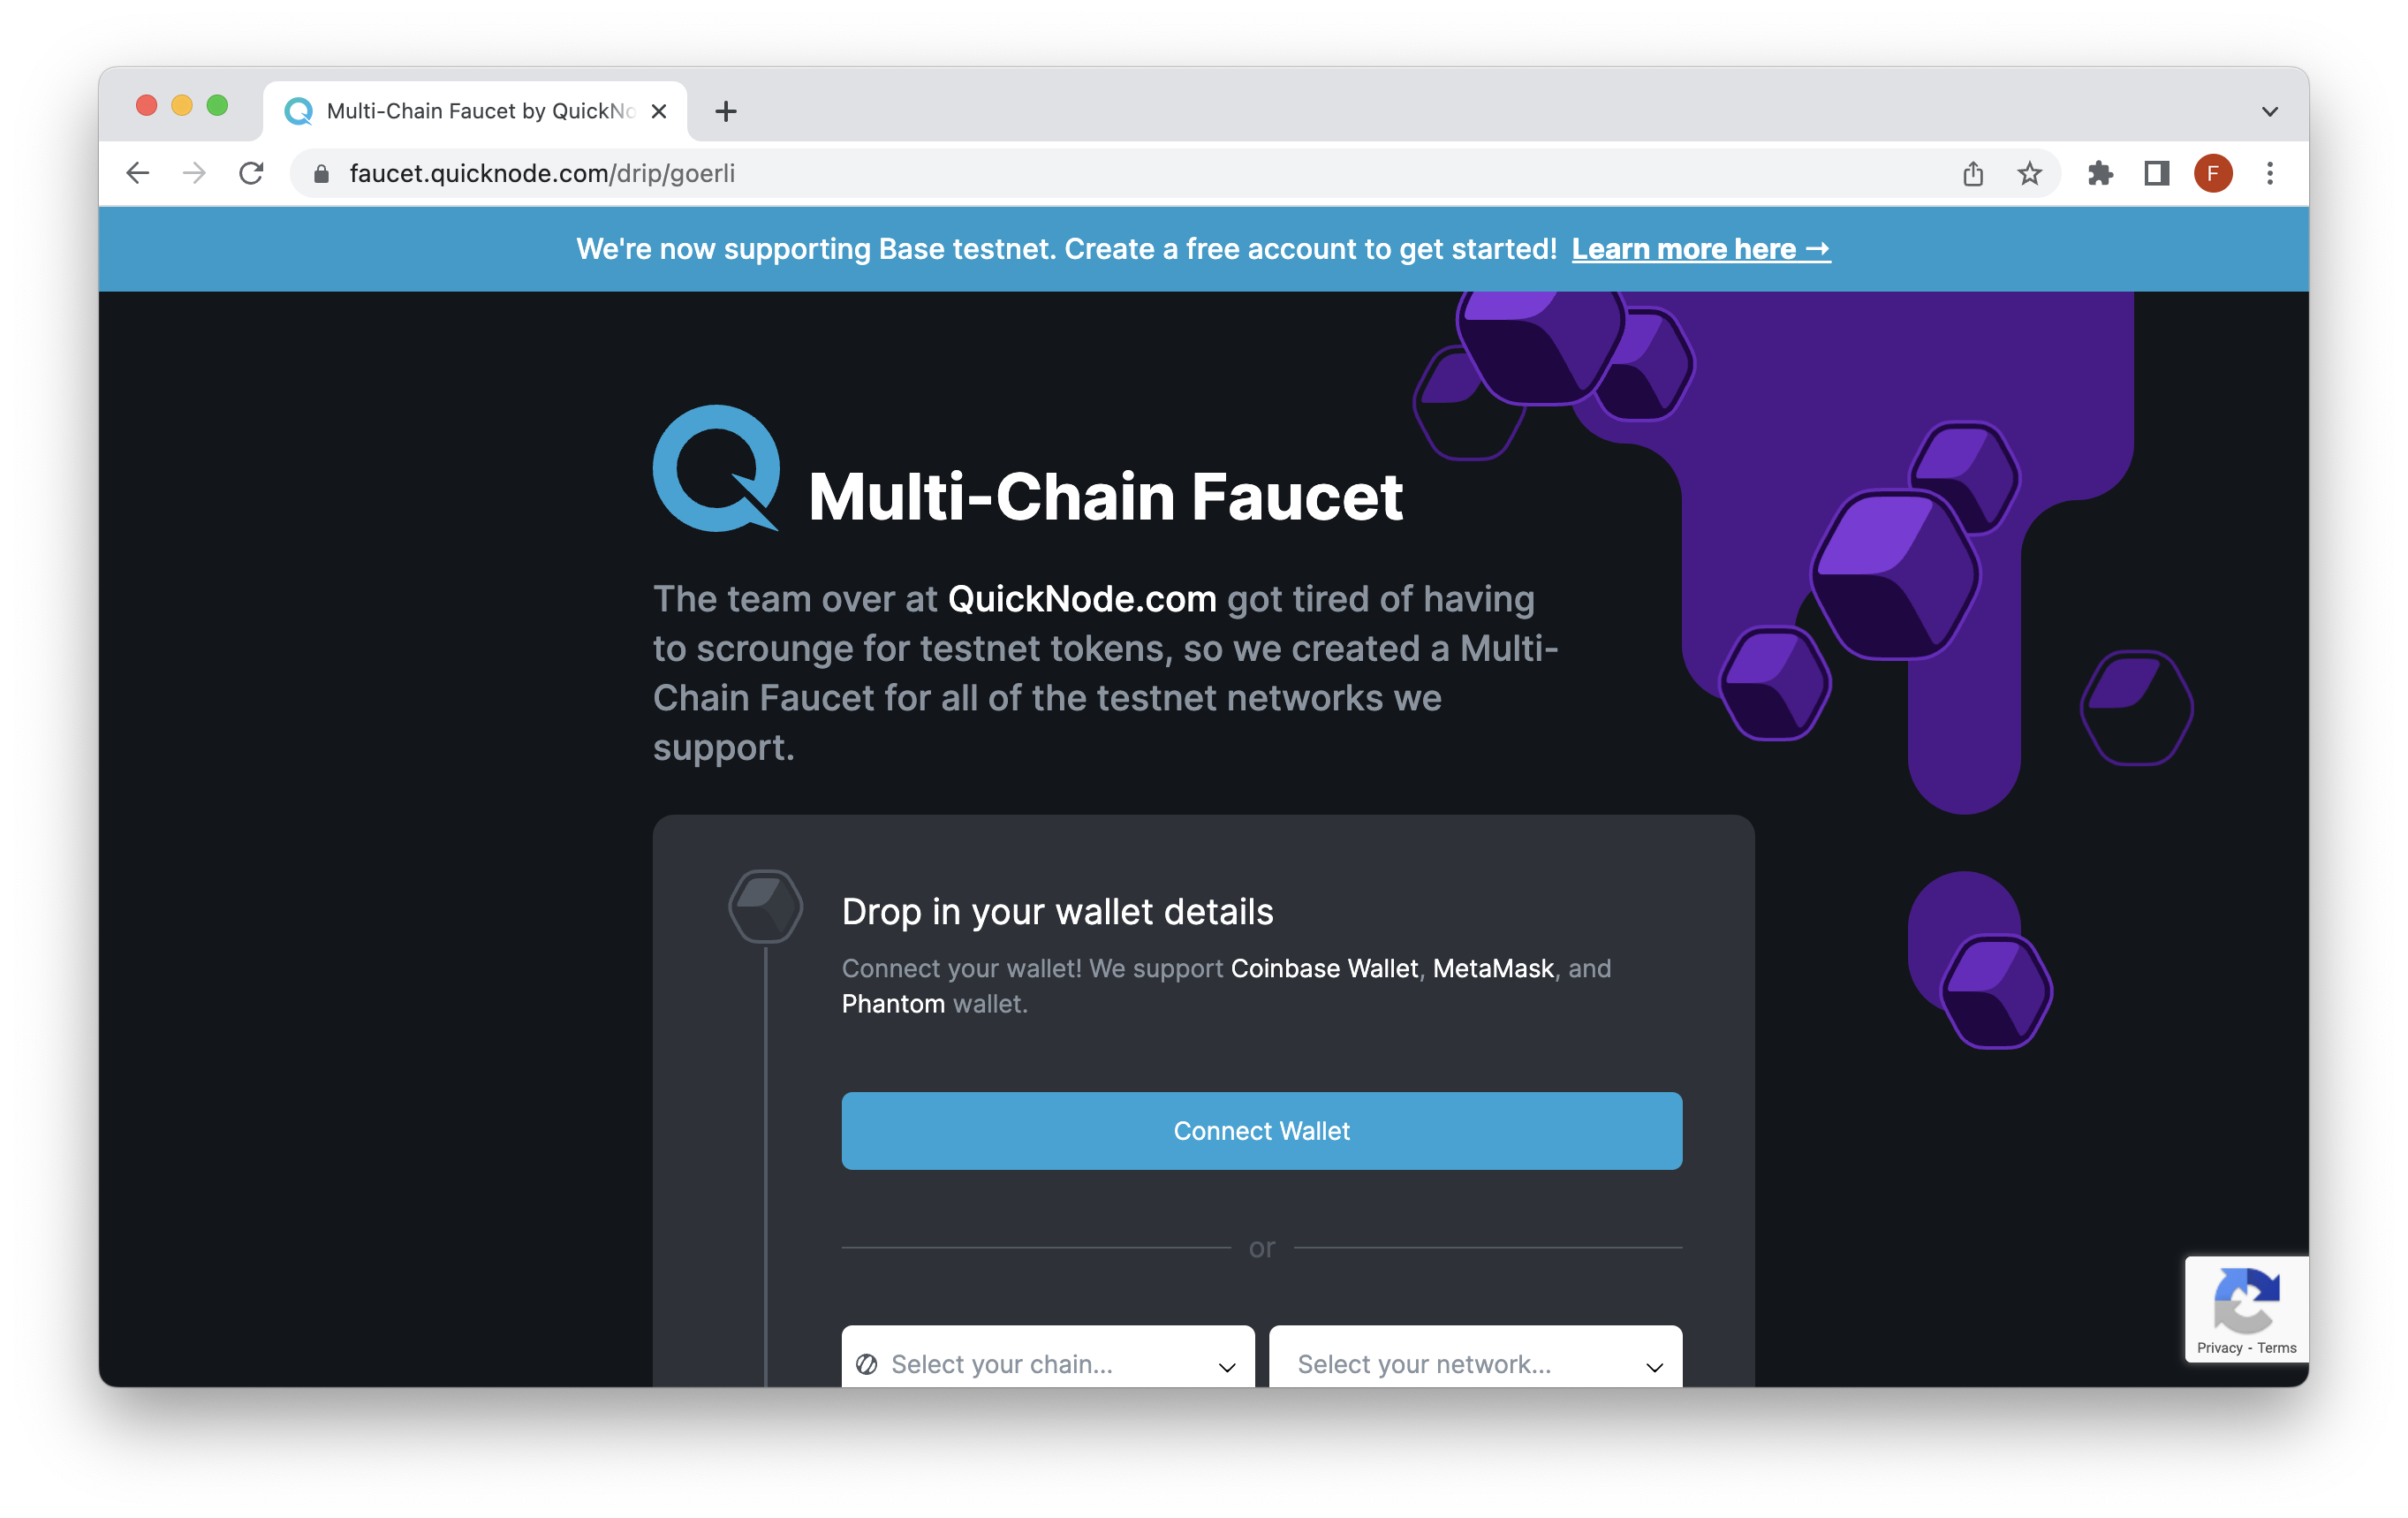
Once both of your wallets are set up, you'll need to retrieve some testnet tokens on Sepolia. You can do this easily by using the QuickNode Multi-Chain Faucet.
Just connect your wallet, or paste in your wallet address and request tokens. You can also share a tweet to get a bonus!
Before proceeding, its important that you have created two accounts (i.e., two private keys) and funded both with some test ETH on Sepolia.
Create a QuickNode Endpoint
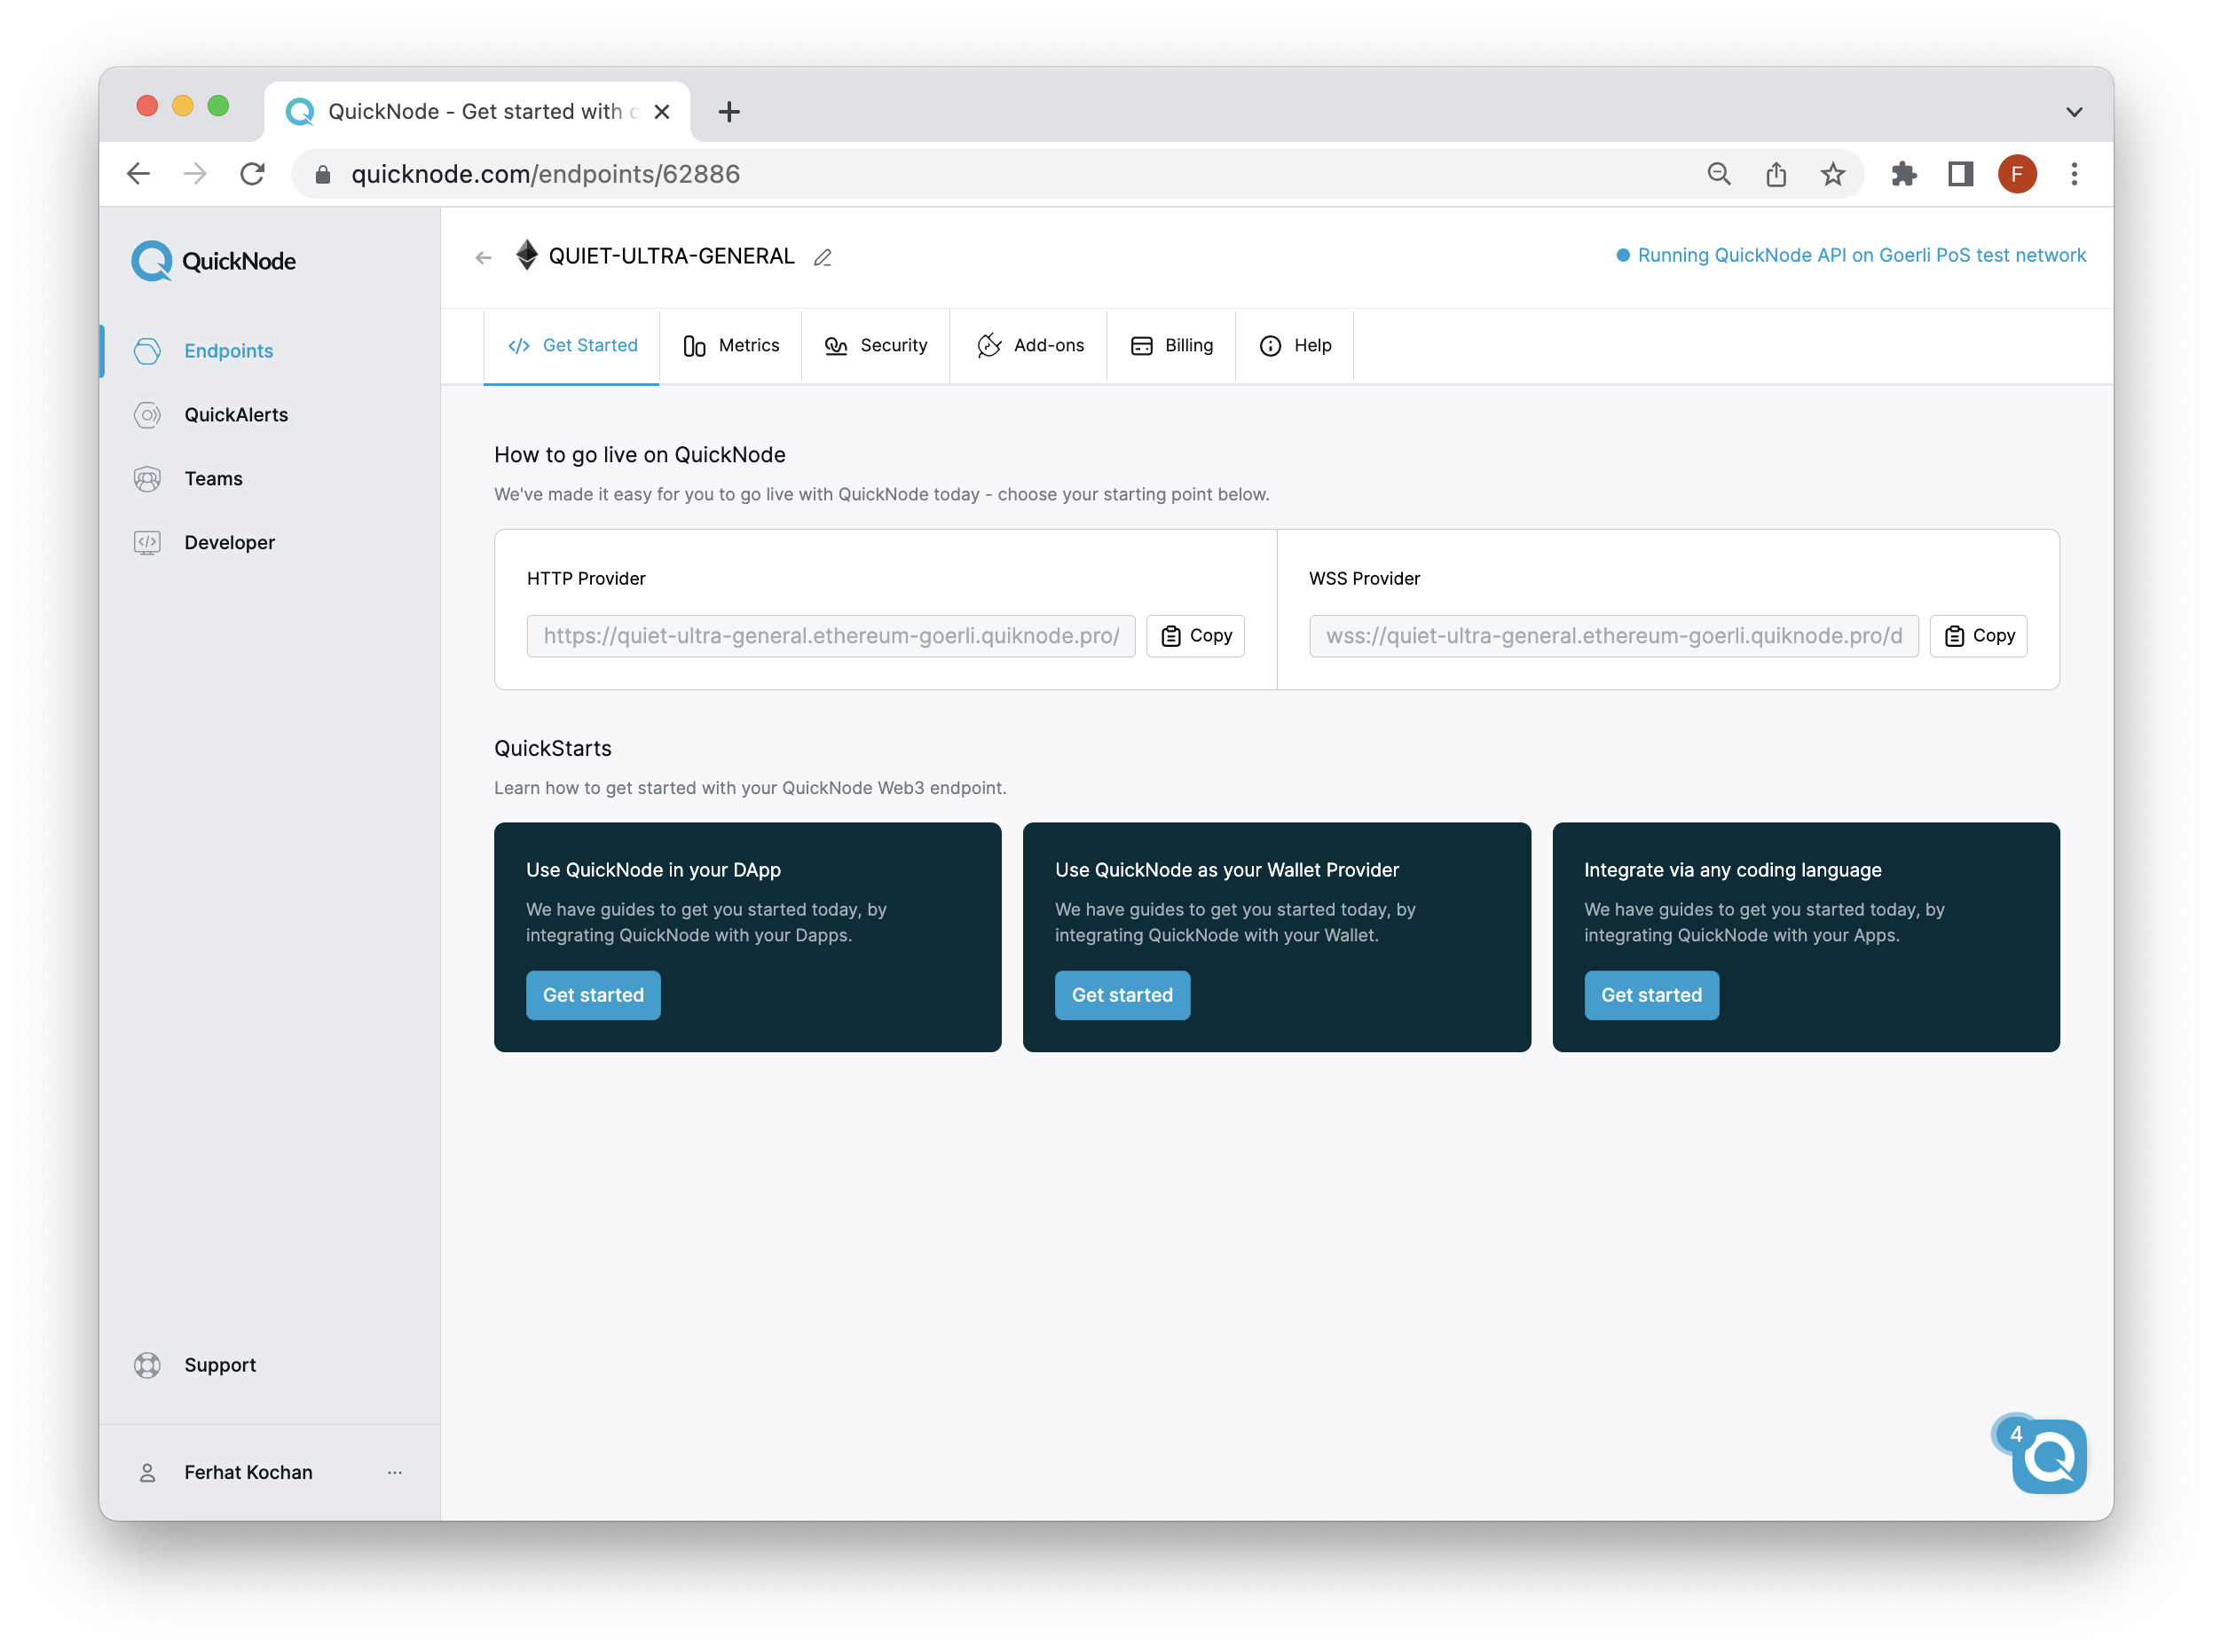
You'll need an API endpoint to communicate with the Ethereum network. You're welcome to use public nodes or deploy and manage your own infrastructure; however, if you'd like 8x faster response times, you can leave the heavy lifting to us. Sign up for a free account here.
Once signed in, click Create Endpoint and then select the Ethereum Sepolia testnet chain.
Create a Project and Install Dependencies
Open your terminal and create a project folder called erc20permit with the following command:
mkdir erc20permit
Navigate inside the folder with the following command, then initialize a default NPM project:
cd erc20permit && npm init -y
To install Hardhat, run the following command in your project directory:
npm install --save-dev hardhat
We'll then install other required dependencies, such as Ethers.js (make sure its version 5.7):
npm install --save ethers@5.7 dotenv @nomicfoundation/hardhat-toolbox @openzeppelin/contracts
Finally, let's initialize a Hardhat boilerplate project with the following command:
npx hardhat
When prompted on which project you'd like created, choose the last option, "Create an empty hardhat.config.js".
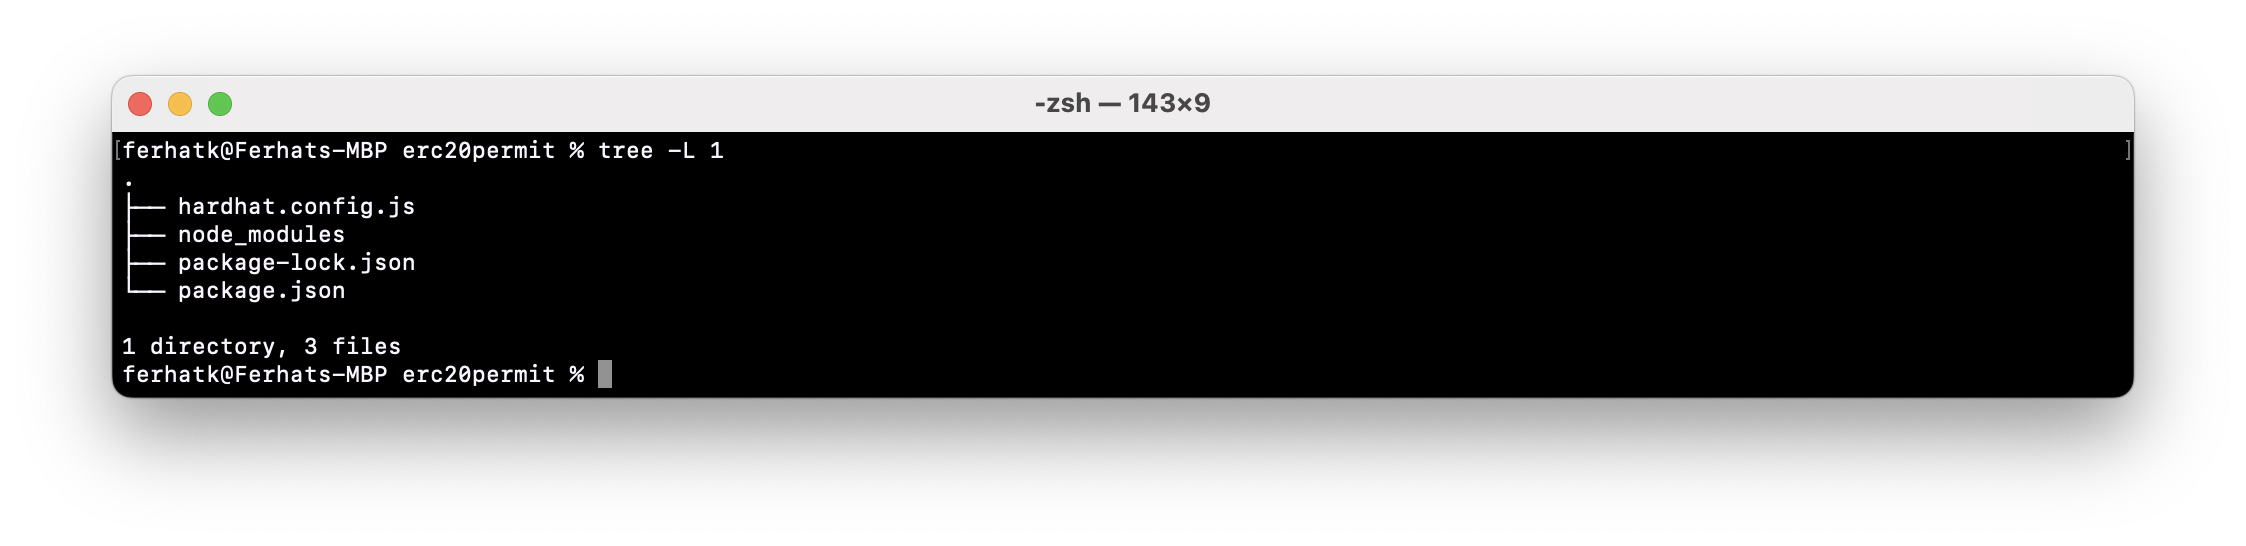
Your project structure should now look like this:
With the project directory setup properly, we can update the hardhat.config.js file to include the following code:
require("@nomicfoundation/hardhat-toolbox");
require("dotenv").config();

module.exports = {
  networks: {
    sepolia: {
      url: process.env.RPC_URL,
      accounts: [process.env.PRIVATE_KEY_DEPLOYER]
    }
  },
  solidity: {
    version: "0.8.9",
    settings: {
      optimizer: {
        enabled: true,
        runs: 200
      }
    }
  }
}
Remember to save the file before moving on. Now, let's recap the code.
The hardhat.config.js file is the configuration file that lets us configure settings such as the Solidity version, optimizer settings, deployment settings, etc.
In this tutorial, we'll be using the Sepolia network, so we'll set up a sepolia object that will contain our RPC provider URL (e.g., QuickNode endpoint) and private key for the account that will be deploying the contract and calling the permit function on. We'll also define the Solidity version and enable the optimizer so our code is optimized and will save us some gas on deployment and interaction.
Additionally, for the purpose of this tutorial, we'll be using a .env file so that we don't upload any private credentials to Github. So let's now create the .env file with the following command:
echo > .env
Then, open the file and update it to include the following environment variables:
RPC_URL=
PRIVATE_KEY_DEPLOYER=
PRIVATE_KEY_ACCOUNT_2=
Take a moment to fill in the variables above with your credentials (i.e., QuickNode HTTP Provider URL and Private keys) you retrieved in the previous section and remember to save the file!
Creating an ERC-20 Smart Contract with ERC20Permit
The ERC-20 smart contract we deploy will be using the OpenZeppelin standard, which can be found here.
In your erc20permit's root directory, create a folder called contracts with a file called MyToken.sol:
mkdir contracts && cd contracts && echo > MyToken.sol
Then, open the file and include the following code:
// SPDX-License-Identifier: MIT
pragma solidity ^0.8.9;

import "@openzeppelin/contracts/token/ERC20/ERC20.sol";
import "@openzeppelin/contracts/access/Ownable.sol";
import "@openzeppelin/contracts/token/ERC20/extensions/draft-ERC20Permit.sol";

contract MyToken is ERC20, Ownable, ERC20Permit {
    constructor() ERC20("MyToken", "MTK") ERC20Permit("MyToken") {
        _mint(msg.sender, 1000 * 10 ** decimals());
    }

    function mint(address to, uint256 amount) public onlyOwner {
        _mint(to, amount);
    }
}
Remember to save the file!
Let's recap the contract.
- The top of the file specifies the Solidity version (i.e., 0.8.9 or greater)
- Imports used in the contract are from the OpenZeppelin library and consist of ERC20.sol, Ownable.sol and draft-ERC20Permit.sol
- The contract is declared with the name "MyToken" and has the symbol "MTK".
- The contract inherits three other contracts: ERC20, Ownable, and ERC20Permit. Therefore, our contract will be an ERC20 token owned by a single owner (specified by Ownable) and will add the permit functionality with ERC20Permit.
- The contract allows the owner to mint new tokens and add them to the token supply.
- The contract mints 1000 tokens to the sender of the contract during its deployment.
- The function to mint new tokens is restricted to the owner of the contract.
Creating the Deployment and Interaction Script
Now that we have our ERC20 token with permit functionality created, we can now create the deployment and interaction script. To do this, we'll need to create a scripts folder with a deploy.js and permit.js file.
Navigate back to your erc20permit's root directory, and run the following terminal command:
mkdir scripts && cd scripts && echo > deploy.js && echo > permit.js
Now, let's fill in the code. Open the deploy.js file and include the following code:
const hre = require("hardhat");

async function deploy() {
    // Deploy the contract
    const MyToken = await hre.ethers.getContractFactory("MyToken");
    const myToken = await MyToken.deploy();

    // Log the deployed contract address
    console.log("ERC20 Permit contract deployed at:", myToken.address);
}

deploy()
    .then(() => console.log("Deployment complete"))
    .catch((error) => console.error("Error deploying contract:", error));
The deployment script above simply deploys the MyToken contract and outputs the address. Take a few moments to read through the code comments to better understand the code.
In the next section, we'll deploy the contract.
Contract Compilation & Deployment
Time to compile and deploy the smart contract to Sepolia testnet. So let's now return to the erc20permit root directory.
With all your files saved, run the following command to compile the contract:
npx hardhat compile
You should see a message similar to this:
(node:85523) ExperimentalWarning: stream/web is an experimental feature. This feature could change at any time
(Use `node --trace-warnings ...` to show where the warning was created)
Compiled 13 Solidity files successfully
Then, to deploy the contract, run the command:
npx hardhat run --network sepolia scripts/deploy.js
You'll see an output simliar to:
ERC20 Permit contract deployed at: 0x0906781EA63813BCCF8FBBd8f11EE2170F5bB5Fb
Deployment complete
You can paste in the contract address on Etherscan to see more details. In the next section, we'll interact with the deployed contract and call the Permit function to allow gasless approvals.
Call the Permit function
And now the moment you've been waiting for. In this section, we'll show you how to allow users to approve token spend without spending gas.
This is how the process will look:
- Get the contract address of the ERC-20 token
- Create an instance of the ERC-20 contract using Ethers.js
- Sign the permit data with the tokenOwner private key and associated fields
- Call the permit function on the ERC-20 contract from the token receiver, passing in the necessary parameters
- Transfer tokens without needing to pay for an approval transaction
With that being said, let's create the required files and start filling in the code.
In your scripts folder, open the permit.js file and include the following code:
const { ethers } = require("hardhat");
const { abi } = require("../artifacts/contracts/MyToken.sol/MyToken.json")
require('dotenv').config()

  function getTimestampInSeconds() {
    // returns current timestamp in seconds
    return Math.floor(Date.now() / 1000);
  }

  async function main() {

    // get a provider instance
    const provider = new ethers.providers.StaticJsonRpcProvider(process.env.RPC_URL)

    // get the network chain id
    const chainId = (await provider.getNetwork()).chainId;

    // create a signer instance with the token owner
    const tokenOwner = await new ethers.Wallet(process.env.PRIVATE_KEY_DEPLOYER, provider)

    // create a signer instance with the token receiver
    const tokenReceiver = await new ethers.Wallet(process.env.PRIVATE_KEY_ACCOUNT_2, provider)

    // get the MyToken contract factory and deploy a new instance of the contract
    const myToken = new ethers.Contract("YOUR_DEPLOYED_CONTRACT_ADDRESS", abi, provider)

    // check account balances
    let tokenOwnerBalance = (await myToken.balanceOf(tokenOwner.address)).toString()
    let tokenReceiverBalance = (await myToken.balanceOf(tokenReceiver.address)).toString()

    console.log(`Starting tokenOwner balance: ${tokenOwnerBalance}`);
    console.log(`Starting tokenReceiver balance: ${tokenReceiverBalance}`);

    // set token value and deadline
    const value = ethers.utils.parseEther("1");
    const deadline = getTimestampInSeconds() + 4200;

    // get the current nonce for the deployer address
    const nonces = await myToken.nonces(tokenOwner.address);

    // set the domain parameters
    const domain = {
      name: await myToken.name(),
      version: "1",
      chainId: chainId,
      verifyingContract: myToken.address
    };

    // set the Permit type parameters
    const types = {
      Permit: [{
          name: "owner",
          type: "address"
        },
        {
          name: "spender",
          type: "address"
        },
        {
          name: "value",
          type: "uint256"
        },
        {
          name: "nonce",
          type: "uint256"
        },
        {
          name: "deadline",
          type: "uint256"
        },
      ],
    };

    // set the Permit type values
    const values = {
      owner: tokenOwner.address,
      spender: tokenReceiver.address,
      value: value,
      nonce: nonces,
      deadline: deadline,
    };

    // sign the Permit type data with the deployer's private key
    const signature = await tokenOwner._signTypedData(domain, types, values);

    // split the signature into its components
    const sig = ethers.utils.splitSignature(signature);

    // verify the Permit type data with the signature
    const recovered = ethers.utils.verifyTypedData(
      domain,
      types,
      values,
      sig
    );

    // get network gas price
    gasPrice = await provider.getGasPrice()

    // permit the tokenReceiver address to spend tokens on behalf of the tokenOwner
    let tx = await myToken.connect(tokenReceiver).permit(
      tokenOwner.address,
      tokenReceiver.address,
      value,
      deadline,
      sig.v,
      sig.r,
      sig.s, {
        gasPrice: gasPrice,
        gasLimit: 80000 //hardcoded gas limit; change if needed
      }
    );

    await tx.wait(2) //wait 2 blocks after tx is confirmed

    // check that the tokenReceiver address can now spend tokens on behalf of the tokenOwner
    console.log(`Check allowance of tokenReceiver: ${await myToken.allowance(tokenOwner.address, tokenReceiver.address)}`);

    // transfer tokens from the tokenOwner to the tokenReceiver address
    tx = await myToken.connect(tokenReceiver).transferFrom(
      tokenOwner.address,
      tokenReceiver.address,
      value, {
        gasPrice: gasPrice,
        gasLimit: 80000 //hardcoded gas limit; change if needed
      }
    );

    await tx.wait(2) //wait 2 blocks after tx is confirmed

    // Get ending balances
    tokenOwnerBalance = (await myToken.balanceOf(tokenOwner.address)).toString()
    tokenReceiverBalance = (await myToken.balanceOf(tokenReceiver.address)).toString()

    console.log(`Ending tokenOwner balance: ${tokenOwnerBalance}`);
    console.log(`Ending tokenReceiver balance: ${tokenReceiverBalance}`);
  }


  main().catch((error) => {
    console.error(error);
    process.exitCode = 1;
  });
Update the YOUR_DEPLOYED_CONTRACT_ADDRESS placeholder with your actual deployed contract address and remember to save the file!
Take a few moments to review the code comments to better familiarize yourself with it, and when you are ready, return to the erc20permit root folder and run the following command to execute the permit script:
npx hardhat run --network sepolia scripts/permit.js
You'll see the following output:
Starting tokenOwner balance: 1000000000000000000000
Starting tokenReceiver balance: 0
Check allowance of tokenReceiver: 1000000000000000000
Ending tokenOwner balance: 999000000000000000000
Ending tokenReceiver balance: 1000000000000000000
Notice that the starting balance for the tokenOwner (i.e., the deployer of the contract) has a balance, while the tokenReceiver has a zero balance. After the permit function is called (from the tokenReciever), the allowance of the tokenReceiver is 1,000,000,000,000,000,000 (equivalent to 1 ETH). Then, we call the transferFrom function from the tokenReciever account to transfer the token on behalf of the tokenOwner. Finally, we check balances by calling the balanceOf function and see the token was transferred. We can confirm this by double-checking the transactions on Etherscan.
Final Thoughts
That's it!, you know how how to implement ERC-20 Permit Approvals. Check out some other Ethereum Development and Smart Contract Development guides.
We'd love to see what you're building! Share your app with us on Discord or Twitter.
We ❤️ Feedback!
If you have any feedback on this guide, please let us know!