
9 min read
Overview
Eclipse is a new blockchain that claims to be "Ethereum's fastest Layer 2", which is achieved by running the Solana Virtual Machine (SVM) as a rollup on Ethereum. Eclipse is designed to provide a scalable and low-cost solution for developers and users to interact with Ethereum and Solana smart contracts.
In this guide, we will learn about Eclipse and how to get started on the testnet.
What You Will Do
- Learn about Eclipse and its features
- Get Sepolia ETH Tokens
- Bridge Sepolia ETH to Eclipse
- Configure and use Solana CLI to interact with Eclipse
- Deploy a simple "Hello World" Program to Eclipse Testnet
What You Need to Get Started
Prerequisite Knowledge
- Knowledge of EVM Basics
- Experience with Solana CLI
- Experience with Anchor
Tools and Dependencies
- Node.js installed
- NPM or Yarn installed
- Git installed
- Solana CLI latest version installed
- SPL Token CLI latest version installed
- MetaMask (or similar EVM-compatible wallet)
- A modern web browser (e.g., Chrome, Firefox, Brave)
Let's get started!
What is Eclipse?
Eclipse is a Layer 2 blockchain on Ethereum, designed to be highly scalable at a low cost. This is achieved by integrating various technology stacks:
- Settlement on Ethereum: Eclipse leverages Ethereum for settlement, ensuring security through a validating bridge that enforces transaction order and resists censorship.
- Token: Eclipse uses ETH as its primary gas token. There are no plans for Eclipse to have its own token at this time.
- Execution: Eclipse adopts the Solana Virtual Machine (SVM), which is known for its high performance, low cost, and scalability. SVM allows for parallelism, allowing the processing of multiple transactions simultaneously. Most programs on SVM are built using the Rust programming language, which is known for its safety and performance. Note: Eclipse is capable of running EVM-compatible programs through the use of Neon EVM.
- Data Publication: Eclipse will utilize Celestia for data availability to support its high transaction throughput, as Ethereum's current and near-future bandwidth falls short of Eclipse's needs (due to high TPS of SVM). This means anyone can verify that Eclipse block data has been made available.

In short, according to the Eclipse Foundation, "we believe Eclipse Mainnet is the obvious solution: uniting Solana's performance with the security, verifiability, and network effects of the rollup-centric roadmap."
Let's check it out!
Get Sepolia ETH Tokens
As of this writing, Eclipse is running on Testnet. To get started, you will need some Sepolia ETH tokens that can be bridged to Eclipse Testnet. These tokens are used to pay for gas fees on the Eclipse network.
Head over to Quicknode's Multi-chain Faucet and select the Sepolia ETH network. Enter your wallet address and click "Send me ETH":
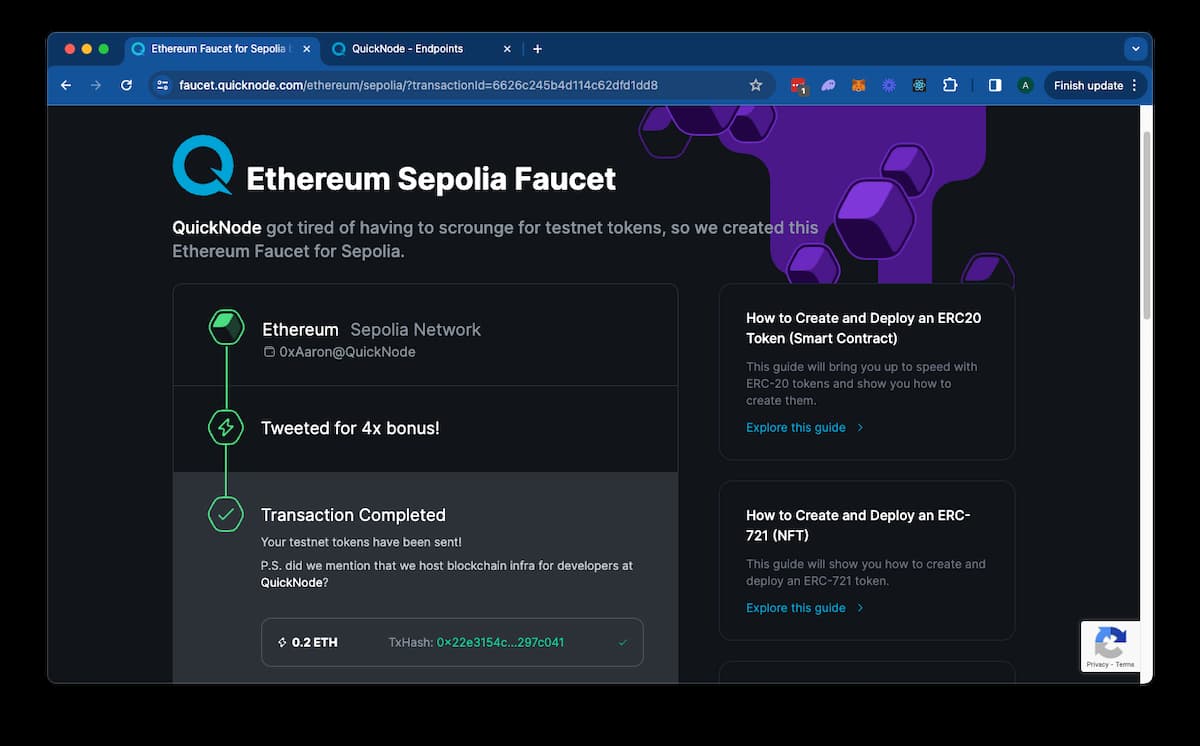
Make sure you have selected "Sepolia" from the Metamask "Test Networks" dropdown (or add your own network using your Quicknode endpoint - you can create one free here. You should see the Sepolia ETH tokens in your wallet after a few seconds:
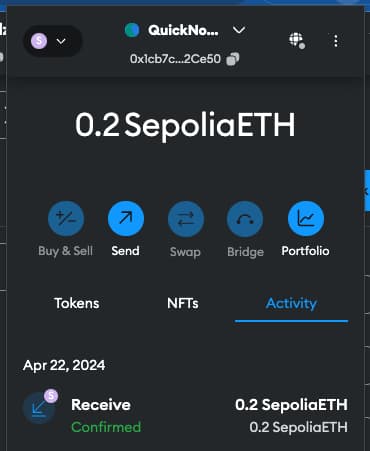
Nice job! You now have Sepolia ETH tokens in your wallet. Next, let's bridge these tokens to Eclipse.
Bridge Sepolia ETH to Eclipse
The Eclipse Foundation has created a bridge contract and script to transfer Sepolia ETH tokens to Eclipse.
Create a Destination Solana Wallet
If you do not already have a Solana paper wallet for use with Solana CLI, you must create one. We can use the Solana CLI to interact with the Eclipse network because it is an instance of the SVM! _Note: There are a few quirks at the moment (mostly around UI); for example, using solana balance will return the correct balance, but it will say X SOL instead of X ETH (even though the underlying token being represented is actually ETH).
You can create a new wallet by running the following command in your terminal:
solana-keygen new --outfile my-wallet.json
Then, update your Solana CLI configuration to use the new wallet and the Eclipse testnet. Enter the following commands into your terminal:
solana config set --url https://testnet.dev2.eclipsenetwork.xyz/
and
solana config set --keypair /path-to-wallet/my-wallet.json
Get your address by running the following command:
solana address
Hang onto this--we will need it later!
Clone the Eclipse Bridge Script
Clone the Eclipse Bridge repository. Open a terminal window in the directory where you want to clone the repository and run:
git clone https://github.com/Eclipse-Laboratories-Inc/testnet-deposit
And navigate to the testnet-deposit directory:
cd testnet-deposit
Install dependencies:
- NPM
- Yarn
npm install
yarn
Get Your Ethereum Private Key
In your Ethereum wallet, copy your private key. In MetaMask, you can find this by going to:
"Account Details" -> "View Account" -> "Show Private Key" -> "Copy Private Key"
This should be a 64-character hexadecimal string. Hang onto this--we will need it to run our script.
Run the Bridge Script
You should be able to follow the instructions in the README in the cloned repo. You will need to run the following (without the brackets) in your terminal:
node deposit.js [Solana Address] 0x7C9e161ebe55000a3220F972058Fb83273653a6e [Amount in Gwei] [Fee in Gwei] [Ethereum Private Key] [Sepolia RPC Endpoint]
Here are the parameters:
- The
[Solana Address]is the one you generated using the Solana CLI, saved inmy-wallet.json. - The
[Ethereum Private Key]is the 64-character string you just copied from MetaMask. [Amount in Gwei]is the desired deposit amount. We recommend about100000000gwei (0.10 ETH) to ensure you have enough to deploy a program later.[Fee in Gwei]is the transaction processing fee, which is currently ignored but can be set to100gwei.[Sepolia RPC Endpoint]is the Sepolia RPC endpoint. Replace this with your Quicknode endpoint, e.g.,https://replace-me.ethereum-sepolia.quiknode.pro/123/(if you do not have one, you can create an account here).
You should see something like this:
Transaction successful: 0xb763990f73f1801197d...
You can view the transaction in the Sepolia Explorer here. After a few moments, you should be able to see your ETH balance in the Solana wallet you created. Since you have already configured Solana CLI to the Eclipse testnet, you just need to run the following command to check your balance:
solana balance
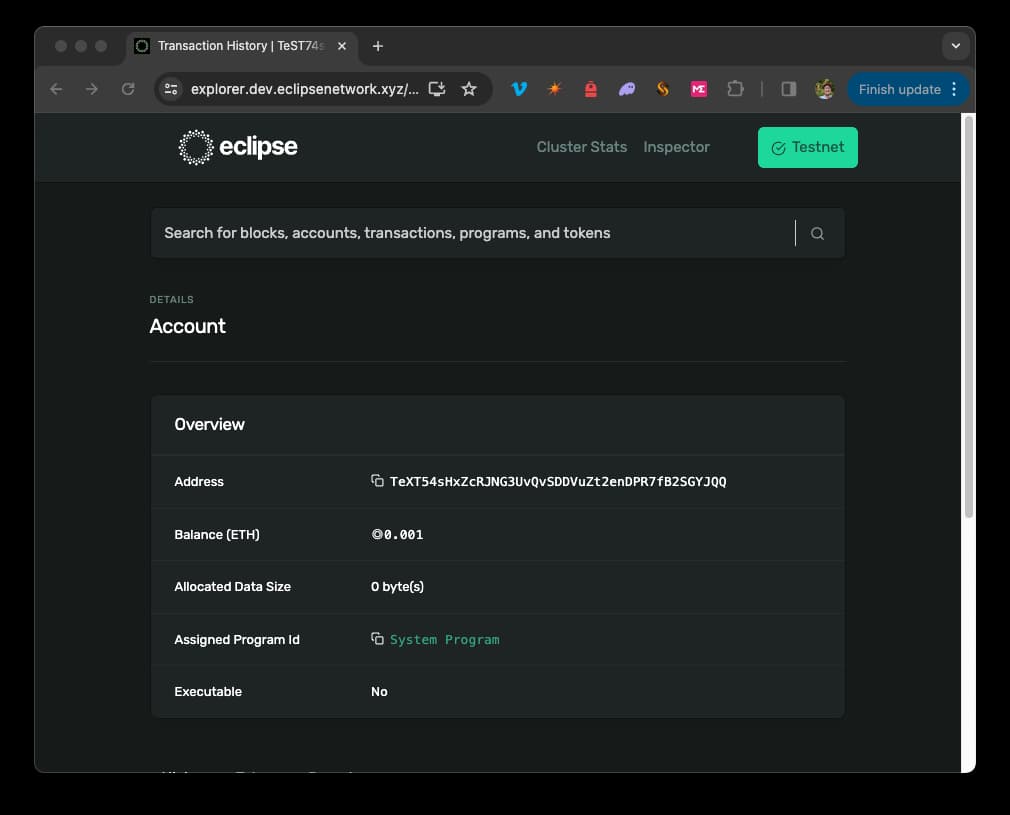
Depending on the amount you deposited, you will see something like 0.001 SOL. Just make a mental note that SOL is representing ETH in this case. You can verify this by checking your wallet in the Eclipse Block Explorer here. Make sure your explorer is set to Testnet (see top right corner of the Explorer window). If you are on the wrong cluster, you will not see your balance. Paste your wallet address, and you should see your account balance:
Great job! You have successfully bridged your Sepolia ETH tokens to Eclipse Testnet. Next, explore some of Eclipse's features.
Create and Mint a Token
Set Up Solana CLI
Let's start by leveraging the spl-token CLI to create a token on the Eclipse network. This will allow us to mint and transfer tokens on the network. The spl-token CLI uses the same config as the Solana CLI, so you can use the same wallet you created earlier, but let's make sure we are using the Eclipse testnet. In your terminal, run:
solana config get
You should see your wallet and the Eclipse testnet URL:
RPC URL: https://testnet.dev2.eclipsenetwork.xyz/
WebSocket URL: wss://testnet.dev2.eclipsenetwork.xyz/ (computed)
Keypair Path: /path-to-wallet/my-wallet.json
If you do not see Eclipse testnet and your wallet, use the solana config set command to set them.
Make sure the spl-token CLI is installed by running spl-token --version. If it is not installed, follow the setup instructions here.
Create a Token
In your terminal, create a new token by running the following command:
spl-token create-token --enable-metadata -p TokenzQdBNbLqP5VEhdkAS6EPFLC1PHnBqCXEpPxuEb
You should see a response like this:
Creating token 123osq5aGssgDSjtEH9JpjJ8nb4m1pUWnzdq7tVi4XYZ under program TokenzQdBNbLqP5VEhdkAS6EPFLC1PHnBqCXEpPxuEb
To initialize metadata inside the mint, please run `spl-token initialize-metadata 123osq5aGssgDSjtEH9JpjJ8nb4m1pUWnzdq7tVi4XYZ <YOUR_TOKEN_NAME> <YOUR_TOKEN_SYMBOL> <YOUR_TOKEN_URI>`, and sign with the mint authority.

Address: 123osq5aGssgDSjtEH9JpjJ8nb4m1pUWnzdq7tVi4XYZ
Decimals: 9
Note the token address; we will need it to initialize our token's metadata and mint tokens.
Initialize Metadata (Optional)
If you would like, you can initialize metadata for your token. This will allow you to add a name, symbol, and external metadata to your token. To initialize the token metadata for the token you just created, run the following command:
spl-token initialize-metadata <YOUR_TOKEN_ADDRESS> <YOUR_TOKEN_NAME> <YOUR_TOKEN_SYMBOL> <YOUR_TOKEN_URI>
Where:
<YOUR_TOKEN_ADDRESS>is the token address you noted in the previous step (e.g.,123osq5aGssgDSjtEH9JpjJ8nb4m1pUWnzdq7tVi4XYZ)<YOUR_TOKEN_NAME>is the name of your token ('e.g., "QuickToken")<YOUR_TOKEN_SYMBOL>is the symbol of your token (e.g., "QT")<YOUR_TOKEN_URI>is the URI that points to your token's off-chain token metadata .json (ref: Metaplex Fungible Token Standard) (e.g., "https://qn-shared.quicknode-ipfs.com/ipfs/Qmbvnsi7zmxsFNRPZcxTNSPm7JrHtVB51NHRLSV5GPVyHm"). You can use Quicknode IPFS Gateway to upload your own metadata file (or any other hosted service, e.g. Arweave, AWS, etc.).
For example, spl-token initialize-metadata 123osq5aGssgDSjtEH9JpjJ8nb4m1pUWnzdq7tVi4XYZ QuickToken QT https://qn-shared.quicknode-ipfs.com/ipfs/Qmbvnsi7zmxsFNRPZcxTNSPm7JrHtVB51NHRLSV5GPVyHm.
Mint Tokens
Then, mint some tokens to yourself. First, create an account to mint the tokens to:
spl-token create-account <YOUR_TOKEN_ADDRESS>
Then mint the tokens:
spl-token mint <YOUR_TOKEN_ADDRESS> 100
Check Token Balance
You should be able to run spl-token accounts to see your tokens (and any others you have created). You should see something like this:
% spl-token accounts
Token Balance
-----------------------------------------------------
123osq5aGssgDSjtEH9JpjJ8nb4m1pUWnzdq7tVi4XYZ 100
Great job! You have successfully created and minted a token on the Eclipse network. Next, let's deploy a simple program to the Eclipse testnet.
Deploy a Program
Let's deploy a simple state program to the Eclipse testnet. We will bootstrap our program using Solana Playground. Open a new browser and head to Solana Playground.
Set Up a New Project
Click on "New Project" and select "Anchor" as the project template. Name your project and click "Create Project":
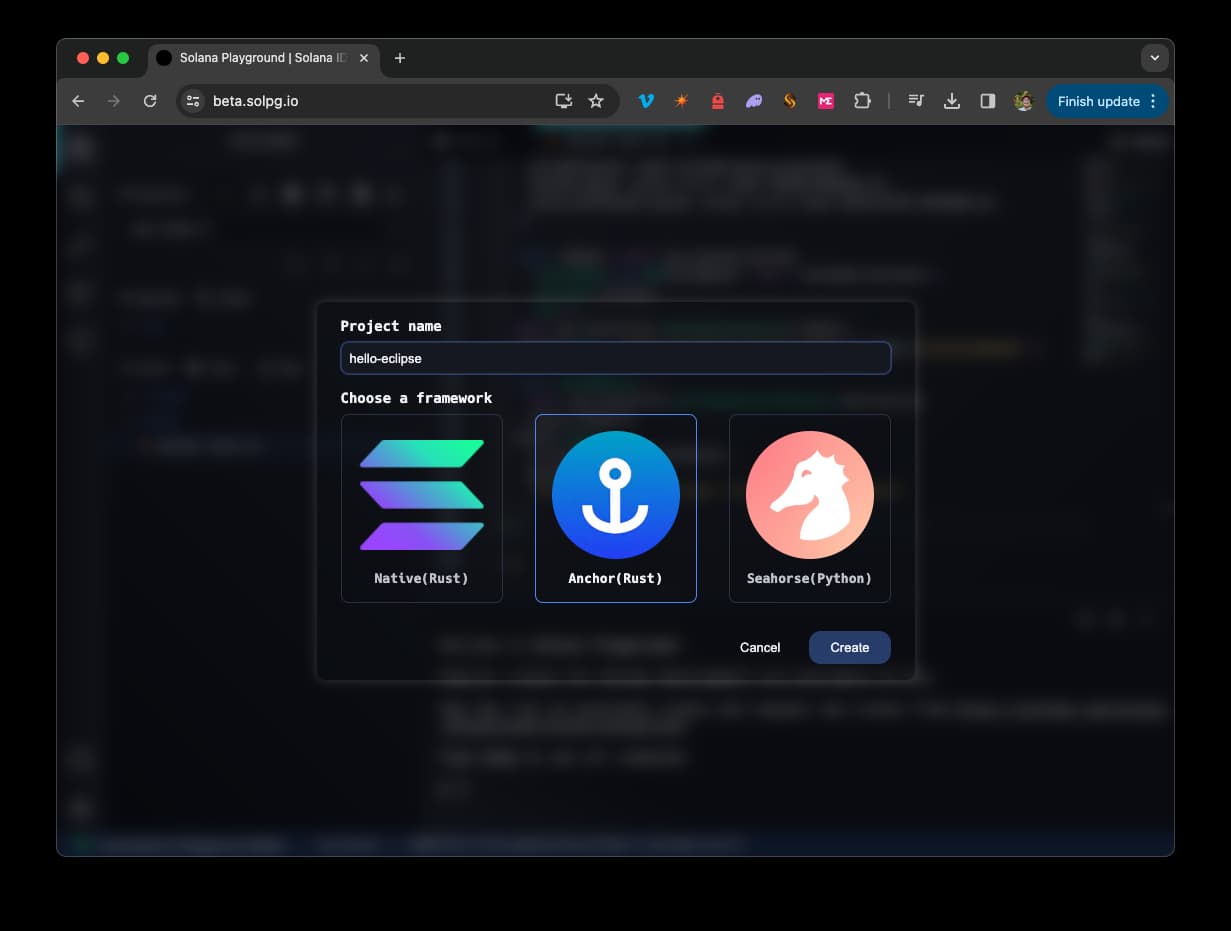
This will initiate a new Anchor project that includes a simple example to manage account state.
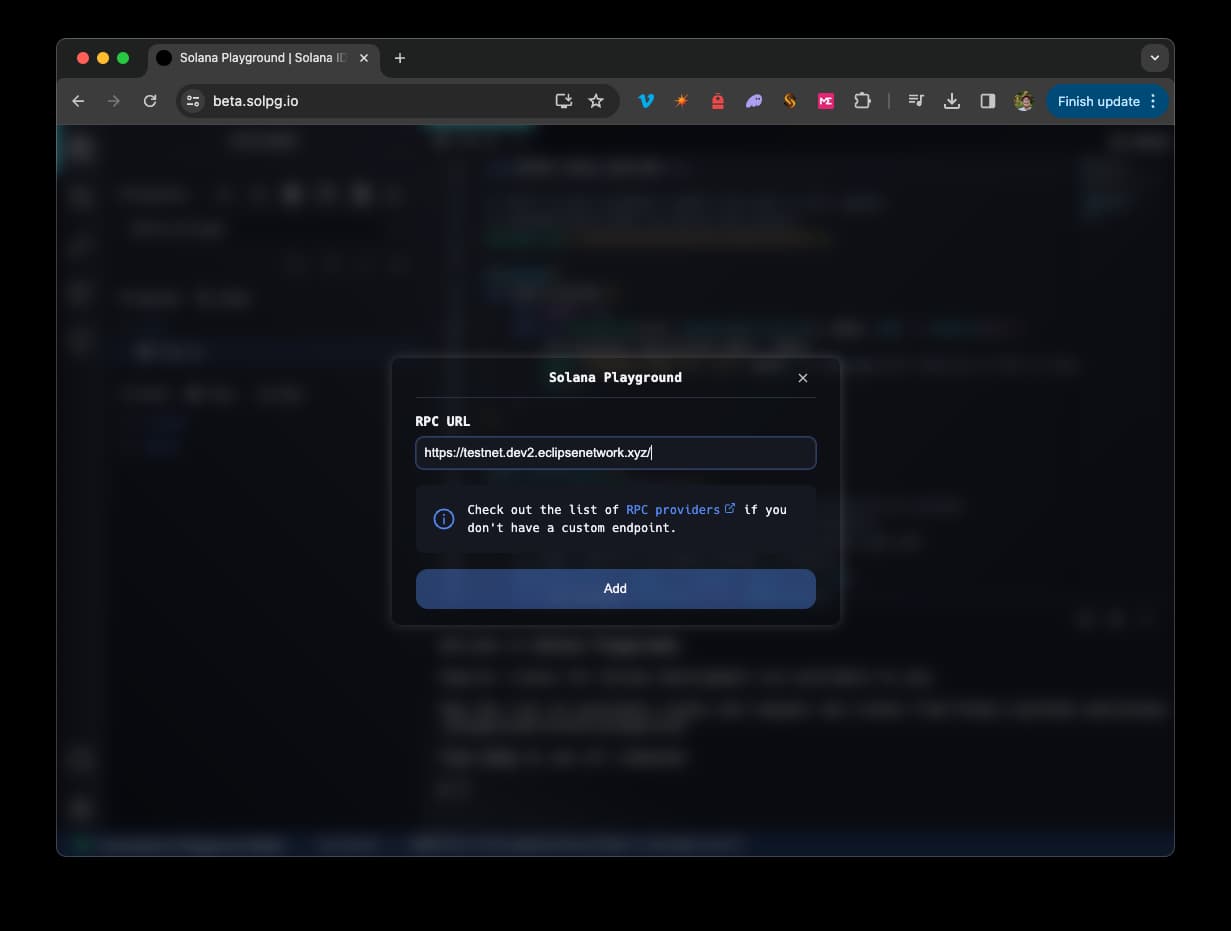
Connect to Eclipse Testnet
Click the Settings Gear icon ⚙️ in the bottom left corner and select "Custom" from the endpoint dropdown menu. Enter the Eclipse testnet URL https://testnet.dev2.eclipsenetwork.xyz/ and click "Save":
Import or Create a Wallet
If this is your first time using Solana Playground, you will need to import or create a wallet. Click on the "Not Connected" button in the bottom left corner. You will be prompted to create a wallet or import an existing one. For this example, the easiest thing would be to import my-wallet.json that you created earlier. This is not recommended for a private key used in production but is fine for testing purposes.
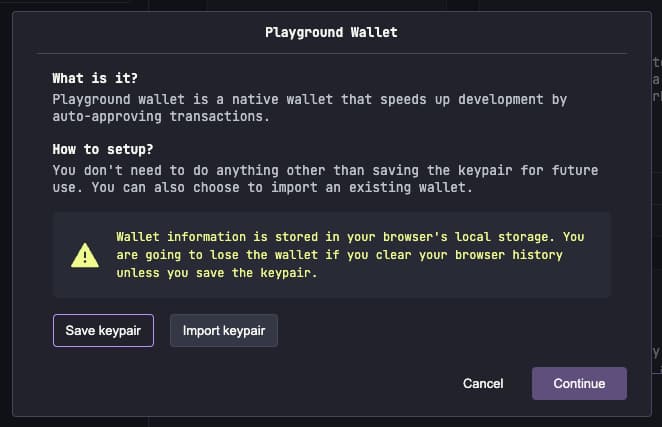
If you instead create a new wallet, you will need to return to your terminal and use the solana transfer <new-address> <amount> --allow-unfunded-recipient command to send some ETH to your new wallet. You will need about 0.05 ETH to deploy the sample program.
Build and Deploy the Program
Click on the "Build" button to compile the program. If successful, you should see a "Build successful" message in your web terminal.
Open the "Build & Deploy" menu from the button on the left sidebar (Look for the tools 🛠️ icon). Click "Deploy".
In a few seconds, you should see a "Deployment successful." message in your web terminal. Nice job! You have successfully deployed a program to the Eclipse testnet. Let's try it out.
Test the Program
Return to the "Explorer" page in Solana Playground (Look for the 📑 icon in the top left corner). The sample program has a pre-built test located in tests/anchor.test.ts.
You can run it by clicking "🧪 Test" in the left sidebar. You should see something like this in your terminal:
Running tests...
 anchor.test.ts:
 Test
 Use 'solana confirm -v ABCGLd4fuAafrW5mw1BrFmsA8XLSpMMf5pHH4exKq1ggmAPJ31Zc3sgS7Xh84ewYVhFJFeWT4R6qtkT1nYqjXYZ' to see the logs
 On-chain data is: 42
 ✔ initialize (7707ms)
 1 passing (8s)
Amazing! You have successfully deployed and tested a program on the Eclipse testnet.
Continued Development
This guide was intended to get you up and running quickly on Eclipse Testnet. We invite you to explore some of our other Solana guides (applicable here because Eclipse is running on the Solana Virtual Machine) to learn more about developing on Eclipse. Here are some ideas to keep building:
- Add new funcitonality to your Solana Playground Anchor project (Guide: How to Write Your First Anchor Program in Solana and other Anchor Guides)
- Build and test programs on Localnet (Guide: How to Set Up a Local SVM Validator)
- Do more with your SPL Tokens (SPL Token Guides)
Wrap Up
Great job! In this guide, you learned about Eclipse, Ethereum's first Layer 2, built with the Solana Virtual Machine (SVM). You also learned how to get started on the testnet by bridging Sepolia ETH tokens, creating and minting a token, and deploying a simple program to the Eclipse testnet. It's exciting to see all the possibilities with Eclipse and the Solana Virtual Machine, right? We are excited to see what you build next!
If you have a question or idea you want to share, drop us a line on Discord or Twitter!
We ❤️ Feedback!
Let us know if you have any feedback or requests for new topics. We'd love to hear from you.