4 min read
Overview
HTTP responses from blockchain methods can contain a vast amount of data and take a lot of time to receive at the client's end; compressing that data before it is being served and decompressing on the client can save a lot of time. One such compression technique is gzip compression. In this guide, we will learn more about gzip compression and how to enable gzip on RPC calls in JavaScript using the ethers.js library.
Prerequisites
- Ethereum node.
- Node.js and Ethers.js (version 5.7) installed.
- Text editor/IDE.
What is gzip?
Gzip is a form of data compression technique, which means taking a huge chunk of data and making it smaller. Gzip is one of the most popular compression techniques to send massive data in a compressed format over the internet. Gzip works flawlessly with the text files. However, it takes time and processing power to compress and decompress data. Even with this overhead, it takes significantly less time than serving the original data where no compression takes place.
How does gzip work?
-
When a server receives an HTTP request from the client, it checks the header if the requesting client software/API/library supports gzip.
-
The server then creates a markup of the data before applying gzip.
-
Gzip is applied on this markdown, and then the compressed data is served to the client.
-
This data is decompressed and read at the client-side.
Using gzip can reduce the overall response time of an HTTP request. Nodes communicating on the blockchain uses HTTP requests to serve data from the blockchain. Blockchain data is enormous and can take several seconds to receive based on the method call/data requested using gzip. This data can be compressed, and a lot of time plus resources can be saved overall.
We will use the Ethers.js library to demonstrate gzip compression on an Ethereum method.
Set Up Your Quicknode Ethereum Endpoint
Booting a node and managing it takes a lot of time and other resources. Since our aim with this guide is to save the time of developers and users by using gzip. Quicknode supports gzip, so let us sign up with a free Quicknode account here and set up our Ethereum endpoint in seconds.
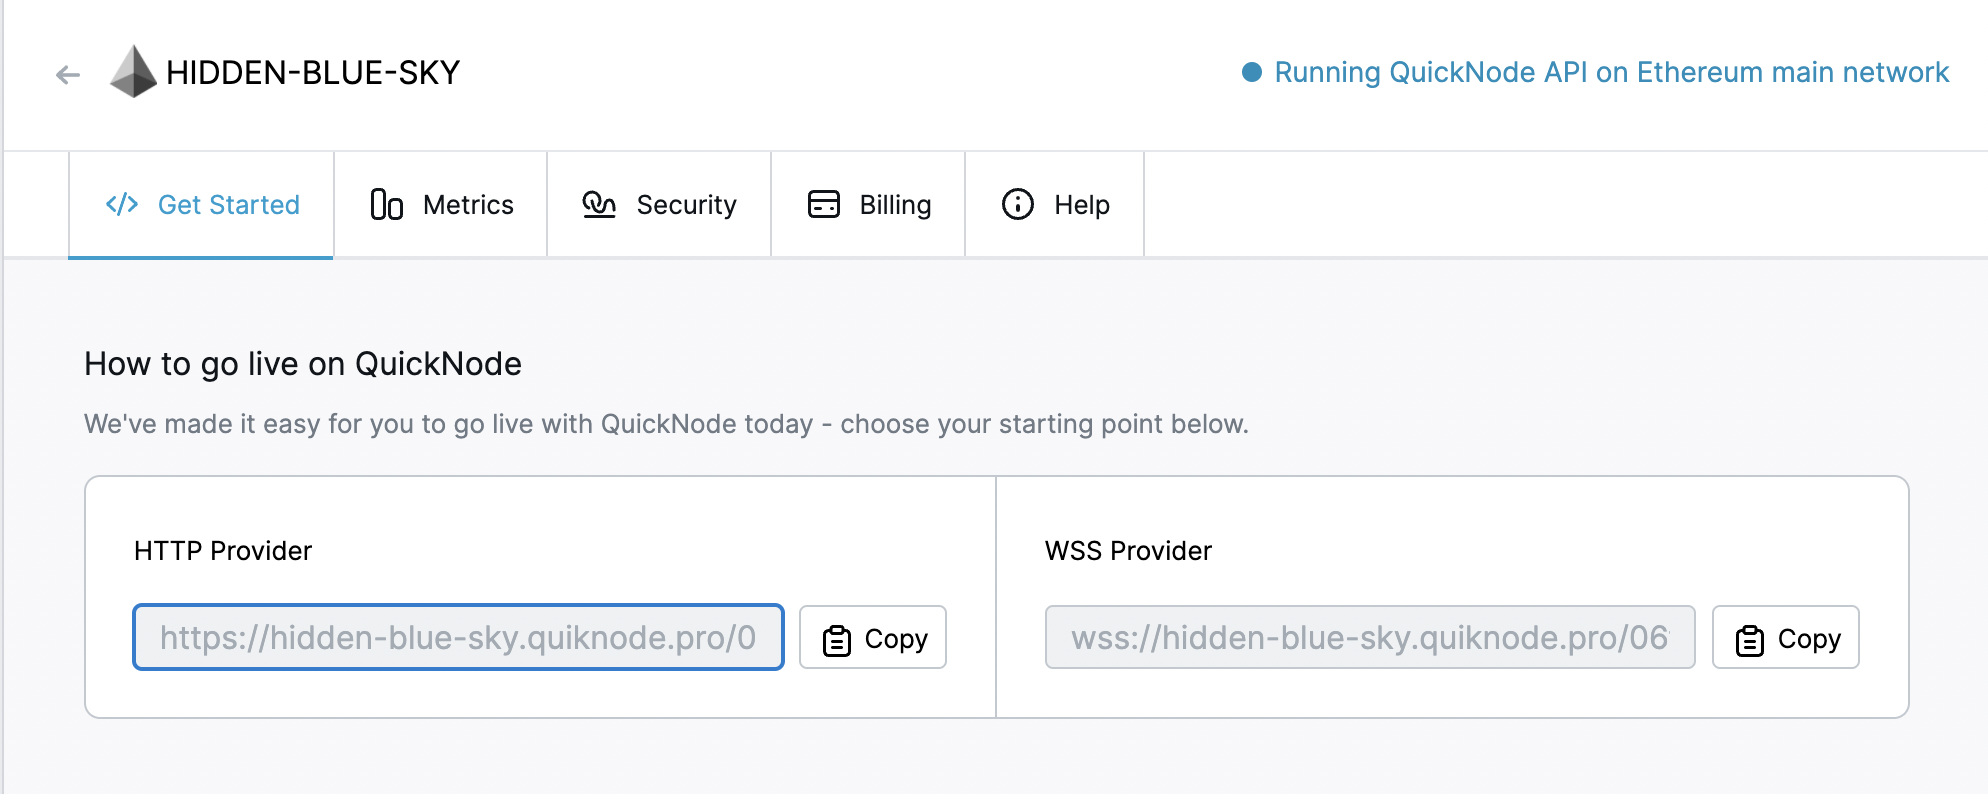
Save the HTTP provider URL as we will use it next.
Now, the next step would be to install the Ethers.js library. If you don’t have Ethers.js installed, you can follow this guide on How to connect to Ethereum using Ethers.js. Make sure you are using Ethers v5 for this tutorial.
Enabling gzip and seeing it in action
Create a JavaScript file index.js and paste the following in it:
const ethers = require("ethers");

(async () => {

  const Option = {
    allowGzip: "true",
    url: "ADD_HTTP_URL_HERE",
  };

  const provider = new ethers.providers.JsonRpcProvider(Option);
  const timeStamp = "Time taken is: "

  console.time(timeStamp);

  const block = await provider.send('debug_traceBlockByNumber', ['0xccde12', {'tracer': 'callTracer'}]);
  console.log(block);

  console.timeEnd(timeStamp);
})();
NOTE: the debug_traceBlockByNumber call requires our trace add-on. You can substitute this call for any Ethereum RPC method of your choosing. This method just works nicely as an example due to the large amount of data sent.
Replace ADD_HTTP_URL_HERE with the Quicknode URL we got in the previous step.
Explanation of the code above:
Line 1-3: Importing the ethers library and initiating an async function without any name.
Line 5-8: Declaring an Options array with node parameters like the allowGzip parameter and the node URL.
Line 10: Instantiating our ethers provider by passing Options as a parameter and storing it in the provider variable.
Line 11: Creating a new variable named timeStamp and storing a string in it.
Line 13: The console will start logging the time until asked to stop.
Line 15: Sending debug_traceBlockByNumber HTTP request to the node and storing the response in the block variable.
Line 16: Printing the contents of the block.
Line 17: Stopping the time log kept by console.
Line 18: Calling the async function.
Save the file and run it.
npm index
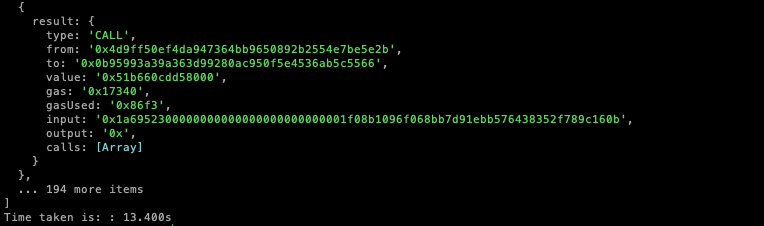
This request usually takes ~20 seconds to execute for a decently filled block, but since we used gzip compression, you should see a significant difference, refer to the images below:
Without gzip enabled:

With gzip enabled:
Conclusion
If you’re reading this, you have become more efficient in working with blockchains. Today we learned what gzip is and how to enable gzip on RPC calls in JavaScript using Ethers.js.
Subscribe to our newsletter for more articles and guides on Ethereum. If you have any feedback, feel free to reach out to us via Twitter. You can always chat with us on our Discord community server, featuring some of the coolest developers you’ll ever meet :)