9 min read
This guide includes references to the Goerli testnet, which is no longer actively maintained. While specific steps related to this chain may not be applicable, the overall process may be valid for other chains. We recommend exploring current alternatives for your implementation. If you’d like to see an updated version of this guide, please let us know!
Overview
Foundry is a smart contract development kit that provides a comprehensive suite of tools for building and deploying decentralized applications (dApps) on the Ethereum blockchain. It is designed for developers of all levels, from beginner to advanced, to help them create secure and efficient smart contracts. This guide is designed to provide an in-depth understanding of Foundry, its features, and how to use it for smart contract development.
What You Will Need
- Basic understanding of Ethereum
- Basic understanding of Solidity and Node.js
- A QuickNode endpoint (you can create one here)
- ETH on your testnet of choice (we'll be using Goerli; get some at the Multi-Chain QuickNode Faucet)
What You Will Do
- Learn all about Foundry
- Learn how to deploy a smart contract using Foundry
What is Foundry?
Foundry is a comprehensive suite of tools for building and deploying decentralized applications (dApps) on the Ethereum blockchain. It is designed to make it easier for developers of all levels to create and deploy secure and efficient smart contracts. With Foundry, you can write your smart contract in the Solidity programming language, compile it, deploy it to the Ethereum blockchain, and interact with it.
How Foundry Works
Foundry provides a command-line interface (CLI) that makes it easy to create, deploy, and manage smart contracts. The CLI provides a set of commands that you can use to perform various tasks related to smart contract development, such as creating a new project, writing your contract, compiling your contract, deploying your contract, and interacting with your contract.
When you create a new Foundry project, you can write your smart contract in the Solidity programming language. Once you have written your contract, you can compile it using the Foundry CLI. The compiler will generate the ABI (Application Binary Interface) and bytecode that can be used to deploy the contract to the Ethereum blockchain. To learn more about ABIs, check out this QuickNode Guide.
Once your contract has been compiled, you can deploy it to the Ethereum blockchain using the Foundry CLI. Once your contract has been deployed, you can interact with it using the Foundry CLI or a web3.js library.
Differences Between Other Smart Contract Development Tools
Foundry differentiates itself from other smart contract development frameworks, such as Hardhat, Ganache, and Remix.IDE, in several ways:
- Ease of Use: Designed to be user-friendly and easy to use, even for developers who are new to smart contract development. The CLI provides a simple and straightforward way to create, deploy, and manage smart contracts.
- Integrations: Integrations with popular development tools, such as Truffle and web3.js, to make it easier for developers to build and deploy their dApps.
- Testing: Built-in support for testing smart contracts, making it easier for developers to ensure that their contracts work as expected before deploying them to the Ethereum blockchain.
- Deployment: Simple and straightforward way to deploy smart contracts to the Ethereum blockchain. The CLI provides a single command to deploy your contract, making it easy to deploy to multiple environments.
Foundry provides the tools and features to easily build and deploy your dApps on Ethereum and other EVM-compatible blockchains (Polygon, Arbitrum, Optimism, Avalanche).
The next section will cover how to set up our development environment for creating and deploying smart contracts with Foundry and QuickNode.
Developer Setup
Step 1: Accessing Ethereum with QuickNode
You'll need an API endpoint to communicate with the Ethereum blockchain. You're welcome to use public nodes or deploy and manage your own infrastructure; however, if you'd like 8x faster response times, you can leave the heavy lifting to us. Sign up for a free account here.
Once signed in, click Create Endpoint and select the Ethereum chain and Goerli test network.
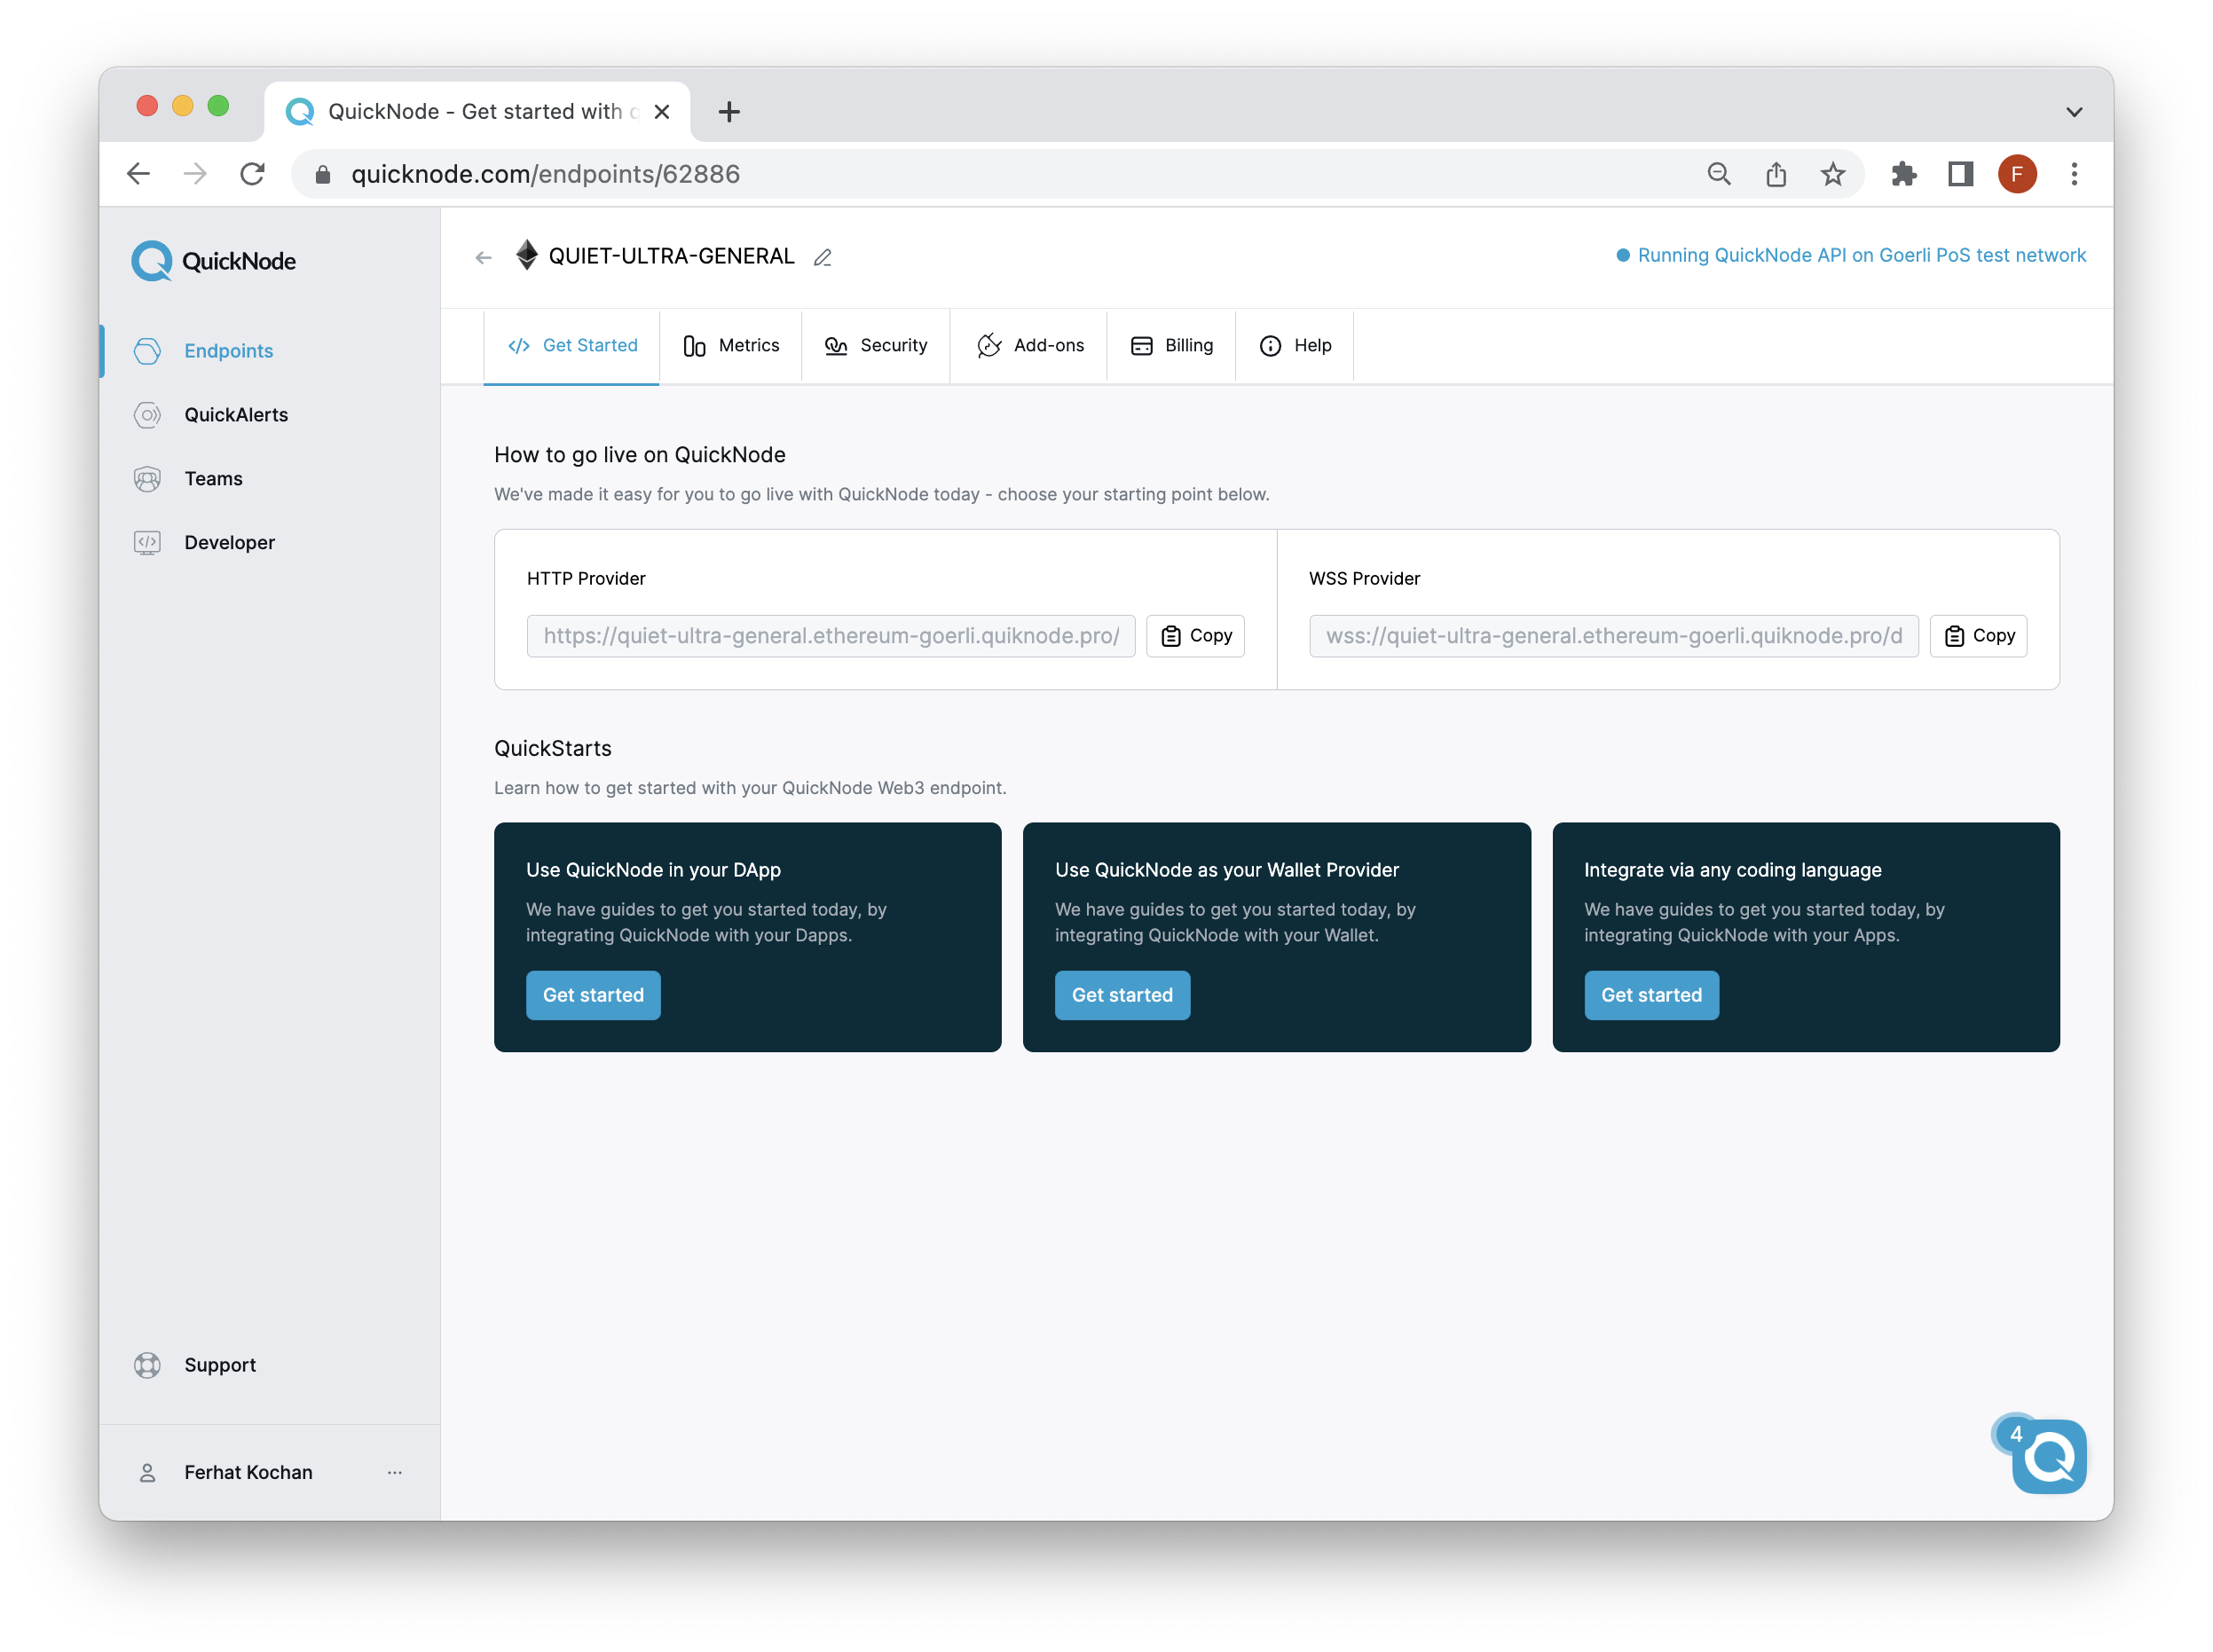
Once your endpoint is created, keep the HTTP Provider URL handy, as you'll need it when deploying and interacting with the smart contract you deploy.
Step 2: Create a Wallet and Fund with ETH
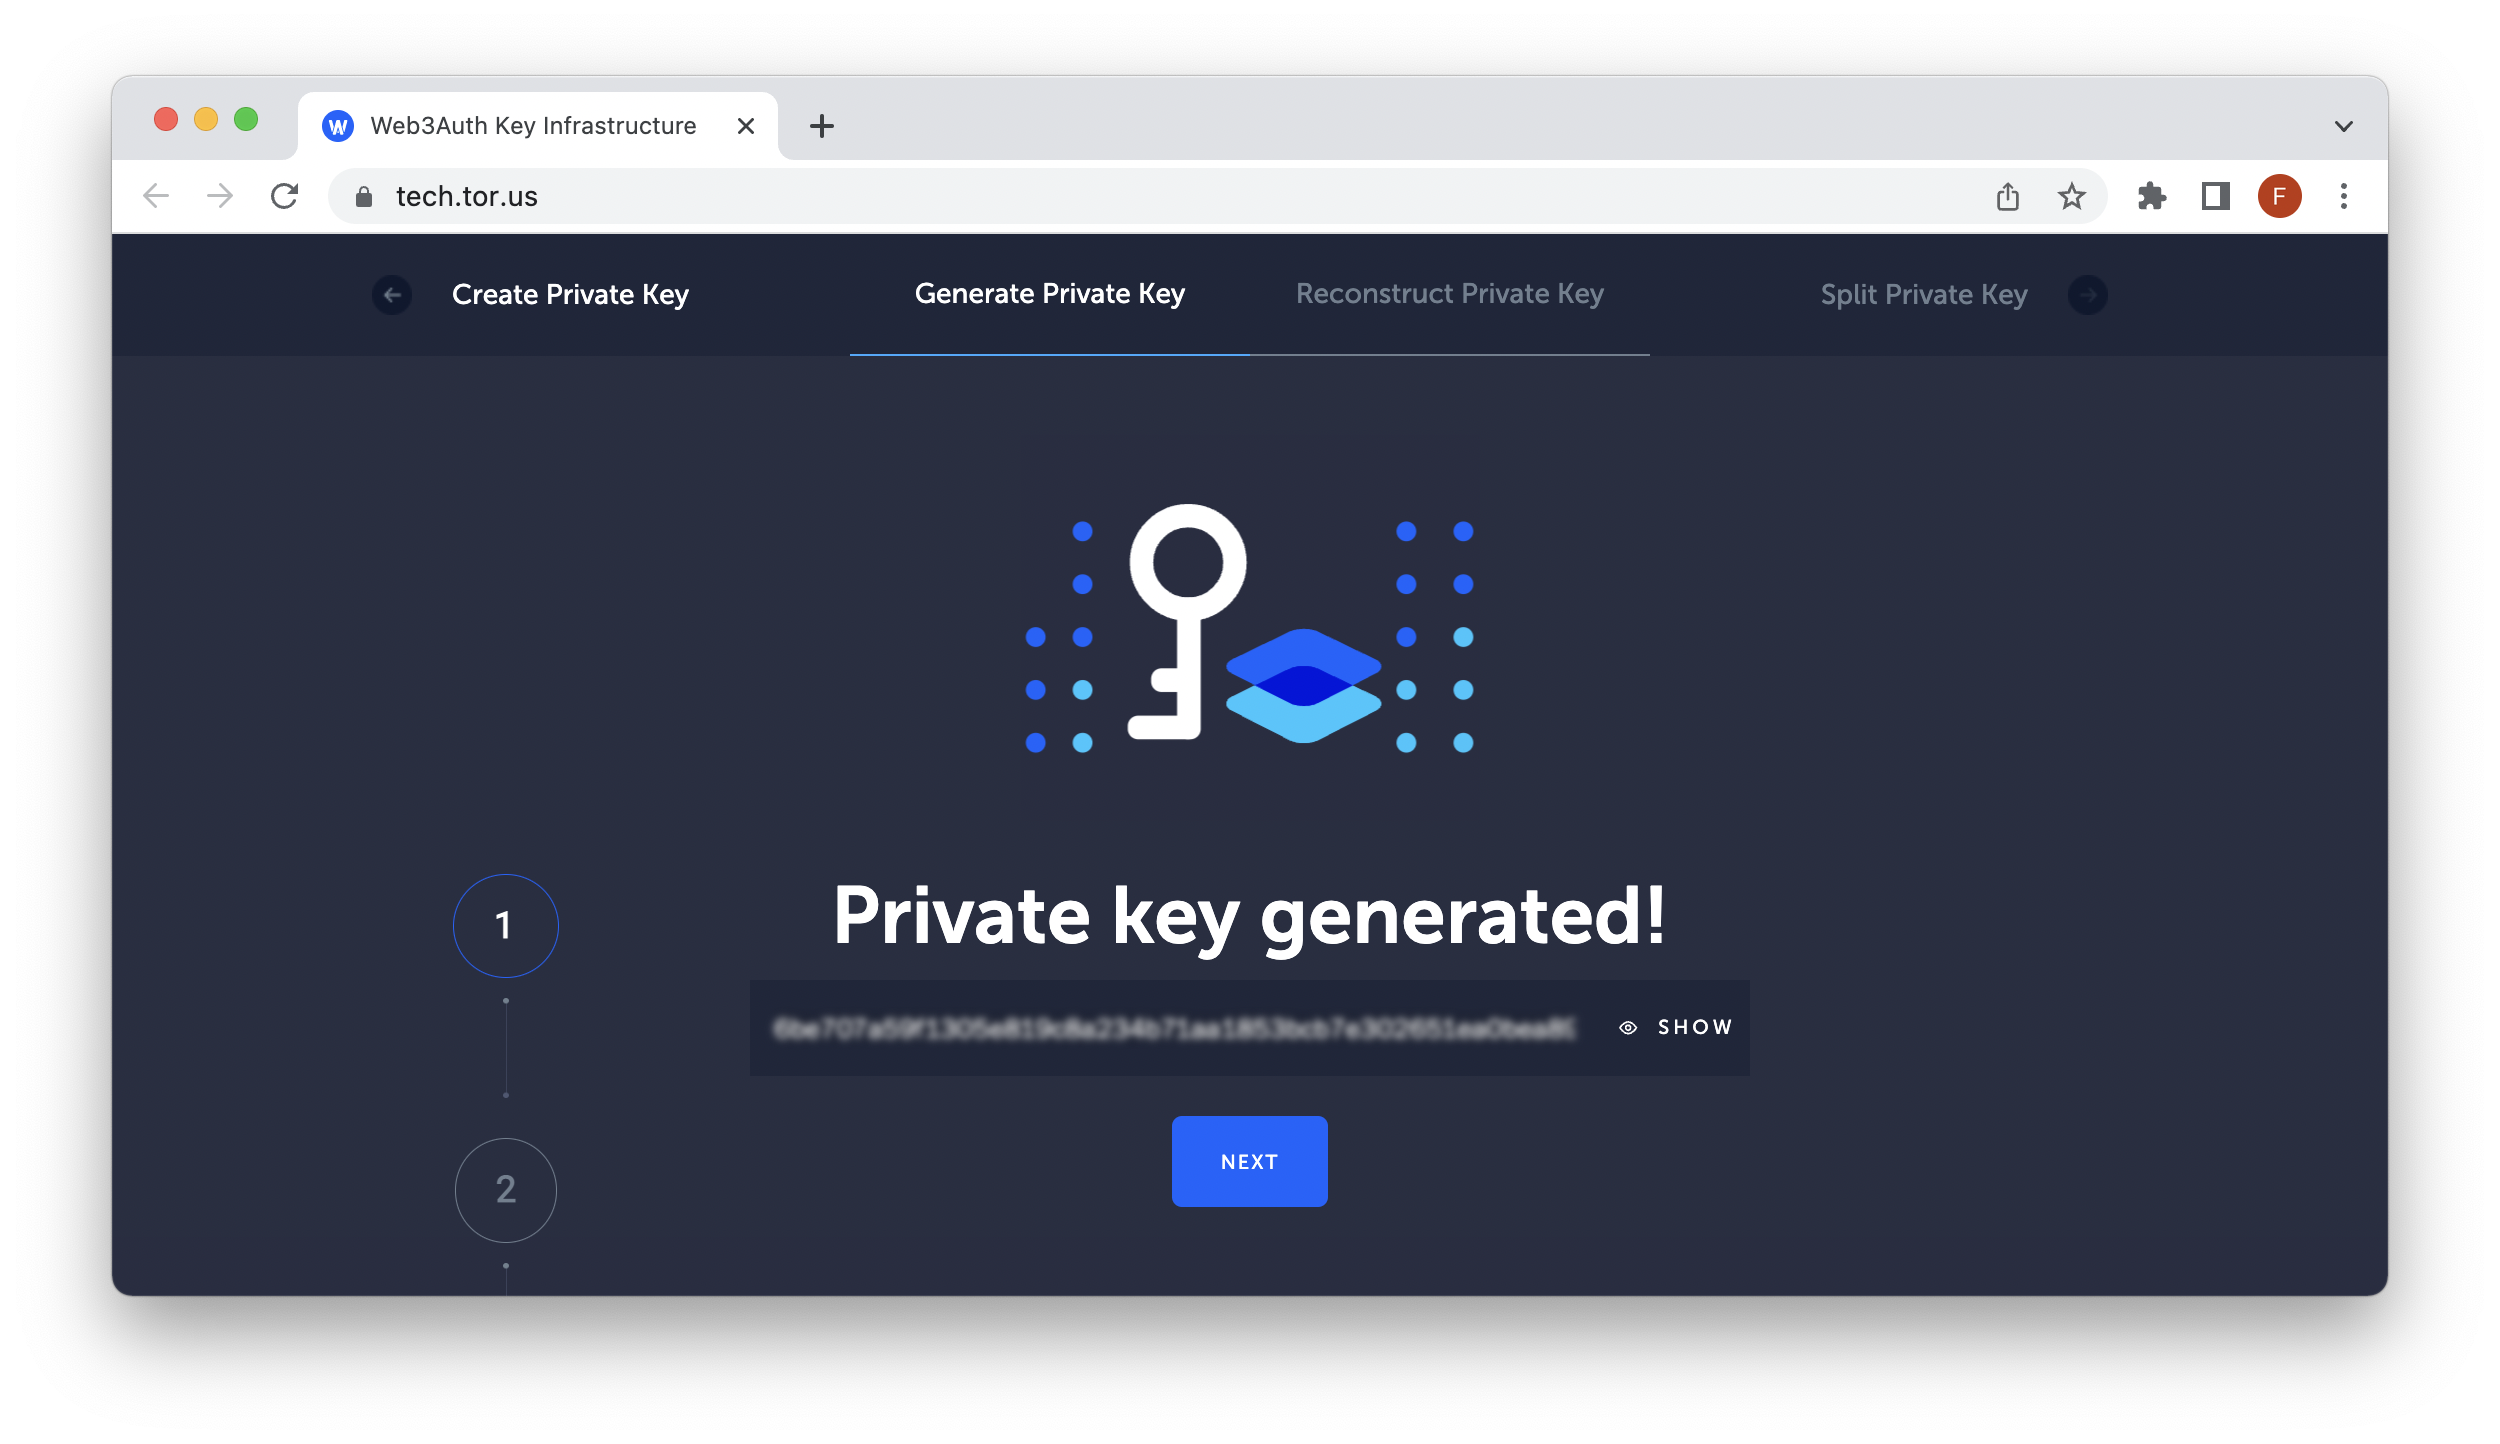
For this guide, we will be using Torus Wallet, a non-custodial wallet that supports multiple chains and networks, including Ethereum, Arbitrum, Polygon, and other EVM-related chains. You can also use any other non-custodial Web3 wallet (e.g., MetaMask, Phantom), as long as you have access to your private key.
Remember that to deploy on Goerli test network, you will need to have testnet ETH to cover the transaction fees. These fees should be minimal and should not exceed $0.25. You can acquire test ETH on the Multi-Chain QuickNode Faucet.
To get started, go to Torus and follow the instructions to generate a private key.
Before proceeding with this guide's technical aspects, ensure you have enough funds on your Goerli test network wallet address to pay for the contract deployment and interactions.
Step 3: Create a new project
With Node.js (version 18>) installed, let us set up a project folder for our smart contract development:
mkdir foundry_project && cd foundry_project && npm init -y
Then inside the foundry_project, let's install Foundry. You can install the latest version using foundryup or build from source (rust and cargo needed). For this tutorial, we'll install with foundryup.
curl -L https://foundry.paradigm.xyz | bash
This will download foundryup. Then install Foundry by running:
foundryup
If everything goes well, you will now have four binaries at your disposal: forge, cast, anvil, and chisel.
If you use macOS and display the below error, you need to type brew install libusb to install the required library
dyld[32719]: Library not loaded: /usr/local/opt/libusb/lib/libusb-1.0.0.dylib
Once your installation is configured, initialize a Foundry project with the following command:
forge init counter_contract
Then, navigate inside counter_contract, and your project structure should look like this:
.
├── lib
├── script
├── src
└── test
foundry.toml
In the next section, we'll review the Counter.sol file located in src and then deploy it later on in the guide.
Creating the Smart Contract
In the src folder, open the Counter.sol file:
// SPDX-License-Identifier: UNLICENSED
pragma solidity ^0.8.13;

contract Counter {
    uint256 public number;

    function setNumber(uint256 newNumber) public {
        number = newNumber;
    }

    function increment() public {
        number++;
    }
}
You can now access Logs for your RPC endpoints, helping you troubleshoot issues more effectively. If you encounter an issue with your RPC calls, simply check the logs in your QuickNode dashboard to identify and resolve problems quickly. Learn more about log history limits on our pricing page.
This contract is fairly simple and only contains 1 state variable and 2 public functions.
The number variable is defined as type uint256 (unsigned integer with 256 bits) and is publicly accessible outside the contract with the public keyword. The public function setNumber sets the value of the number state variable. It takes an input of type uint256, named newNumber, and sets it as the new value of number. The public function increment, increments the value of the number state variable by 1.
To compile the contract, run the following forge command in your terminal:
forge build
You should see compilation details such as:
[⠰] Compiling...
[⠘] Compiling 19 files with 0.8.15
[⠊] Solc 0.8.15 finished in 1.31s
Compiler run successful
In the next section, you'll learn how to run tests in Foundry.
Testing Your Smart Contract
Open the test/Counter.t.sol file:
// SPDX-License-Identifier: UNLICENSED
pragma solidity ^0.8.13;

import "forge-std/Test.sol";
import "../src/Counter.sol";

contract CounterTest is Test {
    Counter public counter;

    function setUp() public {
        counter = new Counter();
        counter.setNumber(0);
    }

    function testIncrement() public {
        counter.increment();
        assertEq(counter.number(), 1);
    }

    function testSetNumber(uint256 x) public {
        counter.setNumber(x);
        assertEq(counter.number(), x);
    }
}
The code above performs unit testing on the contract we created in the previous section. Let's recap the code.
Imports
The code starts by importing two files: forge-std/Test.sol and ../src/Counter.sol. The first import, forge-std/Test.sol, is the standard Forge library for writing tests. The second import, ../src/Counter.sol, is the main smart contract that is being tested.
Contract Definition
The code then defines a smart contract named CounterTest, which is a sub-contract of Test from the imported forge-std/Test.sol library.
Contract Properties
The contract has a single public property named counter, which is an instance of the Counter smart contract.
setUp Function
The setUp function is a special function in Forge's testing library that is run before each test. In this function, a new instance of the Counter smart contract is created and its number property is set to 0.
testIncrement Function
The testIncrement function tests the increment function of the Counter smart contract. It first calls the increment function and then uses the assertEq function to check if the number property of the Counter instance is equal to 1. If the number property is not equal to 1, the test will fail.
testSetNumber Function
The testSetNumber function tests the setNumber function of the Counter smart contract. It takes a uint256 input x and calls the setNumber function with x as the argument. It then uses the assertEq function to check if the number property of the Counter instance is equal to x. If the number property is not equal to x, the test will fail.
Then to execute tests, run the following forge terminal command:
forge test
You should see output similar to the following:
Running 2 tests for test/Counter.t.sol:CounterTest
[PASS] testIncrement() (gas: 28356)
[PASS] testSetNumber(uint256) (runs: 256, μ: 27253, ~: 28342)
Test result: ok. 2 passed; 0 failed; finished in 11.95ms
You can also print a gas report of your tested functions using:
forge test --gas-report
After the process has completed, you will observe the appearance of two new folders named out and cache. The out directory contains the artifacts of your smart contract, including the ABI, while Forge utilizes the cache folder to only recompile the necessary components.
Deploying Your Smart Contract
To deploy your Counter contract onto a network, run the following forge create command.
You'll need to replace the QUICKNODE_HTTP_URL with your actual QuickNode endpoint. Also, replace the YOUR_PRIVATE_KEY placeholder with your actual private key.
forge create --rpc-url QUICKNODE_HTTP_URL \
--private-key YOUR_PRIVATE_KEY \
src/Counter.sol:Counter
You should see a similar output to the following:
[⠆] Compiling...
No files changed, and compilation skipped
Deployer: 0x1851CC3b4996f9a75302C694485bf7437F3a4b7a
Deployed to: 0xEd1BaAaf5147aa060e3B590c5EdC17C846aa489E
Transaction hash: 0xa1cf5316ab326b43871874bfeb462a15a7d2913b799869c83faad117e2c39eb6
We can confirm by going to a block explorer such as Etherscan.
Note, you can also deploy the contract on a local testnet using anvil. To start a local testnet server, run the command:
anvil
Once started, Anvil will provide you a local RPC endpoint and accounts you can test with.
Now let's interact with the Counter smart contract we just deployed.
Interacting with Your Smart Contract
Foundry includes cast, a CLI for performing Ethereum RPC calls.
To make a write call with the Counter contracts setNumber function, use the cast send command:
cast send YOUR_CONTRACT_ADDRESS "setNumber(uint256)" 10 --rpc-url QUICKNODE_HTTP_URL --private-key YOUR_PRIVATE_KEY
In the cast command above, we use a value of 10 for the input payload.
You will see a result similar to the following:
blockHash               0x66977720a56444502112851d144d0abbc48551c3842e49be81b739118adf051b
blockNumber             8492170
contractAddress
cumulativeGasUsed       1210319
effectiveGasPrice       3002296853
gasUsed                 43494
logs                    []
logsBloom               0x00000000000000000000000000000000000000000000000000000000000000000000000000000000000000000000000000000000000000000000000000000000000000000000000000000000000000000000000000000000000000000000000000000000000000000000000000000000000000000000000000000000000000000000000000000000000000000000000000000000000000000000000000000000000000000000000000000000000000000000000000000000000000000000000000000000000000000000000000000000000000000000000000000000000000000000000000000000000000000000000000000000000000000000000000000000
root
status                  1
transactionHash         0x5c3d0178a24fe6593439743a021b407293622caf8a4649ca9b027a8d4944fe77
transactionIndex        5
type                    2
To make a read call to see the state of the number variable, use the cast call command:
cast call YOUR_CONTRACT_ADDRESS "number()" --rpc-url QUICKNODE_HTTP_URL
Result:
0x0000000000000000000000000000000000000000000000000000000000000064
The hexadecimal value above converts to a 100 value. You can use this terminal command to verify: echo $((0x0000000000000000000000000000000000000000000000000000000000000064))
Final Thoughts
You now have the skills to develop smart contracts using Foundry!
What are you using Foundry for? We'd love to see what you're creating! Share your app with us on Discord or Twitter. If you have any feedback or questions on this guide, we’d love to hear from you!