8 min read
Overview
Hello reader! Today we are going to be leveling up your Solidity skills. We are going to walk you through how to implement the factory contract pattern. Do not worry if you have not heard this term before; all will be explained to you by the end of the guide.
With that said, you will need a few things before going forward in the guide. You should have a decent grasp of solidity, as well as a good local environment for coding.
Prerequisites:
- Solidity knowledge
- Working knowledge of the terminal
- A text editor
What is a Factory Contract?
A factory contract is a smart contract that produces other smart contracts. Much like a shoe factory produces shoes to a certain standard, factory contracts will ensure that all of the smart contracts that it produces adhere to certain arbitrary qualities. This is a common pattern that you see many, if not all, large dApps using. For example if you are familiar with Uniswap, they implement this pattern. Every time you are interacting with a Uniswap pool, that pool is actually a smart contract that was generated by the Uniswap factory contract.
This is a useful pattern for many reasons. One reason is it allows you to create multiple instances of the same contract, much like a class in programming works. Define it once, and then you can create new instances of said class anywhere you would like. You are able to track all of the contracts that a factory has deployed if you so choose. It can even save you on gas, as you can deploy the factory, and then use it to deploy other smart contracts. But enough of the benefits, let us dive into the factory contract pattern.
Initializing The Project
In this guide we will be working with Solidity on our local machine. My personal favorite tool for doing local development is Hardhat. To begin, run the following commands in order. We will be creating a folder, moving into the folder, intializing a JavaScript project, installing Hardhat, and creating some boilerplate code.
mkdir factory-contract
cd factory-contract
npm init -y
npm install --save-dev hardhat
npx hardhat
After running the last command, npx hardhat, you will be prompted to answer a few questions.
- What do you want to do? > Create a basic sample project
- Hardhat project root: > . (yes, just a single dot)
- Do you want to install this sample project's dependencies with npm (@nomiclabs/hardhat-waffle ethereum-waffle chai @nomiclabs/hardhat-ethers ethers)? > y
With all of those questions answered, you have successfully set up the project to begin work. We can now start writing some Solidity!
Writing The Contract
First things first, let us pop open the contracts folder of our project and take a look at Greeter.sol.
//SPDX-License-Identifier: Unlicense
pragma solidity ^0.8.0;

import "hardhat/console.sol";

contract Greeter {
    string private greeting;

    constructor(string memory _greeting) {
        console.log("Deploying a Greeter with greeting:", _greeting);
        greeting = _greeting;
    }

    function greet() public view returns (string memory) {
        return greeting;
    }

    function setGreeting(string memory _greeting) public {
        console.log("Changing greeting from '%s' to '%s'", greeting, _greeting);
        greeting = _greeting;
    }
}
Here is where I am going to rely on your preexisting Solidty knowledge. I will not be diving into a line-by-line analysis of what this contract is doing. You should note however that it has 3 functions: a constructor that gets called upon intialization, a getter function, and a setter function.
This is the contract that we will be creating a factory around. We want to be able to deploy multiple greeter contracts, and even call these setter/getter functions from our factory.
To begin our factory contract, create a new file Factory.sol inside of our contracts folder.
In that file, you can write the following code:
//SPDX-License-Identifier: Unlicense
pragma solidity ^0.8.0;

import "./Greeter.sol";

contract Factory {
   Greeter[] public GreeterArray;

   function CreateNewGreeter(string memory _greeting) public {
     Greeter greeter = new Greeter(_greeting);
     GreeterArray.push(greeter);
   }

   function gfSetter(uint256 _greeterIndex, string memory _greeting) public {
     Greeter(address(GreeterArray[_greeterIndex])).setGreeting(_greeting);
   }

   function gfGetter(uint256 _greeterIndex) public view returns (string memory) {
    return Greeter(address(GreeterArray[_greeterIndex])).greet();
   }
}
This is all the code we need to have a fully functional factory contract. You can see that after we take care of Solidity wanting us to declare the SPDX, and pragma, we have imported our Greeter contract that Hardhat started us out with. This gives our Factory contract the ability to know what the shape of the Greeter contract is.
Then we have the first variable: GreeterArray. GreeterArray is a public array of Greeter contracts. Public variables will automatically have a getter function made for them by the Solidity complier whenever this contract deploys. This allows us to grab any Greeter contract that has been deployed by this factory via this array.
Next up we have the CreateNewGreeter function. This is again a public function, which means anyone/anything can call it. This function has one parameter of type string. You can see in the function that we use the new keyword to create a brand new contract. Since the Greeter contract's constructor has a parameter requirement, we pass in our _greeting argument to the newly created Greeter contract. We then take the newly created contract, and push it to our GreeterArray for lookup later.
Lastly, we have our greeter and setter functions. Each of them take an uint256 number that represents the index of the contract we want to look up. This bit of code may look odd to you, but it makes a lot more sense when you think of this bit: Greeter(address(GreeterArray[_greeterIndex])) as being the Greeter contract at whatever index we passed in. Since we are at that point in a Greeter contract, we then have access to both the greet and setGreeting functions.
With your new-found knowledge of the Factory contract, we can go over to the scripts folder to do a bit of work over there.
Create a new file factory.js, and paste the following code in there
// We require the Hardhat Runtime Environment explicitly here. This is optional
// but useful for running the script in a standalone fashion through `node <script>`.
//
// When running the script with `npx hardhat run <script>` you'll find the Hardhat
// Runtime Environment's members available in the global scope.
const hre = require("hardhat");

async function main() {
  // Hardhat always runs the compile task when running scripts with its command
  // line interface.
  //
  // If this script is run directly using `node` you may want to call compile
  // manually to make sure everything is compiled
  // await hre.run('compile');

  // We get the contract to deploy
  const Factory = await hre.ethers.getContractFactory("Factory");
  const factory = await Factory.deploy();

  await factory.deployed();

  console.log("factory deployed to:", factory.address);
}

// We recommend this pattern to be able to use async/await everywhere
// and properly handle errors.
main()
  .then(() => process.exit(0))
  .catch((error) => {
    console.error(error);
    process.exit(1);
  });
We have a video that goes more in depth about how hardhat is working, but you can know that this script is mostly boilerplate that hardhat needs to deploy our contract to our local environment.
Now we can get to the fun bit. Deploying our factory contract, and interacting with it in an "onchain" environment. I put onchain in quotes because we will only be simulating the environment on our local machine. But the same principals apply if you were to deploy this to a testnet or even the mainnet.
Interacting With the Factory
Open up your terminal and run the command below.
npx hardhat node
This will create a simulation Ethereum environment in your console. Be sure to keep this terminal running in the background while we run all of our other commands!
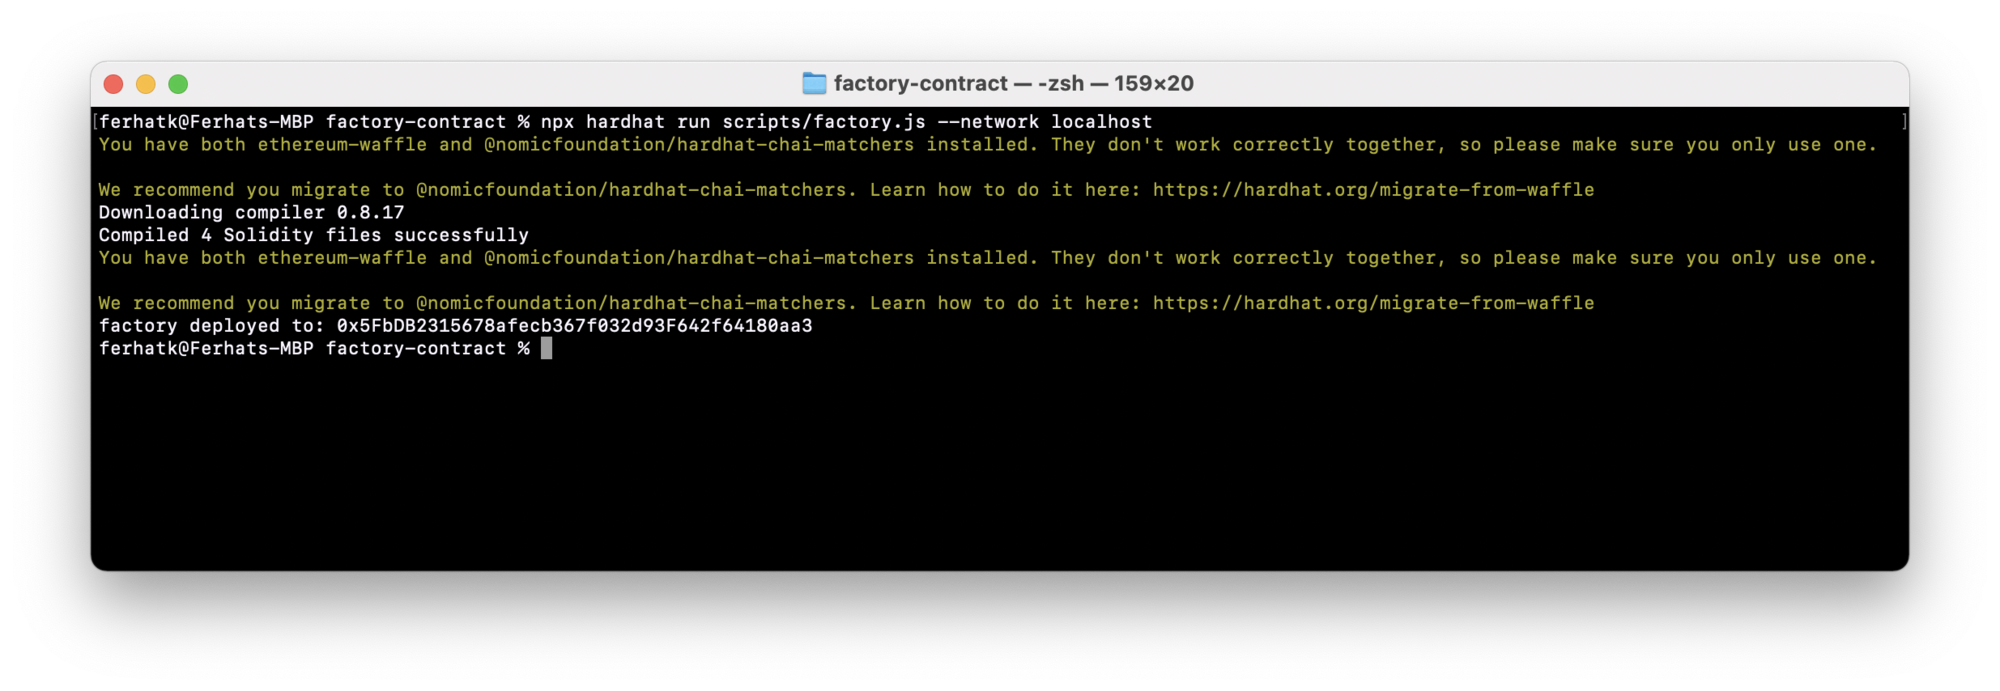
Next, we will want to deploy the contract to this test node using the script we wrote earlier. To do so run the following command in a separate terminal:
npx hardhat run scripts/factory.js --network localhost
This will deploy your factory contract and log out the contract address in your terminal.
With your contract deployed, we can open up Hardhat's console with the command below.
npx hardhat console --network localhost
This is a simulation JavaScript console that has access to the node that we are running in the other terminal.
We will need to perform a number of steps in order:
- Get the Factory contract interface to interact with
- Deploy a Greeter contract via the factory.
- Interact with newly created Greeter contract through the factory.
I am going to give you a block of code below, and you should type each line individually into the console, hitting enter between each line to run the code.
> const Factory = await ethers.getContractAt('Factory', '0x5FbDB2315678afecb367f032d93F642f64180aa3')
> await Factory.CreateNewGreeter('hello!')
> await Factory.GreeterArray(0)
> await Factory.gfGetter(0)
// Returns: 'hello!'
> await Factory.gfSetter(0, 'Double Hello!')
> await Factory.gfGetter(0)
// Returns: 'Double Hello!'
Line by line we can break this down:
1. Grabbing the Factory contract we deployed via it's address and contract name.
2. Using the factory to deploy a new Greeter contract
3. Listing the address of the newly created Greeter contract via the Factory contract's GreeterArray index number.
4. Calling the Greeter's getter function
5. Calling the Greeter's setter function.
6. Calling the Greeter's getter function again to confirm that the setter worked.
After running all of these commands, you should have a good idea on how you could extend this further. You could call the CreateNewGreeter function again, and repeat the pattern for the 1st index, the 2nd index, and so on.
Another thing to note, is you should see activity happening in the other terminal when you are making the commands. It will have new transactions whenever you use write commands, (CreateNewGreeter and gfSetter) and you should see eth_call/eth_chainId commands whenever using the read commands (GreeterArray and gfGetter).
Conclusion
Congrats on making it to the end! You have definitely leveled up your Solidity skills, and are well on your way to slinging Solidity with the best of them. In this guide you learned about the factory contract method, and how to implement your own in a local test environment!
Subscribe to our newsletter for more articles and guides on Ethereum. If you have any feedback, feel free to reach out to us via Twitter. You can always chat with us on our Discord community server, featuring some of the coolest developers you’ll ever meet :)